

THIS POST MAY CONTAIN AFFILIATE LINKS. PLEASE READ MY DISCLOSURE FOR MORE INFO.
A full-size scrub brush can clean a broad surface beautifully and still miss the crumbs beside a stove knob or the dirt tucked into a window track. The best detail cleaning brushes are the ones whose shape and bristles fit the specific gap and the surface around it. You do not need a drawer full of gadgets. A small, useful set and a gentle method can handle most of the awkward spots in a busy home.
Start with dry debris, choose the least aggressive brush that works, and finish by wiping away what the bristles loosen. Ten minutes on one troublesome area is worthwhile; there is no need to detail every corner in a single session.
Disclosure: This post may contain affiliate links. As an Amazon Associate, Clean Home Challenge earns from qualifying purchases. If you make a purchase through these links, we may earn a small commission at no extra cost to you. This helps us keep creating practical cleaning tips, routines and resources for busy families! 🧽
Choose the Right Brush for the Gap
Look at the width, access and finish before buying a set. A brush that cannot reach the bottom of a channel is frustrating; one that barely fits can scrape the sides or trap debris. These are useful brush types, rather than a ranked list of specific brands:
| Brush type | Good starting use | What to check before buying |
|---|---|---|
| Slim crevice or angled detail brush | Window tracks, counter seams, baseboard corners | A narrow head, comfortable grip and bristles that reach without forcing the handle |
| Small soft nylon brush | Faucet bases, refrigerator gasket folds, finished appliance edges | Flexible bristles and a smooth head with no exposed metal against the finish |
| Compact grout brush | Sound, compatible tile grout and shower corners | A head narrow enough for the grout line; avoid excessive stiffness on fragile grout |
| Small bottle or tube brush | Accessible narrow openings and removable parts | Correct diameter, cleanable bristles, and a handle that will not become stuck |
| Appliance coil brush | Accessible condenser areas where the appliance manual calls for it | The model’s access instructions and appropriate brush length; do not treat every refrigerator alike |
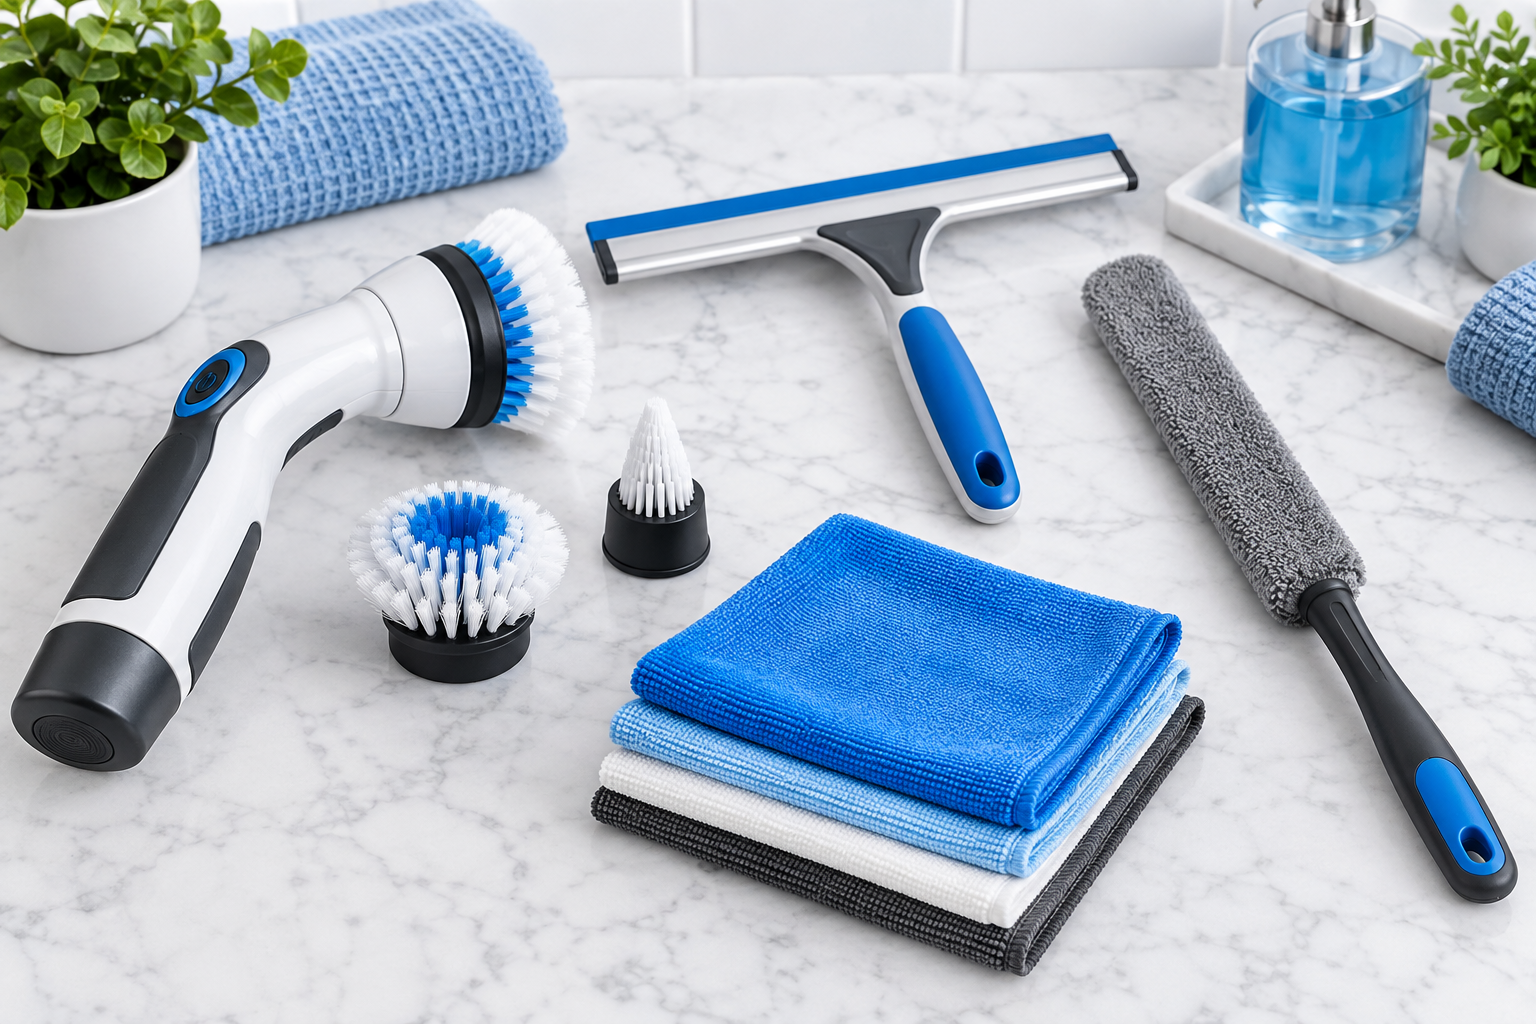
For most households, a slim crevice brush and a soft small brush are a sensible first pair. Add a grout brush or model-specific coil brush only if you have a place for it to work. If a tool sheds bristles, has a rough exposed wire end, or requires force to fit, leave it out of your cleaning kit. Reserve separate brushes for bathroom and kitchen jobs; mark their handles or store them apart.

Kitchen Seams, Sink Edges and Window Tracks
Lift the loose material first. A dry slim brush, vacuum crevice attachment, or folded cloth can remove crumbs from a stove edge or track before water turns them into a paste. Keep the stove off and cool, and avoid pushing debris into controls or vents. Work from the far end of a track toward a place where you can collect the dirt, then vacuum or wipe it up.
For a sink rim or counter seam, use a surface-appropriate cleaner applied to the cloth or brush as its label directs. Gently move the small brush along the joint; wipe immediately with a clean damp cloth and then dry. Keep water out of unsealed joins, electrical controls and appliance openings. A second pass with a cloth is often more useful than harder scrubbing.
On a window track, test how much water the frame and sill tolerate. Brush and vacuum the dry grit, use a barely damp cloth for remaining grime, and dry the channel. If the track has drainage openings, do not pack them with dirt. Do not pry at gaskets or scratch painted and anodized finishes with metal tools.

Bathroom Corners and Grout Without Damage
Bathroom corners ask for a small head and patience. Remove loose hair first, apply a cleaner approved for the tile, grout, sealant and fixture finish, and follow its label. Use short, gentle strokes with a compatible nylon brush, rinse or wipe away the loosened residue, and dry the area. A soft cloth may be better than any brush on plated or delicate fixtures.
If grout is crumbling, a caulk line is lifting, or discoloration returns quickly from behind a joint, stop scrubbing and address the underlying problem. More pressure will not repair failed grout or sealant. Avoid wire brushes and aggressive abrasives on finished surfaces. For natural stone, specialty tile and coatings, check the manufacturer’s care instructions and patch-test in an inconspicuous place. Do not mix cleaners, especially bleach with acids, ammonia or other products.

Which Brush for Appliances and Delicate Finishes?
The softest suitable brush is the starting point for a refrigerator door gasket fold or an accessible seam. Whirlpool recommends a soft-bristle brush or old toothbrush for interior seams and gasket folds, with mild soap and a damp cloth for gaskets. Wipe away residue and dry the fold so moisture is not left behind. Do not use a stiff brush on a painted door, display, screen, rubber seal or polished metal just because the gap is narrow.
Coil cleaning is a different job from routine detail cleaning. Unplug the refrigerator before maintenance, find the model’s instructions, and use a coil brush or vacuum only where access and cleaning are specified. GE’s guidance describes a coil brush for applicable condensers; some designs need no routine condenser cleaning. Never slide a long brush into an unknown opening or work around live components. If access is difficult, follow the manual or use a qualified service professional.
For stove knobs and other controls, turn the appliance off and let it cool. Brush only the accessible outside seam without forcing liquid or bristles behind controls. If removal is recommended in the manual, follow its exact procedure; otherwise leave the controls in place. Finish with a dry cloth.

How to Use a Detail Brush in Four Simple Steps
- Prepare the spot. Identify the material and nearby electrical openings. Remove dry crumbs, hair or dust with a vacuum or dry brush. Choose a soft, correctly sized head and a cleaner the surface manufacturer permits.
- Work gently. Apply cleaner according to its label, preferably to a cloth or brush when overspray could enter a gap. Make short strokes along the seam, not hard jabs into it. Stop if the brush catches, the finish marks, or the grout starts to shed.
- Collect the loosened dirt. Wipe the edge with a clean damp cloth if the material tolerates water, folding to a fresh side as it soils. Repeat a light pass only where needed. Do not leave a ridge of cleaner or dirty water behind.
- Dry and check. Use a dry cloth on the surface and seam. Put the brush aside for washing, and look at the area in normal light. If a stain remains, investigate the surface-specific method instead of automatically increasing pressure.
This is a technique, not a promise that every stain disappears in four steps. Cleaning usually removes ordinary soil; disinfecting is a separate task with product-specific directions and is generally considered when someone is sick or a higher-risk situation calls for it. Keep products away from children and pets, use ventilation and gloves when labels direct, and never combine cleaners.

Wash, Dry and Store Your Cleaning Brushes
Rinse debris from the bristles after a job. Wash with a little dish soap and water when appropriate for the brush, work out trapped residue, rinse well, and shake off excess water. Let the bristles air-dry fully on a rack or with the head positioned so it can drain before storing in a ventilated spot. Check the brush maker’s directions for wood handles, replaceable heads or tools that should not be soaked.
Keep a bathroom brush out of the kitchen kit. Replace a brush when bristles bend out of shape, shed, hold an odor after cleaning, or the handle cracks; a damaged brush is harder to control and can mark a finish. Store sharp or chemical-contaminated tools securely away from children and pets.

A Ten-Minute Routine for Awkward Spots
Choose one problem spot rather than opening every cupboard. Spend two minutes gathering a brush, cloth and compatible cleaner; four minutes lifting debris and lightly brushing the seam; two minutes wiping and drying; and two minutes rinsing the brush and returning the supplies. The times are a flexible guide, not a required timer.
On Monday’s kitchen reset, tackle a sink edge or cool stove seam. A bathroom day might mean one grout corner or faucet base. When you notice a dirty window track, make that the whole ten-minute task. Children can wipe a separate safe table surface with an appropriate cloth while an adult handles appliances, chemicals and small tools. A modest routine keeps the awkward places from becoming an all-day project.
If you like a guided weekly rhythm, the Cleaners Clubhouse routines can help you decide which small area to do next. You can also simply keep this two-brush kit and work through one gap when it catches your eye.

Quick answers
Can one brush be used everywhere? A slim brush may reach many gaps, but keep bathroom and kitchen tools separate and choose softer bristles for delicate finishes.
Should I use a dry or wet brush first? Start dry for crumbs and grit. Add a compatible cleaner only after loose debris is gone, then wipe and dry.
What if the gap still looks dirty? Check whether it is a removable stain, damaged grout, deteriorating caulk, or a finish problem. Do not keep scrubbing a damaged joint.
Sources checked September 30, 2026
CLEANERS CLUBHOUSE
Use the Right Tools With a Routine That Works
Good cleaning tools work best when you know where and when to use them. Inside the Cleaners Clubhouse, recommended products sit alongside practical routines, printable worksheets and monthly challenges.
