

THIS POST MAY CONTAIN AFFILIATE LINKS. PLEASE READ MY DISCLOSURE FOR MORE INFO.
Clean glass is only part of a finished window. Dusty channels, grimy frames, and dirty screens can make the job feel undone even after you polish away the fingerprints. A useful window cleaning checklist follows the whole window, then gives you a clear stopping point.
You do not have to clean every window in one exhausting session. Start with the room where clearer glass would make the biggest difference. Work through the same sequence there, put everything back, and leave another room for another day.
This guide covers ordinary household windows you can reach safely, including inside glass, accessible tracks, and removable screens whose care instructions allow washing. Specialty coatings, window films, screen materials, and opening mechanisms need their own manufacturer instructions. “Whole-house” describes the checklist’s coverage, not a requirement to finish the house today.
Disclosure: This post may contain affiliate links. As an Amazon Associate, Clean Home Challenge earns from qualifying purchases. If you make a purchase through these links, we may earn a small commission at no extra cost to you. This helps us keep creating practical cleaning tips, routines and resources for busy families! 🧽
Plan a Safe Room-by-Room Route
Give each window a place on the list
Walk through the home before you fill a bucket. List windows by room and distinguish the parts you can clean yourself from those needing another arrangement. “Living room, left window: inside glass, track, removable washable screen” is more useful than “windows.”
For each window, note these six items:
1. Inside glass.
2. Frame and interior sill.
3. Accessible tracks or channels.
4. Screen and its correct care method.
5. Outside glass: safely reachable, accessible through an approved tilt-in method, or professional help needed.
6. Damage or operating problems to follow up.
Use a separate mark for deferred. An upstairs exterior pane you cannot reach safely has not failed the checklist; it has been correctly moved out of your DIY route. The same applies to a stuck screen, damaged latch, or unknown coating.
Choose the conditions and protect the room
Work on cool glass out of direct sunlight where possible. Andersen’s window-cleaning guidance identifies direct sun as a cause of solution drying too quickly. Choose a room on the shaded side of the home, then move around as the light changes rather than racing the sun.
Move small items and pull curtains away without tugging their hardware. Protect the sill and floor with a clean towel; do not create a slippery path or a trip hazard. Keep cleaning supplies, trailing vacuum cords, and removed screens out of the walking route. Ventilate according to the cleaner’s label and wear gloves if the product requires them.
Keep children and pets away from open windows and screen-removal work. Andersen specifically warns that insect screens do not prevent falls. Close and lock each window when its job is finished. Never lean out, climb on furniture, or improvise access to high exterior glass. Follow your window’s operating guide before tilting a sash; a mechanism that looks familiar may work differently.
Start with a manageable session
Try one ordinary accessible window first. A 15- to 20-minute session is a planning allowance, not a promise: large panes, heavily packed tracks, awkward screen catches, and careful drying may take longer. Use the first window to judge the next session realistically.
Your minimum version is one inside pane plus its sill, followed by putting the room back. Your fuller version is one complete window, with safe outside access and the screen included. Either version has a useful finish line.

Gather a Small Window Cleaning Kit
Use the tools you will actually need
Collect a small kit before starting:
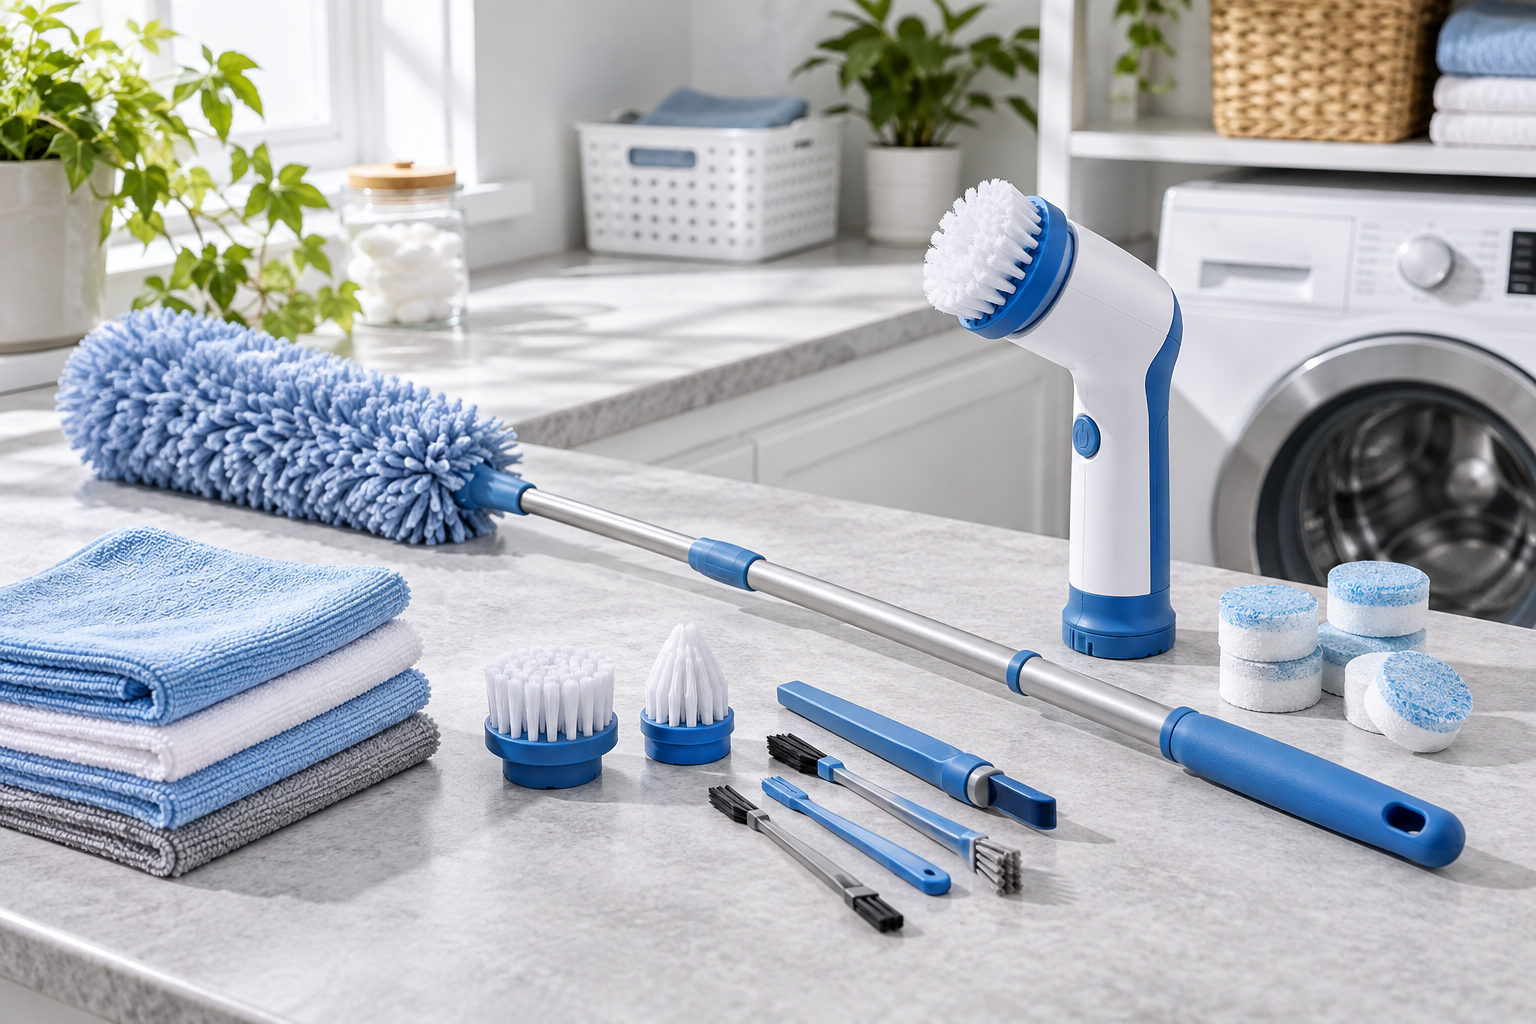
- A vacuum with a suitable soft brush or crevice attachment for dry debris, or a soft hand brush and a way to collect the dust.
- A small soft detail brush for accessible corners.
- Several clean microfiber cloths: one for dirty frames and tracks, one for washing glass, and a separate dry finishing cloth.
- A sound rubber-blade squeegee, if it suits the pane and its care instructions.
- A small bucket or bowl, floor-protection towel, and a clean support surface for removable screens.
- A manufacturer-approved, nonabrasive cleaner suitable for the actual glass, coating, film, frame, and screen.
Separate the dirty-detail cloths from the glass cloths. A cloth that has collected track grit can scratch or smear when used on a pane. Bring enough clean cloths to change them rather than polishing with a wet, dirty corner.
Check the squeegee edge for grit, nicks, or a distorted blade. A window vacuum is optional; it does not remove the need to wash the glass or detail the edges. Use the device’s instructions and keep electrical equipment clear of splashes. An ordinary squeegee and clean cloths may be all your accessible windows need.
Choose a cleaner for the window you own
Look for the window brand, product manual, coating information, or film installer guidance. Pella’s general glass-care guidance discusses ammonia-free cleaners, while Andersen restricts some treatments on specialty coatings. Those examples show why one homemade recipe should not be treated as universally suitable.
Use the cleaner and dilution your window maker permits, and follow its label. Mild soapy water is suitable for some washable components, but the relevant care guide decides where it can be used. Keep glass cleaner off surrounding finishes unless it is approved for those surfaces. Test a permitted method discreetly when the finish is uncertain; a patch test does not override a stated prohibition.
Do not combine cleaners. Skip abrasive powders, rough scrub pads, and a casual razor-blade scrape. Paint, cement, adhesive, mineral deposits, and stubborn marks require the specific glass or coating instructions, not harder pressure. Stop and seek the manufacturer’s advice if ordinary permitted cleaning does not lift a mark.
Refresh dirty wash water and remove grit from the tools before moving to the next window. The kit should make the job easier to repeat, not become a collection of products used on every material.

Clear Frames and Tracks Before Wet Cleaning
Lift out the loose debris first
Pella recommends cleaning tracks, frames, and ledges before polishing the glass. That order keeps loose debris from being spread over a surface you have just finished.
1. With the window safely positioned according to its operating instructions, inspect accessible channels for grit, insects, loose debris, and damage.
2. Remove loose material with a soft brush and collection cloth, or a suitable vacuum attachment. Keep the attachment from scraping the finish, seals, or hardware.
3. Work through corners with a small soft brush. Collect what you loosen rather than pushing it into another channel.
4. Dust the frame and wipe the interior sill. Use separate cloths for these dirty details and the glass.
Do not dismantle the track, prise out seals, or pull on weatherstripping to reach a hidden speck. Do not vacuum liquids with an ordinary dry vacuum. If the channel is already wet, address the moisture with a suitable cloth and investigate recurring water rather than mixing a wet-cleaning step into dry vacuuming.
Damp-clean only the accessible surfaces
After the dry debris is gone, use a well-wrung cloth and a cleaner the frame manufacturer allows. Work in short sections and lift the loosened dirt into the cloth. Fold to a clean face often. A soft brush can help around an accessible corner, but it should not scratch the finish or dig into a seal.
Avoid flooding tracks. Water should not sit in channels, soak wood, or run into wall finishes. Remove remaining permitted cleaner with a clean damp cloth when the instructions call for it, then dry the accessible surfaces.
Look for visible drainage openings and avoid packing debris into them. Follow the product’s maintenance guide for clearing drainage; do not poke unidentified holes with sharp wire or seal them because they look untidy. Persistent standing water, soft wood, damaged seals, or a sash that will not operate normally belongs on the follow-up list.
Know when the detail work is finished
Finished means loose debris has been removed, reachable dirt has been lifted, and the surfaces are left dry and undamaged. It does not mean stripping the window down to chase every hidden particle.
If you have only a short session, clean one accessible channel and its sill. Leave a clear next step on your room list. For wider seasonal jobs, fit the remaining windows into your usual cleaning routine instead of adding a whole-house deadline.

Wash Screens Without Bending the Mesh
Confirm that the screen is washable
Window screens are also called insect screens or flyscreens. Identify their type before taking them out or wetting them. Some standard screens allow gentle washing; retractable designs and specialty mesh can have different instructions.
Renewal by Andersen’s current guidance makes an important distinction: its standard aluminum screens can be washed, but TruScene screens require dry dusting or a soft-cloth method without water. Do not assume every fine mesh, metal screen, or fiberglass screen follows the same rule. Use the care guide for the screen actually fitted to your home.
If the maker specifies dry cleaning, use its stated method and mark the screen complete without washing it. If the screen is fixed, inaccessible, or difficult to release, do not force it. Clean only what the instructions allow or ask for help.
Clean a removable screen approved for washing
1. Follow the release instructions, supporting the frame rather than pulling on the mesh. Note which window it belongs to; if useful, identify the frame discreetly without marking the mesh.
2. Inspect for tears, loose mesh, damaged corners, or bent framing. Put repairs on the follow-up list.
3. Lay the screen on a clean supported surface or ground cloth. Remove loose debris using the screen maker’s permitted gentle method.
4. Apply the approved mild washing solution with a soft brush, sponge, or cloth. Use light pressure on both sides when the instructions allow it. Support the screen so the mesh is not pushed out of shape.
5. Rinse gently as directed. Avoid a pressure washer or concentrated forceful jet. Do not turn the frame-cleaning step into soaking a material that should stay dry.
6. Let the screen and frame dry fully in a safe location before reinstalling according to the operating guide. Check that the catches or latches are properly engaged.
Do the screen early enough that it can dry while you work on the rest of the window. Keep it away from doors, children’s play areas, pets, and foot traffic. A drying screen is not something to balance across a walkway.
Use a small-step alternative
When removal and washing are too much for today, inspect the screen and use only the gentle in-place method its maker approves. Record “washed screen deferred” separately from “inside glass done.” A quick dusting is useful maintenance, but it should not be described as a full wash.
Avoid making germ-killing or allergy promises about screen cleaning. This is a practical dirt-removal job; it does not certify air quality or replace investigation of a recurring moisture problem.

Clean Inside Glass and Reachable Outside Panes
Wash one pane at a time
Start with glass whose coating or film instructions you have checked. Remove loose grit with the permitted soft method before rubbing. Use clean tools and the approved cleaning solution, applying enough to wash the surface without soaking the frame, sill, or floor.
Work from the top toward the bottom. Keep the washing cloth or applicator clean, and lift visible soil rather than spreading it into a thinner film. If the pane is still dirty, wash the affected area again with clean solution. Stronger chemistry is not the automatic next step.
For small panes, a clean glass cloth followed by a separate dry lint-free cloth may suit the care guide. For larger compatible panes, a squeegee can remove the wash water efficiently. Andersen describes straight downward strokes with the blade dried between passes.
Use a squeegee without chasing streaks
1. Detail the top edge so a bead of water does not immediately run back down the finished glass.
2. Start near a top corner. Pull the squeegee downward with steady, moderate contact, keeping the blade on the glass during the pass.
3. Wipe the rubber blade with a clean cloth before the next stroke. Overlap the previous pass slightly rather than leaving a wet strip between strokes.
4. Collect the water at the lower edge and detail the perimeter with a clean dry part of the finishing cloth.
5. Check from another angle after the surface dries. Touch up the actual mark instead of polishing the whole pane again with a dirty cloth.
A scratch, a damaged blade, excessive cleaner, dirty tools, and solution drying too fast all need different responses. Change one cause at a time. If the window remains hazy despite correct cleaning, check whether the haze is inside the sealed glazing unit rather than on the surface. A cleaning cloth cannot repair a glazing defect.
Keep exterior access sensible
Clean outside glass only when you can do so safely and your method is suitable for the window. Work from secure ground where possible. A manufacturer-approved tilt-in window can provide access from indoors, but you must support and operate it exactly as the guide instructs.
Do not lean through an opening, remove safety devices, stand on a chair, or improvise an upper-story reach. Defer high, heavy, damaged, or awkward windows to an appropriate professional. If outside glass is deferred, finish the inside pane and mark the distinction clearly.
Do not blast the entire window with a pressure washer or leave hose water to dry on the glass. Control rinse and wash water around seals and surrounding finishes. The goal is clean reachable glass with the window functioning safely afterward.

Check Each Window and Keep the Routine Manageable
Use the final window checklist
Before moving to another room, confirm the work you actually completed:
- Inside glass is washed, dry, and checked from another angle.
- Frame and sill are clean and dry without damage to the finish.
- Accessible tracks are free of loose debris; visible drainage is not blocked by displaced dirt.
- Screen care matches its material, and any removed screen is dry, correctly fitted, and secured.
- Outside glass is completed safely or clearly deferred.
- Window closes and locks normally; anything unusual is recorded for maintenance.
- Towels, buckets, cords, and cleaning products are put away; the room is ready to use.
Download the two-page checklist and room tracker below. Use the first page for the work order and the second for the windows in your home. “Deferred / reason” is part of the form so you can finish a useful session without claiming an unsafe or inaccessible task is done.
Set a frequency that matches your home
Andersen suggests a twice-yearly window clean as a starting routine. Use that as a planning example, then adjust for your conditions and care instructions. A kitchen pane with fingerprints, a dusty street-facing room, or salty coastal exposure may need attention earlier; another pane may need only a spot clean between fuller sessions.
Look at the windows as part of a room reset. Wipe a fresh fingerprint when convenient, collect accessible dry debris before it packs into tracks, and check for recurring moisture. Avoid turning every small mark into a full window wash.
Keep the seasonal job separate from daily essentials. The weekly cleaning schedule can help you choose a room session without filling every day with extra tasks. A planned window afternoon can be split into several shorter visits if that fits your family better.
Questions that can change your plan
Can I use vinegar on all my windows? No. Check the particular glass, film, coating, frame, and surrounding surfaces. A recipe recommended for one window product does not prove suitability for another. Use a permitted cleaner rather than guessing.
Should screens be washed before or after the glass? For removable washable screens, starting them early gives drying time while you clean the frame, track, and glass. Dry-only or fixed screens need their own approved method, not the same wash sequence.
Why does the track get dirty again so quickly? Note whether the material is ordinary dust, insects, or recurring water. Routine debris can be collected gently; repeated moisture, damage, or poor operation needs a maintenance check rather than progressively harsher cleaning.
What if I only finish one room? Put that room back and record the next room. A safe, complete window session is progress. You do not need to undo the result by starting another room when you no longer have time or energy to finish it.
Care guidance used for this checklist
Manufacturer guidance checked October 2, 2026. Product-specific instructions take priority over a general household checklist.
- Andersen: how to clean windows.
- Pella: steps to clean windows.
- Pella: window cleaning and maintenance.
- Renewal by Andersen: screen types and their distinct cleaning methods.
- Andersen: window and door safety.
Download the two-page window checklist and room tracker (PDF)


CLEANERS CLUBHOUSE
Follow a Simple Room-by-Room Cleaning Plan
Break the house into manageable spaces and know exactly where to focus next. The Cleaners Clubhouse gives you a follow-along 12-month calendar, printable worksheets and motivating monthly challenges.
