

THIS POST MAY CONTAIN AFFILIATE LINKS. PLEASE READ MY DISCLOSURE FOR MORE INFO.
The building work is finished, but a pale film keeps turning up on the windowsill, the dining table feels gritty, and every clean cloth seems to find another patch. That last layer can make a finished room feel unfinished.
Good post renovation cleaning starts with finding out what the dust contains. Once the contractor has completed the required cleanup and any material-specific checks, small amounts of ordinary remaining residue can be tackled in a sensible order: suitable dust collection first, careful surface cleaning next, and floors last.
This guide is for that routine household finishing clean. It is not a method for removing lead, asbestos, uncontrolled silica dust, or unidentified building debris. You do not need to clean the whole house in one exhausting session. You do need the right starting point, equipment that is suitable for the material, and permission from each new finish’s care instructions to clean it.
Disclosure: This post may contain affiliate links. As an Amazon Associate, Clean Home Challenge earns from qualifying purchases. If you make a purchase through these links, we may earn a small commission at no extra cost to you. This helps us keep creating practical cleaning tips, routines and resources for busy families! 🧽
Check the Dust Before You Clean
Before opening the cleaning cupboard, ask the builder what was cut, sanded, drilled, or removed. Keep the product names, safety data sheets where relevant, and any inspection or clearance records with your renovation paperwork. A new-looking room can contain dust from older materials disturbed during the work.
Pause for these three situations
- Possible lead paint: In the United States, paint disturbed in a home built before 1978 needs particular attention. EPA recommends lead-safe certified contractors for these projects. If older paint was disturbed and the cleanup arrangements are unclear, contact the contractor or a qualified lead professional before attempting a household clean. Ask which cleaning verification or dust testing applies to your project; a clean-looking surface is not a substitute. EPA’s lead-safe renovation guidance explains the concern and how to find qualified help.
- Possible asbestos: Damaged older flooring, ceiling materials, insulation, and other building products may need professional assessment. You cannot identify asbestos by appearance. Do not dust, sweep, vacuum, collect a sample, or carry suspect debris through the house. Limit access and contact a trained, accredited asbestos professional. See EPA’s homeowner asbestos advice.
- Dust from concrete, mortar, brick, tile, or stone work: Cutting and grinding silica-containing materials can generate respirable crystalline silica. Heavy deposits, uncontrolled cutting, or an unclear cleanup plan belong back with the contractor and a suitably qualified specialist. A household mask and a vacuum do not turn that situation into a routine chore. OSHA’s silica overview identifies the relevant materials and activities; its workplace guidance is not a household clearance test.
If you cannot establish what was disturbed, stop here and ask. Describing something as “just plaster dust” is not enough when its ingredients or other disturbed materials are unknown.
When is it reasonable to begin?
Begin the finishing clean after dust-producing work has ended, the contractor has completed the appropriate construction cleanup, any required verification has been addressed, and new surfaces are ready for their permitted cleaning method. There is no universal number of hours after which building dust becomes safe. Nor does the absence of visible floating dust establish that a room is ready to occupy.
Small first step: Gather the handover information and identify one room to tackle. That is useful progress even if no cleaning happens today.

Choose Tools That Can Handle Fine Dust
A familiar vacuum is not automatically suitable for renovation residue. Check its manual for the specific dust and quantity before using it. If suitability is unclear, ask the manufacturer or have a post-construction cleaning service handle the initial dust collection.
For applicable fine-dust work, look for a machine designed as a sealed HEPA system and approved by its manufacturer for the material involved, with the correct bag, filters, and attachments installed. A shop vacuum with an added HEPA filter is not necessarily sealed. EPA specifically makes this distinction in its guidance on choosing a HEPA vacuum. That guidance explains equipment design; it does not authorize DIY hazardous-material cleanup.
Do not assume “wet/dry,” “powerful suction,” or a HEPA filter label means the complete machine is appropriate. A robot vacuum, household stick vacuum, or ordinary shop vacuum should not be your default for building dust.
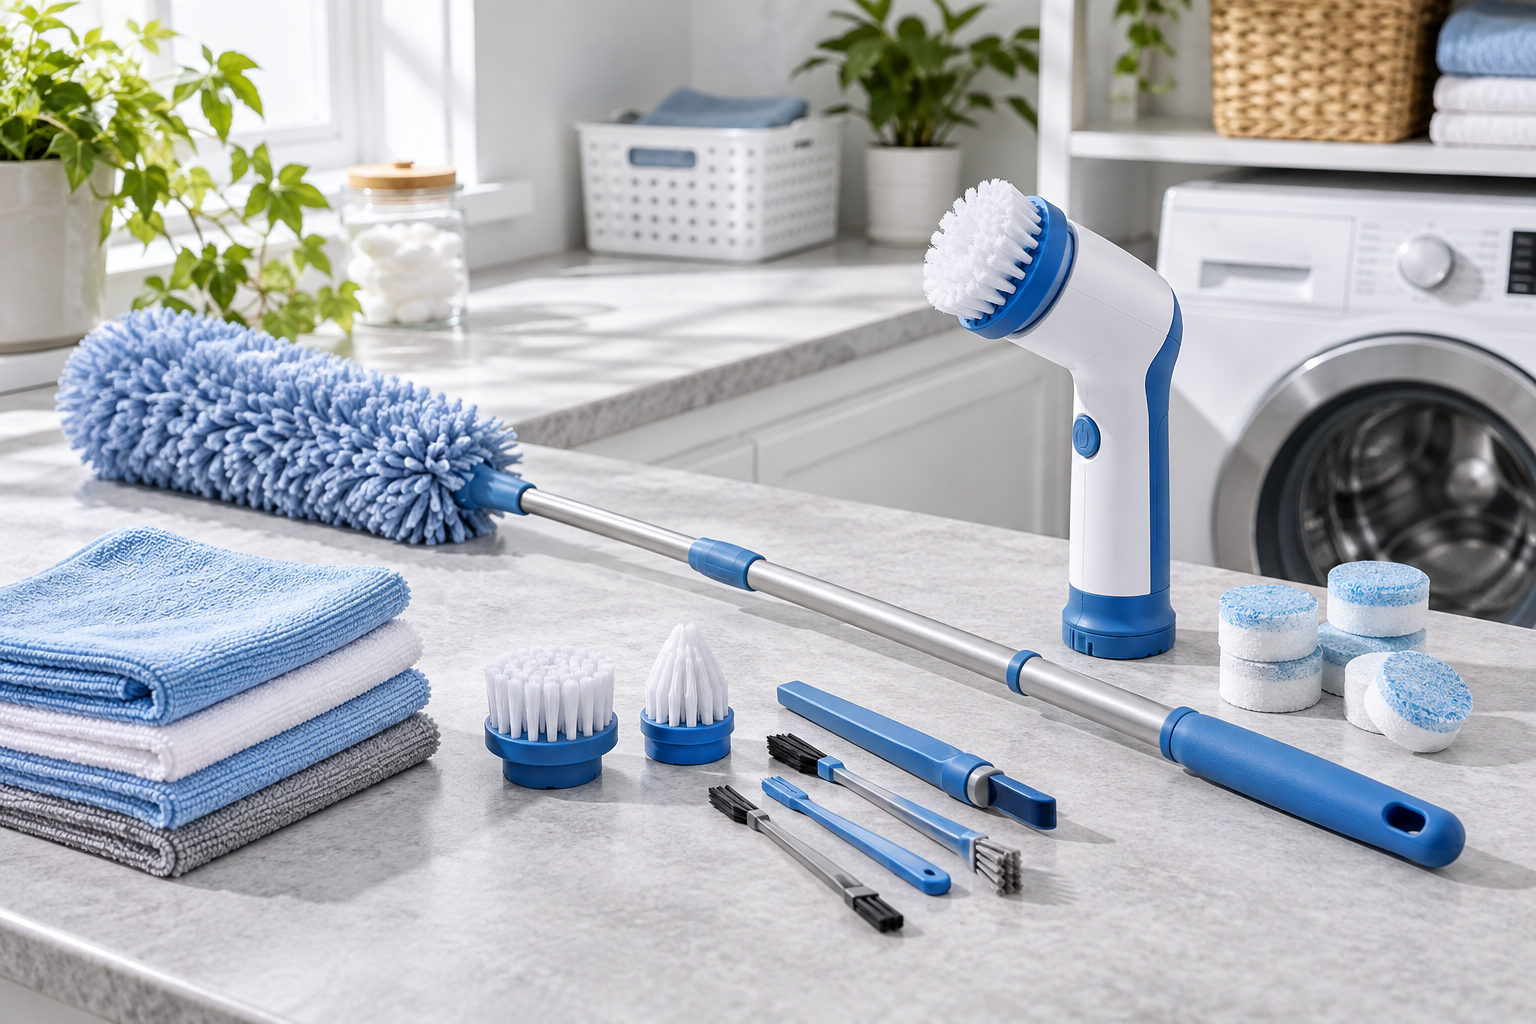
Put a small kit together
- A verified dust-suitable vacuum or a booked professional for the collection stage
- A clean, compatible soft surface attachment and crevice tool
- Several microfiber cloths and replacement mop pads
- A flat mop appropriate for the flooring
- A small container of clean water, if the surface allows damp cleaning
- The surface manufacturer’s recommended cleaner, only where needed
- Gloves appropriate for the cleaner, closed shoes, and any additional protection specified for the assessed task
- A container for used cloths and a suitable waste bag for confirmed ordinary waste
Keep a separate clean-cloth pile so you do not repeatedly wipe with the same dusty face. Follow the vacuum’s maintenance and waste-handling instructions; do not bang out filters or empty a dusty container into the room. If it emits dust, loses suction, or has a damaged hose or seal, stop and resolve the problem.
Leave dry sweeping, feather dusters, and compressed-air blowers out of this cleanup. They move loose dust around instead of containing it. OSHA’s silica housekeeping requirements favor methods that minimize airborne exposure and restrict dry sweeping and compressed air in covered work.

Shopping note: An everyday cleaning kit can be useful for the later wipe-down, but an affiliate recommendation is not evidence that a vacuum, mop, or mask is suitable for construction dust. Verify equipment separately.
Prepare One Room at a Time
Choose a manageable room that is ready for cleaning, rather than moving between five rooms and leaving half-finished surfaces everywhere. If your kitchen is usable and a renovated spare room can remain closed, the spare room can wait.
Make a simple plan before you start
- Confirm the work has stopped. Include the final sanding, drilling for fixtures, and contractor touch-ups. Ask who is responsible if another dusty job is still to come.
- Keep children and pets out of the cleanup area. Put food, drinks, toys, and clean laundry elsewhere before you start. Keep a clear walking route so you are not repeatedly tracking residue into finished rooms.
- Let the contractor deal with remaining construction waste. Unidentified debris, sharp offcuts, rubble, damaged materials, and removed containment belong in the agreed construction cleanup. Do not shake dusty drop cloths or improvise waste disposal.
- Check the surfaces. Note fresh paint, newly finished floors, grout, sealers, and adhesive work. Dry to the touch does not necessarily mean ready for washing. Put any care instructions where you can see them.
- Bring in only the supplies you need. Position the caddy and machine so cords, hoses, and buckets do not create a trip hazard. Keep cleaner containers closed when not in use.
Follow the contractor’s ventilation and HVAC instructions. Do not aim fans across settled dust, tape over working system vents, or dismantle a containment setup. For a cleared routine cleaning task, use ventilation appropriate to the cleaning product and outdoor conditions without blowing residue into another room. If the remaining dust raises questions about ventilation or safe access, resolve those before continuing.
Take a quick photograph of unfinished details to discuss with the contractor, such as a dusty cabinet interior or residue around new fittings. Distinguish an agreed cleaning omission from a defect you might damage by scrubbing.
A practical stopping point: Finish setting up the room and checking the care instructions. Put supplies safely away if you are not ready to clean. Preparation counts; it reduces rushed decisions later.

Remove Dust From High to Low
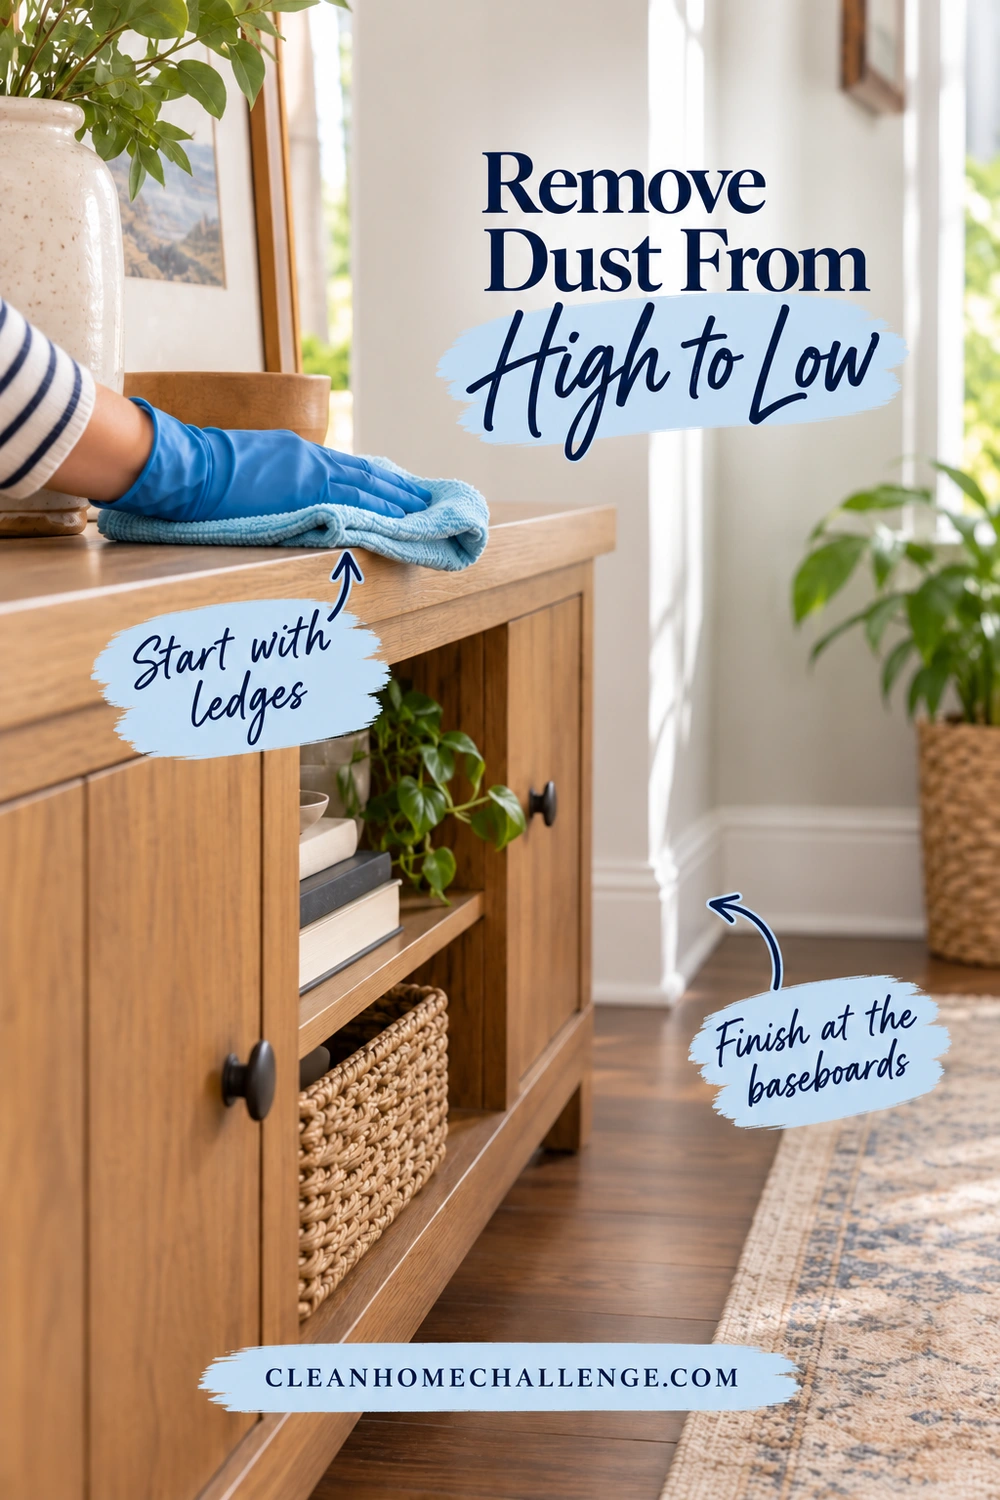
For confirmed routine residue, work from the highest safely reachable surfaces down toward the baseboards. Finish one wall or small zone at a time. This gives you a clear route and avoids cleaning the floor before dust has been collected from shelves above it.
Use a collect, wipe, and dry sequence
- Collect loose dust gently. Use the verified dust-suitable vacuum and a clean attachment compatible with the finish. Work slowly along sturdy ledges, door trim, cabinet tops, shelf corners, and baseboards. Do not scrub the attachment against a delicate surface or use it on paint that is not ready for contact.
- Follow with a lightly damp cloth where permitted. Wring it well and fold it into a flat pad. Make controlled passes, then turn to a clean face. Avoid flicking, brushing, or shaking dust off the cloth.
- Replace loaded cloths. Put a used cloth in its designated container and pick up a fresh one instead of spreading the collected residue over the next shelf.
- Dry surfaces that need it. A second clean, dry cloth is useful on water-sensitive trim or counters where the care instructions permit this method. Do not leave moisture sitting along joints, edges, or hardware.
Plain water may be enough for a remaining light film on a water-tolerant surface. Where a cleaner is needed, choose one approved for that material and follow its dilution and rinsing directions. More cleaner does not collect more dust, and leftover product can leave its own film. Never mix cleaning products.
Treat fresh paint and windows gently
Ask the painter how long your particular coating needs before cleaning. Sherwin-Williams’ general wall-cleaning advice says to wait at least two weeks before soap-and-water cleaning of freshly painted walls, but your paint’s own instructions take priority. Test the permitted method in a hidden spot and let it dry before continuing. Avoid abrasive pads and aggressive rubbing.
For windows, collect loose residue from accessible frames and tracks with a suitable tool before the compatible final wipe. Use the window maker’s glass-care method; do not scrape building residue with a razor or grind grit across the glass. Andersen’s care guidance warns against razor blades and abrasive cleaners. Leave bonded mortar, adhesive, or paint spots to the installer for a material-specific solution.
Stay on the floor for reachable work. High fixtures, stairwell ledges, and awkward overhead surfaces are sensible tasks to hand over rather than reaching from furniture.
Clean Floors Without Spreading Grit
A mop is the finishing tool, not a replacement for collecting loose residue. Working a wet pad through dry powder can leave a muddy film, and dragging trapped grit across a finish can damage it.
First, confirm that the floor is ready for cleaning. New grout, sealant, wood finish, and installed flooring may have specific waiting periods or moisture restrictions. Follow those instructions even if another part of the room is ready.
For a compatible hard floor
- Pick up loose dust with the verified suitable vacuum. Use the floor maker’s permitted head and settings. Take particular care at edges and thresholds, and avoid a hard or rotating attachment that could scratch the surface.
- Fit a clean mop pad. Apply only the amount of moisture and approved cleaner the floor instructions allow. A barely damp pad is very different from flooding the floor.
- Work from the far side toward the exit. With a flat mop, use controlled pull-back passes in short, slightly overlapping lanes. Keep the pad flat rather than flicking it at the end of each stroke.
- Change the pad as it loads up. If it is leaving a gray trail, stop. Use a fresh pad and fresh cleaning solution where needed instead of doing the whole room with an overloaded mop.
- Let the floor dry before checking it. If compatible with the finish, a clean lightly damp cloth over a small area can help you spot remaining ordinary residue. Repeat the collection or damp-cleaning step that is actually needed.
This is a housekeeping check, not a test for lead, asbestos, or respirable dust. Persistent residue can also be grout haze, adhesive, or a finish problem. Do not respond by adding acid, a scraper, or stronger detergent without asking the installer.
Wood and laminate need particular attention to moisture. Avoid steam unless the flooring manufacturer explicitly permits it; Bona’s wood-floor maintenance guidance explains the damage risk from heat and moisture in wood-floor joints. Stone, tile, and vinyl also need their own compatible products. Vinegar is not a universal finishing cleaner.
For carpet, use equipment suitable for both the dust and the carpet’s construction. Avoid beating rugs or aggressively brushing powder into the pile. If substantial renovation dust reached carpet or underlay, arrange professional assessment and cleaning rather than repeatedly running your everyday vacuum.

Refresh Fabrics, Vents, and Hidden Spots
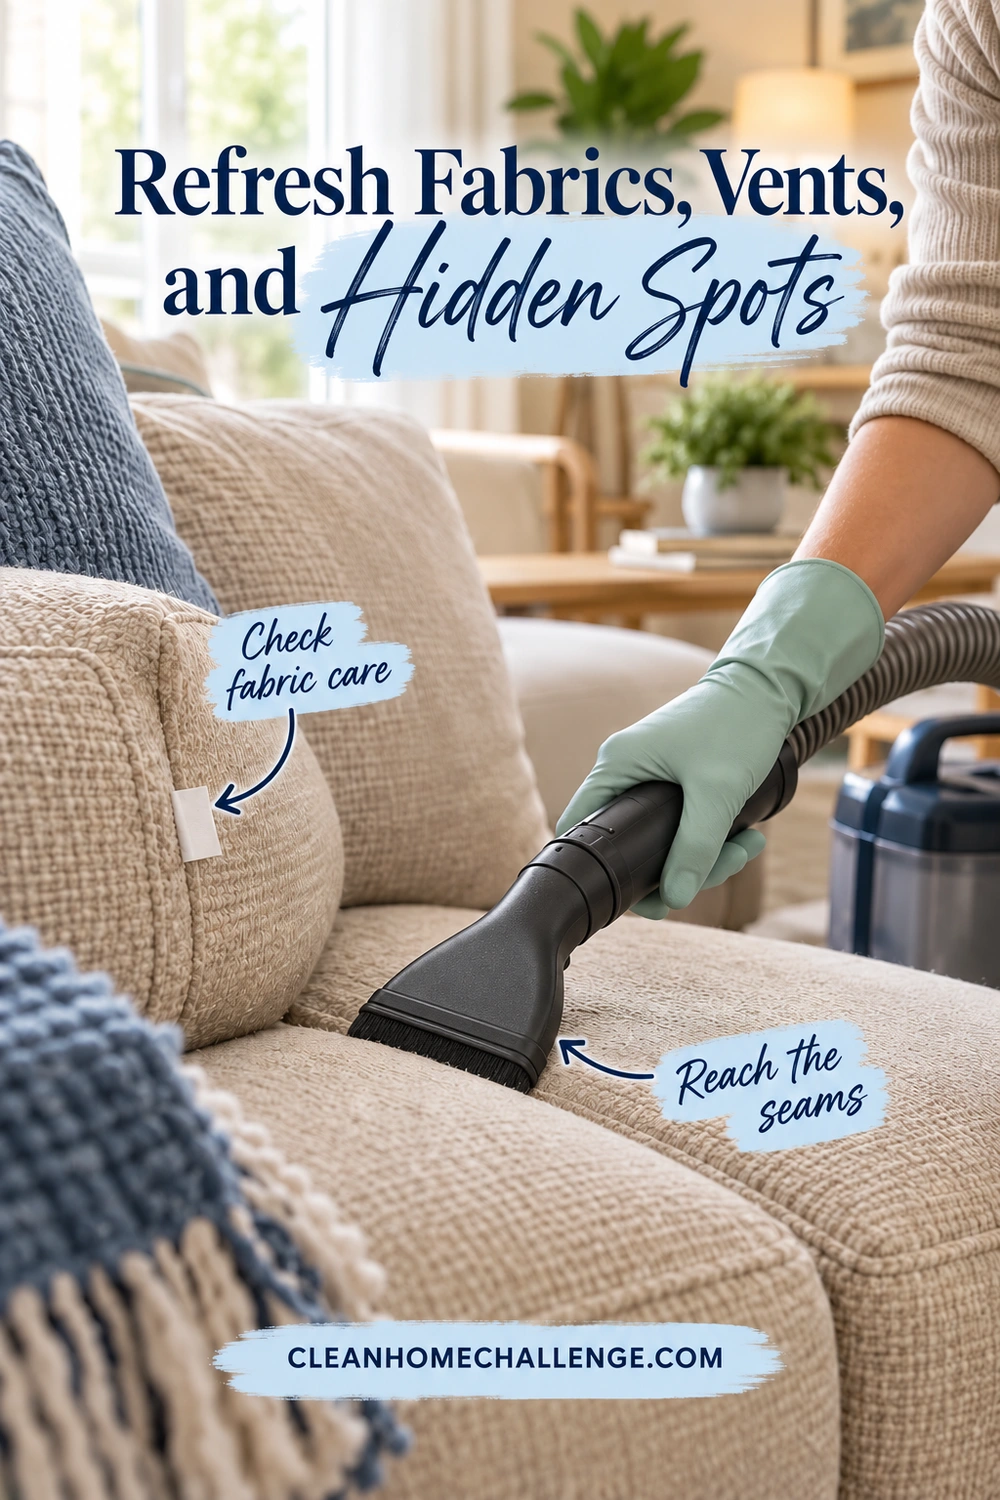
Once the hard surfaces are underway, check the places that do not catch your eye immediately. Dust left on a curtain rail, sofa seam, or drawer runner can undo part of the finishing clean when those items are moved.
Soft furnishings and laundry
Check upholstery care labels before choosing a method. Use a compatible attachment and verified dust-suitable machine for light routine residue on accessible seams and cushion surfaces where allowed. Do not beat cushions indoors or assume that a removable cover is machine washable.
La-Z-Boy’s fabric-care guidance distinguishes cleaning codes and includes fabrics that must not be treated with liquid cleaners. Follow your own furniture maker’s label rather than treating all upholstery alike. Deep contamination or unknown dust warrants professional advice before the item is used or cleaned.
For ordinary lightly dusty washable textiles, follow the textile’s care label and washer instructions. Handle them gently, avoid shaking them, and keep them separate from clean laundry until washed and dried. Do not put potentially hazardous contaminated fabrics into a household laundry load; ask the relevant professional how to handle them.
Vents and filters
Clean the accessible exterior of a grille using the permitted method, without spraying liquid into it or pushing a tool deep into the system. Follow the equipment instructions for safe access and shutdown before any filter handling. Ask the HVAC technician or contractor whether the filter needs inspection or replacement after the work, and use the correct size and a filtration level the system can support.
Do not automatically book duct cleaning because the room was renovated. EPA recommends duct cleaning only as needed, with excessive debris or particles being released from registers among the reasons to investigate. Ask a qualified provider to show you the problem and explain the proposed work.
A correctly selected air cleaner may supplement the overall plan, but it cannot collect the dust stuck on your shelves or certify that hazardous material is gone. EPA describes filtration as a supplement to source control and suitable ventilation, not a substitute.
Finally, check open shelving, the tops and edges of doors, curtain rails, accessible furniture undersides, and cabinet interiors that were exposed during construction. For electronics and appliances, follow the maker’s instructions and clean accessible exteriors only; do not spray into openings or dismantle anything to chase dust.
Use a Room-by-Room Finish Checklist
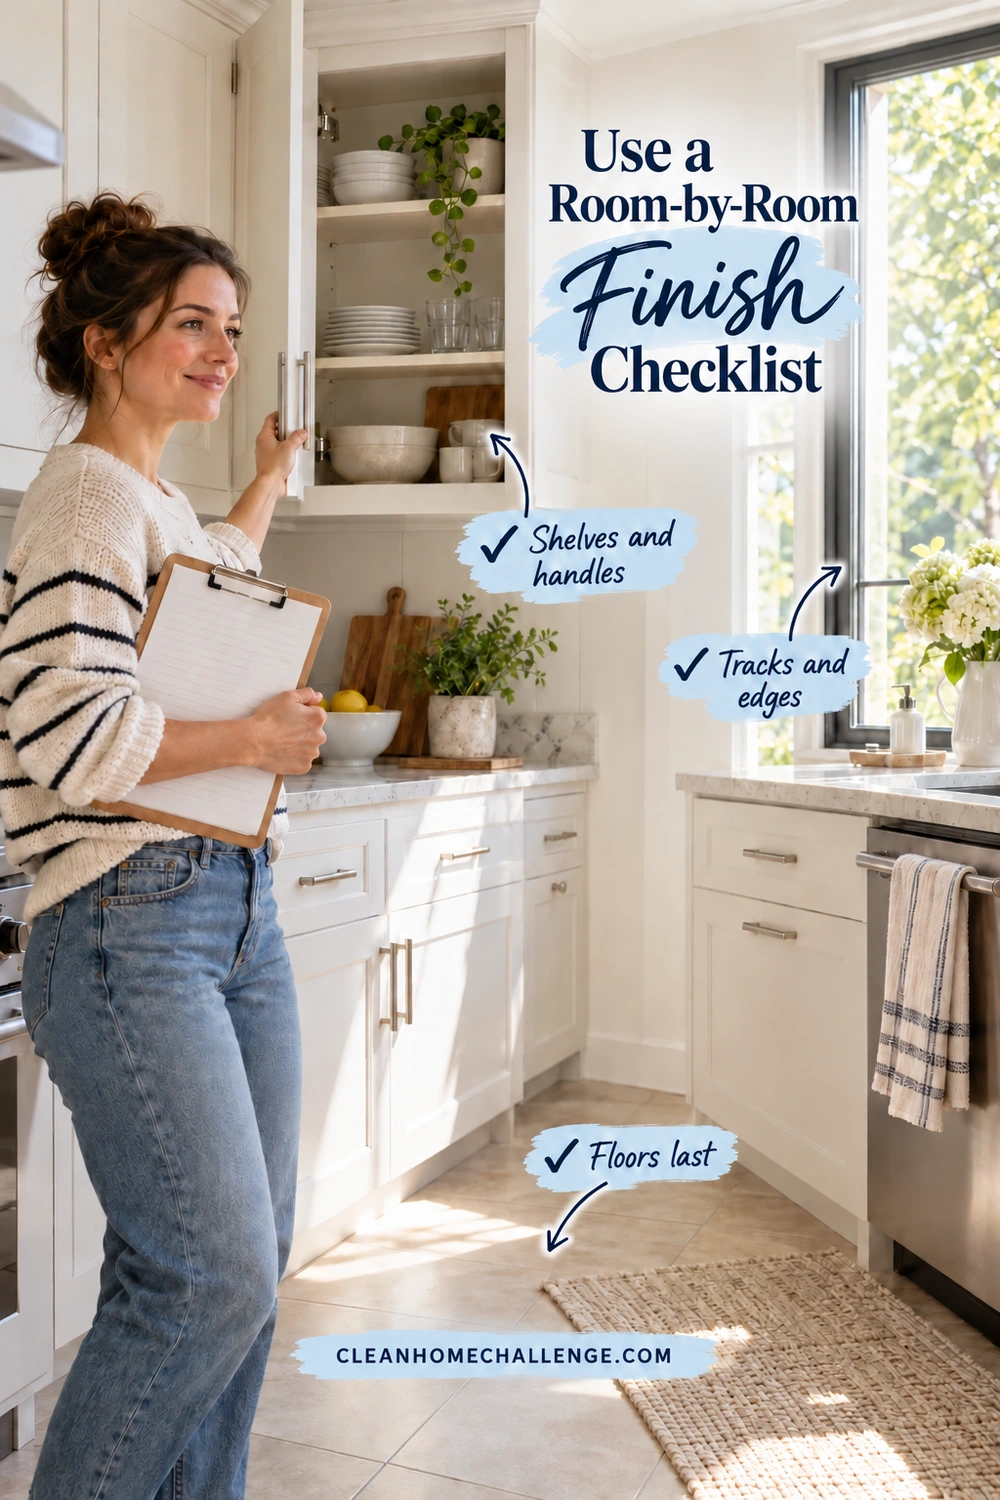
A short checklist is more useful than trying to remember every corner at the end of a tiring day. Use the relevant lines for each room and leave anything that needs the contractor on a separate list.
Kitchen or dining area
- Cabinet tops, accessible shelves, drawer interiors, and handles checked
- Countertops cleaned with the approved product and left dry as required
- Accessible appliance exteriors, backsplash edges, and window tracks checked
- Food-contact items washed according to their care instructions before reuse if exposed to ordinary dust
- Floor edges and thresholds collected, then floor cleaned and dried
Keep food off unfinished surfaces during the work. Dust removal and disinfection are different jobs; construction residue is not a reason to spray disinfectant on every surface. Deal with any separate food-hygiene need using the product’s directions.
Bedrooms and living areas
- High reachable ledges, door trim, and shelving finished
- Nightstands, tables, accessible furniture edges, and baseboards checked
- Upholstery and curtains assessed against their care labels
- Clean bedding and textiles returned only after the surrounding cleaning is finished
- Rugs and flooring handled with the correct equipment and method
Bathroom, hallway, or entry
- Fixtures, cabinet interiors, and handles checked
- New grout, silicone, sealers, and finishes left undisturbed until their care instructions permit cleaning
- Mirrors, window frames, and accessible door edges finished
- Entry mats and the walking route checked for tracked residue
- Floor left dry and clear of cords, hoses, and supplies
Before calling the room finished
Look at the reachable surfaces in ordinary light and check any suspected remaining film using the finish’s permitted method. A cloth that comes away clean is useful feedback about that surface’s ordinary residue only. It cannot confirm the absence of hazardous contamination or replace required professional verification.
Ask yourself: Is the dust source actually finished? Did I use fresh cloths and pads? Did I return a dusty object to a clean shelf? If the room quickly develops another substantial layer, document it and ask the contractor to investigate rather than accepting endless cleaning as your new routine.
Your stopping point: Finish one room’s relevant list, store the equipment safely, and close the door if needed. The next room can be a separate job.
Make the Next Clean Easier
Post renovation cleaning often works better as a sequence of manageable sessions than a single marathon. Budget according to the dust load, surfaces, and furniture rather than expecting every room to take the same time.
For a room already assessed as suitable for routine finishing work, you might use a 15- to 20-minute session for one small shelf-and-trim zone, then finish the floor in a separate session. These are pacing ideas, not promises that the room will be clean or safe within that time. Stop sooner if you are tired, equipment is not working correctly, or the task is larger than expected.
Build in a short recheck
At your next ordinary cleaning opportunity, look at the room’s ledges, floor edges, and main walking route. Collect any light routine residue with the same suitable equipment, then wipe compatible surfaces as needed. Do not wait for a particular “settling time” as an all-clear, and do not keep cleaning through repeated unexplained dust.
Keep clean replacement cloths and pads together, keep the floor-care product in its labeled original container, and save the paint and flooring instructions. Wash reusable cloths according to their labels when appropriate for the confirmed ordinary residue; handle vacuum bags and filters according to the machine’s instructions and local disposal rules. Never shake a loaded filter clean in the house.
Once the renovation residue has been resolved, return to the small habits that help your home feel comfortable: clear the main surfaces, spot-clean tracked dirt, and fold the room into your usual weekly routine. A few reachable surfaces maintained consistently are more useful than an ambitious schedule you cannot sustain.
If you would like support turning that fresh start into manageable daily and weekly routines, the Cleaners Clubhouse can be a helpful next step. The aim is a home that works for your family, with enough time and energy left to enjoy the improvements you made.


CLEANERS CLUBHOUSE
Need Help Getting Through a Proper Deep Clean?
Follow the 7-Day Deep Clean Bootcamp when your home needs more than a quick tidy. The Cleaners Clubhouse breaks the work into achievable steps with printable support and seasonal cleaning guidance.
