
THIS POST MAY CONTAIN AFFILIATE LINKS. PLEASE READ MY DISCLOSURE FOR MORE INFO.
The floor mat under your desk can collect a surprising mixture of crumbs, hair, shoe grit, and the occasional coffee drip. Wiping the bit you can see helps, but it leaves the underside and covered floor out of the routine.
To clean a vinyl desk floor mat, first check its care instructions and whether it suits the floor underneath. Move the chair, lift the removable mat without dragging grit across the floor, remove loose dirt, and gently wipe both sides using the mat maker’s approved method. Clean the exposed floor separately with its own approved products. Replace the mat only when both faces and the floor are completely dry.
This guide is for a removable vinyl or PVC floor-protection mat used beneath a desk chair. Glass mats, polycarbonate mats, cushioned standing mats, and absorbent rugs have different requirements. Allow roughly 15–25 minutes of hands-on time for an ordinary reset, with extra time for drying. That is a planning estimate, not a drying deadline.
Disclosure: This post may contain affiliate links. As an Amazon Associate, Clean Home Challenge earns from qualifying purchases. If you make a purchase through these links, we may earn a small commission at no extra cost to you. This helps us keep creating practical cleaning tips, routines and resources for busy families! 🧽
Check the Mat and the Floor Before You Start
Find the instructions for two different surfaces
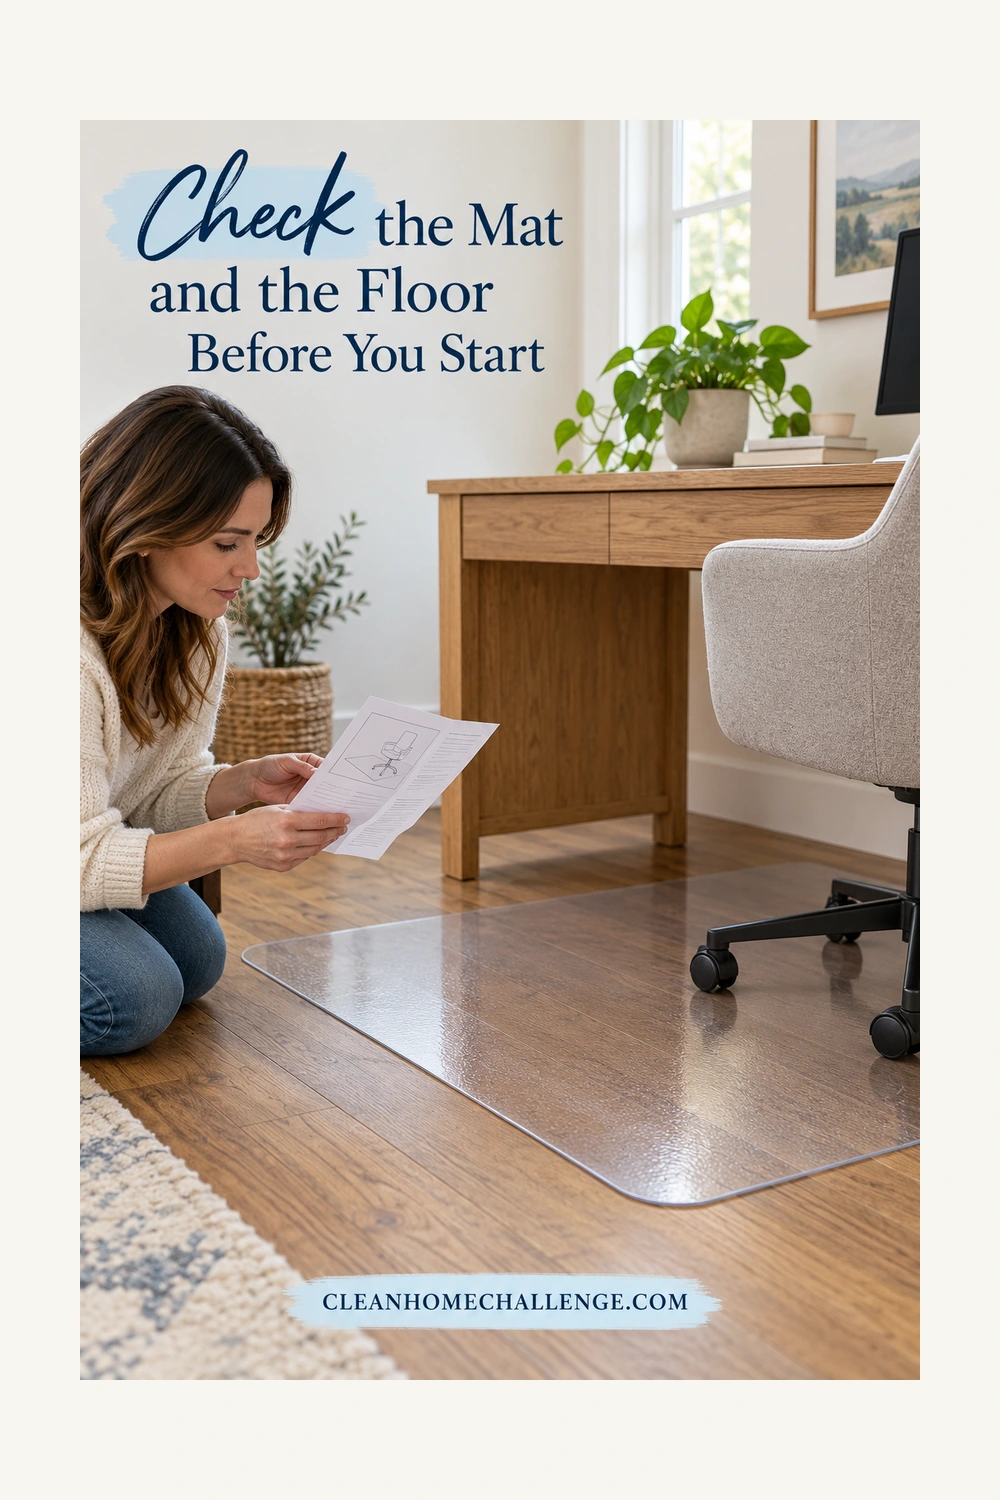
Treat the mat and floor as separate cleaning jobs. A product allowed on the mat may be unsuitable for sealed wood, laminate, carpet, or the finish underneath. Look for the mat’s label, order history, or model number, then save its care page. Check the flooring manufacturer’s instructions too.
You cannot reliably identify every clear plastic by appearance. If you cannot confirm the material, use dry dust removal while you ask the supplier for guidance. Do not try an aggressive cleaner to see what happens.
Backing matters as much as the top. A mat made for carpet may have grippers; those belong against the compatible carpet, never against a hard floor. A hard-floor mat needs the backing and grip specified for that surface. A smooth mat that slides on carpet is not made suitable by cleaning it more often.
Floortex’s care guide also identifies compatibility limits for varnished and lacquered wood. Check both manufacturers before putting a vinyl mat back on a sensitive finish. Cleaning cannot correct a material combination the manufacturers do not approve. See the Floortex selection and care guide for its product-specific guidance.
Gather a small, practical kit
- A soft brush or suitable vacuum attachment for loose dirt.
- Three clean, soft cloths: one for washing, one for removing residue, and one for drying.
- Water and, only where the mat instructions permit it, a mild soap solution.
- The floor’s approved cleaner or dry-cleaning tools.
- A clean, protected work area large enough to support the mat.
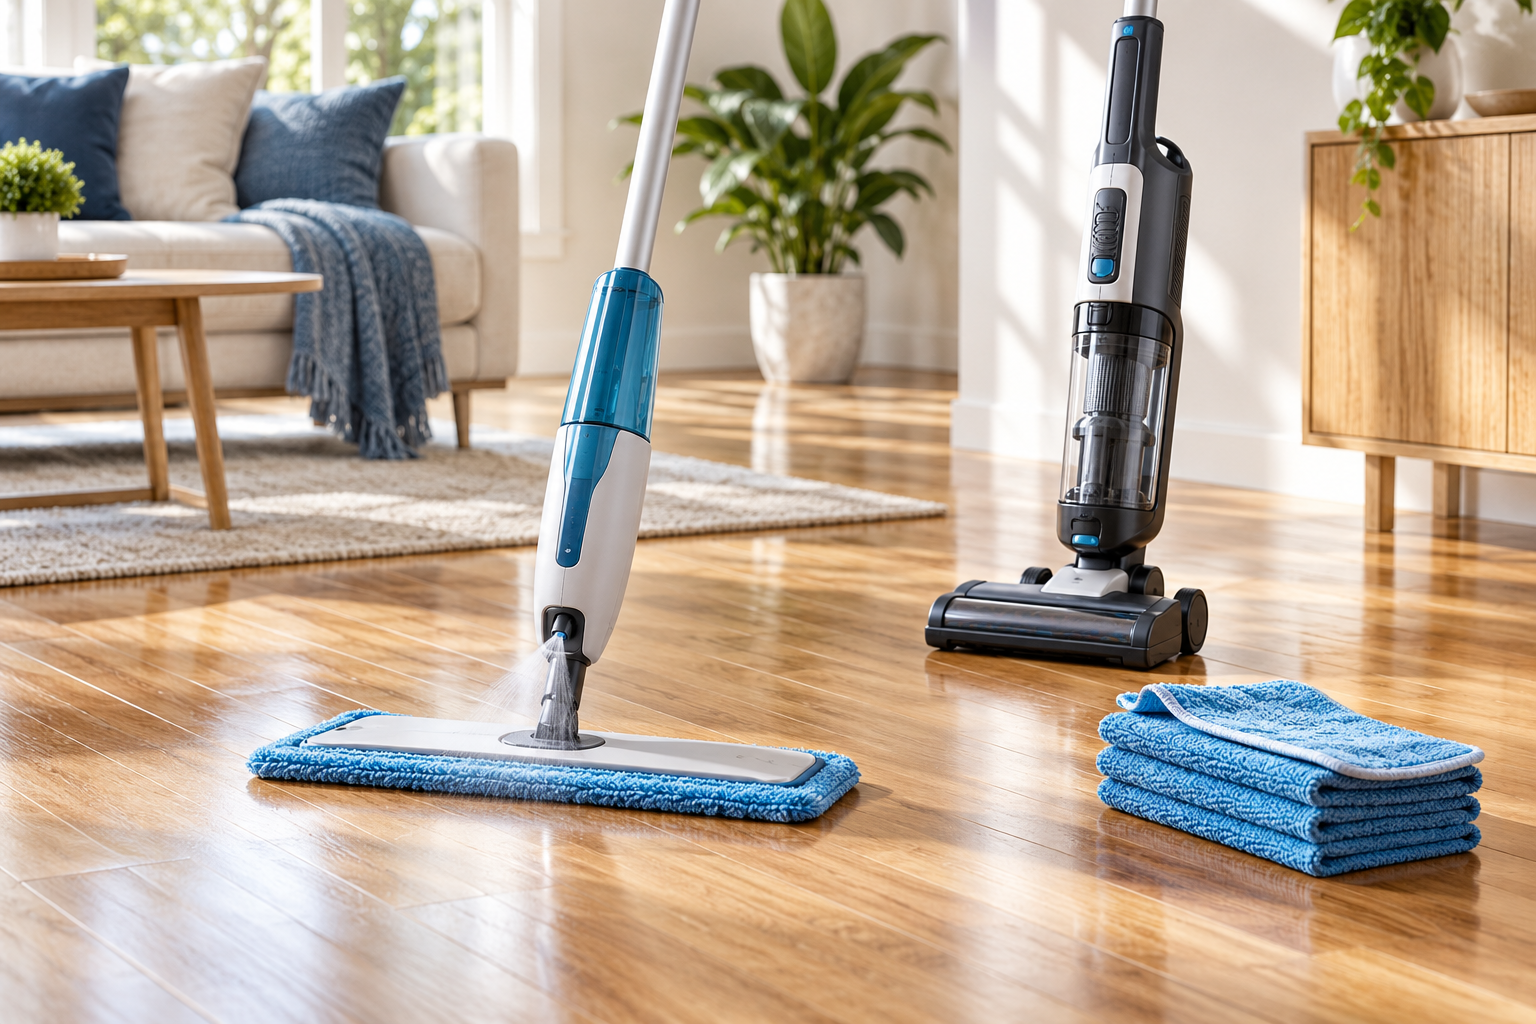
American Floor Mats recommends a mild soap-and-water wipe for its desk-chair mats. Follow your own mat’s instructions for the product and dilution; there is no universal spoonful-per-bucket recipe for every brand. You can read its desk-chair mat care advice before choosing supplies.
Make room before moving the mat
Roll the chair onto a safe, suitable surface away from your work area. Lift loose cords out of the way and keep liquids away from power strips, chargers, and computer equipment. Do not pull plugs by their cords or move a desk full of electronics just to reach one corner.
Check whether a desk leg or heavy cabinet is trapping the mat. Do not yank it free, bend a rigid sheet sharply, or try to hold furniture up while cleaning underneath. Get help with an awkward mat or leave the trapped section until the furniture can be moved safely.
Keep children and pets clear while the mat is lifted and the floor is damp. A large clear sheet can be difficult to see, especially when propped against furniture. Support it securely according to its instructions and keep the walkway open.
Remove Grit and Clean Both Sides Gently

Start with loose dirt
- Remove crumbs and grit from the top before lifting the mat. Use a soft brush or an attachment approved for the mat, avoiding a rotating brush that could mark it.
- Lift the mat carefully rather than sliding a dirty underside across the floor. Get another person to help if its size makes it hard to control.
- Place it on a clean, protected surface that will not scratch either face. Carpet grippers need particular care; do not set them onto an unprotected hard surface.
- Remove loose debris from the underside and edges. Check corners, any textured areas, and the desk-side lip where dust gathers.
A dry first pass makes the next step easier because you are lifting particles away before wiping. Do not use the same gritty cloth for the whole job. Shake debris into the bin and switch to a clean cloth face as needed.
Wipe the top, then the underside
Dampen a soft cloth with the mat’s approved cleaning solution and wring it out. Wipe a small, inconspicuous area first, let that spot dry, and check for a change in color, finish, or tackiness before continuing. This check supports the instructions; it does not make an unapproved chemical safe.
Work in manageable sections with gentle pressure. Give a sticky spot a little attention with the approved damp cloth rather than scraping it with a blade or scrubbing it with an abrasive pad. Keep moisture controlled so dirty liquid does not spill onto the floor or electrical equipment.
Turn the mat only when you can support it safely, and wipe the underside in the same careful way. Follow any separate instructions for a coating or backing. Do not scrub an anti-slip treatment as though it were ordinary dirt.
If the approved method leaves soap residue, wipe it away with a separate cloth dampened with clean water, unless the maker directs otherwise. Finish with a dry cloth. Do not leave the surface slick to make the chair roll more freely.
Leave stronger treatments out of the experiment
For an everyday reset, avoid polishing products, oils, abrasive powders, solvent cleaners, steam, and very hot water unless the exact mat instructions explicitly allow them. Do not mix cleaners. A floor restorer is not automatically a chair-mat cleaner, and glass-cleaning advice for a glass mat should not be borrowed for vinyl.
Do not take the mat outside and hose it on the assumption that more water means a better clean. That adds handling and drying problems, and it may go beyond the maker’s method. Never put it in a washing machine, dryer, or dishwasher.
Clean the Covered Floor and Let Everything Dry

Clean the space the mat was hiding
With the mat safely out of the way, remove loose debris from the exposed floor, including the line around its edges. Then use the method approved for that flooring and finish. Keep the mat cloth and the floor cloth separate so a mat-cleaning product does not end up on a sensitive surface.
For carpet, vacuum with an appropriate setting and attachment. Deal with a spill according to the carpet’s instructions, and allow any damp area to dry fully. For hard flooring, use the maker’s approved cleaner and moisture limits. Avoid pouring water onto seams or leaving a puddle while you finish another task.
For example, Karndean recommends its specified cleaner or a pH-neutral cleaner approved for vinyl flooring. That advice belongs to the flooring, not automatically to every desk mat or wood finish. Check the Karndean cleaning and care page if it applies to your floor.
If the rest of the room needs attention, use our guide to vacuuming and mopping different floors to choose a manageable routine rather than turning this small job into a whole-house clean.
Investigate marks without making them worse
| What you notice | A sensible next step |
|---|---|
| Loose grit or hair underneath | Remove it from the mat and floor before any damp wiping. |
| A slippery or streaky top after washing | Check the cleaning directions and remove permitted cleaner residue with a clean cloth. Keep the chair off until dry. |
| A cloudy area that stays after gentle cleaning | Stop increasing pressure. It may be the material’s appearance, surface wear, or a mark that needs the maker’s advice. |
| Yellowing, a tacky underside, or a changed floor finish | Keep the mat off that area and contact the mat and flooring suppliers. Do not cover the change and assume it is dirt. |
| Cracks, sharp edges, or a persistent curl | Stop using the mat until the maker advises whether replacement is needed. Do not trim or heat it as a repair. |
| Unexpected moisture underneath | Keep the area uncovered, find the source, and resolve it before replacing the mat. |
Some vinyl mats are slightly cloudy by design. Floortex notes this for its PVC mats, so perfect transparency is not a useful cleaning target. Photograph a persistent mark and record the model and products used before contacting the supplier. Avoid promising that cleaning will reverse scratches, yellowing, or finish damage.
Do a dry-and-flat check before replacing it
Dry both sides of the mat and allow remaining moisture to evaporate in a supported position allowed by its maker. Do not fold it, drape it over a heater, use a hair dryer, or leave it in strong sun to hurry the process.
Check the floor separately. It should be dry and free of loose dirt and cleaner residue before the mat returns. Do not trap a damp carpet patch underneath a clear mat just because its top feels dry.
Replace the mat the correct way up and confirm that it lies flat, the edges are sound, and it is stable on the approved floor. Bring the chair back carefully. If the mat shifts or an edge catches, stop and check compatibility or damage rather than adding tape, polish, or a homemade grip layer.
Keep the Desk Area Easy to Reset

Choose a routine you can actually repeat
Use visible dirt and your household’s habits to set the pace. A desk used for homework, snacks, and several people may need more attention than a quiet occasional workspace. The following is a starting routine, not a manufacturer requirement:
- After a spill: blot or wipe promptly with an approved method. Check whether liquid reached the edge or underside, and dry the affected surfaces.
- During your weekly floor clean: remove surface grit and check the edges. Friday floor day is an easy reminder if you follow the CHC routine.
- At a planned deeper reset: lift the removable mat safely, clean both sides and the floor, and look for moisture, wear, or a change in the finish. Adjust the interval to what you find.
If you have only five minutes, remove loose grit from the accessible top and around the edges, deal with a fresh spill, and book a time for the lift-and-clean job. Do not start damp cleaning a trapped mat when you have to return the chair immediately.
Save the instructions once
Our free desk-mat care record gives you space to note the mat model, backing, floor finish, approved products, and the result of your next underneath check. Its short checklist follows the same work order as this article, so you can keep it with your cleaning supplies or household folder.
Download the free Desk-Mat Care Record and checklist (PDF).
Write down the actual cleaner and dilution from the instructions, not just “floor spray.” That small detail helps another family member repeat the method without guessing. Record a concern when you see it; you do not need to log every crumb.
For more help fitting jobs like this into a realistic floor routine, you can explore the Cleaners Clubhouse. The free care record is yours to use on its own, and the membership is an optional next step for practical guidance, printables, and monthly challenges.
CLEANERS CLUBHOUSE
Stay on Top of Floors Without Cleaning All Day
Give your floors a focused Friday reset instead of chasing every mark all week. The Cleaners Clubhouse helps you build a realistic routine with practical guidance, printables and monthly challenges.
A desk area does not need to look untouched to be comfortable to use. A suitable mat, gentle cleaning, and a dry floor underneath give you a clear stopping point: put the chair back, clear the walkway, and get on with your day.