

THIS POST MAY CONTAIN AFFILIATE LINKS. PLEASE READ MY DISCLOSURE FOR MORE INFO.
You clear the kitchen island, turn around to make lunch, and return to a school form, two water bottles, a charger, and yesterday’s mail. A flat surface is convenient. It offers somewhere to put a thing before you have decided what happens next.
If you’re wondering how to keep counters clutter free, start by protecting the space you use, giving returning items easy-to-reach homes, and clearing up at the end of an activity. You can keep a coffee maker, a fruit bowl, or a favorite lamp. The useful question is whether you can use the surface without moving a collection of unrelated things first.
This approach works for kitchen counters, the dining table, coffee tables, and other everyday surfaces. Choose one to begin with. You’ll make a few practical decisions, try a short reset, and adjust any storage that proves awkward. There is no need to empty every cabinet or buy a matching set of baskets.
Disclosure: This post may contain affiliate links. As an Amazon Associate, Clean Home Challenge earns from qualifying purchases. If you make a purchase through these links, we may earn a small commission at no extra cost to you. This helps us keep creating practical cleaning tips, routines and resources for busy families! 🧽
Start With One Useful Surface
Choose the surface whose clutter causes the most repeated inconvenience. Perhaps you move mail before chopping vegetables, eat around craft supplies, or balance your mug beside a pile of toys. Start where a little space would make the next part of your day easier.
Give that surface a clear job: “Prepare sandwiches here,” “Eat dinner here,” or “Put down a drink and the remote here.” In a multipurpose room, the job can change throughout the day. Aim to make the surface available when its next job begins.
Allow about 10 to 15 minutes for a first pass over a modest pile. That is a planning estimate, not a deadline. A large collection of paperwork may need a separate session. Gather a small carrying basket, a trash bag, recycling, and a clean cloth with a cleaner suitable for the surface. Use containers you already own.
Work on one section at a time:
- Remove obvious trash and recycling. Check papers before discarding them, and keep private documents aside for secure disposal.
- Take dishes and food to their proper places. Put perishable food away promptly; don’t leave it waiting while you organize.
- Return items with known homes. Carry them together when practical, then put them away rather than unloading them onto another table.
- Separate the items without homes. Keep this small group in view while you decide where each category belongs.
- Clean the exposed surface appropriately. Let it dry before replacing items.
Avoid emptying a drawer onto the newly cleared patch “while you’re here.” That creates a larger job and uses the space you just recovered.
For a coffee table, the first result might be a remote in a shallow tray, one book you are reading, and enough open room for drinks. For a crowded counter, it may be a clear cutting-board-sized area with room to work safely around it. A useful improvement counts even when the rest of the room is busy.
Only five minutes available? Remove trash, carry dishes away, and clear the patch needed for your next task. Save the harder storage decisions for a named time you can realistically keep.

Give Everyday Items a Nearby Home
Look at what repeatedly returns to your chosen surface. Those items give you better information than a picture of someone else’s perfectly styled room.
Ask four questions about each category: Where do we use it? Who needs to reach it? How many steps does putting it away take? Is there actually space in its current home? A charger that belongs upstairs may keep returning to the place where a phone gets charged. A homework pencil will rarely stay in a supply box buried underneath board games.
Move the home closer to the activity where possible. Try a small drawer section for charging accessories, a pencil cup inside the homework caddy, or a shelf beside the table for current projects. Everyday storage should be reachable by the people using it, with dangerous items kept safely out of children’s reach.
If a drawer is too full, work on just that drawer or the relevant category. Remove obvious duplicates you no longer want, relocate rarely used items, and make enough room to put daily things away comfortably. You do not need to reorganize the whole kitchen to make a home for three charging cables.
Choose a container that does one useful job
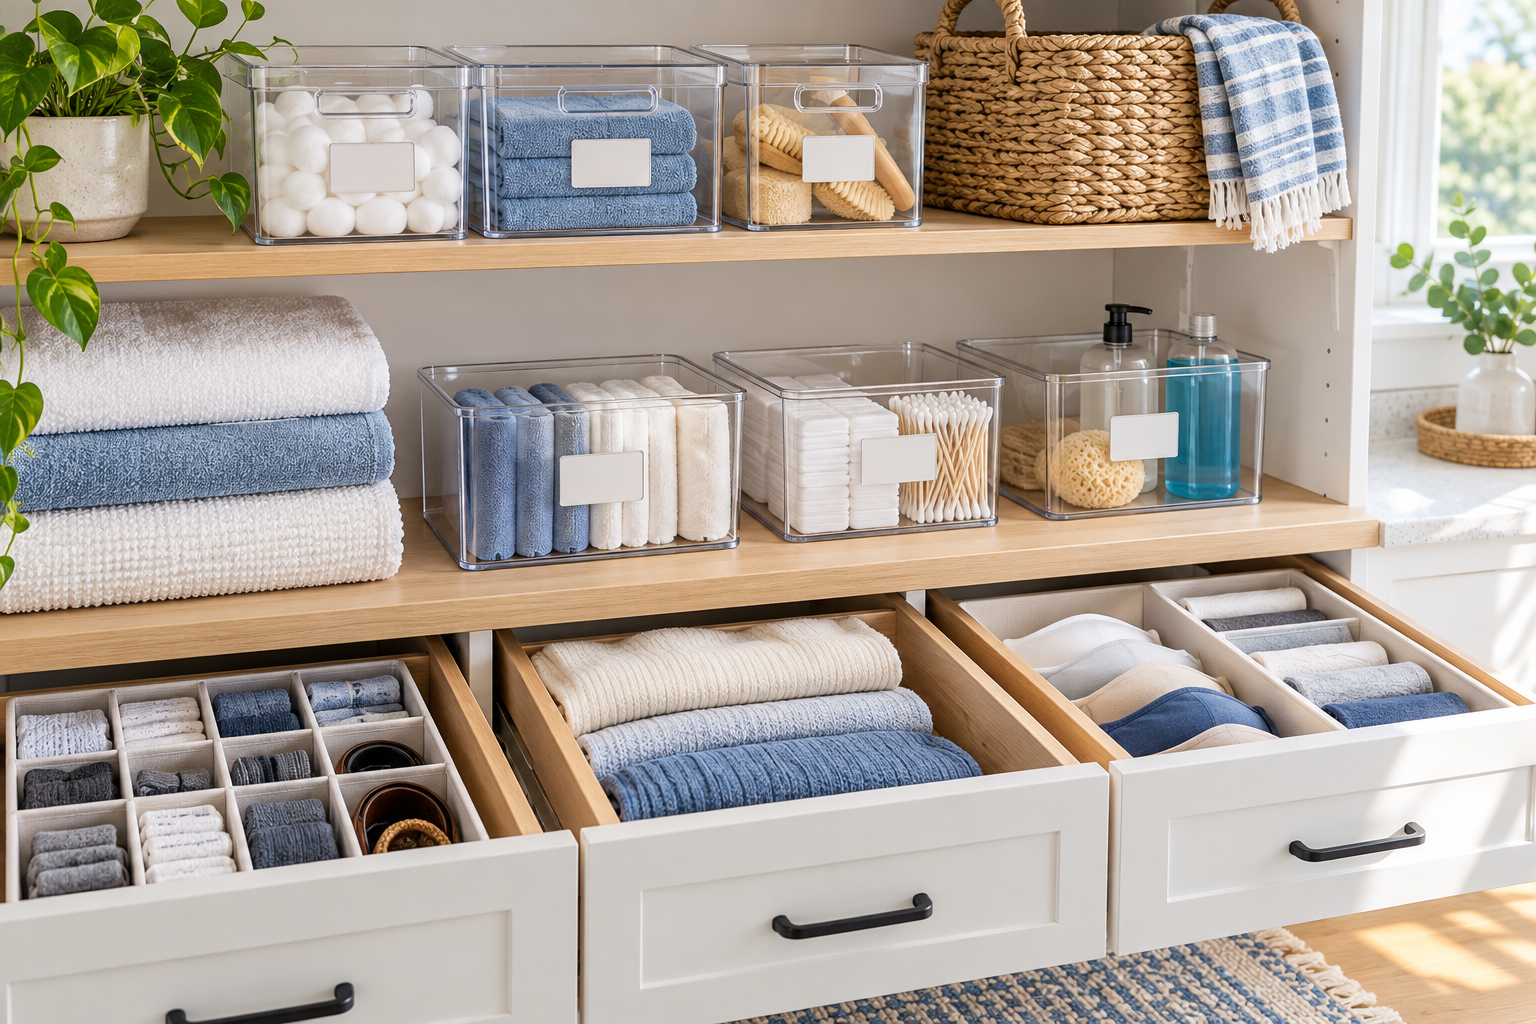
A tray works well for a small collection that belongs together and needs to lift off a surface for cleaning. A handled basket can carry belongings back to their rooms. A shallow folder holder can keep current paperwork upright. Choose a size that fits the available space without blocking the surface’s main job.
Use these practical boundaries:
- Keep one clear category in each container, such as remotes or current homework supplies.
- Avoid stacking daily containers beneath other containers.
- Choose a smooth, stable base that won’t scratch the furniture; lift rather than drag it.
- Empty a return basket at the end of the trip instead of leaving it as a permanent mixed pile.
- When a tray overflows, review its contents before buying a larger one.
A basket is helpful when you know what happens to its contents next. “Put this somewhere” is harder to follow than “Return these books to the living-room shelf.” For items belonging to someone else, ask before donating, discarding, or changing important storage.
You can also leave useful things visible. An open bin or an easy-to-read label may suit your household better than a lidded box inside a cabinet. Try the simplest version for several days and notice whether people actually use it. The best location is one your household can keep returning to with little effort.

Keep Kitchen Counters Ready to Use
Start by choosing a food-preparation area you want to keep available. It should have enough space for your usual cutting board, ingredients, and safe working movements. The exact amount depends on the kitchen and the person using it. Avoid solving a crowded counter by moving the cutting board onto the stovetop.
Now review the objects that stay on the counter. A regularly used appliance can earn its place, especially if it is heavy or difficult to lift. Ask whether an item supports daily cooking, whether it has a safe location, and whether moving it would make life harder. You do not have to tuck away a stand mixer you cannot comfortably retrieve.
For lighter, infrequently used equipment, check for an accessible storage space before moving it. A waffle maker used occasionally might go on a suitable cabinet shelf; an everyday coffee maker might stay where its instructions allow. Take the appliance’s weight, shelf capacity, cords, ventilation, and required clearances into account.
Keep storage and operating space separate
A convenient storage nook is not automatically a safe place to run an appliance. Follow the manual for your exact model. For example, the Breville Mini Smart Oven manual specifies operating clearances and advises against placing that oven in enclosed areas because of its high temperatures. Check the requirements for your appliance rather than borrowing another model’s measurements.
For countertop cooking appliances, follow the manufacturer’s shutdown, cooling, cleaning, and storage instructions. Keep vents clear, route cords away from hot surfaces and edges, and avoid balancing extra objects on top. Don’t relocate a hot appliance during a quick reset.
Leave combustible clutter away from the stove. The National Fire Protection Association’s cooking guidance identifies items such as packaging, towels, and wooden utensils as things to keep away from the stovetop. A paper tray or decorative woven basket belongs elsewhere.
Finish with a surface-safe clean
An empty counter still needs cleaning. Remove crumbs, then use the method recommended for the material and finish. Check the cleaner label as well as the counter manufacturer’s care instructions; test a permitted new product in an inconspicuous spot when advised.
- Natural stone: use stone-compatible care. The Natural Stone Institute cautions that acidic products, including vinegar and lemon, can damage susceptible stone. Avoid treating a homemade vinegar spray as an all-purpose option.
- Laminate: Formica’s routine care guidance recommends a soft, nonabrasive damp cloth and mild cleaner, followed by a clean-water rinse and drying. Follow your own product’s instructions.
- Wood and specialty finishes: check the specific care guide before wet cleaning, scrubbing, or applying a product. A technique suitable for one finish may damage another.
For food preparation, clearing objects does not replace food-safety cleaning. After raw meat, poultry, or their juices contaminate a counter, the CDC recommends cleaning and then sanitizing the affected surface. Use a product suitable for that surface and food-contact use, following its dilution, contact-time, rinse, and drying directions. Routine cleaning, sanitizing, and disinfecting serve different purposes.
Never mix cleaning products, especially bleach with vinegar, ammonia, or another cleaner. Follow label directions for ventilation and protective equipment, and keep supplies away from children, pets, and food. There is no need to add a disinfecting step merely because you moved a stack of mail.

Reset the Dining Table After Each Activity
A dining table may handle breakfast, homework, a work call, crafts, and dinner on the same day. Expecting it to remain untouched can make the household routine harder. Instead, plan how one activity ends and the next begins.
For homework, keep the materials in one portable caddy or bag. When the work is finished, completed papers go where they are needed next, supplies return to the caddy, and the caddy returns to its shelf. A single carrying container can save several trips without turning the table into permanent storage.
For a project that needs to stay assembled, use a suitable rigid tray or board you can move safely. Check that it fits its temporary storage location before you start. Heavy, fragile, wet, or hot projects may need a different arrangement; don’t promise that every activity can be packed away in seconds.
Agree on when the table needs to be ready. “Let’s put the craft supplies away before we start dinner” is easier to act on than repeated requests to keep everything tidy. Give children an age-appropriate role, and allow time for adults to close a laptop or finish a step safely.
Try a simple activity-to-meal transition:
- Put unfinished work into its agreed container or location.
- Return loose supplies and remove dishes, food, and trash.
- Clean the table using the finish manufacturer’s directions.
- Let the surface dry, then bring out what the meal needs.
Keep any centerpiece small enough to move easily. If decorative objects make every meal a rearranging exercise, try displaying fewer for a week. You can bring back the pieces you miss without filling every open area.
For finished wooden furniture, avoid soaking the surface. For example, IKEA’s INGATORP table care sheet specifies a cloth dampened with mild cleaner followed by drying with a clean cloth. Follow your table’s own guidance, especially for oiled, waxed, antique, or delicate finishes.
If the table remains your only work area, aim for a reliable transition at mealtime rather than an all-day empty-table rule. A surface that can change jobs smoothly is doing useful work for your family.

Contain Paperwork Before It Spreads
Paper tends to stay on a counter because it represents a decision: sign this, pay that, remember an appointment, or decide whether to keep it. A neat stack may look better for a day, but the decisions are still there.
Choose one modest paper station away from food preparation, splashes, and heat. An existing drawer, vertical file, or tray can work. Keep active papers accessible to the people who need them while protecting private information from casual view.
Sort incoming paper into three next steps:
- Act: something needs a response, payment, signature, or other action.
- Keep: the document has an identified reason to stay and an appropriate filing place.
- Let go: it can be recycled or securely destroyed once you have checked it.
Avoid using this quick sort to make uncertain legal, tax, medical, or financial retention decisions. Put those documents somewhere secure until you can check the applicable requirements. Don’t discard an original simply because you took a photo.
For each action paper, identify what needs doing and when. Add the deadline to your usual calendar or task list, then keep the paper in the action location. An appointment card becomes more useful after the date is recorded; leaving it beneath a magazine makes it easier to overlook.
Choose a short, repeatable review point, such as after dinner on a quieter weekday. Check for urgent deadlines when new papers arrive; a weekly review is too late for a form due tomorrow. During the review, complete manageable actions, plan larger ones, and file or discard papers that no longer need attention.
Let the container’s size act as a reminder. When the tray is nearly full, review it rather than starting a second pile beside it. If the same types of documents keep overflowing, give those papers a clearer next step or a better filing location.
For artwork and sentimental paper, make decisions separately when you have time. You can designate a limited display area and a storage folder, then choose favorites together. The goal of the everyday reset is to recover the table, without rushing meaningful decisions or hiding important paperwork.

Share a Five-Minute Evening Reset
A short reset works best when everyone knows what “finished” looks like. Choose a consistent cue, such as after the dinner dishes or before the household settles into the evening. Five minutes is a useful limit for a small maintenance job; it is not a promise that any amount of clutter disappears that quickly.
Start with the surface that matters most tomorrow. If breakfast feels rushed, protect the breakfast-preparation area. If someone needs the table for work early, make that the priority.
Divide clear, manageable tasks rather than having one person direct every object. One adult might handle dishes while another returns loose belongings. Children can put safe, familiar items into reachable homes with suitable supervision. Keep cleaning chemicals, sharp objects, hot appliances, and breakables with the adults responsible for them.
Use this mini checklist:
- Dishes and food have gone to their proper places.
- Loose belongings have returned to their homes.
- Papers are in the action or filing location, with urgent dates noted.
- Active projects are safely parked for next time.
- The needed counter or table area is clean, dry, and ready to use.
A return basket can make the loose-item step easier. Carry a manageable load around the rooms, putting things away as you go. Empty the basket before putting it back. Keep it off stairs and out of walkways, and avoid combining drinks, fragile pieces, and small toys in one hurried armful.
Use a smaller version on tired nights
When energy is low, prioritize food, spills, immediate hazards, and enough clear space for the next essential task. Move one small group of belongings to a safe, agreed temporary place if you cannot finish putting them away. Choose when to return to it; leave urgent papers visible to the responsible adult without spreading them across the food-preparation area.
If the reset repeatedly takes much longer than five minutes, reduce the area or adjust the storage. You may be asking a brief routine to handle several days of decisions. Start with less and build a rhythm your household can realistically repeat.

Make Clear Surfaces Easier to Maintain
After a week, look at what came back. Repeated clutter gives you a specific problem to solve. You do not need a stricter rule for the whole house every time one category returns.
If cups collect beside the sofa, add returning them to the evening transition. If paperwork spreads despite the tray, review whether anyone knows what needs action. If craft supplies never reach their shelf, check whether the shelf is too full, too high, or too far from the table.
Make one change and test it. An open container may be easier than a lid. A lower shelf may make safe supplies reachable. A smaller display may make wiping the coffee table simpler. Keep arrangements that help, and change those that add unnecessary steps.
Once a week, take a few extra minutes to lift trays, remove crumbs underneath, and review anything lingering in a temporary container. Use the appropriate cleaning method and dry the surface before putting items back. Check that cords, vents, and stove-adjacent areas remain clear rather than gradually filling with extras.
Before buying another organizer, write down the problem it must solve. Measure the available space, check what needs to fit, and consider using an existing container first. If you still cannot return the items easily, reducing the quantity may help more than adding another layer of storage.
Allow the system to change with family life. A table used for school projects this month may need a different arrangement during holidays. Guests, illness, busy workweeks, and changing abilities can all affect what is realistic. Return to one useful patch when routines slip, then rebuild from there.
You can begin today with three decisions: which surface you want to use more easily, which recurring items need nearby homes, and when you will do a short reset. Clear that first space, use it, and give yourself permission to stop. The next meal, project, or quiet cup of coffee is the reason for doing this.

CLEANERS CLUBHOUSE
Ready to Clear the Clutter One Step at a Time?
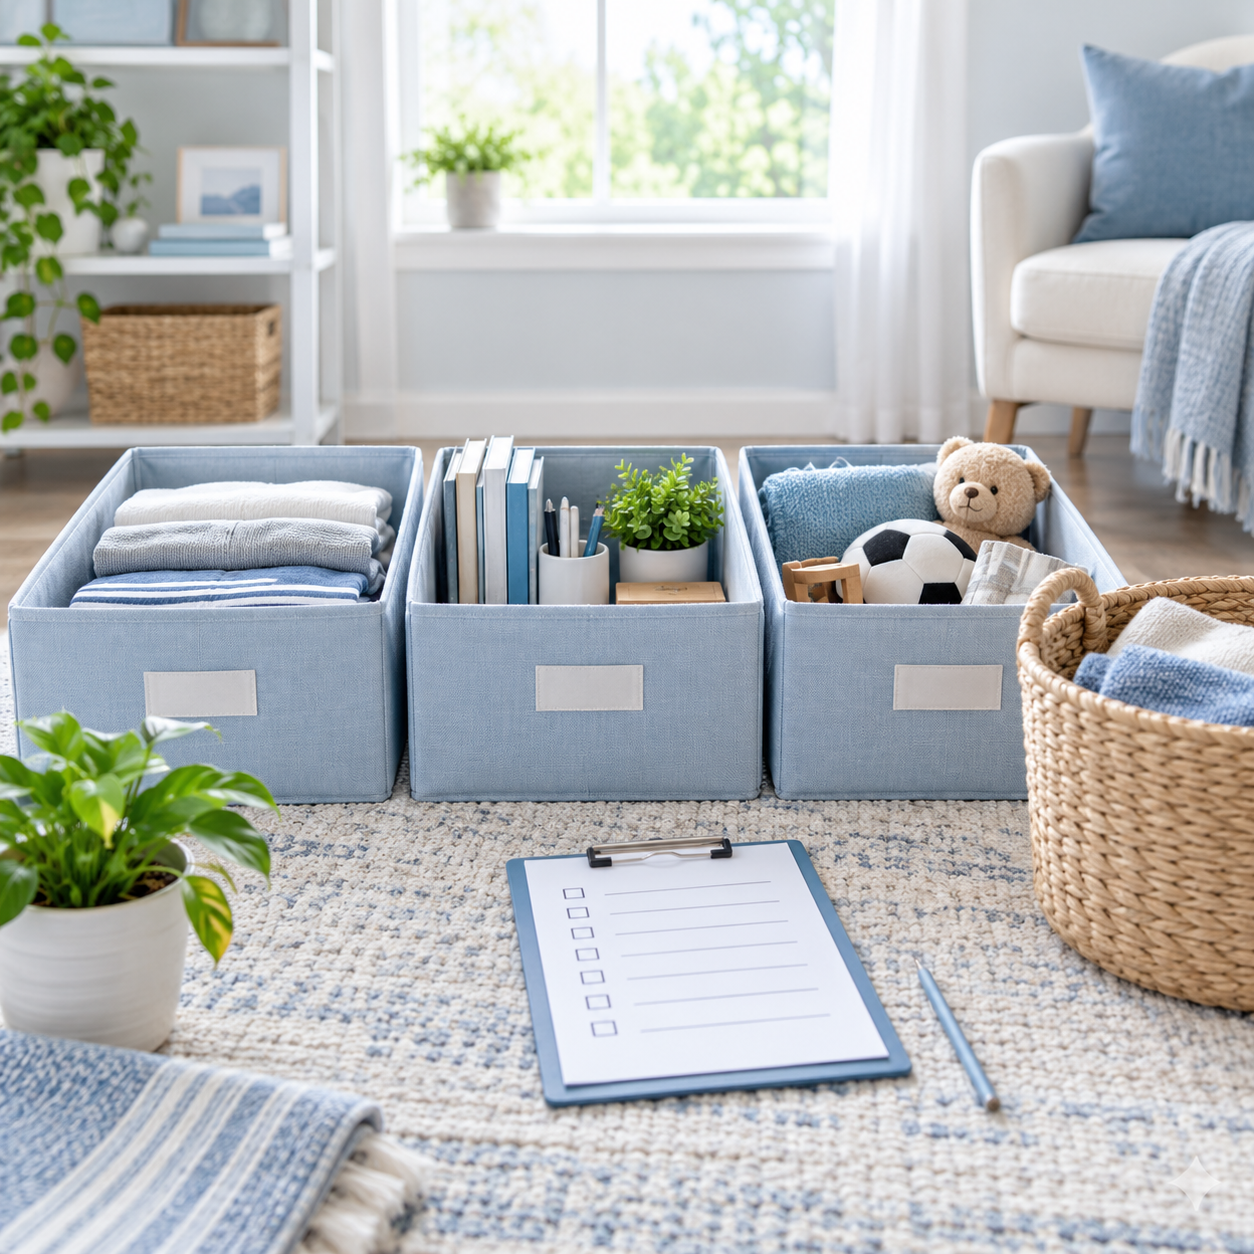
Join the 30-Day Declutter Challenge and work through your home in small, achievable steps. The Cleaners Clubhouse includes the plan, printable support and encouragement to help you keep going.
