
THIS POST MAY CONTAIN AFFILIATE LINKS. PLEASE READ MY DISCLOSURE FOR MORE INFO.
A white school shirt can look tired long before it wears out. Socks turn gray, collars collect a yellow edge, and the white top that looked bright in the store seems dull beside something new. It is tempting to add a stronger product to every load. Often, the more useful starting point is to work out what changed.
To keep white clothes white, wash them in compatible white loads, treat visible stains, measure a suitable detergent, and follow each garment's washing and drying instructions. Use a whitener only when both the fabric and the product label allow it. White is a color, not a guarantee that a garment tolerates bleach or high heat.
This guide helps you choose a safe next step for everyday washable whites. It includes a manageable wash routine and ways to investigate dullness without filling the laundry room with half-finished rescue projects. You can start with the white clothes your family needs tomorrow; an empty hamper is not the goal.
Disclosure: This post may contain affiliate links. As an Amazon Associate, Clean Home Challenge earns from qualifying purchases. If you make a purchase through these links, we may earn a small commission at no extra cost to you. This helps us keep creating practical cleaning tips, routines and resources for busy families! 🧽
Check What Your White Clothes Can Tolerate
Read the care label before choosing a temperature, cycle or stain treatment. Check the fiber content as well as the washing, bleaching and drying instructions. A plain-looking shirt can contain stretchy fibers or have trims that need different care from a sturdy cotton towel.
The American Cleaning Institute's bleach guidance explains that fiber content, finishes and decorations affect bleach suitability. That includes considerations for wool, silk, spandex and flame-resistant children's sleepwear. Do not treat a white background as permission to bleach an entire garment.
Make three practical decisions
Before the first wash of an unfamiliar item, decide:
- How it can be washed. Is it machine washable, hand wash only, or professionally cleaned? A gentle cycle does not override a hand-wash instruction.
- Which treatments it permits. Check whether any bleach is allowed, whether only non-chlorine bleach is allowed, or whether bleach is prohibited. Look up an unfamiliar symbol rather than guessing.
- How it must dry. Set aside anything requiring flat drying, hanging or a different dryer setting. Washing and drying instructions are separate decisions.
The Whirlpool care-symbol guide can help you interpret the symbols. Keep the actual garment instructions in charge, especially for an item with contrasting embroidery, a print or delicate elastic.
If a label is missing, search the manufacturer's information for the exact item. If you cannot establish a suitable method, hold that garment out of the ordinary load and ask the maker or a fabric-care professional. Guessing with a strong whitener can turn a small uncertainty into permanent damage.
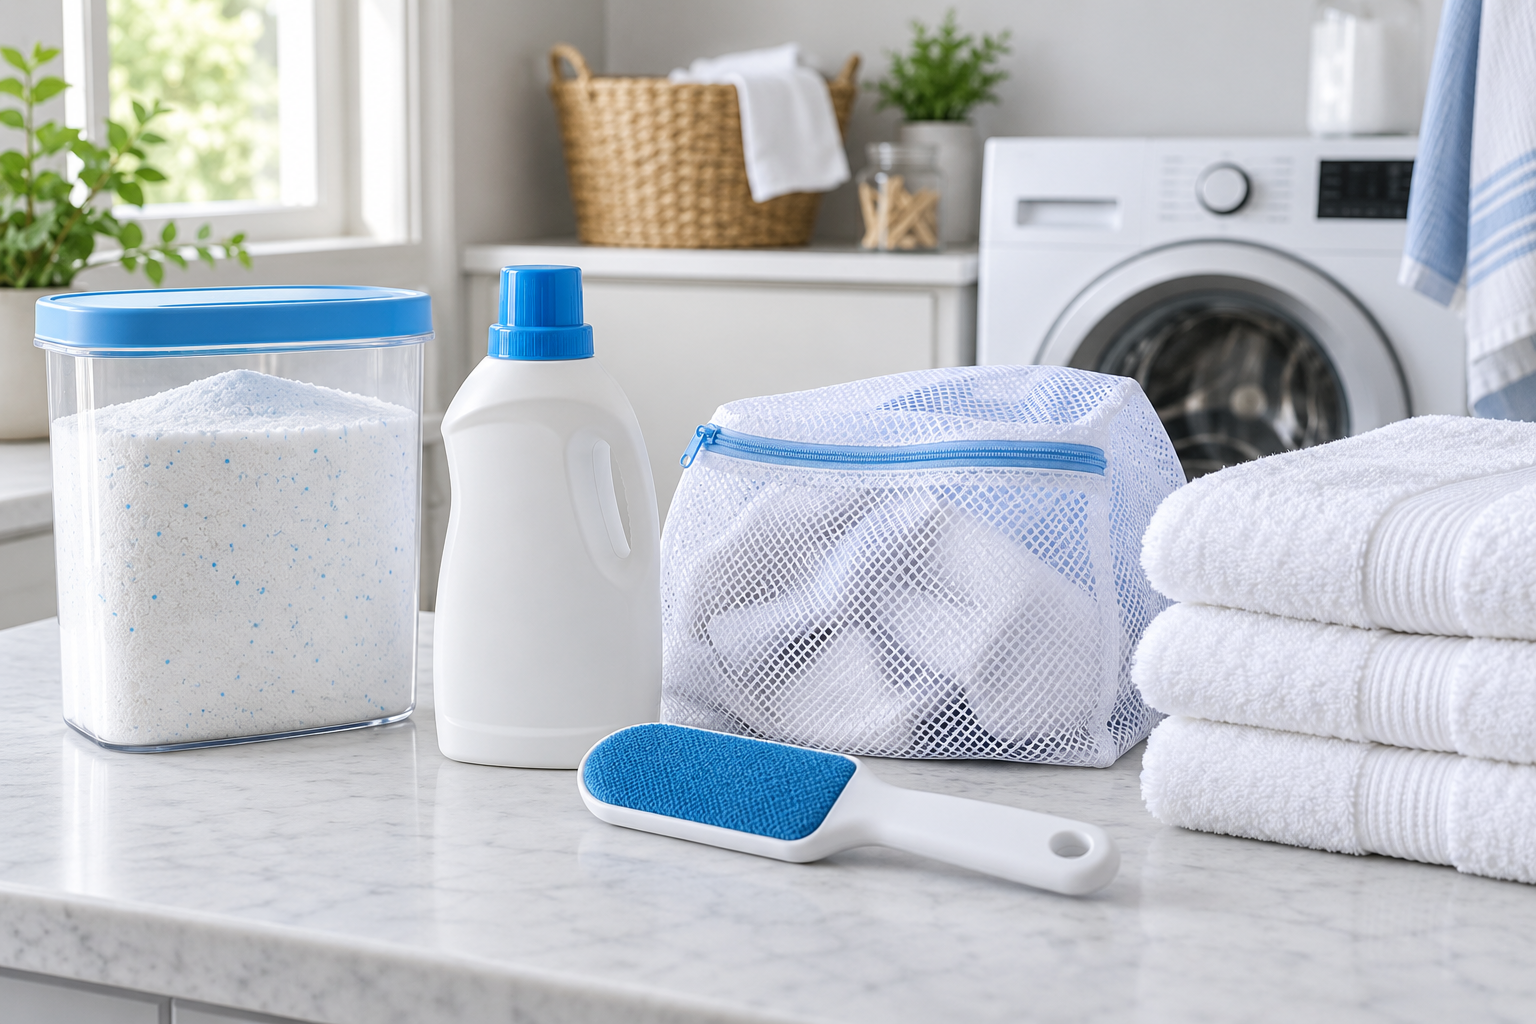
Keep the supplies modest: your existing laundry baskets, a suitable detergent, a compatible stain treatment if needed, and a clean drying space. A whitener is optional. You do not need detergent, bleach, vinegar and several boosters lined up to make this routine work.
For special-care white wool or silk, follow their own instructions and use products permitted for those fabrics. They should not enter an everyday whitening soak simply because the other clothes in it are white.

Sort Whites Into Compatible Loads
Separate all-white laundry from colored clothes, particularly new garments and items that have released dye before. Then sort the white group by care needs, fabric weight and soil. Whites are a starting category rather than one automatically compatible load.
The American Cleaning Institute's Laundry Basics recommends separating loads by color, washing requirements and soil. It also distinguishes lint-shedding items from clothes that collect lint. Use those checks to build useful groups without making a permanent pile for every shade or garment.
Match the treatment, not just the color
Think of three familiar items: a white cotton shirt, a white lace blouse and a white bath towel. They might all be bright white, but the blouse may require a gentler method, while the towel is heavier and may shed lint. Compare their labels before combining them.
A workable grouping might be everyday white shirts together, suitable towels together, and special-care clothing separately. Your household may have different regular loads. The important question is whether the pieces can share the same washing treatment without sacrificing one item's care needs.
Remove heavily soiled items from a lightly worn load. Muddy socks may need loose debris removed and stain attention before washing. Do not add them to office shirts just to make the basket look full. Also check pockets, close fastenings as the garment instructions suggest, and identify anything that needs a different drying step.
When there are only a few whites
If the items are dry and can wait, collect compatible companions before washing. If a uniform is needed tomorrow, use the washer's guidance for a small load instead of adding a risky colored item. Avoid overfilling the drum; basket capacity does not tell you the machine's permitted load.
A mostly white garment with colored stripes, logos or trims deserves its own check. Follow its care label and any separate-washing instruction. A color-catching sheet is not a reason to ignore a known dye problem or to test a new red garment against your family's whites.
For mixed baskets, use the same simple sorting order each time: labels, color risk, compatible fabrics, then soil.

Treat Stains Before They Set
Check collars, cuffs, underarms and visible marks before the wash starts. A stain concentrated in one place needs different attention from dullness across an entire shirt. Giving the affected spot a suitable treatment can be more useful than adding a whitener to everything in the drum.
Identify the likely mark before choosing a product. Food, makeup, body soil, dye transfer and rusty discoloration are not interchangeable problems. Follow garment and stain-product directions, including any test on an inconspicuous area, contact time, rinsing and restrictions. Do not scrub fragile fibers aggressively or let a treatment dry on the fabric unless its instructions say to do so.
A manageable stain-check sequence
- Spread the garment on a clean, suitable surface and locate the mark.
- Check that the selected stain treatment is allowed for the fabric and any trims.
- Apply it as directed, with the recommended protective equipment if required.
- Keep treated items away from children and pets while you wait for the specified time.
- Wash using the garment's permitted method, then inspect the result before drying.
The American Cleaning Institute's laundering troubleshooting guide advises addressing remaining stains before heat drying. Keep that checkpoint in the routine even when the wash cycle has finished and you are rushing to start dinner.
For a remaining mark, reassess the method rather than immediately repeating a stronger treatment. If the fabric has become thin, rough, stretched or discolored from treatment, stop. A garment that has been damaged cannot always be restored with another product.
Keep stain treatment from becoming a new backlog
Set aside only the pieces you can realistically process. An open soak bucket or a shirt covered in treatment should not become an unattended household hazard. Choose a time when you can follow the full product directions and finish the wash afterward.
On a busy day, prepare the one shirt that is needed next and leave other dry items in a clearly identified check-first place. A note such as “collar needs treatment before wash” makes the task easier to share. Do not leave damp or treated clothing in a closed hamper while waiting for a catch-up day.

Wash With the Right Dose and Cycle
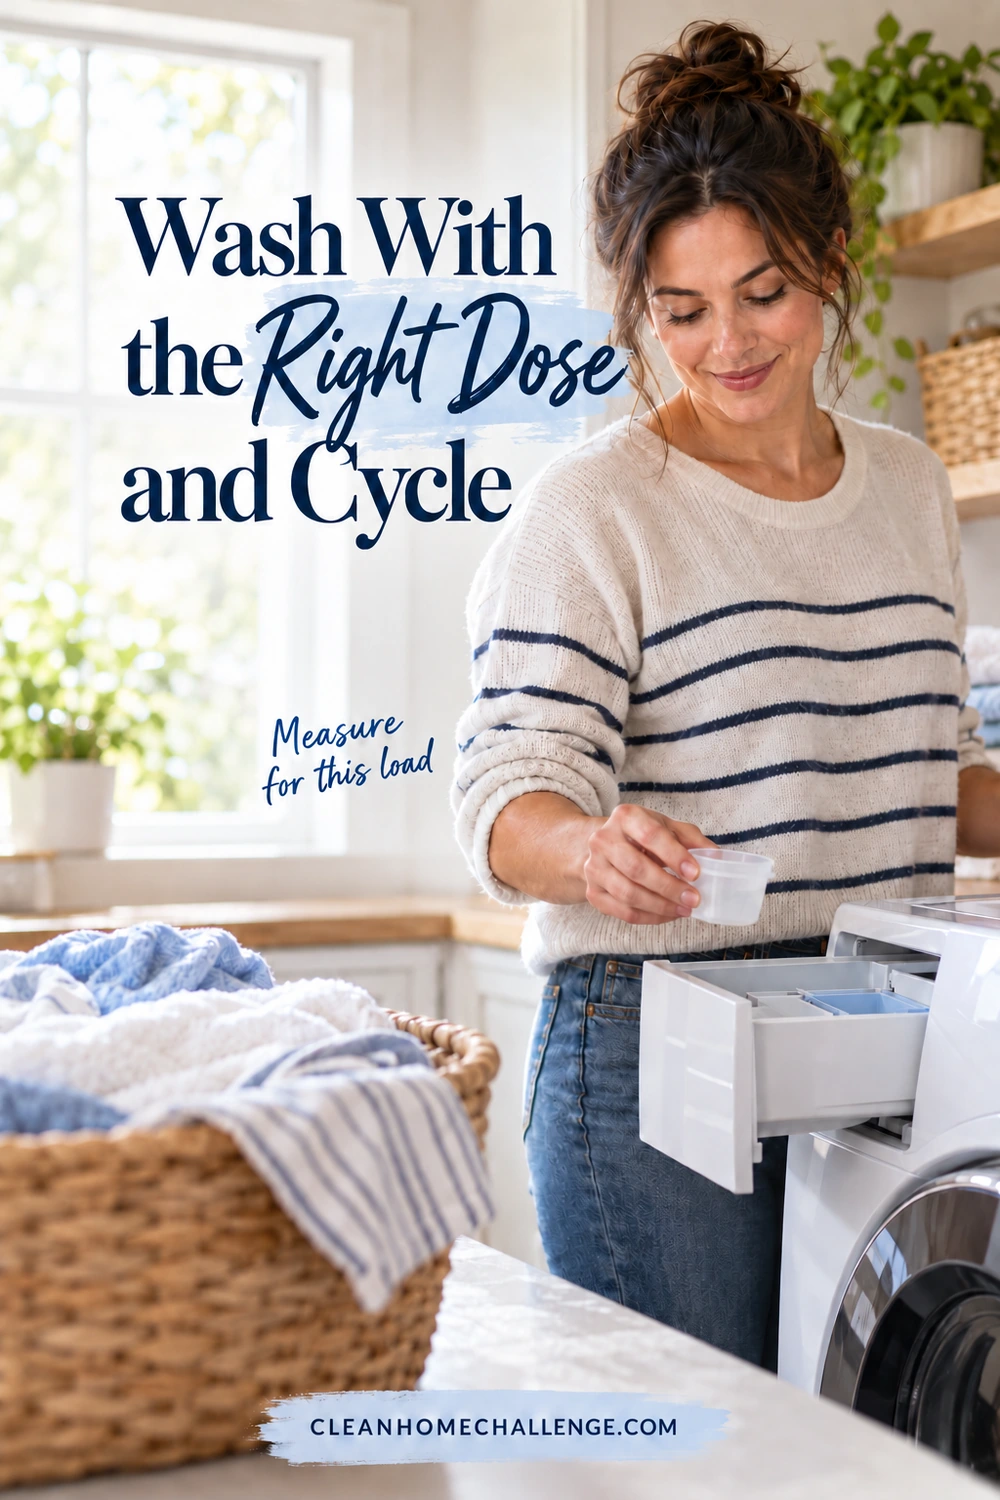
Before changing products, check the basics of the wash itself. Use a detergent suitable for the clothing and your washer, including an HE detergent where the machine requires it. Measure according to the product's directions for your load, soil and water conditions. The measuring line on one brand is not a universal dose for another.
Too little detergent can leave soil behind. Too much can create residue or make rinsing harder. Adding more each time the whites look dull is not a reliable way to diagnose the problem. Check what you actually used, how full the load was and whether the clothes had enough movement.
Choose settings for the actual clothes
The Whirlpool guide to washing whites puts garment care instructions ahead of a general temperature rule. Select a temperature and cycle allowed by every item in the load and appropriate for its soil and detergent. A button labeled Whites is not permission to wash a delicate blouse with robust towels.
Warmer washing may be suitable for some items, but do not exceed the care label in pursuit of brightness. Conversely, a cooler wash still needs a detergent and cycle that work under those conditions. If two garments need conflicting treatment, change the grouping rather than forcing a compromise.
Load the machine according to its manual. Do not pack clothes tightly into the drum, and do not use an arbitrary basket count to judge capacity. For a recurring problem, note the machine cycle, detergent amount and approximate load so you can change one useful variable at a time.
Investigate residue before adding a whitener
Powdery patches or deposits in folds may be residue rather than permanent yellowing. Whirlpool's white-residue troubleshooting identifies issues including detergent amount, HE compatibility and dissolving conditions. Use your model's guidance to choose the next step; do not assume its advice for one machine applies to every washer.
If the manual permits a rinse or rewash for the situation, use that method and reassess. Keep accessible dispensers and the washer maintained according to the manufacturer. A dirty dispenser or an overloaded load should be addressed before buying another whitening product.
Brighten Dingy Whites With Care
When the routine has been checked and the fabric still looks dull, choose a treatment for the actual problem. Start with one suitable garment rather than treating every white item at once. Take a quick photo in ordinary daylight if you want a fair comparison afterward; wet fabric can look different from fully dry fabric.
Oxygen-based products still have restrictions
A suitable oxygen-based laundry whitener may be an option for washable garments that permit it. “Non-chlorine” does not mean suitable for every fabric. For example, OxiClean's White Revive instructions exclude wool, silk, their blends, leather and dry-clean-only fabrics and require a hidden-area test.
For the product you actually have, confirm the garment compatibility, exact dose, water requirements, permitted soak time and washing instructions. Formulations, liquids, powders and premeasured packs can have different directions. Do not copy a scoop measure or overnight soak from a different product.
If soaking is allowed, use a suitable container in a secure place inaccessible to children and pets. Dissolve or prepare the product as directed before adding clothing. Set a reminder to finish at the instructed time. Empty and clean the container safely afterward; do not leave an open treatment solution sitting in the laundry room.
Chlorine bleach requires an extra check
Use chlorine laundry bleach only when the garment, product and machine directions all permit it. Follow the product's current laundry dose and your machine's dispenser instructions. Do not pour concentrated bleach onto fabric or extend a soak because the clothes do not yet look white.
Clorox explains that incompatible fibers or concentrated bleach can cause yellowing, and damage from misuse can be permanent. This is why repeatedly bleaching a stretchy white garment can make matters worse instead of rescuing it.
Never mix bleach with vinegar, ammonia, acids, other cleaners or another whitening treatment. Follow only the intended laundry use specified by the product and appliance; do not create a stain-removal cocktail in a bucket. The CDC's bleach-safety guidance warns about dangerous vapors from incompatible mixtures. Keep the area ventilated and use label-required protection.
Choose a different route for unusual discoloration
Orange or rusty marks: ACI identifies iron or manganese in water as possible causes and warns that chlorine bleach can intensify rust discoloration. Check water and fabric-care guidance before using a treatment intended for that problem.
Pink or another transferred color: Remove the suspected dye source and seek fabric-compatible dye-transfer advice. Do not promise yourself that hot water or repeated bleach will restore every garment.
A naturally warm shade of white: Cream, ivory and optical white are different starting colors. Check the original appearance before trying to bleach a garment into a color it never had.
Persistent yellowing or physical damage: Ask the manufacturer or a fabric-care professional before another treatment. Some aging, dye changes and treatment damage are not removable soil. Keep a still-useful garment in circulation when appropriate rather than repeatedly stressing its fibers.

Dry and Store Whites Properly
Inspect the washed clothes before choosing the drying method. If a stain remains, keep that item out of heat drying while you decide on a compatible next treatment. A clean item still needs its own dryer or air-drying instructions followed.
Separate pieces that require different handling as you unload. Place a drying rack nearby before starting a load with air-dry garments, or leave a clear note for whoever moves the wash. A sweater requiring flat drying should not follow the rest of the basket into the dryer by habit.
Use outdoor drying thoughtfully
Outdoor drying is optional when the garment instructions and conditions suit it. Choose clean lines or a clean rack, secure items appropriately and bring them in when dry. Do not leave special-care garments in prolonged direct sun solely to chase a whitening effect. Follow any shade-drying instruction and avoid presenting sunlight as a guaranteed repair for discoloration.
If outdoor drying is impractical, use the permitted indoor or dryer method. Leave air-drying pieces with room for air movement, without creating damp bundles. If you need to check whether a thicker garment is dry, feel its cuffs, seams and waistband rather than judging only its outer surface.
Keep the clean side of laundry clean
Use a clean, dry basket or surface for unloading and folding. Avoid returning freshly washed whites to a basket with loose dirt from an earlier load. Put completely dry clothes into clean storage where they are easy to find and use.
You do not need elaborate file folds or matching containers. Hang suitable shirts, make a manageable stack, or use a drawer that lets the family see what is available. Functional storage helps prevent clean clothes from being mixed back into the dirty hamper and washed unnecessarily.
For occasionally worn whites, clean them according to their care needs before longer storage and make sure they are thoroughly dry. If a piece changes color while stored, investigate the garment, storage conditions and previous treatments before assuming that a stronger wash is the answer.


CLEANERS CLUBHOUSE
Make Laundry Catch-Up Feel More Manageable
Use Saturday to catch up without letting laundry take over the whole weekend. Inside the Cleaners Clubhouse, practical routines and printable support help you keep washing, folding and household jobs moving.
Keep a Simple Whites Routine
Choose a routine small enough to repeat on an ordinary week. Collect dry whites in an existing basket, with a separate check-first spot for stains, unfamiliar labels and special-care items. Decide who takes the load through washing, drying and putting away, rather than leaving the handoff uncertain.
Your next white load checklist
- Check unfamiliar care labels and remove incompatible pieces.
- Separate colored items, lint-shedding fabrics and heavily soiled clothes as needed.
- Empty pockets and give visible stains a suitable treatment.
- Measure the detergent for the actual load and water conditions.
- Choose permitted settings and leave the clothes room to move.
- Use a whitener only when there is a reason and all relevant instructions allow it.
- Inspect stains before heat drying, then follow each drying instruction.
- Store clothes only when completely dry.
Keep the checklist at the point where sorting happens. If someone else is taking over, leave an item-specific note rather than expecting them to remember which shirt needs shade drying or which top cannot be bleached.
The lower-effort version
When the week is overloaded, wash the compatible whites needed next. Check those pieces, treat the marks you can safely manage and choose a drying method you can finish. Leave dry, nonurgent items to join a later suitable load. Do not start a long soak if you cannot monitor and complete it.
Saturday's laundry catch-up can be a useful reminder in the CHC routine, but an urgent uniform does not have to wait until Saturday. Adjust the timing to the household. A short sorting check today is often more practical than a weekend of treating every white item you own.
Do whites need a booster every time?
Not necessarily. Begin with a suitable detergent, sound sorting and label-compatible settings. If the load cleans well, there is no need to invent a rescue treatment. If dullness returns, look for a repeatable cause, such as dosage, water conditions or a recurring incompatible item, before adding another regular product.
Can every old white garment look new again?
No method can guarantee that. Treat removable soil appropriately and stop when additional treatment risks damage or no longer helps. The goal is comfortable, clean, usable clothing, with a routine that protects the fabric and fits family life.