
THIS POST MAY CONTAIN AFFILIATE LINKS. PLEASE READ MY DISCLOSURE FOR MORE INFO.
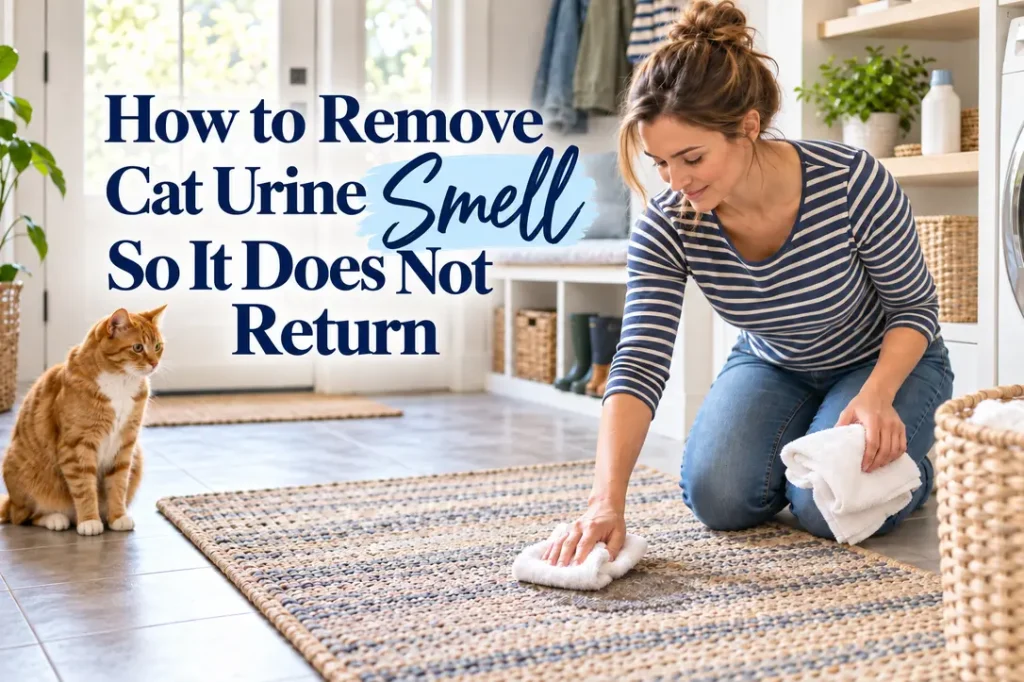
Cat urine odor is stubborn because the liquid can travel farther than the visible spot and soak into carpet backing, padding, upholstery filling, wood seams, baseboards, or grout. Once the moisture dries, odor-causing residue remains. Adding fragrance may cover it briefly, but the smell often returns when humidity rises—or when your cat finds the same scented area again.
The reliable approach is simple: locate the entire affected area, remove as much urine as possible, use a cat-urine enzyme cleaner exactly as directed, and let the material dry completely. Then address why the accident happened. That last step matters because sudden house-soiling can be linked to pain, urinary problems, litter-box concerns, stress, or a change in the home.
Important: Contact a veterinarian promptly if your cat suddenly urinates outside the litter box, strains, cries, makes repeated trips with little or no urine, has blood in the urine, or seems unwell. Inability to pass urine is an emergency.
Disclosure: This post may contain affiliate links. As an Amazon Associate, Clean Home Challenge earns from qualifying purchases. If you make a purchase through these links, we may earn a small commission at no extra cost to you. This helps us keep creating practical cleaning tips, routines and resources for busy families! 🧽
What You Will Need
- White paper towels or clean absorbent cloths
- Disposable gloves
- A cat-urine enzyme cleaner suitable for the surface
- Cool water
- A wet/dry vacuum or carpet extractor, if appropriate
- A UV flashlight for finding old spots
- Removable markers or painter’s tape
- Fans for airflow
- A sealed waste bag
Choose one cleaner and follow its label. Do not mix cleaning products. In particular, never mix bleach with ammonia, acids, vinegar, or other cleaners. Keep cats and children away from the work area until it is rinsed as directed and completely dry.
Find Every Cat Urine Spot Before You Start
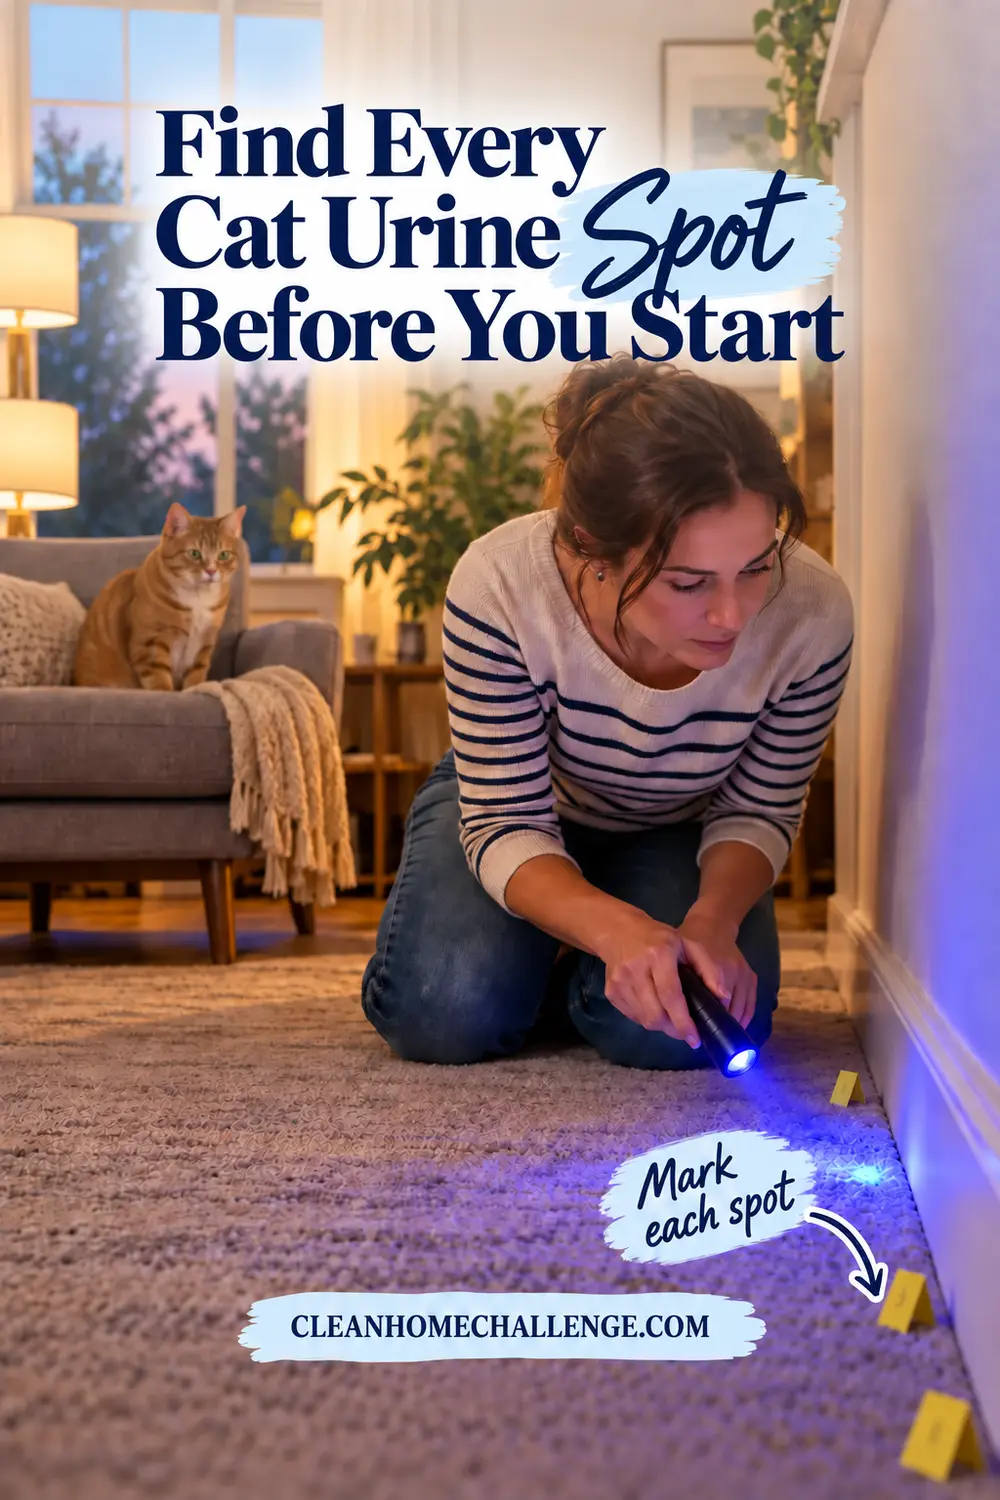
Begin with your nose and your eyes in daylight. Check the obvious location, then inspect the edges around it. Urine can wick outward underneath carpet, run along grout lines, collect at a baseboard, or soak into the underside of a rug even when the visible mark looks small.
At dusk or in a darkened room, move a UV flashlight slowly a few inches above the surface. Some urine residues may fluoresce, but lint, cleaners, and other spills can glow too. Mark suspicious areas with small pieces of painter’s tape, then confirm them by smell and context. Do not stare into the UV light or point it at people or pets.
Work methodically around doorways, furniture legs, vertical surfaces, corners, laundry baskets, soft furnishings, and previous accident sites. If the smell seems stronger than the visible spot suggests, check beneath rugs and lift an accessible carpet edge rather than repeatedly treating only the top.
Blot Fresh Cat Urine Before It Spreads
For a fresh accident, put on gloves and lay several white towels over the wet area. Press straight down with your body weight, then replace the towels and repeat. Work from the outer edge toward the center so you do not spread the liquid. On a rug, blot both the face and the backing if you can reach it.
Avoid scrubbing. Friction pushes moisture deeper and can distort carpet fibers or upholstery fabric. Do not pour a bucket of water over the spot. A light cool-water rinse may be useful on a colorfast, water-safe surface, but extract or blot it immediately.
Bag used disposable towels and wash reusable cloths separately. Continue until the towels come away nearly dry. Removing liquid first gives the enzyme cleaner a better chance to reach the urine residue without being excessively diluted.

Use an Enzyme Cleaner the Right Way
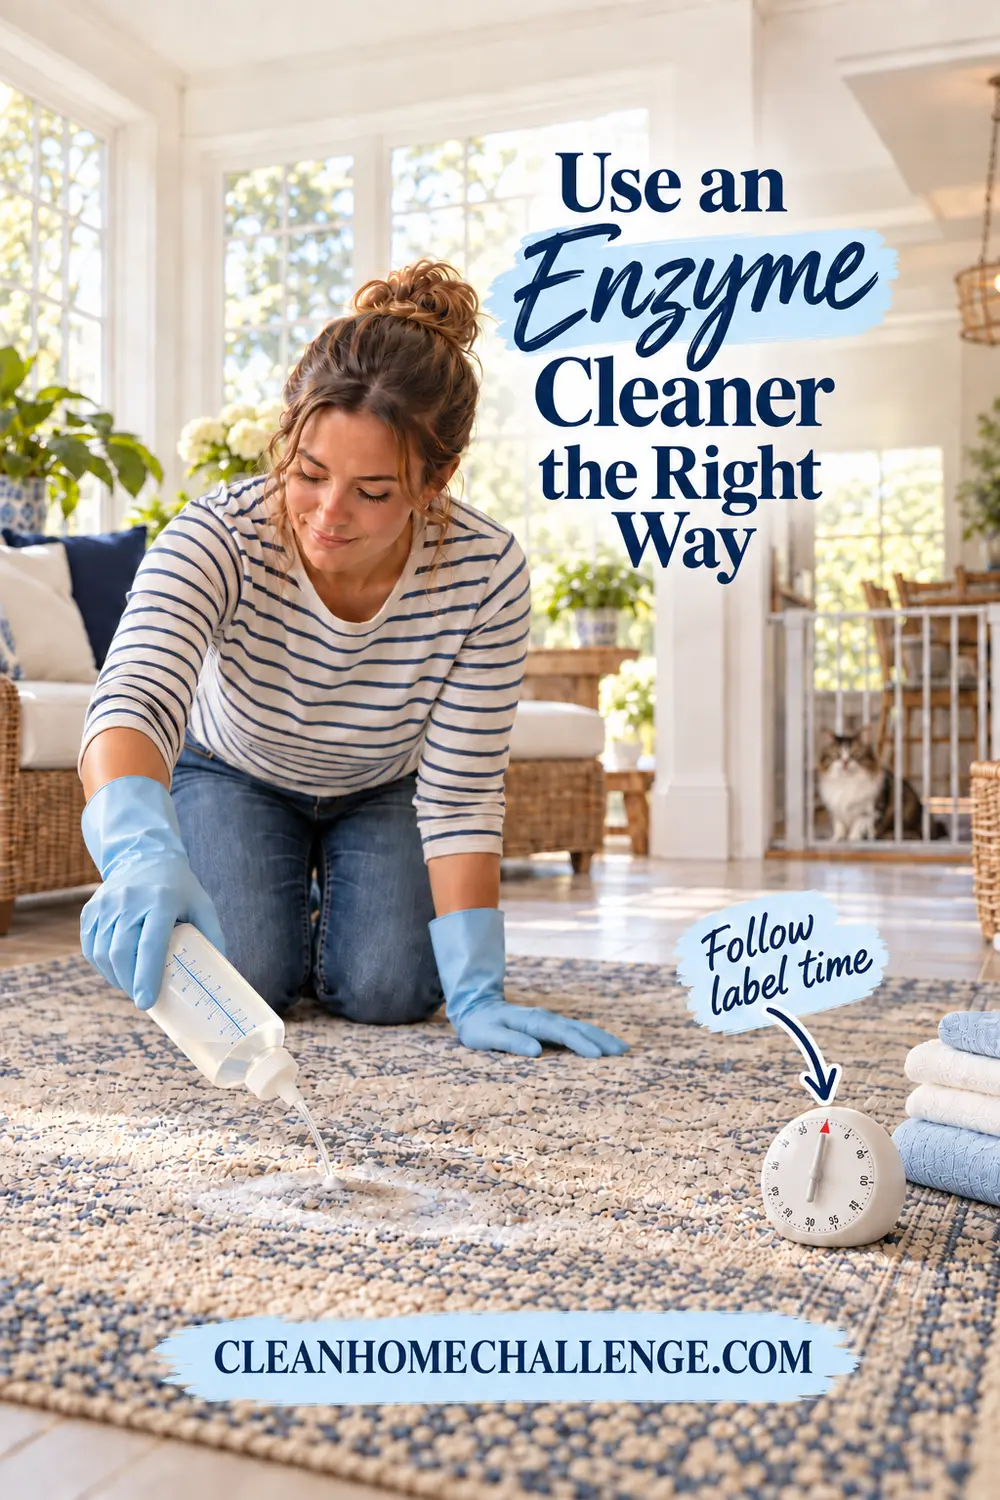
An enzyme cleaner is designed to break down the organic material that ordinary detergent and fragrance can leave behind. Results depend on contact: the product needs to reach every place the urine reached and remain wet for the label’s stated time.
First, check that the product is intended for cat urine and for your surface. Patch-test an inconspicuous area for color change, texture damage, or finish dulling. Apply enough product to cover the full affected area, including the outer edge. If urine soaked through carpet into the pad, a light surface spray will not reach the source.
Follow the product directions for dwell time, blotting, rinsing, and drying. Some formulas are left to air-dry; others specify extraction or a final rinse. Do not combine an enzyme cleaner with disinfectant, bleach, ammonia, vinegar, deodorizer, or steam. Other chemistry or high heat can interfere with the treatment and may create a safety hazard.
Keep the cat away while the area dries. Use open windows and fans, but do not aim a heater at the spot. Check the area only after it is completely dry; damp material can smell stronger temporarily.
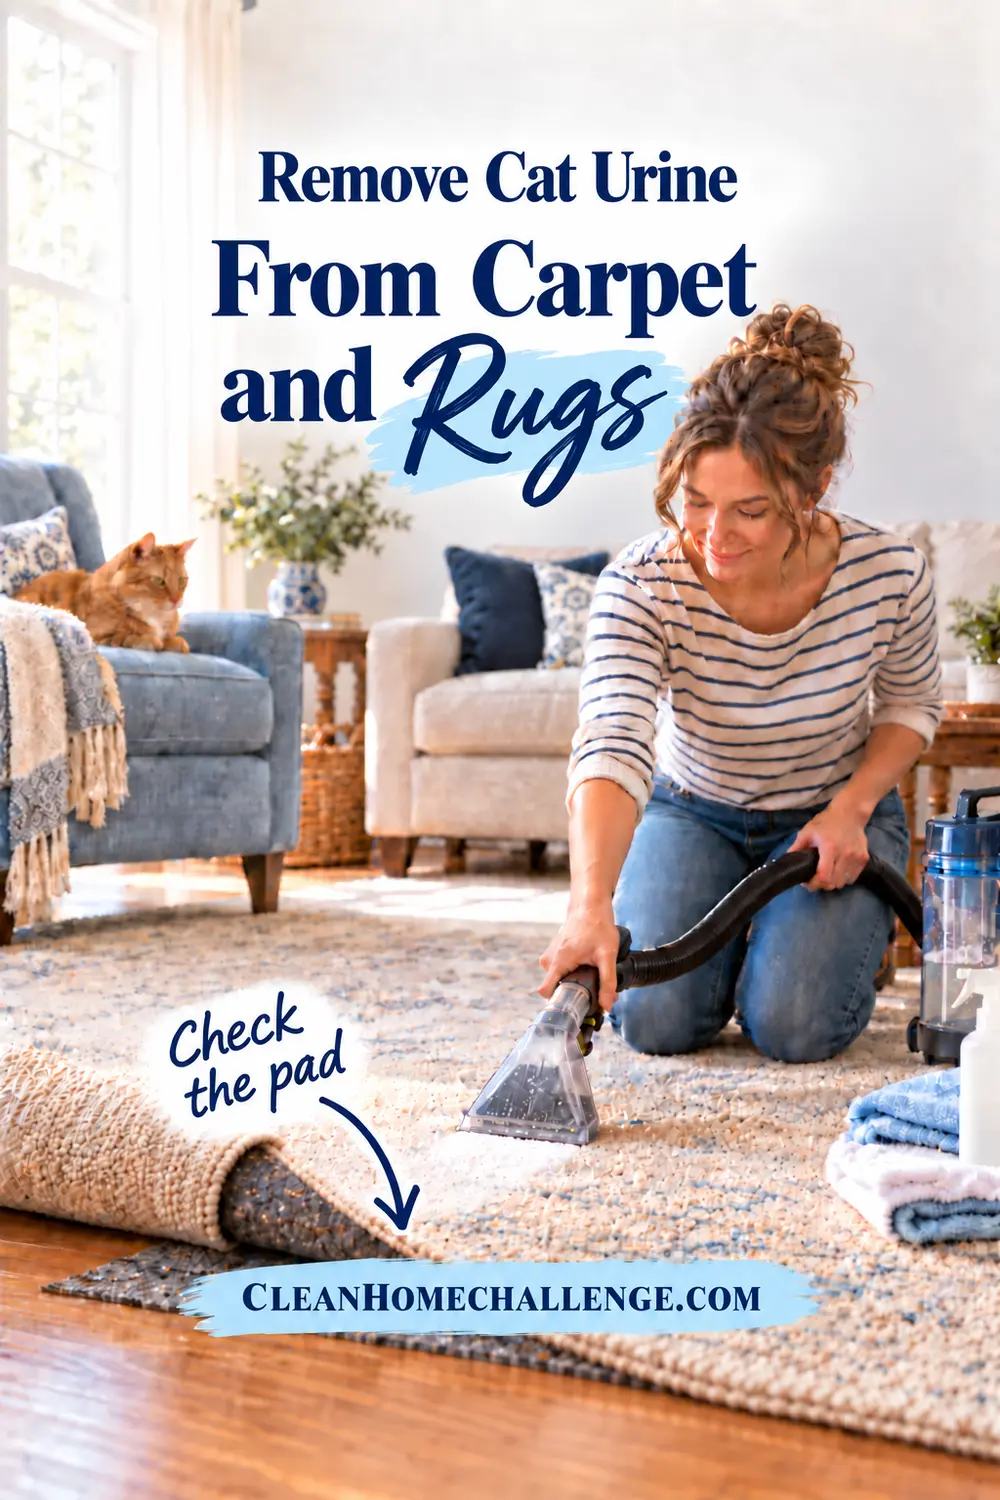
Remove Cat Urine From Carpet and Rugs
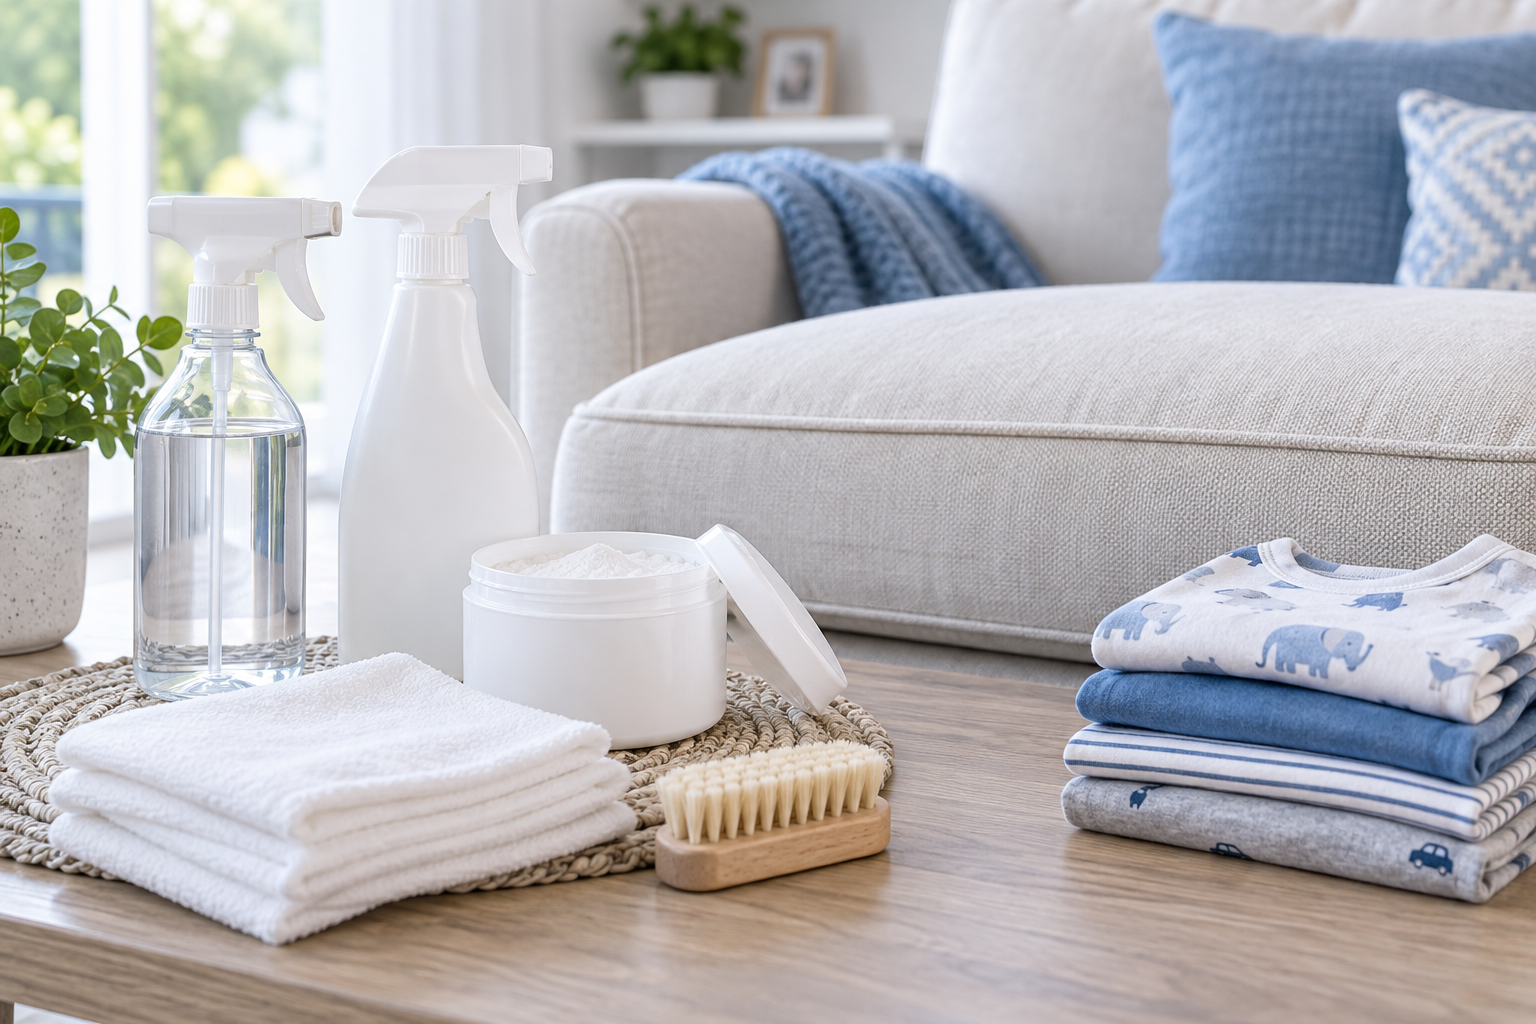
After blotting, treat the carpet with an enzyme product approved for that fiber. Extend the treatment slightly beyond the marked boundary. If the label allows, use a wet/dry vacuum or extractor to lift cool rinse water and residue. Make several dry extraction passes so the carpet is damp, not saturated.
Do not use a steam cleaner on untreated urine. Heat can make the odor harder to remove, and heavy wetting can carry contamination farther into the backing or pad. Avoid aggressive brushing that untwists the pile.
For an area rug, read the care label and test for dye transfer. Place white towels under the spot before treating so liquid does not move into the floor below. Clean both sides when the construction allows, then dry the rug flat or according to its care instructions with plenty of airflow.
If odor remains after the carpet is fully dry, inspect the pad and subfloor. Widespread or repeated contamination may require professional cleaning, pad replacement, subfloor sealing, or replacement of an affected rug. Repeatedly soaking the carpet surface will not solve a source underneath it.
Clean Cat Urine From Upholstery and Mattresses
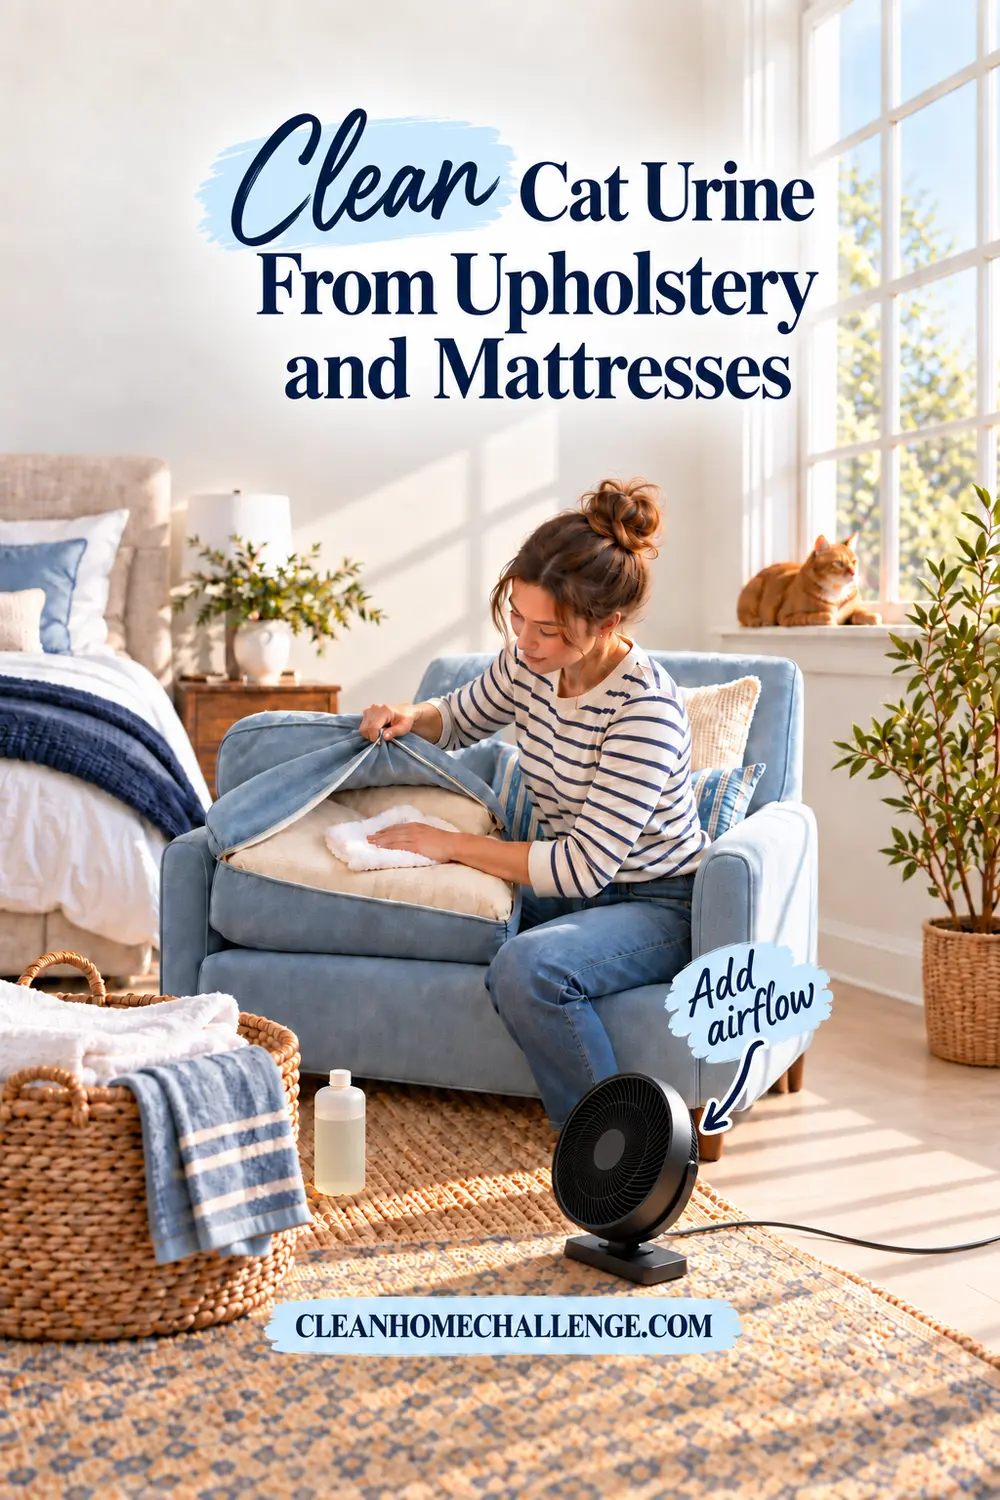
Check the manufacturer’s cleaning code and care instructions before adding moisture. Remove washable covers and blot the fabric, seams, cushion insert, and frame separately. Put towels beneath the affected layer so you do not transfer urine to another surface.
Patch-test an upholstery-safe enzyme cleaner, then apply it sparingly but thoroughly enough to reach the contaminated depth. Avoid flooding foam. Cushion cores and thick mattress layers dry slowly, and trapped moisture can create a second odor problem. Press with dry towels and use a fan to move air across the surface.
For a mattress, stand it on its side only if the manufacturer allows and it can be supported safely. Keep the room ventilated and do not remake the bed until every layer is dry. A washable waterproof protector can help after cleaning, but it does not replace treating the mattress beneath it.
If urine has reached deep foam, springs, an upholstered frame, or a nonremovable cushion core, a professional cleaner can assess whether treatment is realistic. Replacement may be the most reliable option when odor returns after complete drying.
Treat Hard Floors, Baseboards and Walls Safely
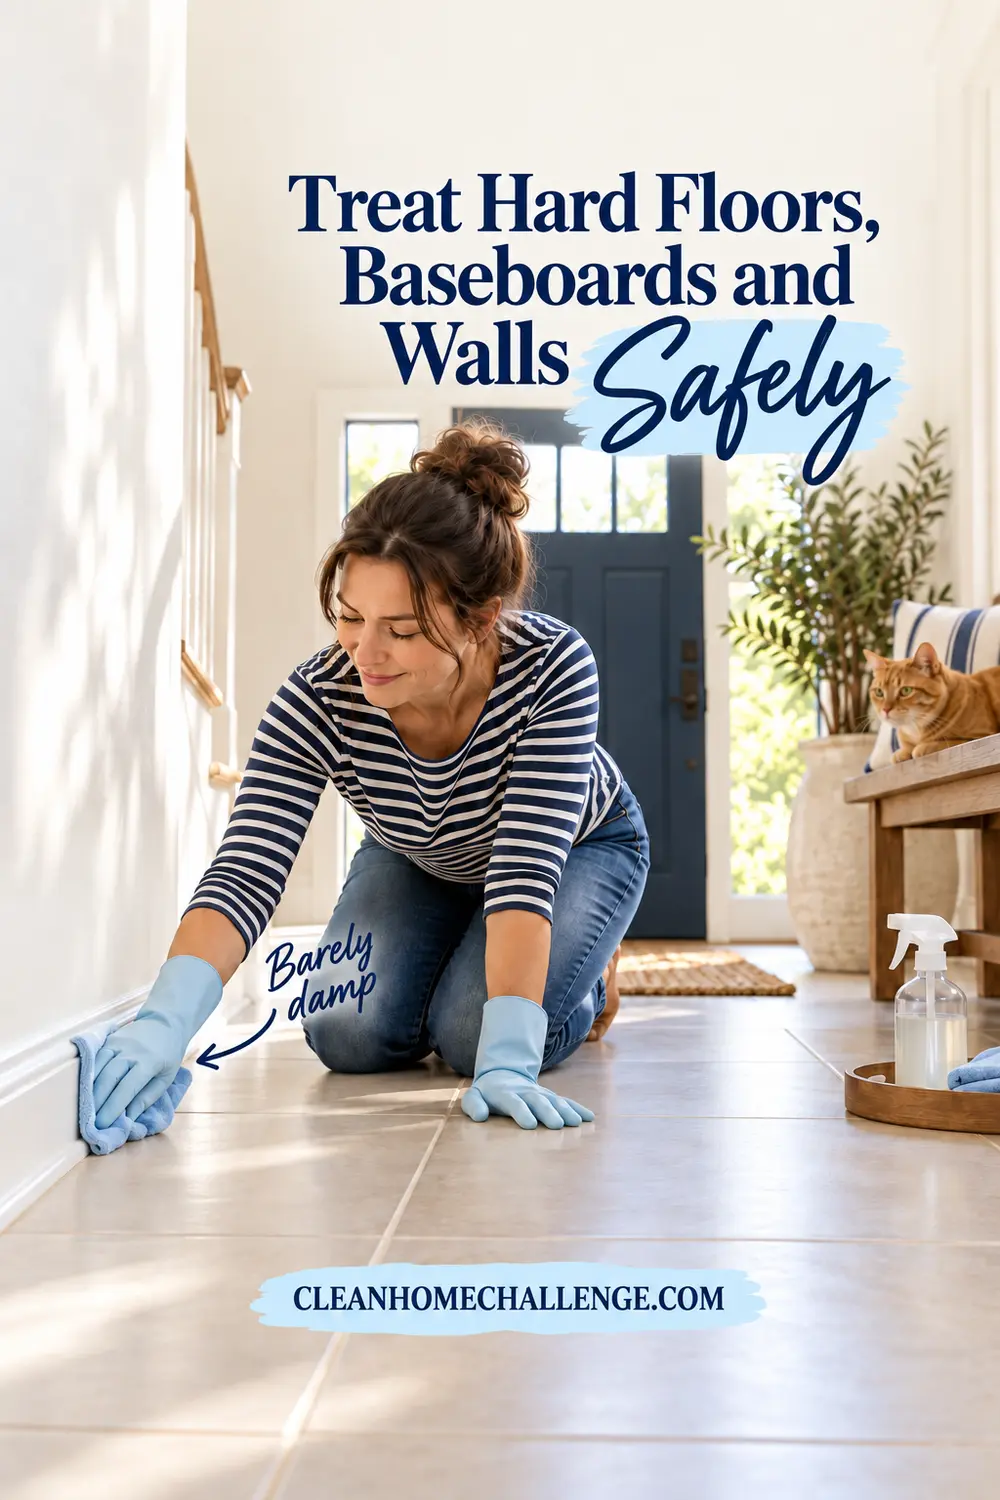
Blot sealed tile, vinyl, laminate, or finished wood promptly. Apply cleaner to a cloth rather than flooding seams. Wipe the affected floor, the nearby baseboard, and the lower wall if spraying or marking may have occurred. Use a fresh cloth for each surface so you do not spread residue.
Surface rules matter. Moisture can swell laminate cores, darken unfinished wood, penetrate grout, and soften some paint finishes. Patch-test first and follow the flooring or paint manufacturer’s care guidance. Dry seams, edges, and grout lines promptly.
For porous grout, unsealed stone, unfinished wood, or a smell that returns from under flooring, stop repeated wet treatments. A flooring or restoration professional may need to clean, seal, or replace the contaminated material. Never combine bleach or ammonia with urine or with another cleaning product.
Wash Bedding and Clothes Without Setting the Smell
Check every care label. Rinse washable items in cool water, then use a pet-urine laundry product or enzyme detergent that is appropriate for the fabric. Wash the affected item separately for the first cycle so odor and residue are not transferred to the rest of the load.
After washing, smell the item while it is air-dried or before using high dryer heat. If odor remains, repeat the label-approved treatment. Dryer heat can make a remaining smell harder to remove. Do not add bleach, ammonia, or another cleaner to an enzyme product unless both labels specifically state that combination is safe.
Bulky pet beds, quilts, and foam inserts may hold moisture in the center. Use a laundromat-size machine if the care label permits and the item needs room to move. Replace foam that cannot be washed, rinsed, and dried fully.

Stop the Smell From Returning
Once the area is dry, check it again at floor level and in humid conditions. If odor returns, the remaining source is usually deeper or wider than the first treatment reached. Reinspect carpet pad, upholstery filling, cracks, grout, baseboards, and nearby vertical surfaces before applying more product.
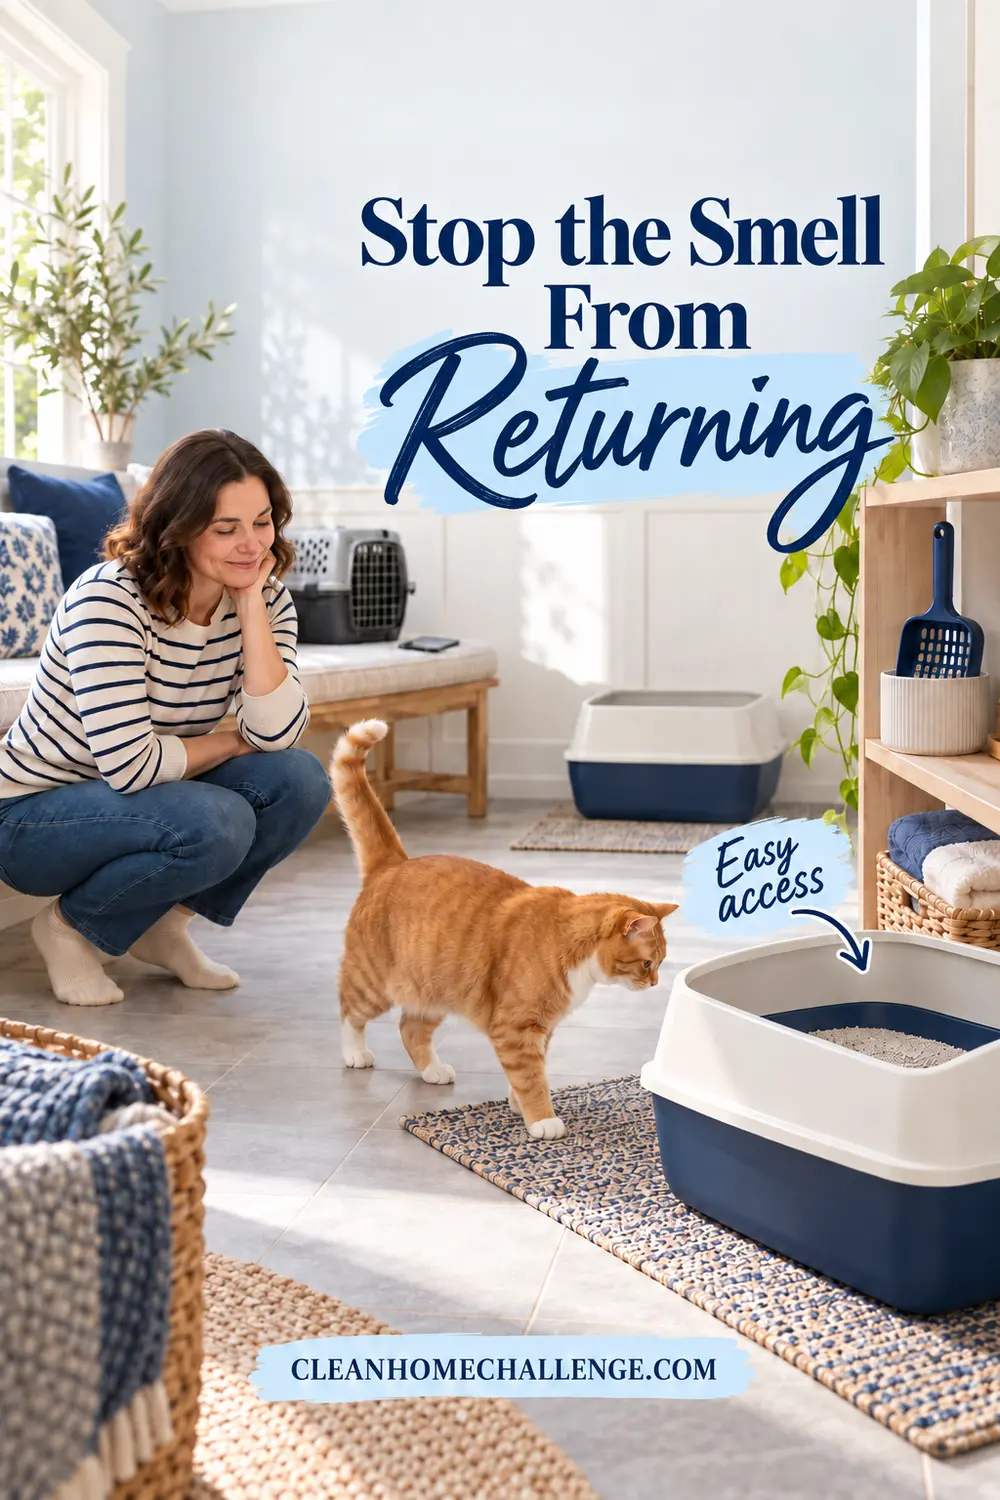
Then make the litter setup easy to use. A common starting point is one litter box per cat plus one extra, placed in quiet, accessible locations rather than lined up as a single station. Scoop at least daily, keep boxes clean, and choose a large open box with unscented litter unless your cat has a known preference. Older cats and cats with mobility problems may need a low entry.
Do not punish or frighten a cat for an accident. Clean the area promptly and calmly, keep routines predictable, and consider recent changes such as a new pet, visitors, moving furniture, conflict between cats, or outdoor cats visible through a window. Block access to the cleaned spot temporarily if needed, but do not remove litter-box access.
Book a veterinary visit for a new or recurring problem. Medical conditions can cause urgency, pain, or increased urination, and behavior support works best after health concerns are addressed. Cleaning the source and resolving the cause together is what keeps the smell from returning.
CLEANERS CLUBHOUSE
Get Step-by-Step Help With Tricky Cleaning Jobs
When a stain, smell or stubborn cleaning problem has you stuck, a clear plan makes all the difference. The Cleaners Clubhouse gives you practical guidance, useful printables and routines you can actually follow.
When to Call a Professional
Get help when urine has reached carpet padding, subfloor, unfinished wood, wall cavities, large upholstery cores, or several rooms; when delicate or valuable materials are involved; or when odor returns after a correctly completed enzyme treatment and full drying. A qualified carpet, upholstery, flooring, or restoration professional can measure moisture, assess hidden layers, and explain whether cleaning, sealing, or replacement is most realistic.
