THIS POST MAY CONTAIN AFFILIATE LINKS. PLEASE READ MY DISCLOSURE FOR MORE INFO.
There are several ways to easily and quickly remove your children’s artwork from your walls, but success depends on the surface treatment of your walls. You do not want to end up with stained or damaged surfaces, after all!
The easiest and fastest way to remove pencil and crayon marks from walls is with a magic eraser. All you do is wet the magic eraser with cold water, squeeze out the excess water and rub it over the marks.
Pencil and Crayon Marks on Painted Walls
In this day and age of striving for a more eco-friendly lifestyle, I would suggest that you try natural remedies first. The following method has been used by generations of our forebears, and even though the compounds used to manufacture crayons and markers have changed, it is still the first line of defence.
The following tips and methods are best tested on a small inconspicuous place of the wall to ensure that it does not damage or change the paint colour, especially if you are unsure of the quality or type of paint used on your walls.

Wall Cleaning Tips for Pencil and Crayon Drawings
- Mix together 1 cup hot water, half teaspoon dishwashing liquid and two tablespoons of white vinegar.
- Dip a sponge or soft cloth in the mixture.
- Gently wipe over the marks. A little soft rubbing may be required.
- If the artwork is limited to a few lines, and you can get to it soon after it was done, you may be able to remove it with a cotton bud (Q-tip in some countries) dipped in the above solution.
- Wipe soapy residue off with a damp cloth, then wipe dry with a soft cloth.
- Make a paste of baking soda and a little water. Apply to the marks with a soft damp cloth or cotton bud. Leave on for a few minutes. Wipe of with a clean dry cloth.
- An alternative is to mix the baking soda with white toothpaste and a little water. Use a spatula or spoon to smooth this paste onto the “artwork”. Let it sit for approximately 5 minutes. Use an old toothbrush with still firm bristles dipped in hot water to scrub it gently in circular motions. Do not squash the bristles flat by pressing too hard, but allow the bristles to firmly reach the crayon or pencil marks. Wipe with a clean damp cloth. Repeat the procedure until the marks are gone.
- Another home remedy is to rub mayonnaise onto the crayon or pencil marks. Let it sit for a few minutes, then gently rub it in a circular motion with a clean dry cloth. Wipe the mayo residue off with a clean damp cloth, or soap and water mix followed by a clean damp cloth to ensure that all the oiliness from the mayonnaise is removed.
- If crayon marks were pressed hard into the surfaces, you may need to dissolve the wax. One safe trick with stubborn crayon marks is to hold a piece of absorbent brown paper or clean white linen cloth on the wall and iron over it with a medium hot laundry iron. The crayon’s wax will dissolve into the brown paper as it melts.
- If the marks are persistent, just keep moving the paper around to use a clean spot as soon as the wax starts dissolving into it, using a clean spot of paper all the time, and keep ironing over it until the crayon is all on the paper.
- Another heat alternative is to melt crayon marks with a hairdryer. Set the hairdryer on medium heat and keep it about 15cm (around 6 inches) away from the wall surface. When the crayon is melted wash the wall with warm soapy water. Wipe soapy residue off with a damp cloth, and dry with a clean, soft cloth.
- Do not be tempted to set the iron or hairdryer on a very hot setting, and make sure that the paper or linen cloth is firmly pressed onto the wall surface to ensure that the melting wax of the crayon does not bleed into the surrounding surface, but rather into the absorbent paper or cloth.

Commercial Store-Bought Products For Removing Pencil & Crayon MArks From Walls
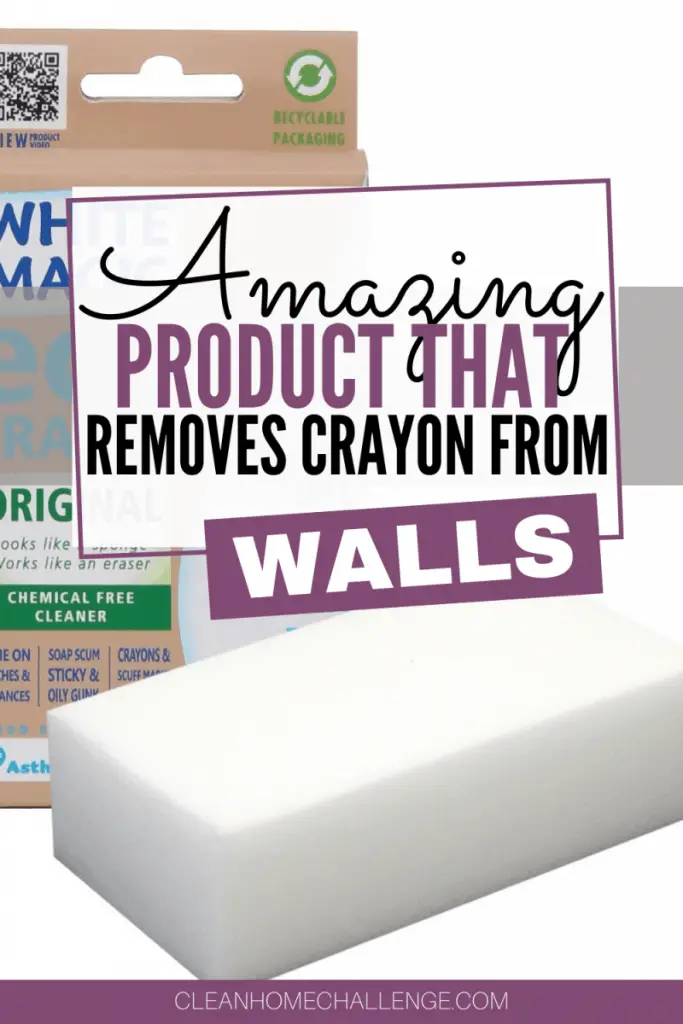
My personal favourite of the commercially available eco-friendly cleaning products remains White Magic’s Eco Eraser. Bear in mind that the original product – and the generic versions of it – is made of a fine melamine foam, which works like a very fine sandpaper that literally “scrapes” off the marks, so go gently on the rubbing. This product is not recommended for use on glossy painted walls.
- It is quick and easy to use on all non-porous surfaces.
- Just dip it in water, wring excess water out, then gently rub away your young budding artist’s masterpieces.
- Stubborn marks may need a little more rubbing, and you can just repeat the process using a clean part of the eraser until the wall is clean.
- Wipe any residue off with a clean, soft damp cloth.

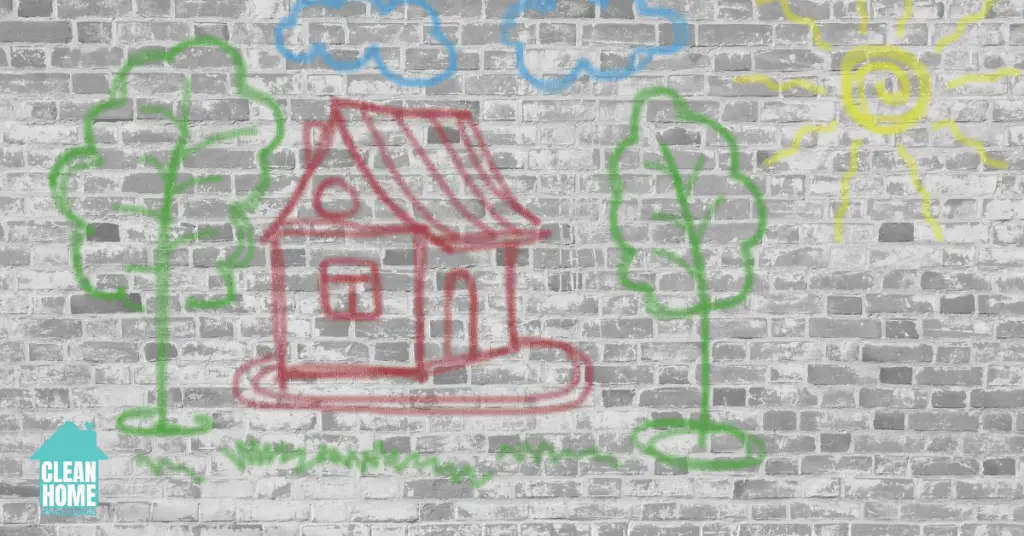
Pencil and Crayon marks on Concrete or Brick walls.
These surfaces are porous and harsh cleaning chemicals, solvents or any form of abrasive sponges or cloths must be used carefully. It is prudent to test the surface first in a non-conspicuous place as it may damage the coatings with which it may have been treated. Old surfaces may be a bit brittle, so go easy on scrubbing.
- Try hot water with a bit of dishwashing liquid, rub gently but firmly, and wipe off with a damp cloth rinsed in clean water. Try not to soak the concrete or bricks if your walls are untreated.
- Dry by pressing the spots with a clean dry cloth and ventilate the room to airdry further.
- For stubborn wax crayon marks, try the ironing or hairdryer trick as described above for painted walls.
- If crayon marks are old before you notice them, it may be necessary to try an oil-based product such as WD-40 or Goo Gone to dissolve the wax of the crayons.
- Spray the cleaning product onto the marks, and scrub gently with a hard brush. A toothbrush works well to get into the pores of the surface. Wash off the dissolved crayon-cleaner mix with soapy water, followed by a wipe with a clean damp cloth. Dab dry with a clean dry cloth and ventilate the room to airdry any remaining dampness.
Pencil or Crayon Marks on Stone or Stone-clad Walls
If you have untreated natural stone walls or walls clad with natural stone, the best solution to remove crayon or pencil marks is also the easiest.
- Pour hot water into a small bucket and add a spoonful of dishwashing liquid.
- Dip a stiff-bristled scrubbing brush in the solution and scrub the marks with circular movements.
- Keep dipping the brush in the soapy water and keep brushing the stone until the marks have disappeared.
- Rinse with a clean damp cloth to wipe the wall clean of soapy residue.
- Dry with a clean dry cloth.
- If the water and soap solution does not work, which may happen if the marks are old, you can add two tablespoons of vinegar to the mix or tr any of the other solutions mentioned above for painted wall surfaces.
- Be careful of oily substances, as these may stain especially lighter coloured stone.
Pencil or Crayon Marks on Papered Walls
It is very important to check what kind of wallpaper your walls are papered with before attempting to clean it with any kind of liquid. Vinyl, vinyl-coated, or fibreglass coated wallpaper can be washed, but even then, be careful not to soak it. Whatever the finish of the wallpaper, it is important to do a spot test in a hidden spot before using it to remove marks or stains. An artist’s gum type eraser can be used on all types of wallpaper.
Non-Washable wallpapers:
- For non-washable wallpaper, use an artist’s gum eraser to rub out pencil marks.
- For crayon marks, use the blunt side of a kitchen knife to scrape away as much of the crayon wax as possible.
- Cover the crayon marks with a double layer of white paper towels or a sheet of brown paper.
- Turn your laundry iron onto its lowest setting and press over the marks.
- Repeat the process, using a clean spot on the paper every time, until the crayon wax has been absorbed into the paper.
- Wipe the spot with a clean dry cloth to finish off.
Washable wallpaper:
- For pencil marks try the artist’s gum eraser first.
- For crayon marks mix a cup of hot water with a few drops of dish washing liquid in a bowl.
- Dip a sponge in the solution, squeeze out excess water and rub over the marks.
- Finish off with a clean sponge rinsed in plain water to remove all soap residue.
- Dry off with a soft, clean, dry cloth.
In conclusion, most of the natural and non-abrasive methods described under the section for painted walls can be used on most washable wall surfaces, as long as you take care not to soak some of the delicate surfaces with an abundance of liquid.
The biggest challenge with these processes is that they may leave the rest of your walls looking slightly dull as it really removes dust and dirt that had almost blended unnoticeably into your walls!