
THIS POST MAY CONTAIN AFFILIATE LINKS. PLEASE READ MY DISCLOSURE FOR MORE INFO.
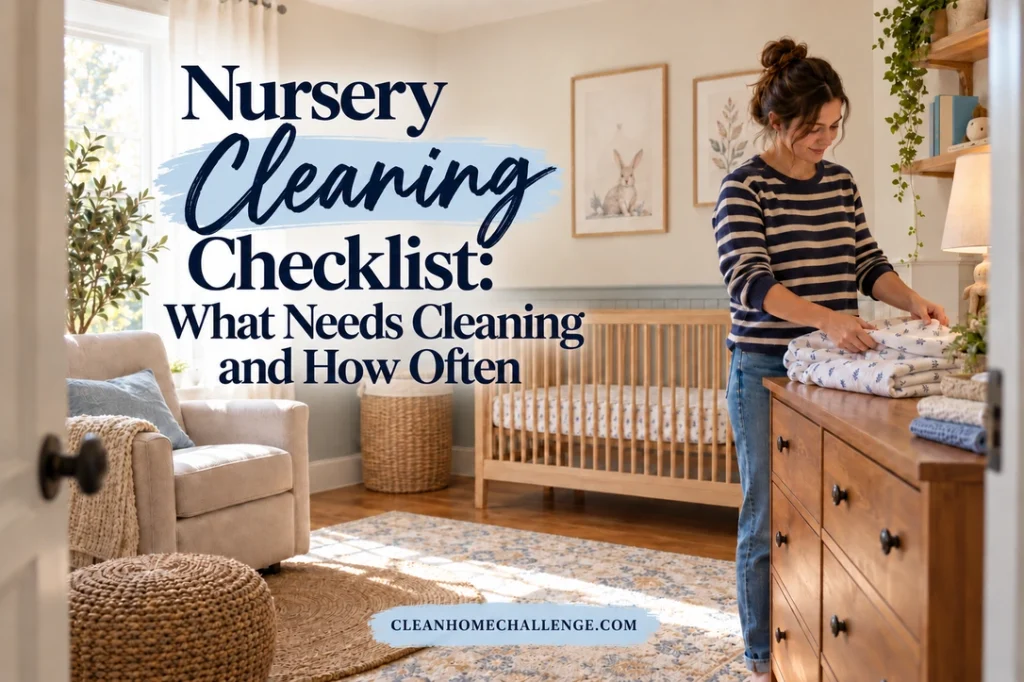
A nursery can collect a surprising amount of laundry, dust, and sticky little fingerprints. The good news is that you do not need to scrub the entire room every day. A useful nursery cleaning checklist helps you notice the jobs that need attention now and save the quieter tasks for a weekly reset.
Start with the places your baby sleeps, gets changed, and plays. Deal with spills and diaper messes promptly, keep clean supplies separate from used ones, and choose cleaning methods that suit each item. Then build the rest of your baby room cleaning around the time you actually have.
This guide combines practical household planning with current public-health, safe-sleep, and manufacturer guidance. The suggested weekly and monthly intervals are flexible starting points, not medical rules or a promise that a particular schedule prevents illness. Follow your baby’s care team’s instructions if your family needs additional precautions.
Disclosure: This post may contain affiliate links. As an Amazon Associate, Clean Home Challenge earns from qualifying purchases. If you make a purchase through these links, we may earn a small commission at no extra cost to you. This helps us keep creating practical cleaning tips, routines and resources for busy families! 🧽
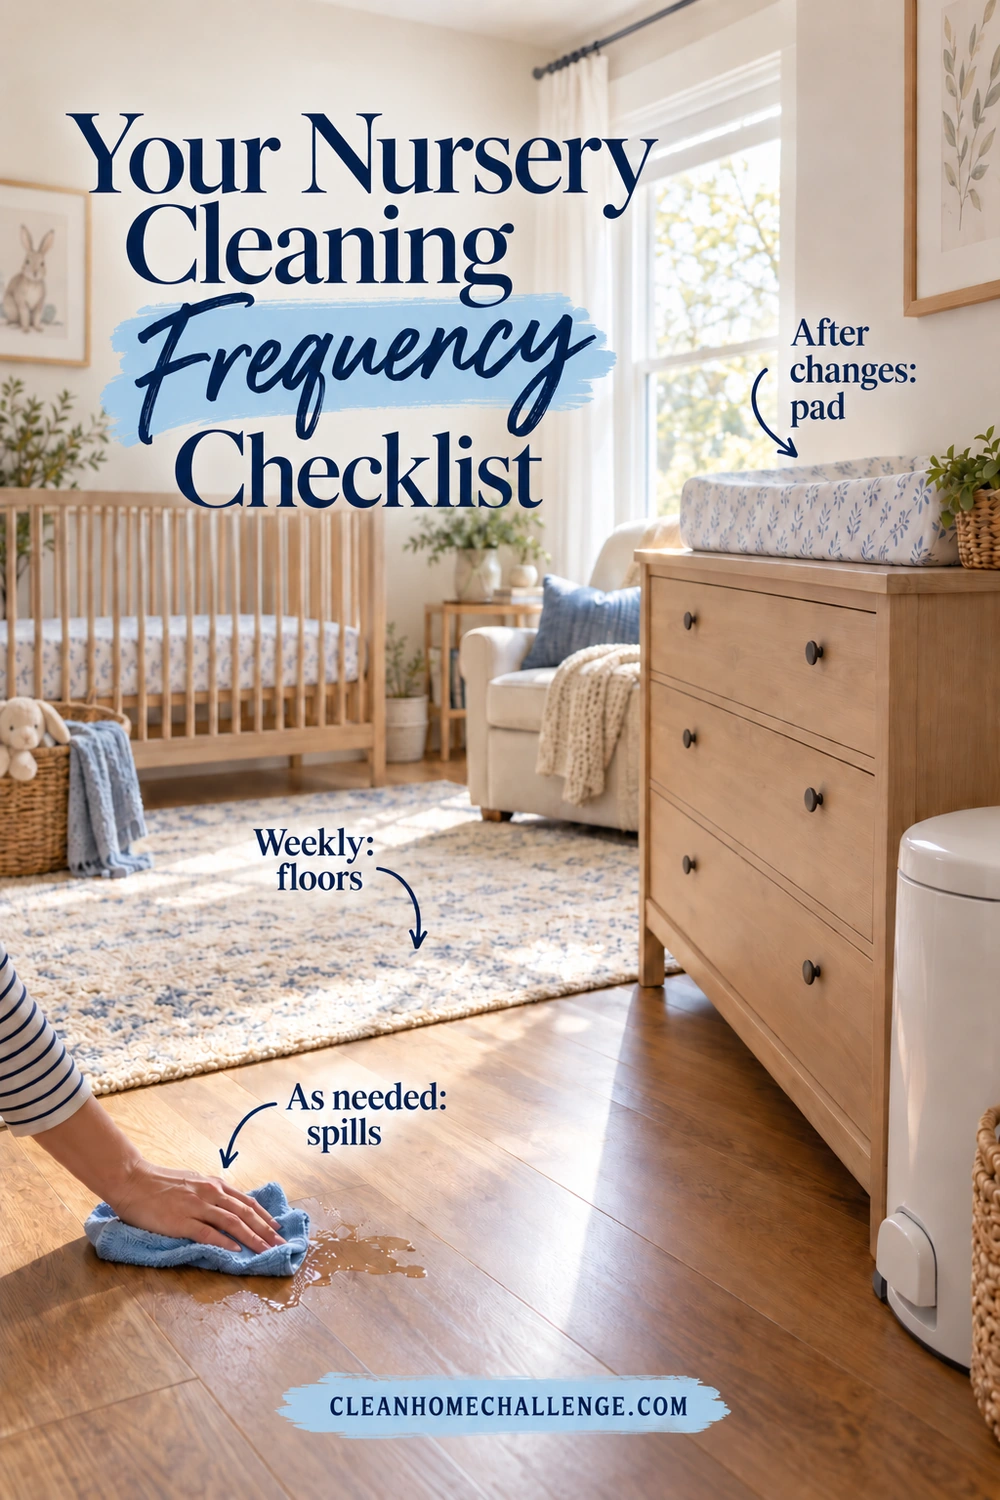
Your Nursery Cleaning Frequency Checklist
Think of the room in three layers: messes that need immediate attention, a short daily check, and jobs you can group into a regular cleaning session. A spilled bottle or dirty changing surface always moves ahead of a dusty shelf, whatever day it is.
Use this checklist as a starting point and adjust it for how much the room is used. A nursery used mainly for storage needs a different routine from a room where an older baby crawls and plays every afternoon.
Crib or bassinet sheet
When to check or clean: Check daily; change promptly if wet or soiled; plan a weekly change if it stays clean
What to do: Replace with a clean, correctly fitting sheet and inspect the surface underneath
Mattress and crib frame
When to check or clean: Check during sheet changes; clean spills promptly
What to do: Follow the specific product's care instructions; let cleaned parts dry before use
Changing surface
When to check or clean: After diaper changes, especially after leaks or spills
What to do: Remove visible mess, follow the appropriate cleaning/disinfection steps, and replace soiled covers
Diaper pail
When to check or clean: Check daily; empty before overfilling or when needed
What to do: Inspect for leaks and follow the pail manufacturer's cleaning method
Mouthed or visibly dirty toys
When to check or clean: After use or contamination, before returning to the clean toy basket
What to do: Clean according to material and manufacturer directions; dry fully
Play mat
When to check or clean: Check after play; clean spills promptly; include in a weekly reset
What to do: Clean the top, inspect the underside, and follow its care label
Frequently handled surfaces
When to check or clean: Check daily and clean regularly; sooner when sticky or dirty
What to do: Focus on drawer pulls, door handles, and the feeding-chair side table
Floor or rug
When to check or clean: Pick up visible debris daily; vacuum during the weekly reset or more often as needed
What to do: Pay extra attention to the play area and walking route
Shelves, baseboards, and under furniture
When to check or clean: Check monthly; clean sooner when dusty
What to do: Rotate through one small area at a time
Humidifier, if used
When to check or clean: Daily water care plus the required cleaning schedule
What to do: Follow its manual; see the appliance note below
Keep three short lists on your phone: “now,” “this week,” and “next room reset.” This avoids turning every visit to the nursery into a cleaning session. If a task keeps landing on the “now” list, make a small practical change, such as keeping another clean sheet nearby or moving the hamper closer to the changing area.
The checklist covers the room itself. Feeding equipment has its own care rules: bottles need cleaning after every feeding, and CDC recommends daily sanitizing for babies younger than 2 months, babies born prematurely, and babies with weakened immune systems. Take used feeding items to their designated washing area rather than leaving them among clean nursery supplies. CDC infant-feeding-item guidance.
Set Up a Safer Cleaning Routine
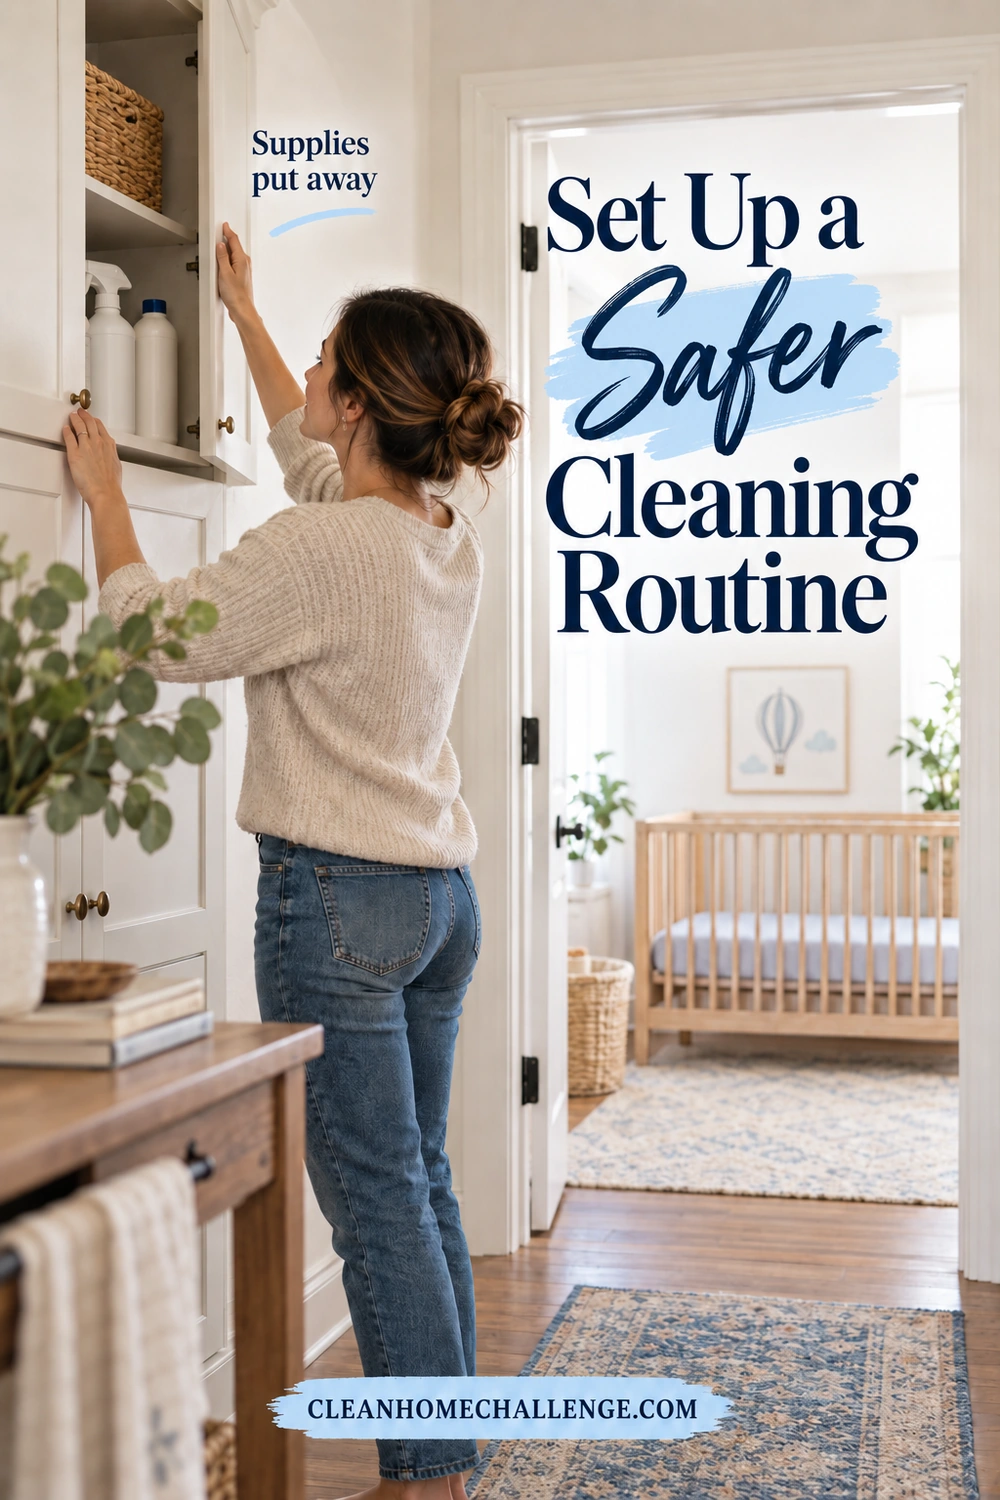
Before opening a product, arrange a safe place for your baby away from the work. Choose a time when another caregiver can help, or work while your baby is safely supervised elsewhere. Never use the crib as temporary storage for a cleaning caddy, folded laundry, or tools.
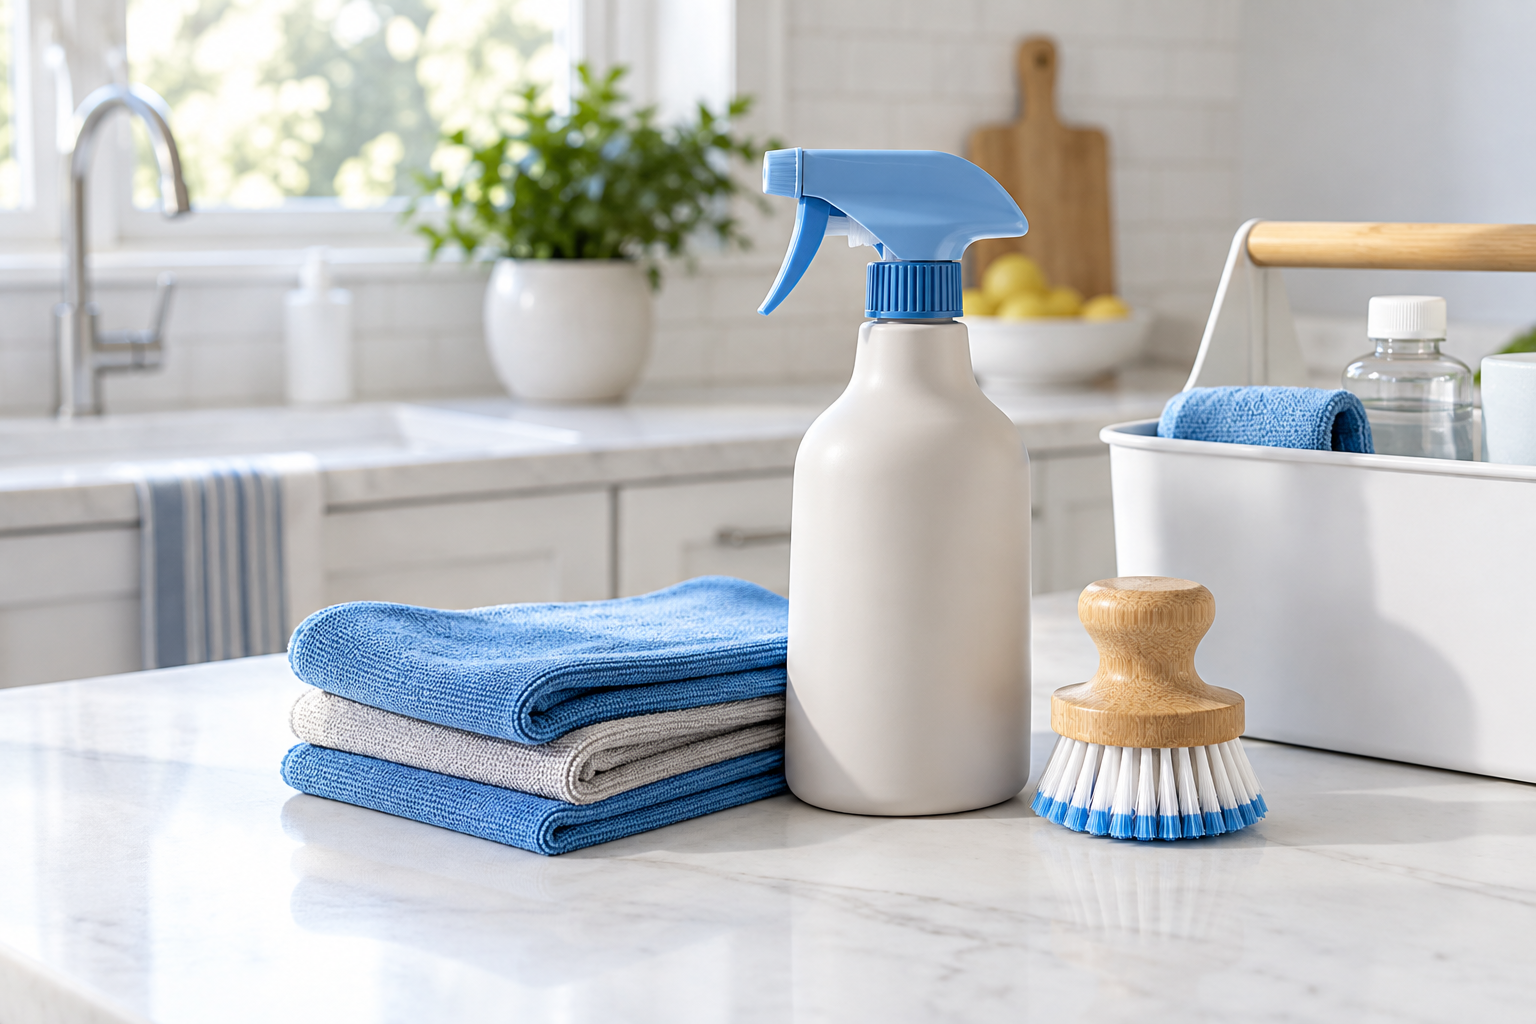
Gather a small kit rather than bringing the whole cleaning cupboard into the room:
- Several clean, soft cloths, with separate cloths for diaper-area work
- A cleaner suitable for the surfaces you will actually tackle
- An appropriate disinfectant when the task calls for one
- Laundry basket, trash bag, vacuum attachments, and a floor-cleaning tool
- Any gloves or other protection required by the product label
Cleaning lifts away dirt and many germs. Sanitizing and disinfecting are additional processes with different purposes; neither is a substitute for removing visible mess. CDC advises that routine household cleaning is often sufficient, with extra disinfection appropriate when someone is sick or has a weakened immune system. A diapering surface needs the more specific care described later. CDC home-cleaning guidance.
For disinfection, read the label before choosing a surface. Check that the product is intended for that material and use, how long the surface must remain wet, whether rinsing is required, and when the item can be used again. A quick swipe followed immediately by drying may not achieve the labeled result. EPA disinfectant-use guidance.
To clean a nursery safely, use products one at a time. Never mix bleach with vinegar, ammonia, alcohol, or other cleaners. Ventilate as directed, keep products in their labeled containers, and lock them away as soon as you finish. A high shelf alone may become reachable as children grow. Do not leave a bucket, open bottle, or cleaning wipe within reach, even during a brief interruption.
Work from the less dirty areas toward the diaper area, changing cloths as you go. Finish with the floor. If you only have time for one job, do that job completely, including required contact time, rinsing, drying, and putting products away. You can leave the bookshelf for another day.
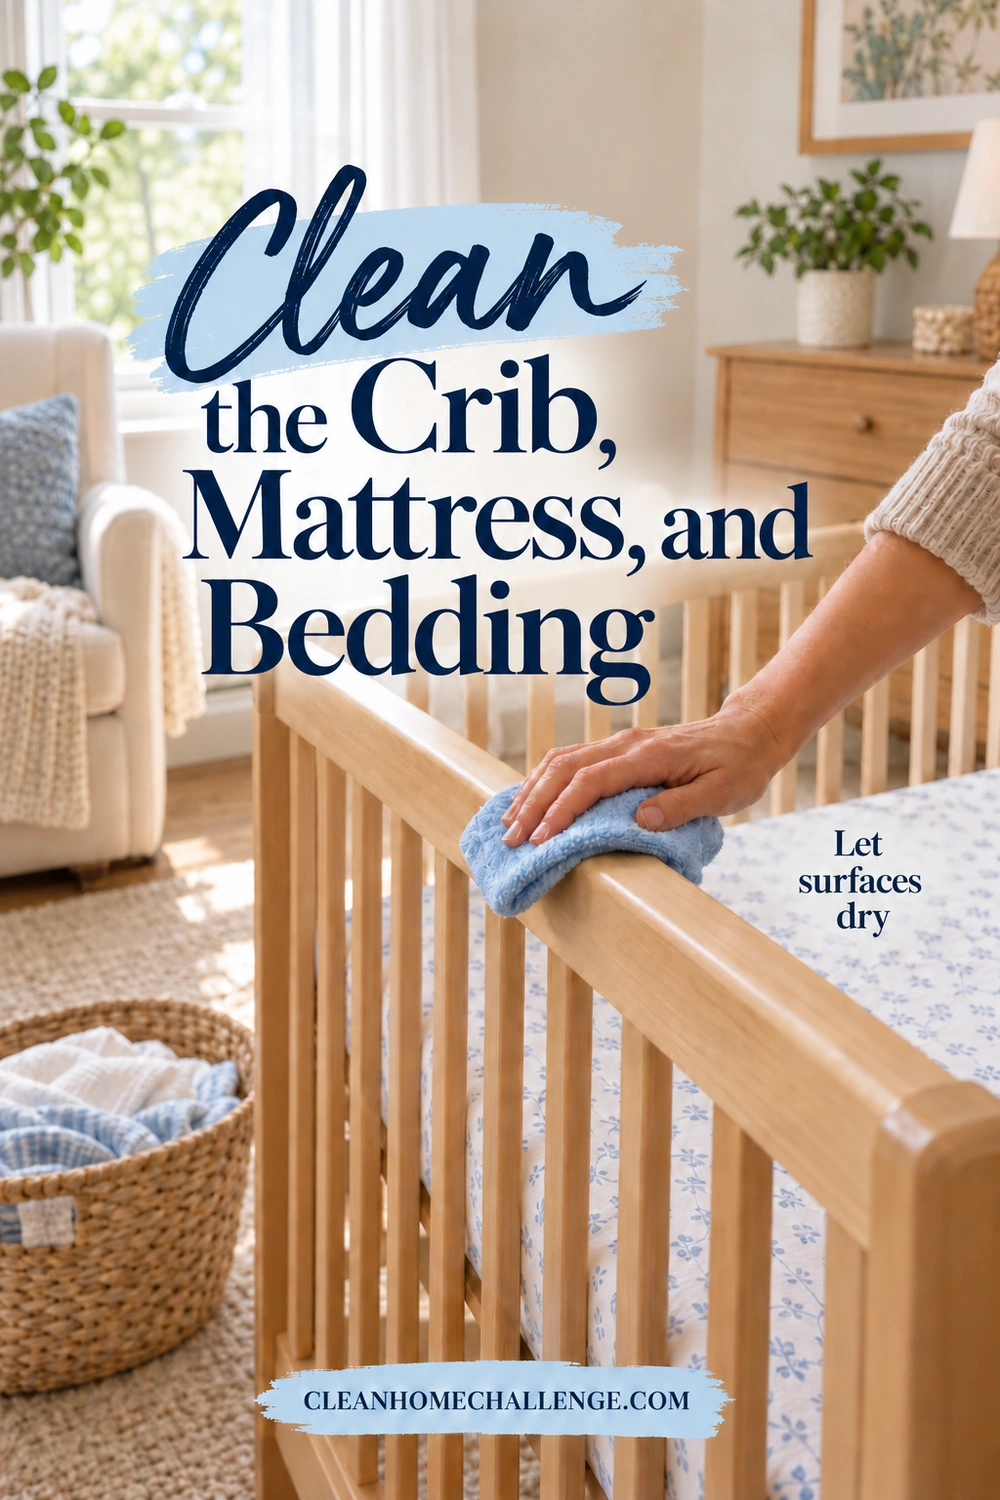
Clean the Crib, Mattress, and Bedding
Start by checking the sheet for spit-up, damp patches, and diaper leaks. Remove soiled bedding promptly, then look underneath before fitting a replacement. Simply covering a wet mattress with another sheet leaves the actual cleanup unfinished.
For an ordinary sheet change, allow around five to ten minutes of hands-on time. Washing and drying take longer, so have a clean spare ready before you begin.
- Move your baby to another safe place and remove the sheet.
- Read the sheet’s care label, then wash it with detergent using the recommended settings. Dry it completely.
- Inspect the mattress cover, seams, and edges. Check for damage as well as dirt.
- Clean only as the mattress manufacturer permits. Some surfaces can be wiped; some covers can be laundered; others are spot-clean only.
- Wipe accessible crib rails and corners with a method approved for the finish. Keep moisture out of joints and hardware.
- Wait until all cleaned components are dry, then refit everything according to the product instructions.
Mattress care varies even within one brand. Sealy’s instructions, for example, distinguish between machine-washable covers, spot-clean-only covers, and wipe-clean surfaces. A removable zipper does not automatically mean a cover belongs in the washing machine. Look up the exact model rather than borrowing instructions from a similar-looking mattress. Sealy model-specific care instructions.
Avoid improvised mattress treatments such as steam, powders, essential oils, soaking, or fragranced sprays. They are unnecessary additions to this routine and may be incompatible with the product. If liquid has reached material you cannot safely clean and dry, ask the manufacturer what to do. Do not hide damage or persistent dampness beneath extra padding.
The finished sleep space must remain firm, flat, and uncluttered, with the correctly fitted sheet. Do not add towels, pillows, loose blankets, toys, or extra cushioning after cleaning. These safe-sleep basics apply to bassinets and play yards too. CPSC safe-sleep guidance.
If you clean the nursery before your baby arrives, work early enough for everything to dry before it is needed. Wash the first set of bedding, remove packaging, and set aside the assembly and care instructions. There is no need to repeatedly deep-clean an unused crib simply because the due date is getting closer.
One useful weekly check: make sure clean sheets still fit snugly after washing. A stretched, damaged, or incorrectly sized sheet should not be used as a workaround. The AAP also advises against putting blankets or pillows between the mattress and fitted sheet. AAP safe-sleep recommendations.
Reset the Changing Area and Diaper Pail
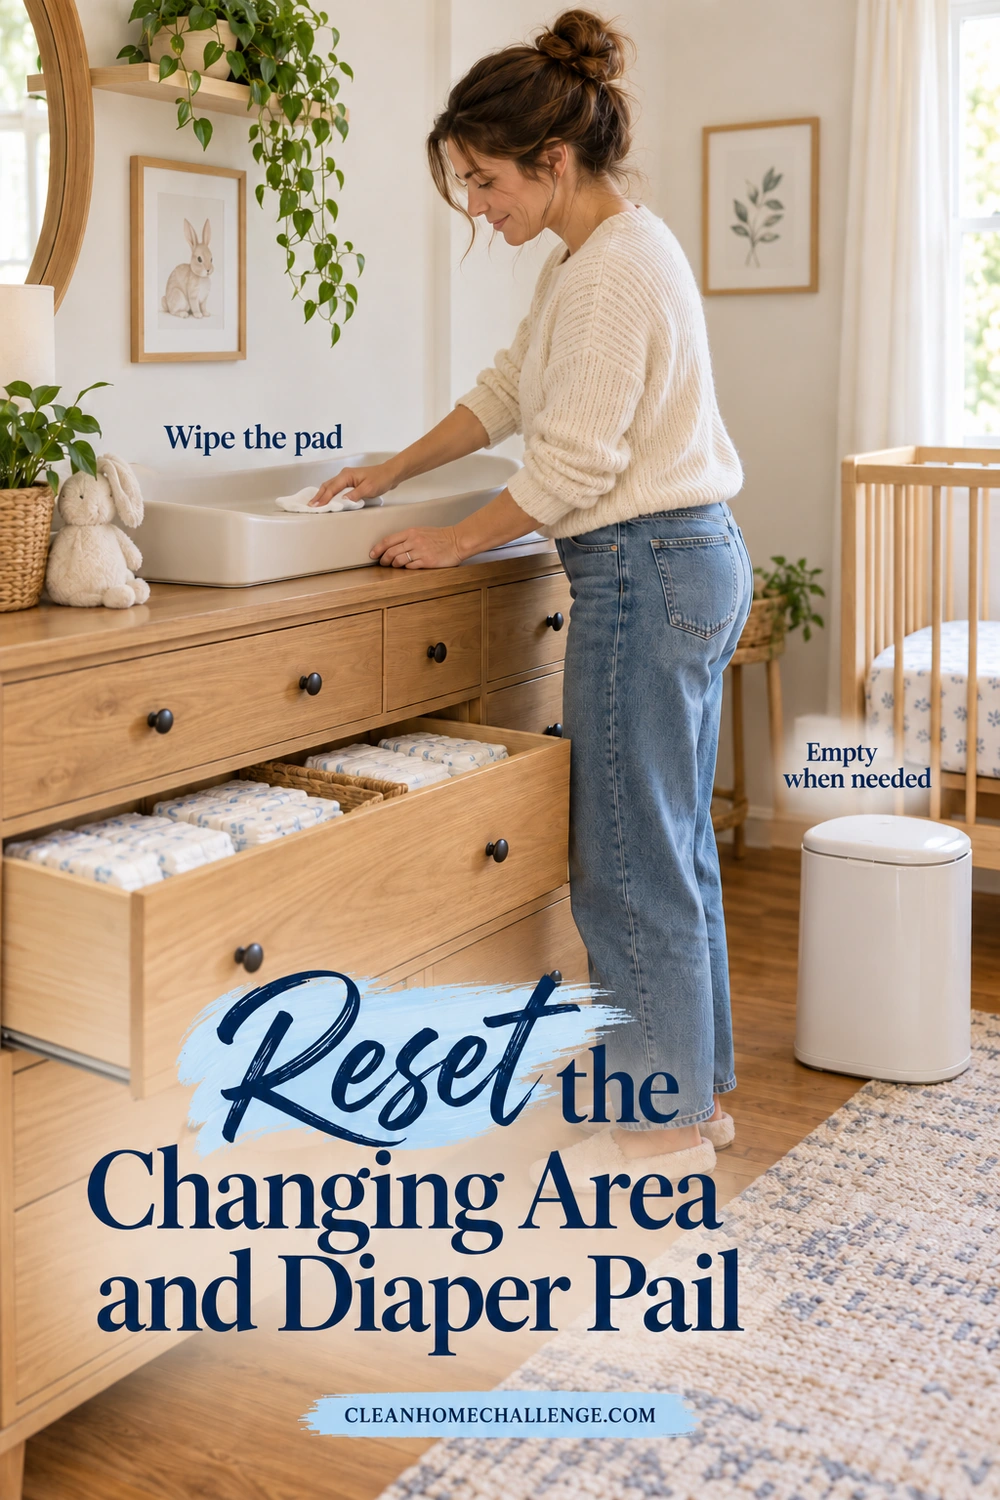
The changing area deserves attention as part of the diaper change, rather than waiting for the weekly room clean. Keep clean diapers and clothing ready before you begin, and keep one hand on your baby while they are on the changing surface. Never step away to fetch a cleaning product.
After the change, wash your child’s hands and move them to a safe, supervised place before cleaning. For a waterproof changing surface, remove visible soil, then use an appropriate disinfectant according to its label and the changing-pad instructions. Follow the required wet contact time, any rinsing directions, and drying directions before the next use. Replace a soiled fabric cover with a clean one and check underneath for leakage. Wash your own hands afterward. CDC diaper-changing-at-home guidance.
Baby wipes are useful for removing the initial mess, but do not assume they disinfect. Likewise, a product sold for nursery use is not automatically compatible with every changing pad. Check the pad’s manual if a cleaner could affect its coating, seams, or straps.
Make the surrounding area easier to maintain with a simple layout:
- Put everyday diapering supplies within the caregiver’s reach but outside the baby’s grasp.
- Keep a spare clean cover or outfit in a drawer, separate from used clothing.
- Use a defined spot for dirty laundry so it does not end up on the feeding chair.
- Keep feeding items and clean toys away from diaper-cleanup supplies.
- Check drawer handles and the pail lid when cleaning the station.
For the diaper pail, emptying it before it becomes tightly packed is usually the most useful daily job. At each bag change, look for leaks, trapped scraps, and anything caught around the lid. Do not assume the inside should be sprayed, soaked, or hosed out.
Some pails have very specific restrictions. Ubbi instructs owners to use a dry cloth and avoid liquids in its steel diaper pail because trapped moisture can contribute to mold and rust. Follow your own model’s directions; if contamination cannot be addressed by the approved method, contact its manufacturer. Ubbi care FAQ.
A lingering smell is a cue to check for a full bag, a leak, or forgotten laundry. Adding fragrance does not remove the source. Start with those small checks before taking apart the whole room, and never add a cleaning mixture to a closed pail.
Wash Toys, Books, and Play Surfaces
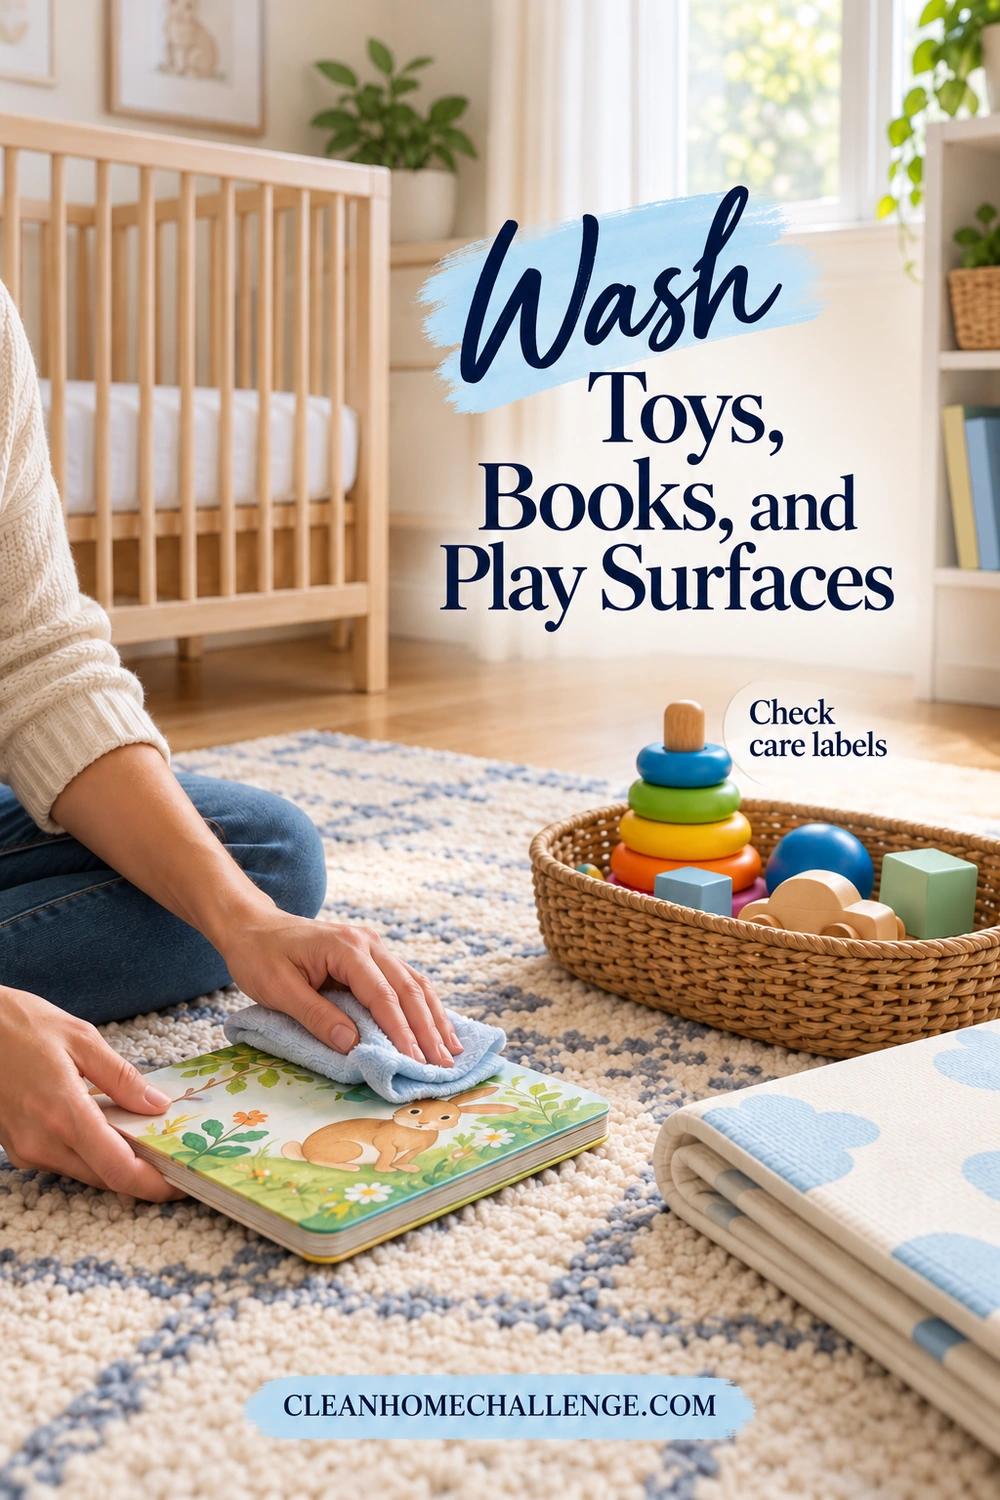
A modest toy rotation makes cleaning much easier. Keep a few age-appropriate playthings available, and put items that need washing in a clearly separate container out of your baby’s reach. Return them to the clean basket only when the cleaning and drying are finished.
As a practical routine, check toys after play and clean mouthed or visibly dirty items before their next use. Clean a toy before another child uses it if it has been in someone’s mouth. During illness, follow any extra instructions from your pediatrician and choose a method the toy can tolerate.
Sort by material rather than putting everything into one hot, soapy bucket:
- Hard plastic or silicone: Check whether handwashing, dishwashing, or another method is allowed. “Plastic” alone does not establish dishwasher safety. Pay attention to crevices and drainage holes, then rinse and dry as directed.
- Wood: Use the manufacturer’s approved wiping method and avoid soaking. Check for splinters, peeling finishes, or damaged joints before returning the toy.
- Fabric toys: Check the care label and whether the item contains electronics, rattles, or other components that change its washing instructions. Dry completely before storing.
- Electronic toys: Follow the manufacturer’s cleaning directions. Avoid getting liquid into switches, speakers, or battery compartments.
- Board books and printed cards: Use the permitted dry or lightly damp cleaning method. Avoid saturating edges and bindings; set damaged or peeling books aside.
Lovevery’s guidance illustrates why this sorting step matters: its wooden items should not be exposed to excess water, its books need gentle wiping, and its plastic items should not go in a dishwasher unless the individual instructions allow it. Its teething toys also have restrictions on boiling and sanitizing. Use the directions for your own toy rather than applying one brand’s method to everything. Lovevery plaything-care guidance.
For a play mat, clear the toys first and inspect both sides. Crumbs and damp patches can sit underneath even when the top looks tidy. Wash a fabric mat only as its label permits; use a compatible cleaner on a wipeable mat. Let both the mat and the floor beneath it dry before laying it down again.
Do not promise yourself that every toy needs sanitizing every night. Where sanitizing is appropriate, the method must be compatible with the item. If health advice calls for a process the toy cannot tolerate, set it aside and ask the manufacturer or your care team about a suitable alternative. A smaller clean play basket is easier to manage than a large pile of damp toys waiting to be sorted.
Tackle Floors, Furniture, and Hidden Dust
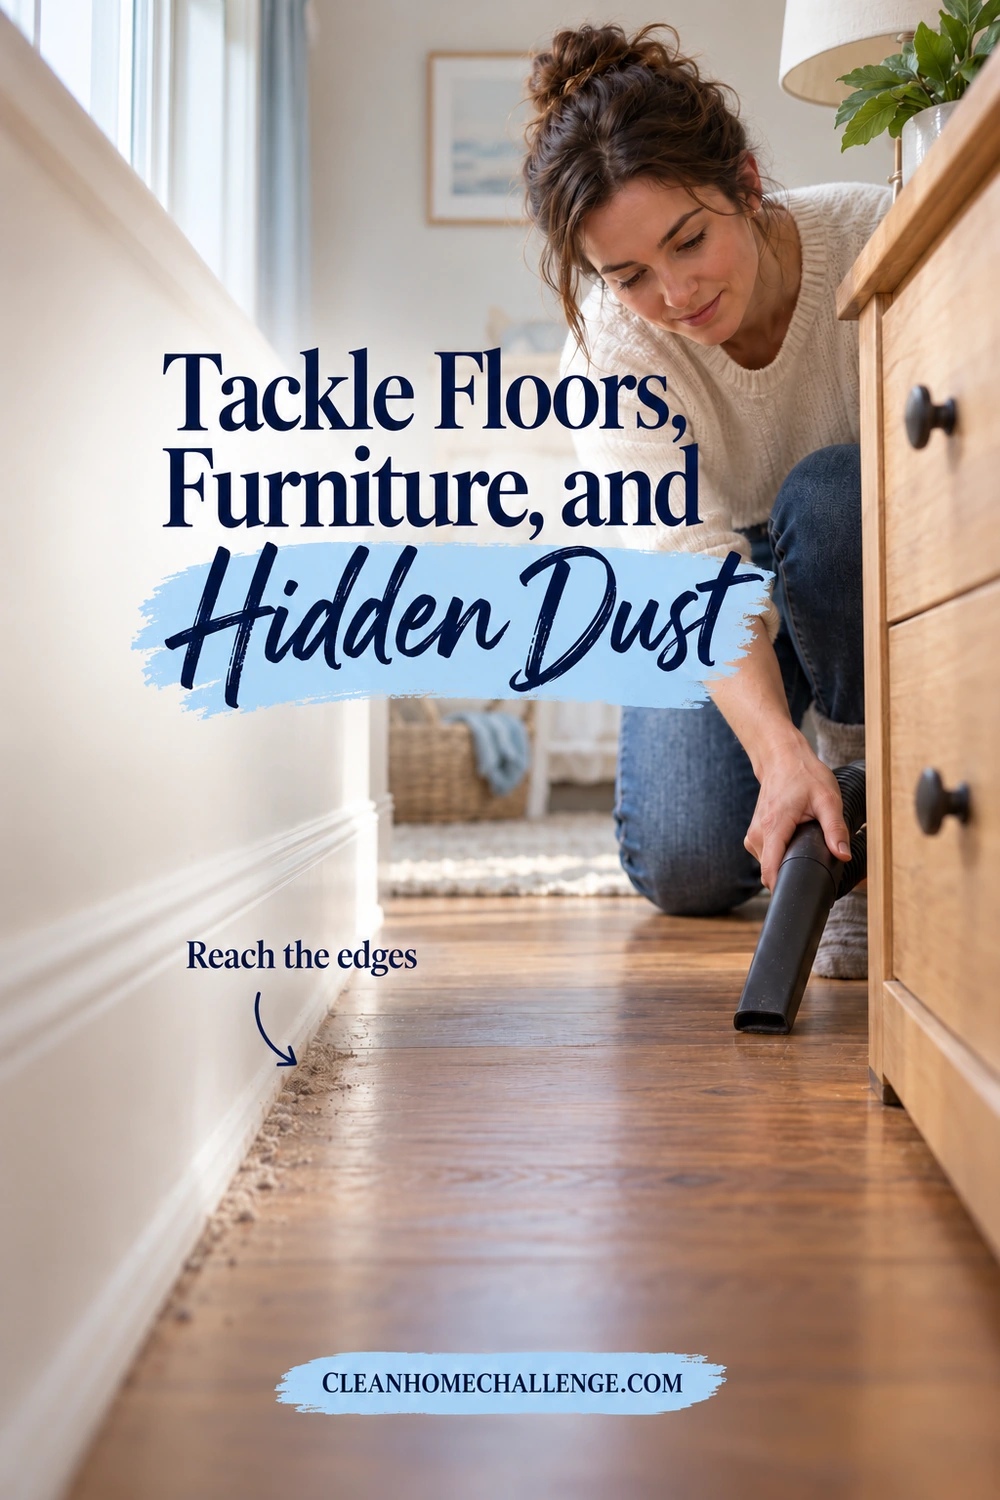
Start this part of the weekly reset by clearing the route from the doorway to the crib and changing station. Put laundry in the hamper and toys in their proper place. You can clean much more efficiently when you are not stopping every few feet to move something.
Dust accessible shelves and furniture before vacuuming. Work on one surface at a time: lift a few items, clean the space beneath them with a finish-compatible method, and replace only what belongs there. Keep decorations and storage items out of the sleep space throughout the process.
For the feeding chair, check seams, the seat edge, armrests, and the floor beneath it. Remove crumbs with a suitable vacuum attachment. Treat spills according to the upholstery label, testing a permitted cleaner in an inconspicuous area first. Do not assume a removable cushion cover can be machine washed. Give damp upholstery time to dry before the chair is used again.
Vacuum the rug or carpet slowly enough to collect visible debris, including around chair legs and the edges of the play area. Use an attachment to reach under furniture without moving heavy pieces alone or disturbing safety anchors. A quick pass through the most-used area can bridge the gap between weekly cleans.
For hard floors, choose the method for the actual finish, not just its appearance. Wood, laminate, vinyl, and tile can have different care requirements. Remove dry debris first. If a flat mop is appropriate, use a clean pad and pull it back toward you in controlled, overlapping passes, working toward the doorway. Change the pad when it becomes dirty instead of spreading the same residue around.
Use the amount of moisture your floor manufacturer allows. Bona’s wood-floor guidance warns against excess water and steam on timber floors. Keep the play area out of use until the floor has dried. Bona floor-care guidance.
Once a month, choose one less-visible job: baseboards, accessible vents, the underside of the play mat storage area, or dust behind the chair. You do not need to empty every drawer to make this worthwhile. For monitors, sound machines, and lights, follow their cleaning instructions rather than spraying them directly.
If you use a humidifier: give it its own checklist. EPA recommends daily emptying, drying, and fresh water for portable units, plus cleaning every third day. Follow the model’s instructions for products, rinsing, filters, and safe placement. Unplug it before care, and reduce or stop use if surrounding surfaces become damp. EPA humidifier-care guidance.
Keep the Nursery Clean in Small Time Blocks
A sustainable nursery hygiene routine has a clear stopping point. Plan for the room you have and the mess in front of you, rather than aiming for a showroom finish.
Two-minute check: remove used feeding items, put dirty clothing in the hamper, pick up visible debris, and check the sheet and changing area. If you find a mess that needs a longer cleanup, make the area safe and complete that job properly. The timer is a planning tool, not permission to shorten a disinfectant’s contact time.
Ten-minute reset: choose one contained task. Change the sheet and start the laundry, clean a small batch of washable toys, or clear and clean the feeding-chair area. Avoid starting all three and leaving the room full of unfinished piles.
Twenty- to thirty-minute weekly session: gather supplies, strip bedding if due, dust reachable furniture, clean frequently handled surfaces, and vacuum the floor. Add mat cleaning or mopping only when needed and when you can allow enough drying time. This is a hands-on estimate; laundry cycles, soaking allowed by a product’s instructions, and drying are separate.
If you follow the Clean Home Challenge weekly rhythm, combine the nursery furniture and bedding with Wednesday’s bedroom tasks. Do the floor with Friday’s floor routine and use Saturday’s laundry catch-up for any washable items still waiting. Urgent messes stay on their own schedule.
Make the routine easy for another caregiver to follow. A short note inside a cupboard can say which cloths belong to the diaper area, where spare sheets live, and where to find the mattress and toy instructions. Keep cleaning products locked away, rather than creating an accessible nursery cleaning station.
When illness changes the household routine, return to the relevant cleaning and disinfection guidance and any advice from your care team. Do not assume that spraying every soft surface is useful or compatible with the material. When the room is simply untidy, start with laundry, trash, and a clear walking path.
For more manageable routines and practical support, the Cleaners Clubhouse is a helpful next step. Start with the habits that make your next diaper change, playtime, or sheet change easier. A clean, usable nursery grows from those repeatable jobs, one small reset at a time.

CLEANERS CLUBHOUSE
Follow a Simple Room-by-Room Cleaning Plan
Break the house into manageable spaces and know exactly where to focus next. The Cleaners Clubhouse gives you a follow-along 12-month calendar, printable worksheets and motivating monthly challenges.
