

THIS POST MAY CONTAIN AFFILIATE LINKS. PLEASE READ MY DISCLOSURE FOR MORE INFO.
Saturday morning is a lovely time for a slow breakfast, a family outing, or simply doing less. It becomes harder to enjoy when every room and laundry basket is waiting for attention.
A 5 day cleaning schedule gives your regular housework a place between Monday and Friday. The room order is simple: kitchen, bathrooms, bedrooms, living areas, then floors. Laundry gets smaller weekday appointments, so it doesn’t automatically become Saturday’s main event.
Keeping weekends free means protecting them from the planned whole-house clean. Dishes, spills, and urgent hygiene needs still happen. This routine helps you handle those basics while leaving more room for the things you want to do.
Disclosure: This post may contain affiliate links. As an Amazon Associate, Clean Home Challenge earns from qualifying purchases. If you make a purchase through these links, we may earn a small commission at no extra cost to you. This helps us keep creating practical cleaning tips, routines and resources for busy families! 🧽
Build a 5-Day Cleaning Schedule That Fits Your Home
Start with this weekday map:
- Monday: Kitchen. Clear and clean the main work surfaces, sink, and everyday cooking mess.
- Tuesday: Bathrooms. Clean toilets, sinks, and the shower or tub that needs attention.
- Wednesday: Bedrooms. Put clothes away, dust accessible surfaces, and change bedding when due.
- Thursday: Living areas. Return belongings, dust, and prepare the rooms for floor cleaning.
- Friday: Floors. Vacuum and clean suitable hard floors, then put the equipment away.
If you already use the Clean Home Challenge weekly cleaning schedule, this version makes a specific adjustment: move the laundry catch-up into weekday slots and give unfinished work a decision before the weekend begins.
Set a room budget and keep daily work visible
Try a 20- to 30-minute appointment for the day’s focus area. These are planning allowances, not tested completion times. Multiple bathrooms, several bedrooms, mobility needs, or substantial buildup may require more time, another person, or smaller sections.
Meal cleanup, daily tidying, and laundry handling are additional work. Count them when you choose a realistic routine. A 25-minute room clean plus a 15-minute household reset is already 40 minutes, before laundry or interruptions. You can split the room appointment into two shorter sessions.
Keep the daily essentials short:
- Wash dishes and clean food-preparation surfaces after use.
- Deal with spills, food scraps, and trash that needs removing.
- Put misplaced items back and keep walking routes clear.
- Move any active laundry to its next step.
- Straighten beds if that helps the room feel ready.
A quick pickup works best when belongings have somewhere to go. If a surface is buried, clear one usable patch first. Save a wardrobe or toy-storage overhaul for a separate appointment.
Give each job an owner
Agree who notices, starts, finishes, and puts supplies away. “Own Tuesday’s bathroom” is clearer than “help with cleaning.” Divide work by time and ability, including the effort of keeping supplies stocked. For a solo household, shrink the task list to the time available.
Children can handle suitable jobs such as putting books back or matching socks, with supervision appropriate to their age and ability. Keep chemicals and powered cleaning equipment with a responsible adult.
Gather clean cloths, a suitable cleaner for each surface, a toilet brush, vacuum or broom, and floor-cleaning equipment. Follow labels, ventilate as directed, wear recommended protection, and store products away from children and pets. Poison Control advises never mixing household cleaning products, including bleach with toilet cleaner, vinegar, or ammonia.

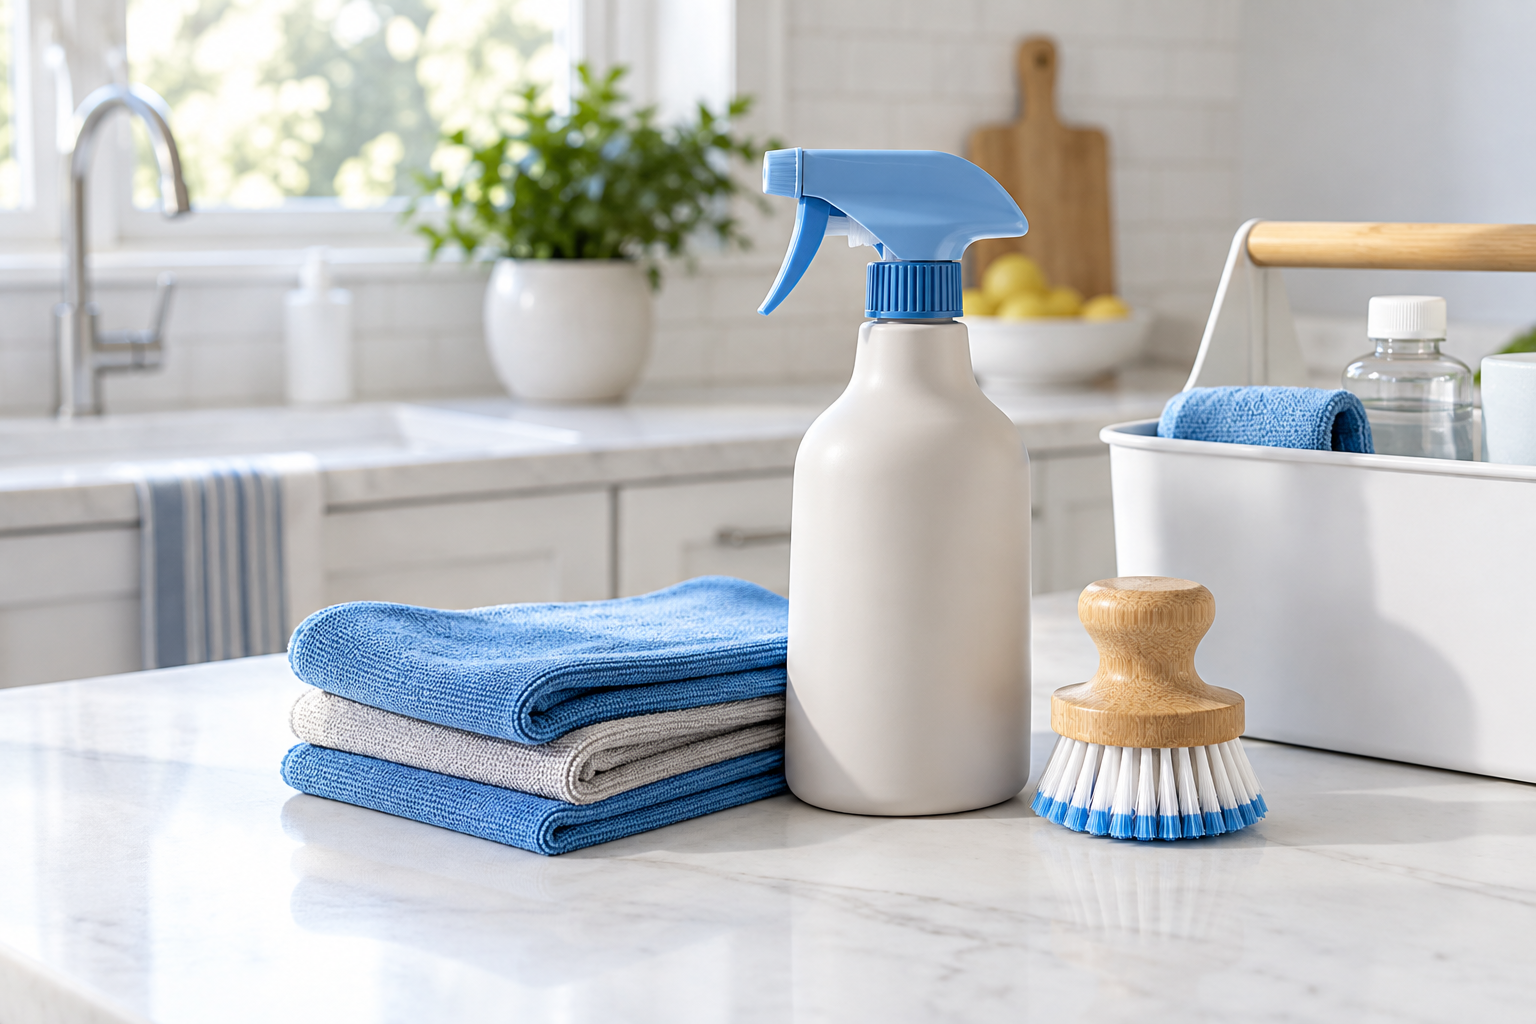
Monday: Reset the Kitchen
Monday’s kitchen appointment gives you usable space for the meals ahead. Everyday food cleanup still happens throughout the week; this is a focused pass over the places that collect splashes and fingerprints.
Have ready: kitchen-only cloths, a non-scratch cleaning tool, a surface-compatible cleaner, and a trash bag if needed.
Work around the room once
- Clear the sink and work area. Wash or load dishes, return food to storage, and remove obvious trash. Put unrelated belongings in their proper rooms without starting another cleaning job.
- Clean the counters and backsplash. Move a few items at a time, clean underneath, and replace them. Follow the product’s directions for wiping, rinsing, and drying.
- Wipe the cooled cooktop. Remove fresh food residue using the appliance maker’s recommended method. Leave a burnt-on patch that needs special treatment for a planned extra slot.
- Clean frequently handled spots. Include cupboard pulls, the refrigerator handle, and visible marks on appliance fronts, using a compatible method for each finish.
- Finish the sink. Remove debris, clean the basin and faucet, rinse as required, and leave the area ready to use. Put used cloths into your cleaning-cloth laundry system.
Choose a cleaner that matches your countertop. For natural stone, avoid improvising with vinegar, lemon, or abrasive powder. The Natural Stone Institute explains that acids can etch some stones and abrasive products can scratch them. Follow the stone and sealer supplier’s care guidance.
Food-safety jobs take priority over the calendar. Clean and then sanitize surfaces contaminated by raw meat or poultry juices using a product suitable for that food-contact surface and its label directions. Don’t leave that cleanup until the next kitchen day. This distinction is covered in the CDC’s household cleaning guidance.
Low-energy version: deal with dishes, food residue, and one clear preparation surface. Wipe urgent spills.
Your stopping point: the kitchen is usable for the next meal. Reorganizing the pantry, cleaning the oven interior, and emptying every refrigerator shelf belong on a separate list.

Tuesday: Clean the Bathrooms
Bathrooms are easier to plan when “clean the bathroom” means a short, agreed checklist. Start with the bathroom used most, then repeat the essentials in other bathrooms as capacity allows.
Have ready: separate bathroom cloths, a dedicated toilet cloth or disposable option, toilet brush, non-scratch tool, gloves as directed, and suitable products.
Follow a clean-to-dirty route
- Remove laundry and empty trash when needed. Clear enough items from the vanity to reach the surface. Keep toiletries together so they are easy to replace.
- Clean the mirror, vanity, and sink. Work from higher surfaces downward. Use a fresh part of the cloth as it becomes dirty.
- Clean the shower or tub. Follow the cleaner’s instructions for application, any waiting time, rinsing, and ventilation. Match the product to the tile, stone, glass, grout, or acrylic finish.
- Clean the toilet last. Use the dedicated brush for the bowl and a separate cloth for the exterior, seat, and surrounding contact points. Never return that cloth to the sink or kitchen.
- Finish safely. Rinse away products where directed, remove any slippery residue, replace needed towels, and put supplies away. Clean a visibly dirty bathroom floor now rather than waiting for Friday.
A daily bathroom doesn’t need every decorative item polished each week. Prioritize the fixtures people use and visible soil. If there are several heavily used bathrooms, split ownership or place the second bathroom in another weekday slot.
Know when disinfecting is needed
Cleaning removes dirt and germs; sanitizing reduces germs to levels considered safe under public-health standards. Disinfecting uses a suitable product to kill germs remaining on surfaces. The CDC recommends disinfection in addition to cleaning when someone is sick or has a weakened immune system. Follow relevant illness-specific guidance when it applies.
When disinfecting, clean first, use a product labeled for the surface, and keep it visibly wet for the full label contact time. The EPA explains why that wet contact time matters. A cleaning timer never overrides product directions.
Low-energy version: clean the toilet and sink, deal with visible contamination, and provide a clean hand towel when needed.
Your stopping point: the everyday fixtures are clean and usable. Grout restoration and persistent limescale need their own suitable method and appointment.

Wednesday: Refresh the Bedrooms
The bedroom routine should leave space to sleep, dress, and walk comfortably. Opening every drawer can turn a manageable clean into a much larger project, so keep storage sorting off this week’s basic checklist.
Have ready: a hamper, a basket for belongings, a clean dusting cloth, and replacement bedding when due.
Give each bedroom the same short sequence
- Collect dishes and trash. Return cups to the kitchen and empty a wastebasket if needed.
- Deal with clothing. Put dirty clothes in the hamper and clean clothes in drawers or on hangers. Choose a small, defined spot for clothing that can be worn again so it doesn’t spread across the room.
- Clear the bed and floor. Return books, toys, and bags to their homes. Keep a safe route to the door, especially around chargers and bedside items.
- Dust accessible surfaces. Work across bedside tables, dresser tops, and reachable shelves. Use the furniture maker’s recommended method and avoid saturating wood or delicate finishes.
- Refresh bedding when due. Remake the bed or replace used linen according to your household’s needs. Send removed bedding to a specific laundry slot.
Several beds can mean several washloads. Don’t strip all of them simply because it is bedroom day if you cannot wash and dry the linen or provide clean replacements. If practical, put a spare set on immediately and spread the removed bedding across planned weekday loads.
Bedding soiled by an accident needs prompt attention, regardless of the day. Keep the care label in charge of washing and drying settings.
For a shared home, each person can take responsibility for their clothing and reachable surfaces. Another household member can handle the bedding or tasks they cannot safely manage. Agree what “finished” looks like without requiring everyone to arrange their belongings identically.
If vacuuming a small bedroom now is more convenient, do it and cross it off Friday’s list. The schedule should avoid duplicate work.
Low-energy version: clear the bed, gather dirty clothes, and make the walking route safe.
Your stopping point: the bed is ready for sleep, essentials are accessible, and laundry has a destination. A perfectly arranged closet can wait.

Thursday: Tidy the Living Areas
Thursday is for the rooms where everyone drops things: living room, family room, dining space, and the everyday entry area. The aim is to make them comfortable and prepare exposed floors for Friday.
Have ready: a return-items basket, clean dusting cloths, and the correct upholstery attachment if needed.
Clear, dust, then reset
- Remove food waste and dishes. Take cups and plates to the kitchen before they become part of the furniture.
- Return belongings. Put books, toys, shoes, and bags away. Give each household member a small group of their own items to deal with.
- Dust reachable surfaces. Start higher and work down to side tables and other frequently used surfaces. Lift light objects instead of cleaning around every item.
- Check the seating. Remove crumbs with an upholstery attachment where the furniture’s care instructions allow. Handle spills promptly using a method suitable for that fabric.
- Prepare the floor. Clear loose items and cords from walking and vacuuming routes. Leave heavy furniture in place unless it can be moved safely and without damaging the floor.
Read upholstery care instructions before using water, a stain remover, or a steam cleaner. A washable cushion cover doesn’t automatically mean the upholstery underneath can be wet-cleaned. Test an allowed product in an inconspicuous area when the maker recommends it.
Keep the general-purpose spray away from screens. Follow the device manufacturer’s instructions; some finishes need special care. For example, Apple’s cleaning guidance warns against spraying liquid directly onto devices and gives different instructions for different products and displays.
A return-items basket is temporary transport. Finish by emptying it into the correct places, or hand each person their belongings. If nobody knows where something belongs, choose one small storage decision for another day instead of filling a new mystery basket every week.
Low-energy version: remove food waste and dishes, clear a place to sit, and restore a safe walking route.
Your stopping point: people can use the seating and main surfaces, and the floor is ready to clean. Sorting every game, book, and photograph is a separate job.

Friday: Finish the Floors
Friday brings the weekday room work together. With belongings already returned and surfaces dusted, there should be less stopping and starting while you move through the house.
Have ready: a vacuum or broom suitable for your floors, a flat mop with clean pads where appropriate, and the correct floor cleaner.
Take the shortest useful route
- Check the equipment. Empty or service the vacuum as its manual directs. Check the floor head and wheels for trapped grit before using them on a delicate surface.
- Remove dry dirt first. Vacuum or sweep accessible floors, including the entry and dining area. Use the appropriate floor-head setting for carpet or hard flooring.
- Clean compatible hard floors. Follow the flooring and cleaner instructions for product choice, quantity, application, and drying. Different rooms may need different methods.
- Use a controlled flat-mop pass. On a floor suitable for this method, work in small sections with overlapping pull-back strokes, bringing the mop toward you as you move toward the exit. Replace a dirty pad rather than spreading residue onward.
- Allow floors to dry. Keep people and pets off wet sections, then clean the tools and store them according to their instructions.
Avoid soaking floors or assuming steam is suitable. Wood, laminate, vinyl, and stone each have particular care requirements. Bona warns that steam and excess moisture can damage wood flooring; your own floor maker’s instructions remain the deciding guide.
Give busy routes priority if the whole home exceeds your time allowance. Divide floors between household members or move one section to its room day. Record less-used areas on a realistic rotation so they don’t disappear from the plan indefinitely.
Low-energy version: vacuum the busiest routes and safely clean sticky spots, spills, and visible mess. Everyday crumbs may need extra attention between Fridays, especially with pets or children.
Your stopping point: the scheduled floors are clean, drying safely, and the tools are dealt with. Finish with a brief check that essentials for the weekend are available, rather than starting another room.

Move Laundry Into Manageable Weekday Loads
Laundry is the part that needs honest counting. One load each weekday provides five load slots. If your household generates eight, the remaining three won’t disappear because the planner says “weekend off.”
For one typical week, count the loads you actually wash and dry, including clothes, towels, bedding, and cleaning cloths. Then match that number to available washing, drying, and putting-away time.
Allocate real loads, not whole categories
A starting five-slot plan could look like this:
- Monday: one load of everyday clothes.
- Tuesday: one load of towels.
- Wednesday: one load of bedding.
- Thursday: a second load of everyday clothes.
- Friday: the most-needed remaining load, such as clothes, bedding, or cleaning cloths washed appropriately.
These are example slots. They do not imply that all your towels or sheets fit into one load, or that every household needs those items washed on the same timetable. Sort according to fabric care, color, soil, and the appliance’s guidance.
For seven weekly loads, you need two extra slots. You might complete two loads Monday and Thursday, with one on the other weekdays. That works only if your drying capacity and available time support it. Shared laundry facilities may make two planned weekday visits more practical than daily loads.
Don’t squeeze excess laundry into an overloaded drum. Whirlpool notes that overloading can interfere with washing and that an overfilled dryer restricts the movement and airflow needed for drying.
Plan the finish before pressing start
Give every load a person and three appointments: start, transfer or hang, and put away. Use an alarm if the end of the cycle is easy to miss. Count drying-rack space as capacity, too; a full rack may be the real bottleneck.
Starting a load when you get home can work if there is enough time to finish it safely while you’re awake and at home. Follow appliance safety instructions. The NFPA’s dryer safety advice includes cleaning the lint filter before or after each load and turning the dryer off before leaving home or going to bed.
Use detergent and the care-label settings, and dry laundry fully before storing it. CDC laundry guidance also recommends washing hands after handling dirty laundry.
Keep putting away simple: sort clean items by person, use easy-to-reach drawers, and let capable household members finish their own basket. If Friday arrives with several unfinished loads every week, revise the capacity plan. Add a feasible weekday slot, redistribute the work, or accept a small weekend exception rather than promising an impossible routine.

Catch Up Without Losing Your Weekend
A workable schedule needs a response to missed days. Otherwise one late meeting can turn into three rooms waiting on Saturday.
Choose what happens to unfinished work
When you miss a room appointment, sort the remaining jobs into three groups:
- Do promptly: food contamination, accidents, spills, overflowing trash, and anything creating an immediate hygiene or safety problem.
- Give a weekday slot: a bathroom clean, essential laundry, or another task that cannot reasonably wait until its next regular day.
- Leave until the next turn: low-priority dusting or cosmetic details that can safely wait, based on how the space is used.
Protect one short catch-up slot on your least crowded weekday. You could use the last ten minutes of Thursday’s appointment for a missed bathroom task while reducing that day’s decorative dusting. If the task needs longer, agree on an actual time or another owner. Don’t add a full missed day to an already full evening.
Monthly and seasonal work also needs a home. Keep a separate list and schedule one appropriate extra task when capacity allows, such as cleaning a refrigerator shelf or an accessible baseboard section. Larger jobs need their own planned time. Repeatedly postponing necessary maintenance is a sign to change the workload.
Keep the weekend minimum clear
Your weekend basics are the tasks that let life continue comfortably:
- Handle dishes and food-preparation cleanup.
- Deal with spills, accidents, and immediate hygiene needs.
- Remove trash when needed and keep essential routes clear.
- Finish any already-active laundry and wash urgently needed items.
A weekend spill doesn’t mean the routine failed. Neither does doing a necessary load after a busy or difficult week. The useful change is that Saturday no longer carries the automatic expectation of five rooms plus all the laundry.
After two weeks, check where the plan felt too full. Shorten a checklist, move a task to a better weekday, or share responsibility differently. Keep the familiar Monday-to-Friday order if it helps, but let your actual home determine the amount of work.
Start with today’s room and the daily essentials. Finish at the agreed stopping point, put the supplies away, and let that be enough for now.

CLEANERS CLUBHOUSE
Make Your Cleaning Routine Easier to Follow
Stop wondering what to clean next. Inside the Cleaners Clubhouse, you’ll get a practical 12-month cleaning calendar, printable worksheets and monthly challenges to help you keep moving without trying to do everything at once.
