

THIS POST MAY CONTAIN AFFILIATE LINKS. PLEASE READ MY DISCLOSURE FOR MORE INFO.
Cleaning before baby arrives is easier to plan when you picture the first few days at home: somewhere clear to sleep, a usable kitchen, clean clothes within reach, and a bathroom that is ready for everyday use. Those jobs deserve a place near the top of the list. Polishing every cabinet hinge can wait.
This whole-home checklist helps you tackle the bigger preparation jobs once, share them with anyone offering help, and leave room for rest. You can spread the work across several weeks, finish one small area at a time, or use the essentials-only version if your baby arrives before the house feels ready.
A newborn does not require a sterile house. CDC household guidance says ordinary cleaning removes most germs from surfaces; extra disinfection is appropriate in particular circumstances, including illness. Feeding equipment has its own hygiene requirements, covered below. Follow your maternity or pediatric care team’s individual advice if you or your baby needs additional precautions.
Disclosure: This post may contain affiliate links. As an Amazon Associate, Clean Home Challenge earns from qualifying purchases. If you make a purchase through these links, we may earn a small commission at no extra cost to you. This helps us keep creating practical cleaning tips, routines and resources for busy families! 🧽
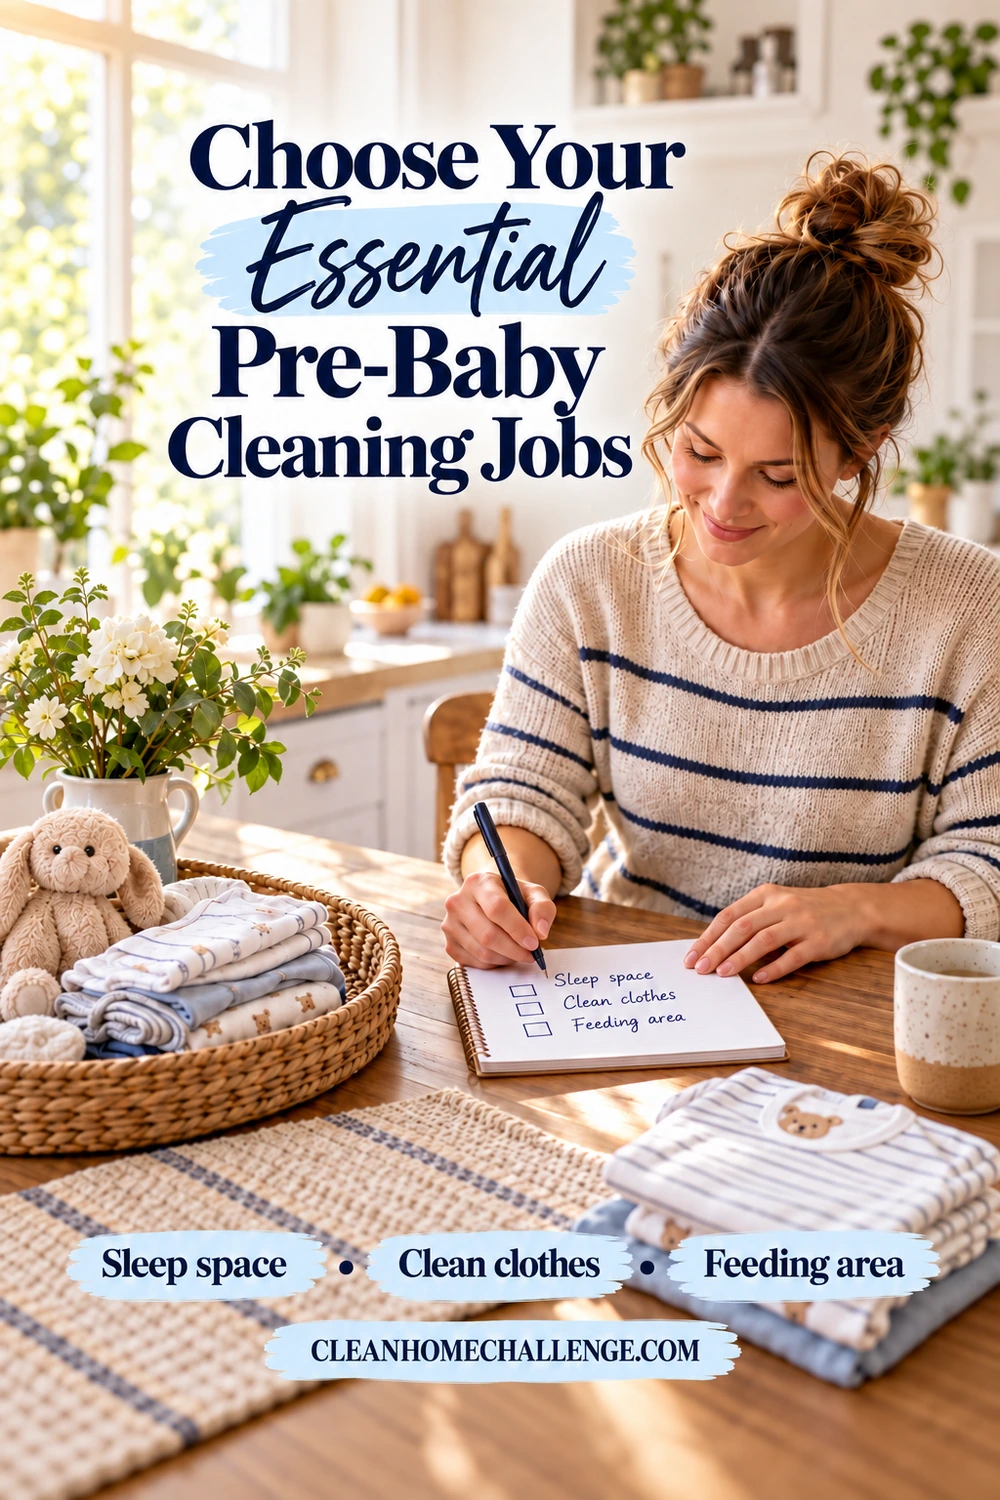
Choose Your Essential Pre-Baby Cleaning Jobs
Start with a short walk through the rooms you will actually use. Bring a notepad, pick up obvious trip hazards, and resist opening every drawer. Your aim is to identify a manageable starting point.
Put the useful jobs first
Make three lists:
- Essential preparation: a clear sleep space, ready-to-use feeding supplies if needed, washed first outfits and linens, a usable bathroom, cleared walking routes, and safely stored cleaners.
- Helpful while someone can assist: dusting reachable surfaces, vacuuming furniture and floors, cleaning a refrigerator shelf, and washing the bedding you will use yourself.
- Optional projects: reorganizing the garage, detailing every baseboard, washing all windows, or emptying every kitchen cabinet.
Move a task up the list when there is an actual problem, such as spilled food, a sticky floor, a leak, or a blocked walkway. A room being less photogenic than you hoped is a different kind of priority.
Choose a small finish line
Instead of “deep-clean the kitchen,” write “clear and wash the counter beside the sink.” Instead of “sort baby laundry,” write “wash the first outfits and two fitted sheets.” Specific jobs are easier to start and easier to hand over.
Try a 10- to 20-minute work block followed by a break, adjusting it to your energy and comfort. These are planning suggestions, not targets you have to meet. A load of laundry also needs machine time and drying time, so avoid scheduling it as though the whole job ends when you press Start.
If you have a few weeks, do dusty or disruptive jobs first and prepare frequently used spaces closer to arrival. There is no housekeeping deadline tied to a particular week of pregnancy. Keep one short list of unfinished essentials where another adult can find it.
Smallest useful step: clear the route between your bed, the baby’s sleep space, and the bathroom. Remove laundry baskets, loose packaging, and trailing cords from that route.
Set Up Safer Supplies and Share the Work
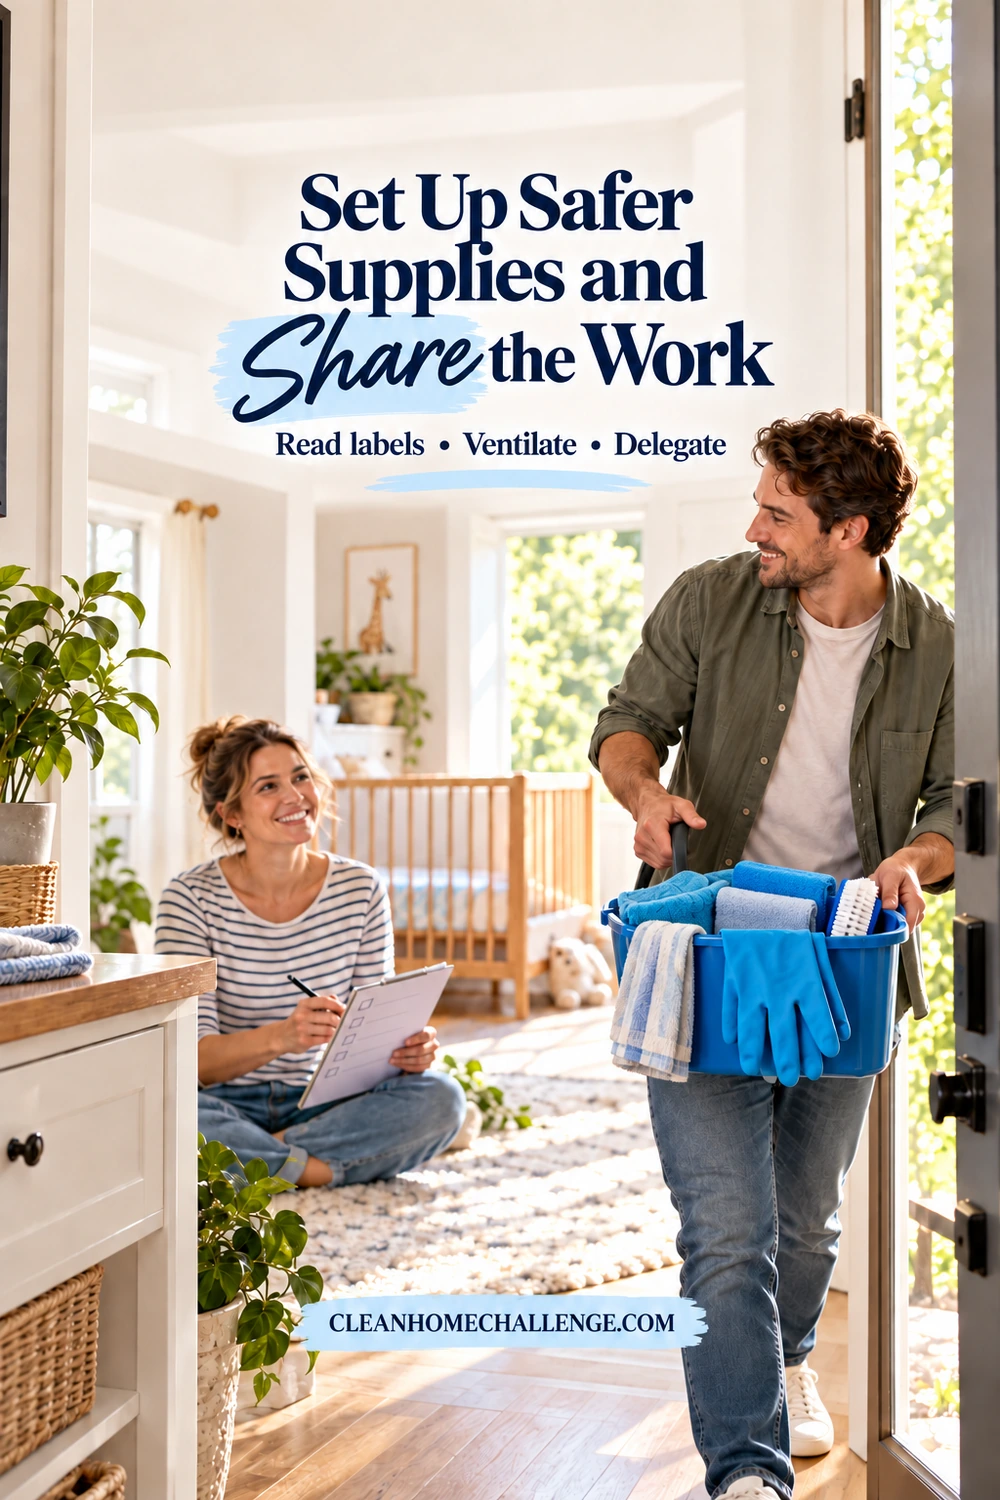
A small kit usually covers this checklist: washable cloths, dish soap, a cleaner suitable for your surfaces, gloves required by the product label, a vacuum, a mop, laundry detergent, and trash bags. Keep bathroom cloths separate from kitchen and feeding-area cloths.
You do not need a basket of products advertised as “baby-safe.” That phrase does not replace directions for use. If you want help choosing everyday cleaners, the EPA Safer Choice product finder includes a fragrance-free filter. Certification still comes with instructions and storage precautions.
Read the label before you start
- Use the stated dilution and the right product for the material.
- Provide the ventilation and protective equipment the label requires.
- Keep children and pets away during cleaning and for the label’s specified period afterward.
- Keep products closed and in their original labeled containers, stored out of reach, preferably in a locked cabinet.
The EPA’s household-chemical safety guidance supports these storage and separation precautions. Set up that storage now, even though your newborn will not be mobile immediately.
Never mix cleaning products. In particular, never combine bleach with ammonia, vinegar, or another cleaner. Follow the CDC’s bleach precautions; do not improvise stronger mixtures or add a second product to a bucket or toilet bowl containing the first.
Give helpers a complete job
If you are pregnant, follow any activity limits from your care team. Delegate moving heavy furniture, carrying full buckets, ladder work, and awkward scrubbing. Choose tasks you can do comfortably without stretching across furniture or balancing on a chair.
Ask for a specific result: “Please vacuum the bedroom and hallway, then put the vacuum away,” or “Please wash, dry, and put away the towels.” Including the final step prevents a half-finished job from becoming another obstacle.
For questions about a particular product during pregnancy, ask your clinician or MotherToBaby. Gloves and ventilation can reduce contact and irritation, but they do not make every product suitable for every person. Stop and leave the area if cleaning makes you feel unwell.
For more everyday product-use guidance, see safer cleaning around babies and toddlers.
Smallest useful step: put out the cloths and chosen cleaner for a helper, then explain which surface needs attention.
Remove Dust and Clean the Floors
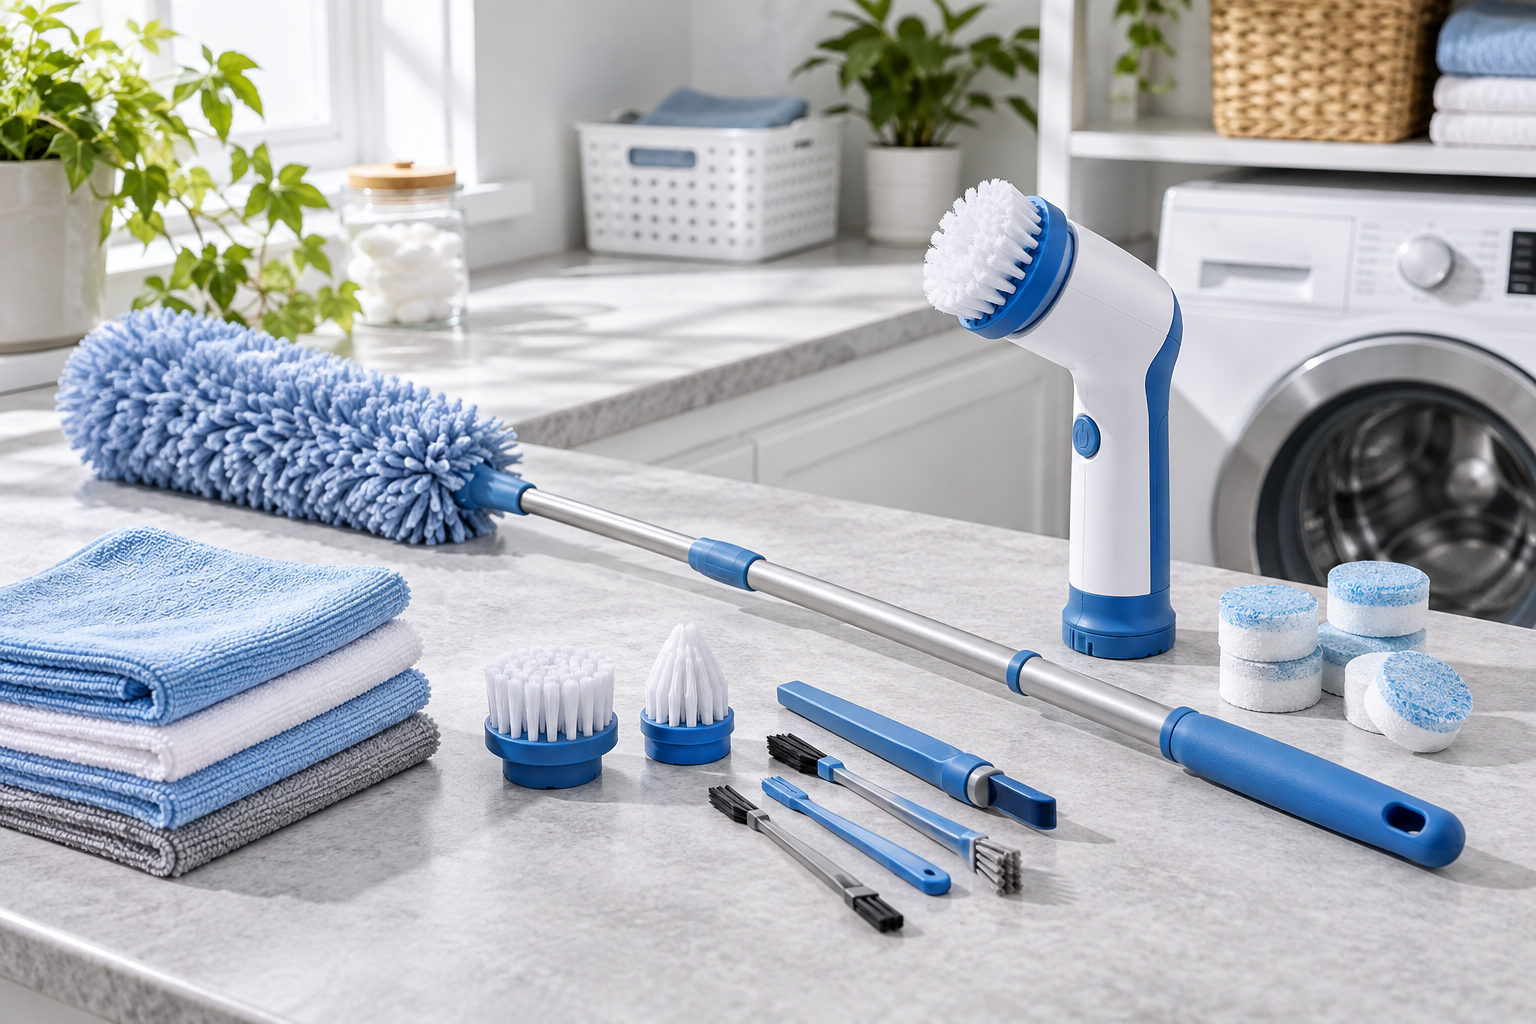
Work through the bedroom, main living area, and hallways before tackling little-used rooms. Clearing the floor first saves repeatedly stopping the vacuum to rescue socks and charging cables.
The EPA recommends damp dusting and regular vacuuming to reduce dust buildup. A HEPA-filter vacuum can help keep some collected dust from escaping back into the air. Use what you have in good working order; a new machine is not a prerequisite for getting started.
Make one sensible pass through each room
- Collect loose items. Put things that belong elsewhere in one basket rather than starting a separate organizing project.
- Dust reachable surfaces. Work from higher shelves down to bedside tables and low furniture, using a lightly damp cloth where the material permits. Fold the cloth to a clean section as it picks up dirt.
- Refresh the seat you will use. Vacuum crumbs and pet hair from the couch or feeding chair with the appropriate attachment. Wash removable covers only as their care labels allow.
- Vacuum the floor and accessible edges. Use the right setting for the surface. A helper can deal with heavy furniture; leave anything that cannot be moved safely.
- Mop suitable hard floors. Follow the floor manufacturer’s cleaning directions and the cleaner’s label. Avoid excess water and leave a dry route out of the room.
If carpets need spot cleaning, treat a small hidden area first using an appropriate product. Plan wet cleaning early enough for everything to dry fully. Avoid starting a whole-room carpet wash when you have nowhere else to sit or walk while it dries.
Keep this session focused. Washing curtains, lifting rugs, and cleaning under every appliance can each become a separate project. Do them only if they solve a real issue and someone has the time and energy.
Smallest useful step: vacuum the bedroom floor and the route to the bathroom. Another room can wait for another day.

Prepare a Clear, Clean Sleep Space
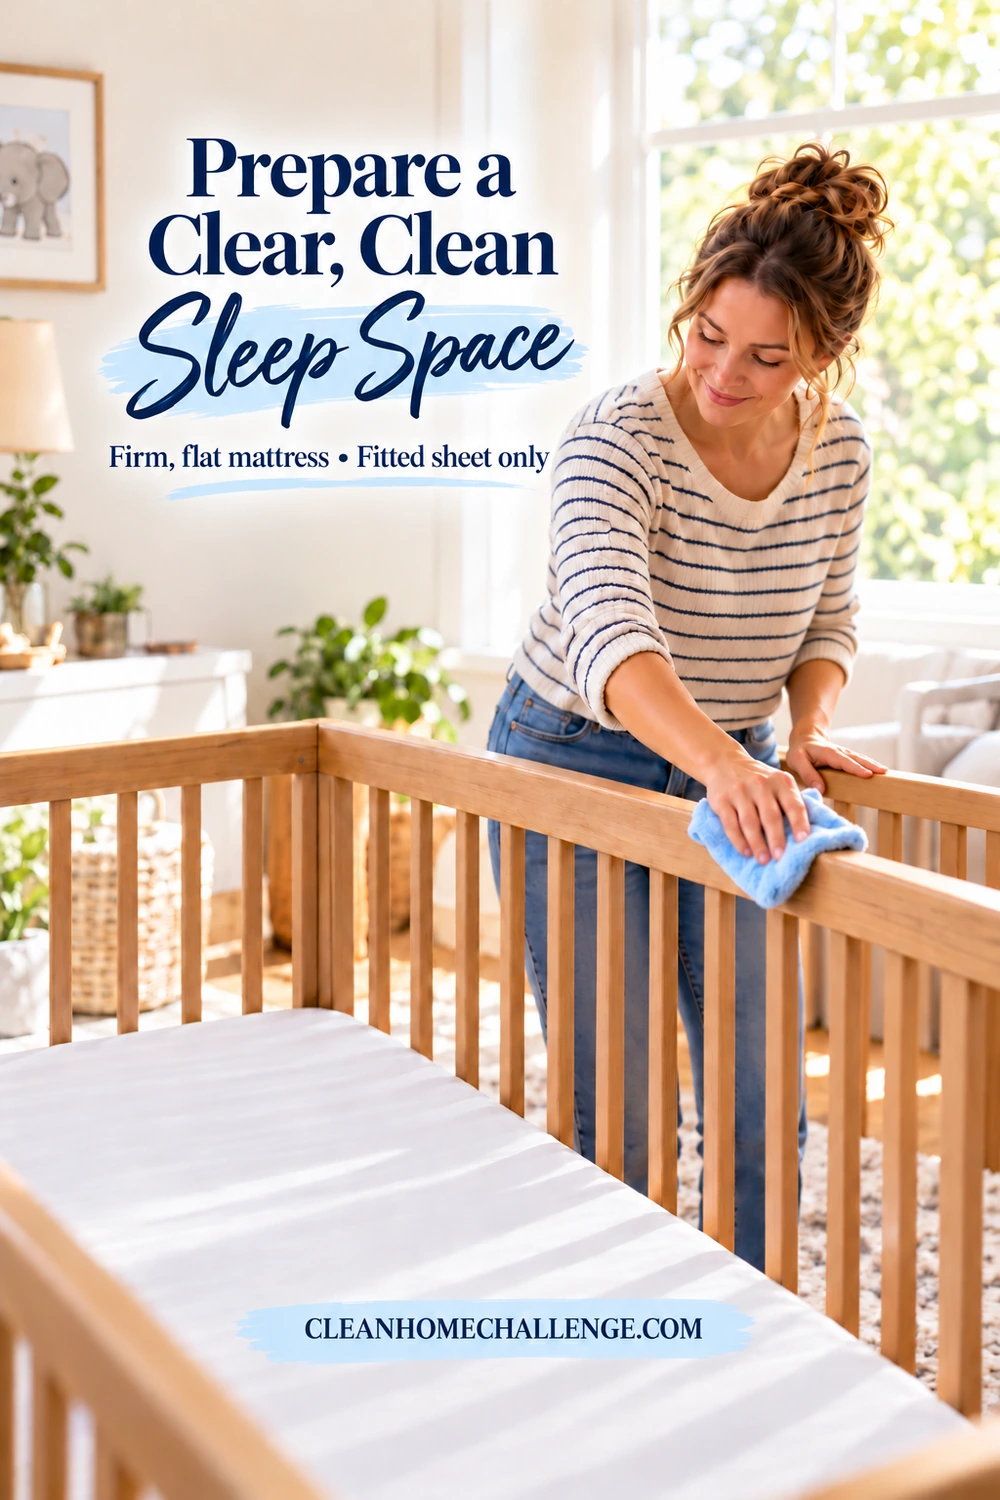
Start with the place your baby will sleep first, whether that is a bassinet beside your bed or another appropriate infant sleep product. The spare-room closet can remain unfinished while you make this small area usable.
A clean surface is only one part of preparation. CPSC safe-sleep guidance calls for a sleep product meeting federal requirements, baby placed on their back, and a bare sleep space with only a fitted sheet. Use the product’s firm, flat, level sleep surface. Keep pillows, loose blankets, bumpers, toys, positioners, and weighted items out of the sleep space.
Clean and check the actual product
Find the manufacturer’s instructions before washing the frame, mattress surface, or removable fabric. Confirm the product is assembled correctly and check its model against CPSC recalls, especially if it has been stored or used previously. Cleaning cannot correct a recall or a broken part.
Remove packaging and dust from nearby furniture. Clean the frame and any washable components using the manufacturer’s method, and allow them to dry fully. Do not soak a mattress, improvise a steam treatment, or add fragrance or disinfectant spray unless the manufacturer specifically permits that use.
Put on the correctly fitting, clean sheet once the surface is dry. Keep spare sheets in a nearby drawer, not draped over the crib. Avoid adding a mattress topper or extra padding to make the surface feel softer.
Now check the adult side of the setup. Can you walk up to the sleep space without stepping over a hamper? Is there a clear place for your water and phone? Can you reach the supplies you need without stacking them on the baby’s bed?
For a more detailed room-by-room breakdown of nursery furniture and storage, use the nursery cleaning checklist.
Smallest useful step: finish one approved sleep space and clear its approach. You do not have to finish decorating the nursery before your baby comes home.
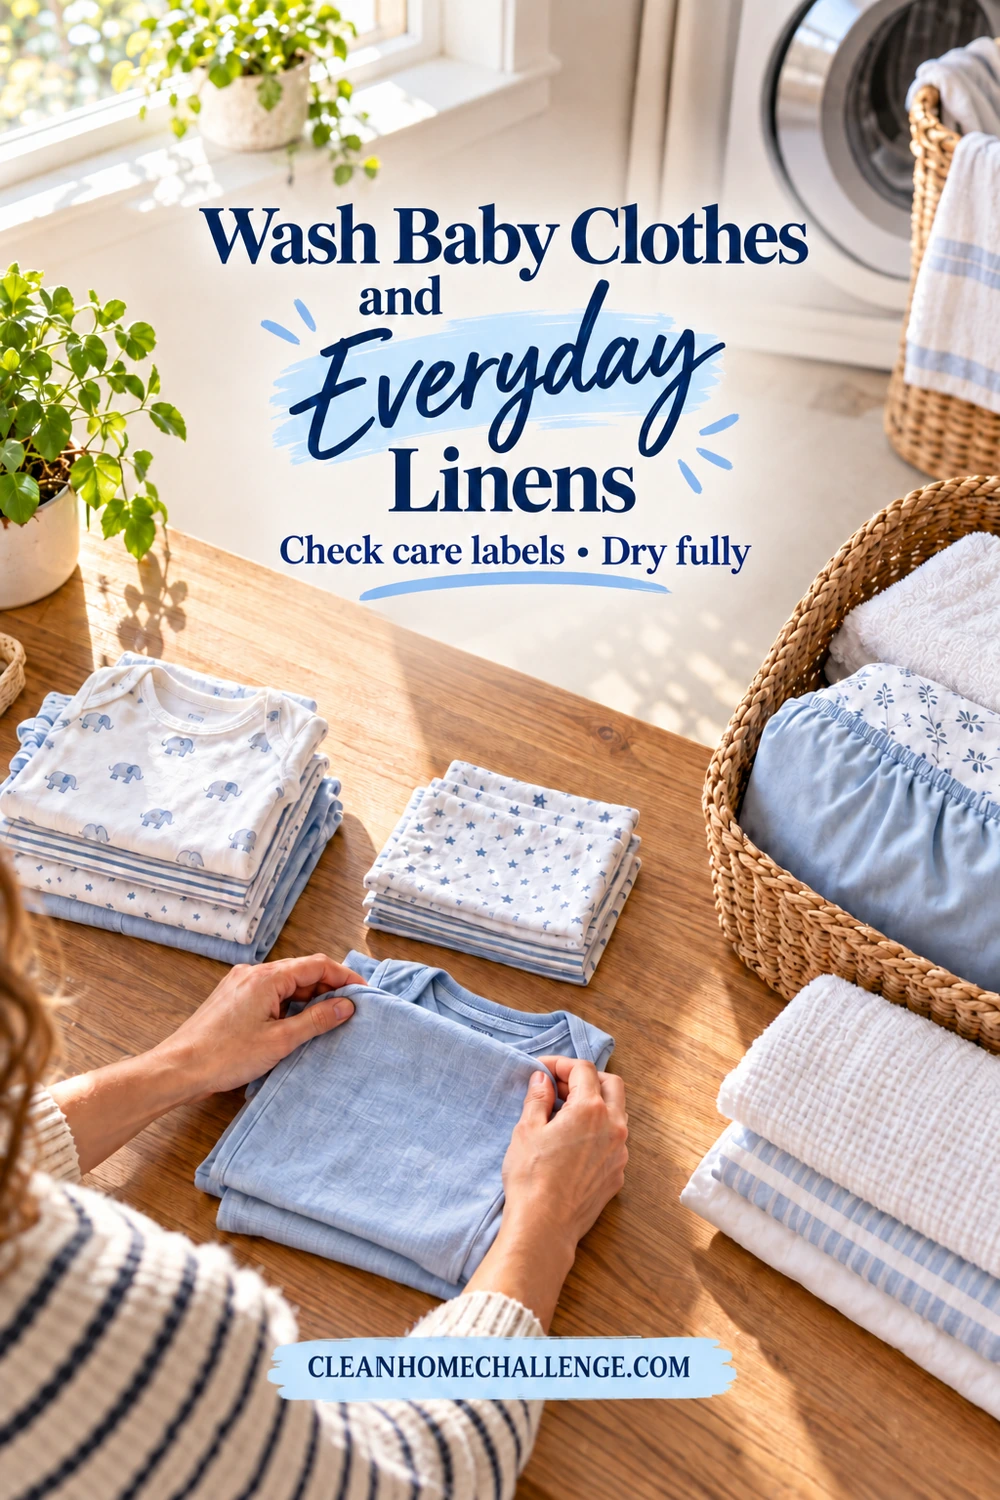
Wash Baby Clothes and Everyday Linens
Begin with what you expect to use in the first several days: a small set of outfits, fitted sheets, burp cloths, towels, and washable changing-pad covers. Leave larger sizes and extra gifts packaged until you decide whether to keep them.
The American Academy of Pediatrics’ baby-clothing guidance recommends washing clothing before first use and following care labels. A special baby-branded detergent is not automatically necessary. A fragrance-free option is a practical choice if you prefer one; ask your pediatrician about persistent skin irritation rather than assuming every rash comes from detergent.
Finish one load all the way through
- Check each care label and separate items that need different treatment.
- Fasten hook-and-loop tabs and put tiny socks in a mesh laundry bag if you have one.
- Measure detergent according to the product and machine directions. Extra detergent is not a shortcut to cleaner laundry.
- Use the permitted wash and drying settings. Do not assume every baby item can tolerate a hot cycle.
- Dry everything completely, then store it in a clean drawer or cupboard.
Wash your own bedding and the bathroom towels as time allows. These can make the first days at home more comfortable without expanding the task to every linen in the house. If someone offers help, giving them responsibility for drying and putting things away can be particularly useful.
Keep one clearly marked place for used baby clothes. A simple hamper works; you do not need several complicated sorting baskets. Keep clean items separate from dirty laundry so a helper can tell the difference immediately.
Store detergent in its original closed container in a high, locked cabinet. Avoid attractive jars for laundry packets. The AAP’s laundry safety guidance also suggests considering traditional detergent instead of packets when young children live in or visit the home.
Smallest useful step: wash and fully dry a few outfits, burp cloths, and the sheets for the baby’s sleep space.
Reset the Kitchen and Feeding Area
Choose one easy-to-clean counter area near the sink. Move paperwork, decorative items, and seldom-used appliances elsewhere, then clean the surface using a product suitable for it. Keep feeding preparation away from the place where raw meat is handled.
Clear a cupboard space for clean feeding equipment if you will use it. In the refrigerator, deal with spills and remove food you will not use. Work shelf by shelf so this remains a manageable reset rather than a full appliance overhaul.
Prepare a feeding-equipment routine
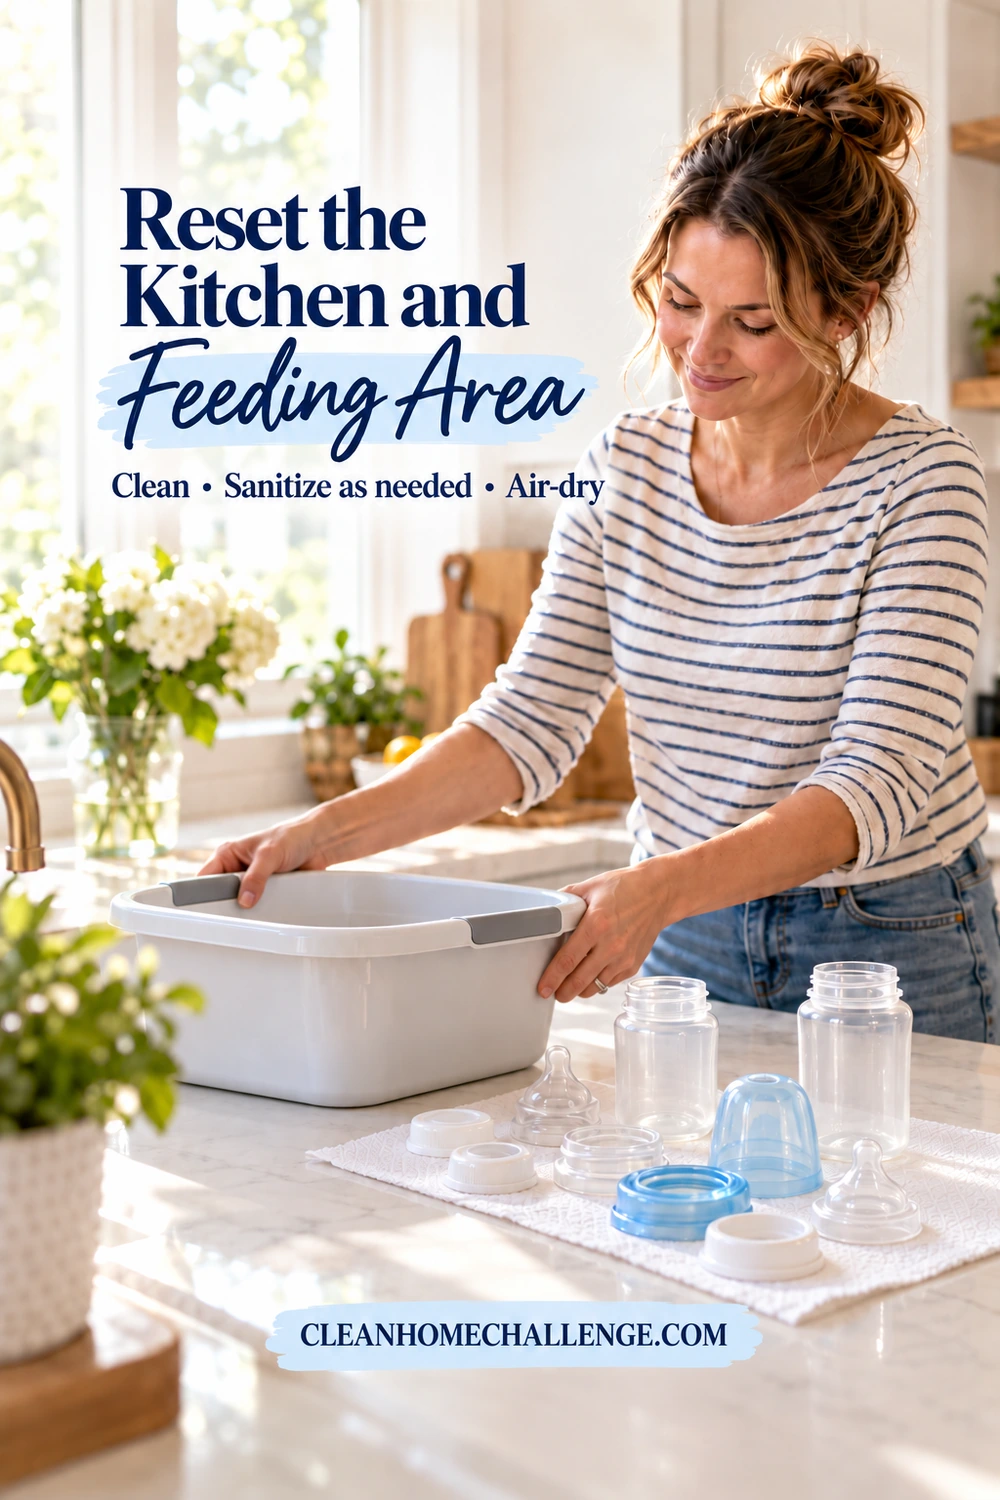
Read bottle and pump instructions, and clean and sanitize the equipment before first use as directed. Work out where each stage will happen: used items, washing, drying, and clean storage. That simple arrangement helps another caregiver follow the same process.
For bottles, follow the CDC feeding-item instructions:
- Wash your hands, separate the parts, and rinse them under running water.
- Wash in a clean basin reserved for infant feeding items, using hot soapy water and a dedicated brush. Do not wash parts directly in the sink. Clean all openings, then rinse thoroughly.
- Air-dry on a clean, unused towel or paper towel in a protected area. Do not rub them dry.
- Store only when completely dry. Clean bottles after every feeding; for newborns, clean the basin and brush after every use too.
Sanitizing is an extra germ-reduction step after cleaning. Sanitize cleaned feeding items at least daily, especially for babies younger than two months, born prematurely, or with weakened immune systems. Use a manufacturer-approved method. A compatible dishwasher cycle using hot water and heated drying, or a sanitizing setting, removes the need for a separate sanitizing step. If boiling is permitted, CDC’s method is to cover disassembled items with water, boil for five minutes, and remove with clean tongs. For steaming, follow the equipment manufacturer’s instructions.
If using a pump, the CDC recommends cleaning milk-contact parts after every use and sanitizing daily for extra protection, particularly for newborns. Keep the instructions with the equipment. A quick rinse or a household disinfectant wipe is not the full cleaning process.
You can set out the basin, brush, and storage space before birth without predicting exactly how feeding will unfold. If your baby needs specialized equipment or medical precautions, use the care team’s instructions.
Smallest useful step: clear the feeding counter, choose a protected storage spot, and read the instructions for the equipment you already have.
Clean the Bathroom and High-Touch Surfaces
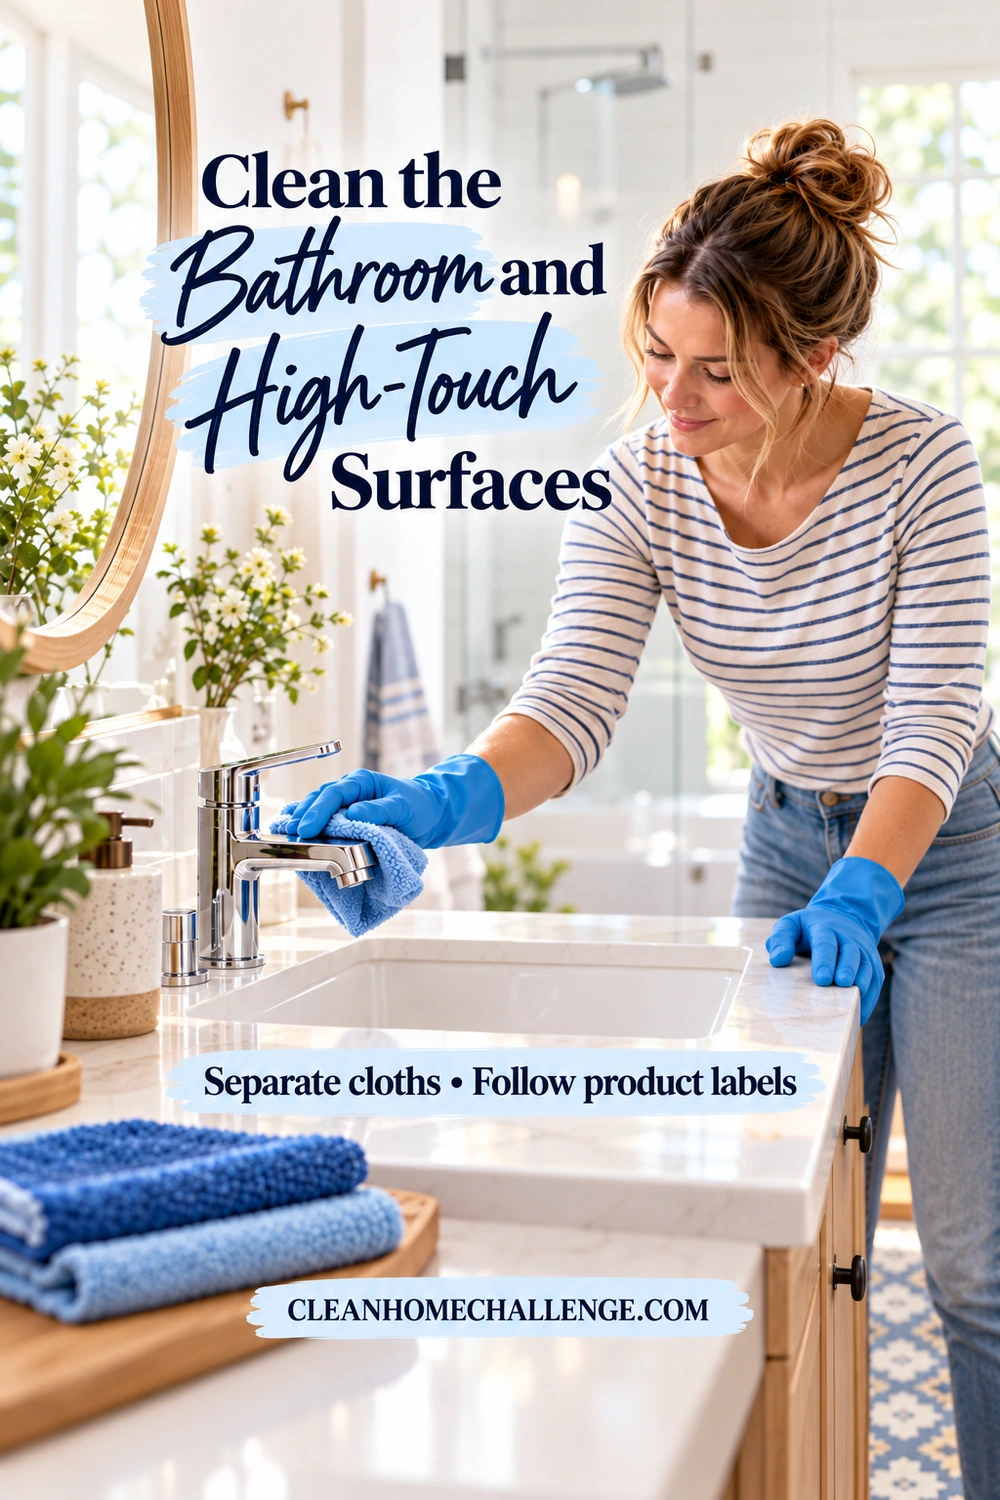
Prioritize the bathroom you will use most often. Gather fresh towels, toilet paper, hand soap, a bathroom cloth, and the appropriate cleaners before you start. If someone is helping, ask them to finish one bathroom rather than partly clean several.
Work from cleaner areas toward the toilet
Clear the sink and counter, remove residue with a suitable cleaner, and rinse or wipe as directed. Clean the faucet and handles. Tackle obvious shower or tub buildup only with a product appropriate for the finish. Leave slippery surfaces rinsed and dry before the room is used again.
Use separate cloths or tools for the toilet. Follow the toilet cleaner’s label for the bowl, then clean the flush handle, seat, and exterior with appropriate supplies. Finish with the floor, empty the trash, and put out clean towels. Wash your hands after removing gloves.
For high-touch cleaning elsewhere, make one short route: bedroom door handle, bathroom handle, light switches, refrigerator handle, and the table beside your usual chair. Follow electronics manufacturers’ instructions for phones, remotes, and touchscreens; keep liquids out of openings.
Disinfect where it is needed
If someone is ill, follow relevant illness-specific advice as well as general cleaning guidance. Disinfectants kill germs on surfaces. When using an EPA-registered disinfectant, choose one labeled for the surface and purpose. Clean first, keep the surface wet for the full stated contact time, and follow any rinse directions before reuse. The EPA’s disinfectant guidance explains why label directions and contact time matter.
Do not turn bathroom cleaning into a major mold-removal project. Report leaks and recurring dampness, and get appropriate help for extensive growth, major water damage, or sewage contamination. EPA mold guidance emphasizes fixing the moisture source and getting specialist help when circumstances require it.
Smallest useful step: clean the sink and toilet, replenish soap and toilet paper, and put out a fresh towel. Ask someone else to handle the tub or shower.
Finish With a Flexible Pre-Baby Checklist
Use the checklist as a handover tool. Put a name beside each unfinished essential so offers of help can turn into a finished job. Cross out anything that does not apply to your household.
Essential pre-baby checklist
If you have only one helper visit
Ask for the bathroom, kitchen counter, main walking routes, and one complete laundry load. Show the helper where supplies and clean linens belong. Save decorative organizing and low-use rooms for later. If the visit is short, pick the two jobs causing the biggest practical difficulty.
Once these areas are usable, leave yourself a small upkeep list: dishes, feeding-item hygiene, necessary laundry, spills, and trash. The gentle cleaning routine for the early months can help you adjust after arrival without repeating this entire deep clean.
Should I book a cleaner before or after the birth?
Choose the point where help would remove the most work for your household. A pre-arrival visit can deal with dusty, awkward jobs while someone else finishes the setup. A later visit may be more useful if the house is already ready and you expect less support afterward. Before booking, agree on the rooms, tasks, products, drying requirements, and what the service excludes. A professional clean is optional.
Can I prepare without a separate nursery?
Yes. Focus on your baby’s own appropriate sleep space, a place for clean supplies, and the rooms your household already uses. NIH safe-sleep guidance supports room-sharing with a separate infant sleep surface. The crib or bassinet must still remain clear of stored supplies and adult bedding.
Who should handle cat litter during pregnancy?
Ask someone else to change it if possible. If that is not possible, wear disposable gloves and wash your hands with soap and water afterward, as the CDC advises for pregnancy. Arrange for the litter box to be changed daily. Keep litter tools separate from household cleaning cloths and feeding equipment.
If the checklist remains unfinished, keep your focus on sleep, feeding, clean essentials, and a usable bathroom. The purpose of preparing your home is to make everyday care easier. A short, finished list can do that very well.

CLEANERS CLUBHOUSE
Need Help Getting Through a Proper Deep Clean?
Follow the 7-Day Deep Clean Bootcamp when your home needs more than a quick tidy. The Cleaners Clubhouse breaks the work into achievable steps with printable support and seasonal cleaning guidance.
