
THIS POST MAY CONTAIN AFFILIATE LINKS. PLEASE READ MY DISCLOSURE FOR MORE INFO.
Some days, the kitchen counter disappears under breakfast dishes while shoes, laundry, and yesterday’s school papers spread through the house. You want things to feel manageable again, but you do not have an afternoon to spare.
This 30 minute cleaning routine gives you a practical route through the areas your family uses most. You will gather supplies, pick up clutter, refresh the kitchen and one bathroom, tidy the main rooms, and clean the busiest floor paths. The timer includes setup and putting your supplies away.
Expect a useful maintenance clean: a usable kitchen, fewer obstacles, cleaner everyday surfaces, and a more comfortable place to sit. Deep cleaning, a large backlog, and a full wash of every floor need their own time. Choose the priorities that fit today’s home, and let the checklist help you finish.
Disclosure: This post may contain affiliate links. As an Amazon Associate, Clean Home Challenge earns from qualifying purchases. If you make a purchase through these links, we may earn a small commission at no extra cost to you. This helps us keep creating practical cleaning tips, routines and resources for busy families! 🧽
Plan Your 30-Minute Reset
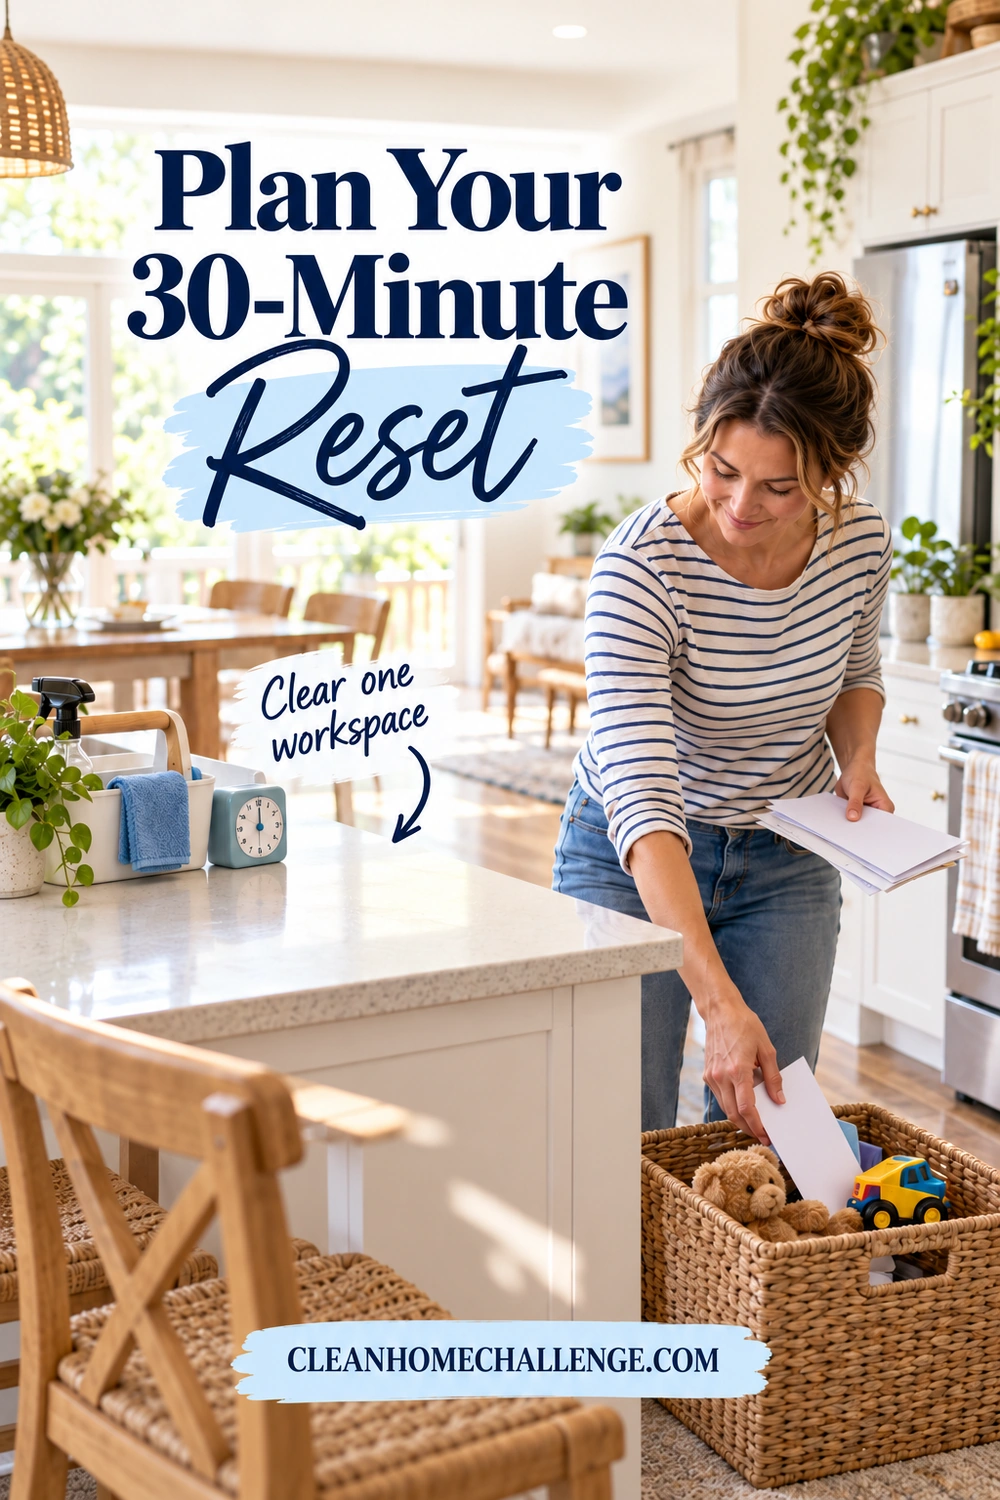
Before you start moving, decide what “done” means. A practical finish line is one clear food-preparation area, a usable bathroom, clear walking paths, and the main living space ready for the next part of your day.
This plan suits an ordinarily lived-in home with manageable everyday mess. It assumes one person is cleaning, the supplies are easy to find, and you are refreshing one main bathroom. Multiple bathrooms, large homes, mobility needs, or several days of dishes will change what fits. You can keep the same 30-minute limit and reduce the number of rooms.
Choose three priorities in this order:
- Anything unsafe: a slippery spill, food that needs storing, or a blocked walking path.
- Anything needed next: the counter for dinner, the bathroom visitors will use, or tomorrow’s clean uniform.
- Anything that makes the home easier to enjoy: crumbs by the sofa, a cluttered table, or shoes at the door.
Keep a short “another day” note for jobs that catch your eye. Write “oven racks” or “sort the coat cupboard,” then return to the task you chose. Do not pull everything out of a cabinet during a timed reset.
If the starting mess is substantial, use today’s session for dishes, trash, and clear paths. A quick whole house clean becomes more realistic once the main obstacles are under control. For help building that foundation, use the CHC guide to creating a cleaning routine you can actually stick to.
Build Your Cleaning Caddy
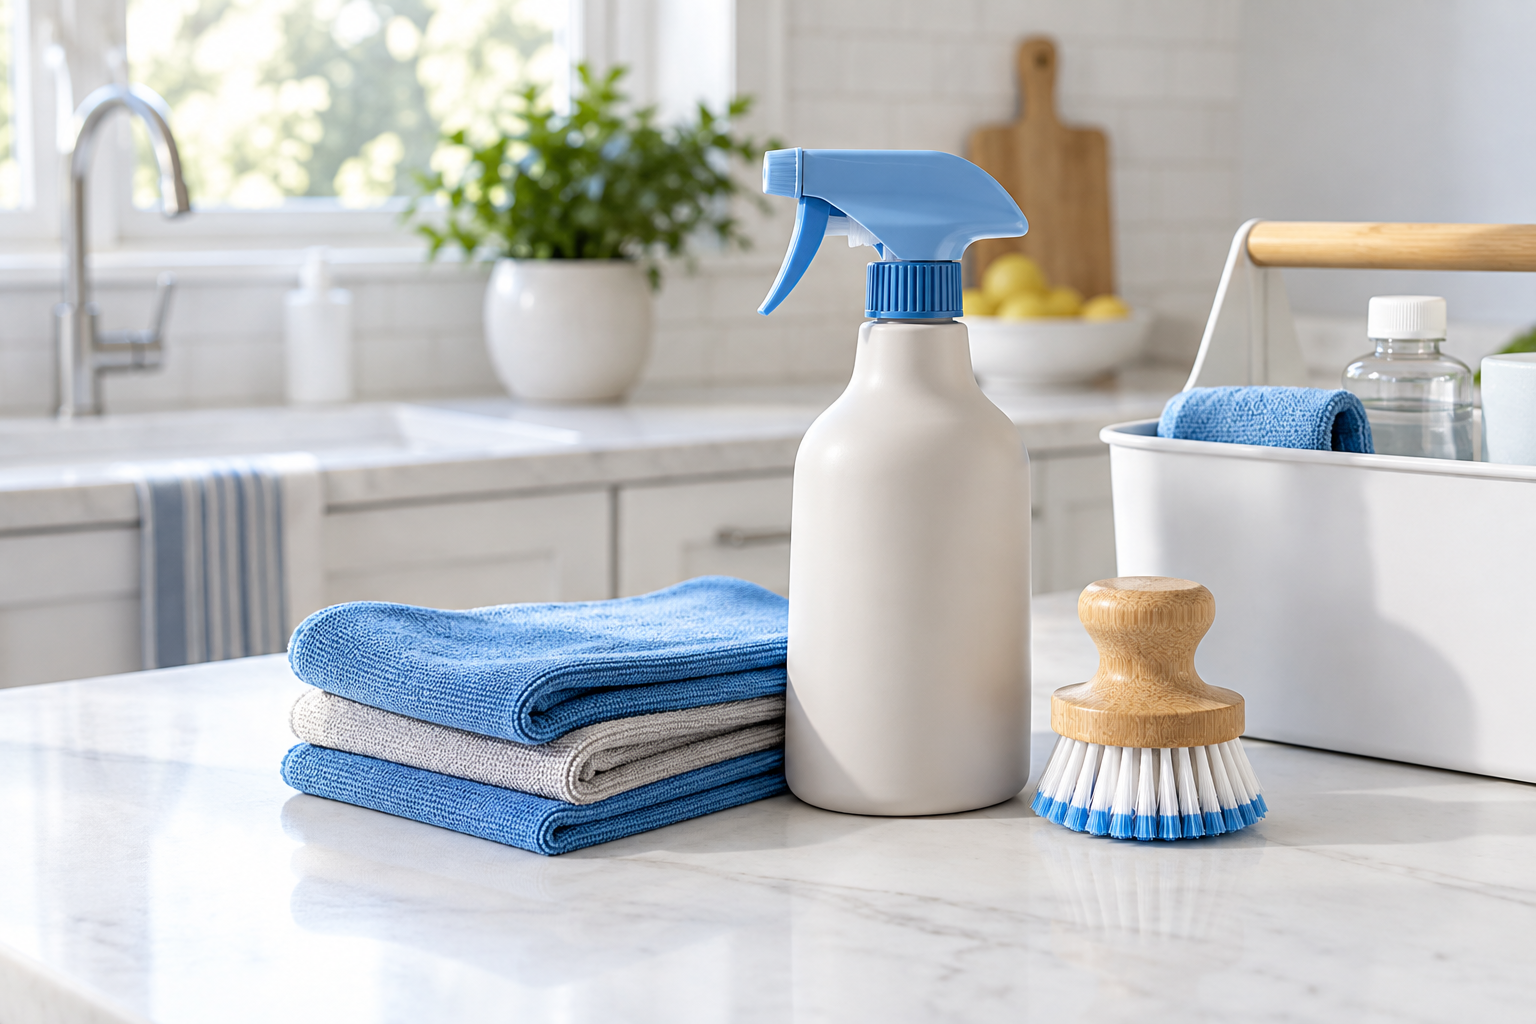
A simple kit saves the repeated trips that quietly use up a short cleaning session. Use tools you already own and can comfortably carry; there is no need to buy a matching collection before you begin.
Keep these ready:
- A compatible everyday surface cleaner, in its original labeled container.
- Several clean cloths, with separate cloths reserved for the kitchen, general rooms, bathroom sink, and toilet.
- A dry dusting cloth and a clean drying cloth where the finish needs one.
- A small trash bag and a light basket for misplaced belongings.
- Gloves and any other protection required by the product label.
- A vacuum or broom suited to the flooring.
- A clean flat-mop pad and approved floor cleaner if spot-mopping is needed.
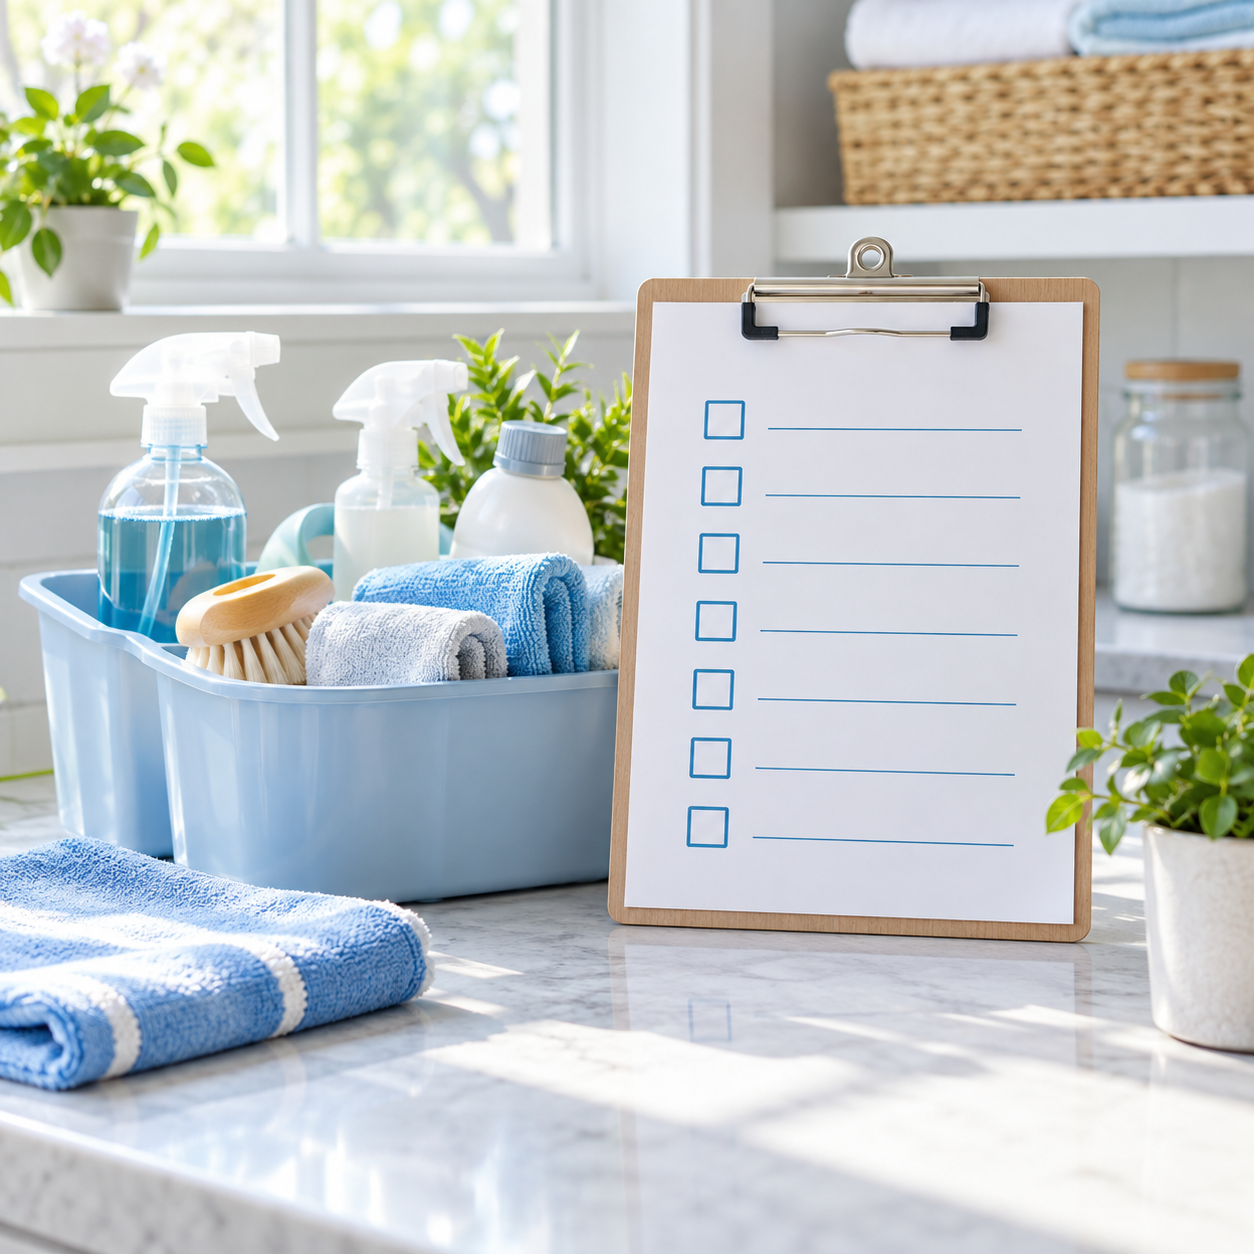
- A timer and this checklist, on paper or your phone.
Different cloth colors are helpful, but you can label storage pockets instead. What matters is keeping the jobs separate. Carry used cloths in a separate washable container or bag, away from the clean supply. A cloth used on a toilet must never go back onto a sink, door handle, or kitchen counter during the session.
Keep the toilet brush and toilet-cleaning supplies in their bathroom storage rather than putting a used brush into the household caddy. Place the vacuum near the start of your floor route so you do not spend that slot searching for attachments.
Check unfamiliar products and surface-care instructions before your first timed session. The two-minute setup below is for gathering an already suitable kit. Read labels, ventilate as directed, and keep products beyond children’s and pets’ reach even while you work. Poison Control’s household-cleaning guidance explains why labels, ventilation, and safe product use matter.

Follow the 30-Minute Checklist
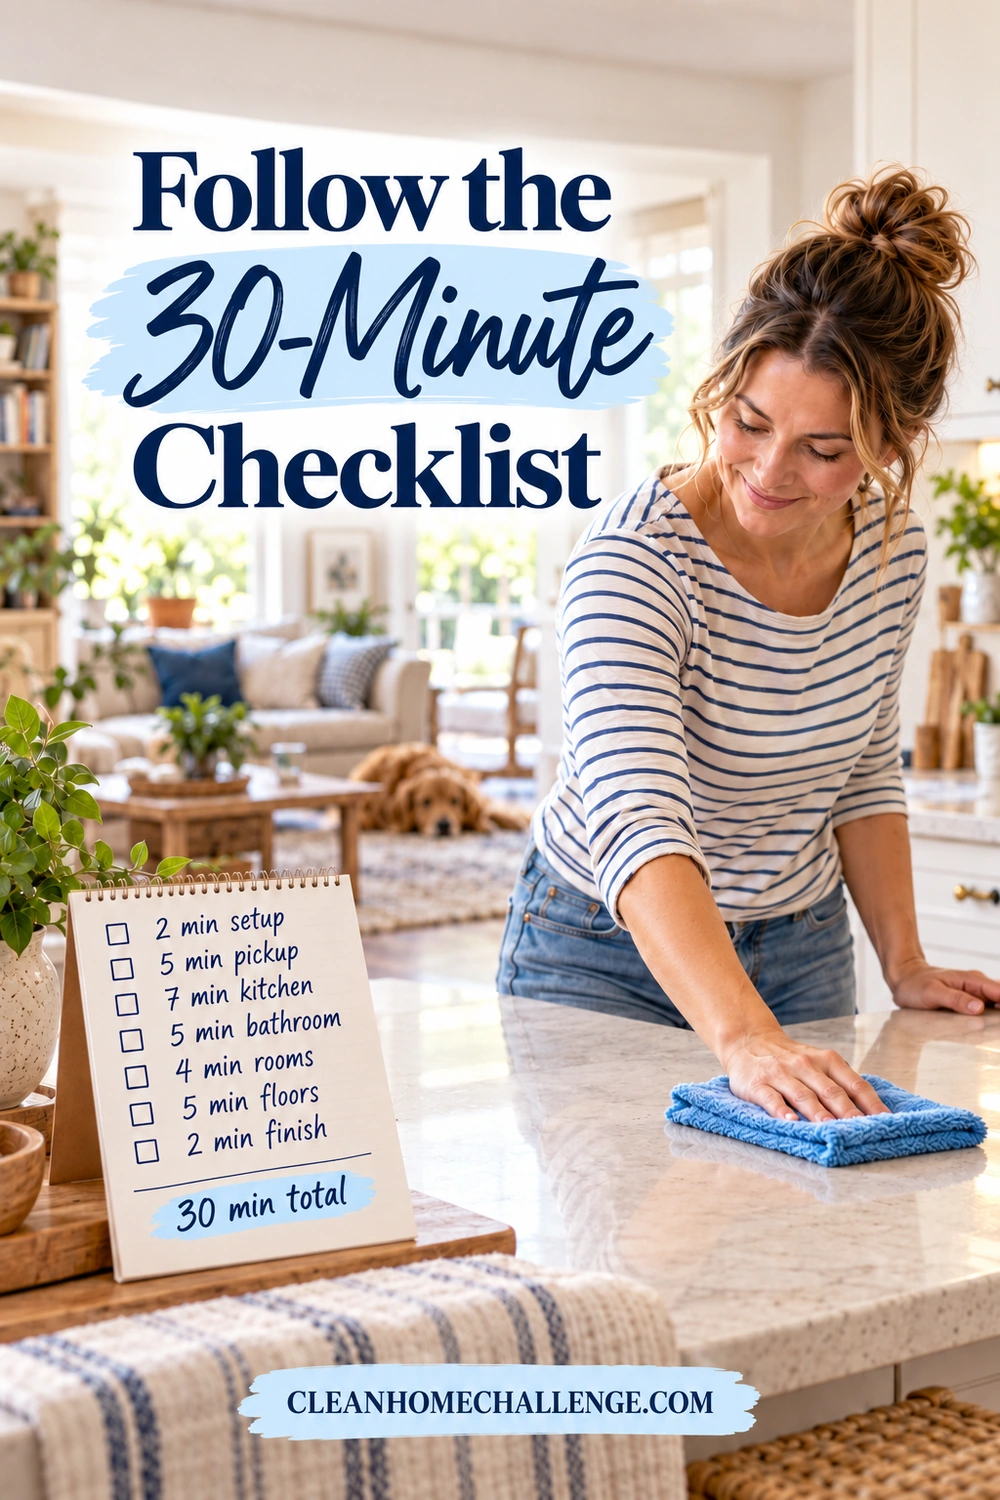
Keep this speed cleaning checklist nearby and use the elapsed times as your checkpoints. Move on when a slot ends unless you need to finish a safety-critical step. Optional polishing can wait. If an essential job takes longer, borrow time from decorative tidying or reduce the floor area.
| Elapsed time | Minutes | Your focus |
|---|---|---|
| 0–2 | 2 | Gather supplies and choose the route |
| 2–7 | 5 | Pick up trash, dishes, and floor clutter |
| 7–14 | 7 | Reset the kitchen |
| 14–19 | 5 | Refresh one bathroom |
| 19–23 | 4 | Reset bedrooms and the living area |
| 23–28 | 5 | Clean the busiest floor paths |
| 28–30 | 2 | Put supplies away and finish safely |
| Total | 30 | A practical household reset |
Minutes 0–2: Get ready
Take your caddy, basket, and trash bag to the starting point. Choose the bathroom and living area you will cover. Set the timer, check that your route is clear, and turn on ventilation where your products require it.
If someone else is joining in, give them a specific job before starting: “Collect the cups and put the shoes away” is easier to follow than “Help me clean.” Keep the route simple, especially if you have stairs.
Minutes 2–7: Make one pickup pass
Collect obvious trash, bring dishes to the kitchen, and put dirty clothes in the hamper. Return items with a nearby home as you pass it. Place remaining ordinary belongings in the basket instead of walking to a different room for every object.
Clear the floor areas you will vacuum later. Move bags and shoes out of doorways, and put toys in their usual bins. Keep sharp items, medicines, batteries, and other hazards out of the pickup basket and secure them appropriately.
Do not read the mail or start folding a laundry pile. Your finish line is clear access to the surfaces and paths you need to clean.
Minutes 7–14: Make the kitchen usable
Put food away first. Scrape dishes and load the dishwasher, or wash the essentials if you do not have one. If there is a backlog, prioritize the items needed for the next meal and leave yourself a usable part of the sink.
Clear the table and one main counter. Remove crumbs, then wipe food residue with a cleaner suitable for that material. Follow any required rinsing instructions on food-contact surfaces. Work across each surface once rather than switching between the counter, floor, and cupboard interiors.
Wipe a visibly dirty handle if time permits. Clean the sink last with a separate kitchen cloth, then retire that cloth. Leave appliance interiors, grease buildup, and a full cabinet wipe for the kitchen’s weekly focus.
If raw meat or poultry juices have contaminated a surface, pause the ordinary checklist. Clean it and then use a suitable sanitizer according to its label, including contact time and any rinse. USDA’s food-safety guidance explains this extra step. Remove the cloth used for that cleanup from the routine, wash your hands, and shorten a lower-priority task.
Minutes 14–19: Refresh one bathroom
Put away toiletries and hang towels so they can dry. With the bathroom-sink cloth, wipe ordinary splashes from the faucet, counter, and basin using a compatible cleaner. Spot-clean an obvious mirror mark only if needed; a full glass polish can wait.
Use the toilet-only cloth for the exterior, working from the less soiled handle and tank toward the lid, seat, and dirtier lower areas. Turn to a fresh face as it soils and replace the cloth when needed. Never move back to cleaner surfaces with the used face. Brush the bowl with a suitable toilet product only if you can complete all its label steps; never add a second cleaner to one already present.
Set aside used cloths, remove gloves appropriately, and wash your hands before moving to other rooms. If the bathroom needs a longer clean, give it the time and skip bedroom styling. A hurried wipe is not a substitute for dealing properly with contamination or illness.
Minutes 19–23: Reset the rooms you use most
In the bedrooms included in today’s route, straighten the bedding, put remaining clothes in the right place, and clear the bedside walking path. Keep this brief. Changing sheets and sorting drawers belong in a separate session.
In the living area, return cushions, fold a throw if useful, and clear the main table. Use a fresh general-purpose cloth to remove visible dust from one or two reachable surfaces, working from higher to lower. Follow furniture-care guidance; leave screens and delicate finishes alone unless you have their approved method ready.
Four minutes may cover one bedroom and the main living room, rather than every bedroom. Choose the rooms that need the reset today.
Minutes 23–28: Clean floor paths
Vacuum or sweep the entryway, kitchen crumbs, and the main traffic route. Use the correct setting and attachment for each floor, and collect loose grit before any damp cleaning. Work toward the doorway so you do not keep crossing the cleaned area.
If a small sticky patch needs attention, spot-clean it with the method approved for that floor. Finish bathroom-floor cleaning last, using a separate clean pad or tool where needed. Skip a full-house mop in this short slot. The floor-care section below explains the important material differences.
Minutes 28–30: Close the job
Secure products in their proper storage, put tools away, and keep soiled cloths separate until laundering according to their care instructions and the cleaner’s directions. Wash your hands. Deal with any remaining slippery patch and keep people and pets off a damp floor until it is dry and any label re-entry directions are met.
Put the pickup basket in a safe place off the walking route and assign a time or person to empty it. Note one unfinished priority for the next session. Product contact time and floor drying may continue beyond the timer; do not rush them to claim a 30-minute finish.
Keep Quick Cleaning Safe
Timed cleaning should reduce indecision, not shorten safety steps. Choose the cleaning method first, then fit the optional tasks around it.
Cleaning removes dirt and many germs. Sanitizing reduces germs to specified safe levels, while disinfecting uses an appropriate product to kill germs covered by its label. For ordinary household upkeep, the CDC says regular cleaning is usually sufficient. Additional disinfection is appropriate when someone is sick or at increased risk because of a weakened immune system. Follow any specific healthcare advice for your household. CDC household-cleaning guidance provides the distinctions.
When disinfection is needed, remove visible dirt first and use a product labeled for the surface and intended use. The surface must remain visibly wet for the entire stated contact time. A quick spray followed by an immediate wipe may not disinfect. Use a separate reminder if you must return for a label-required step, and keep the area inaccessible as directed. EPA guidance on disinfectants explains contact time and label claims.
Never combine cleaning products or add another product to a surface with incompatible residue. In particular, keep bleach away from acids, vinegar, ammonia, alcohol, and other cleaners. Do not create a stronger mixture to save time. Follow label instructions for dilution and protective equipment.
For an unfamiliar finish, check its care guide and test the approved cleaner in a hidden spot first. Give the test time to dry before judging it. A timer is not a reason to experiment across the whole surface.

Clean Floors Without Damage
Your five-minute floor pass should target loose debris and small messes. The suitable method depends on the floor’s material, finish, seams, and manufacturer’s care instructions.
Wood and engineered wood: Remove grit with a suitable soft attachment or dry cleaning tool. Use the cleaner and application method approved for your particular finish, and deal with spills promptly. Do not assume steam or a wet mop is suitable. For example, Shaw’s hardwood-care instructions explicitly rule out wet mops and steam mops.
Laminate: Identify the product before using liquid or steam. A wood-look surface is not necessarily wood, and a water-resistance claim does not make every mopping method acceptable. Shaw’s laminate-care guide recommends the hard-floor vacuum attachment without a beater bar and warns against wet mopping. Follow your own flooring’s guidance, which may differ by range.
Tile, vinyl, and natural stone: Check the flooring and cleaner instructions rather than using one homemade solution everywhere. Marble, limestone, and other acid-sensitive stone can be etched by vinegar or lemon. The Natural Stone Institute recommends suitable neutral cleaning products and cautions against acidic cleaners on vulnerable stone.
Where a flat mop and damp method are approved, use a clean pad with only the permitted amount of solution. Pull the mop back toward you in controlled, overlapping passes, then step back into the next section. Keep the pad flat and change it when dirty. Do not spread a small spill into a larger wet area or leave puddles at seams.
For carpet and rugs, use their recommended vacuum setting. Stains deserve their own care-label-led treatment; avoid adding a wet-cleaning project to the final minutes.

Make the Routine Fit Your Family
Keep the order useful, but change the workload to match your home and capacity. You can get value from this routine without completing every line.
In a larger home, choose a daily route. Cover the kitchen, one bathroom, the main living area, and the paths between them. Rotate secondary bedrooms or another bathroom on subsequent days. Give full-room cleaning a separate place in the week.
With two adults, divide areas clearly. One can handle the kitchen while the other handles the bathroom with separate supplies. Both then finish their assigned room and put away their own tools. Thirty elapsed minutes with two people represents more labor than a solo session, so use your own starting point when comparing results. CHC’s guide to splitting household cleaning fairly helps define ownership and what “done” means.
With children, choose safe participation. A child might gather toys, put books away, or pair shoes with age-appropriate supervision. Adults handle chemicals, toilets, sharp objects, hot surfaces, and any task beyond the child’s ability. Pause when someone needs care rather than rushing with cleaning products in hand.
On a low-energy day, try this 10-minute minimum: one minute to gather supplies, two for trash and dishes, three for one kitchen work area, two for the bathroom need or walking-path problem that matters most, and two to put supplies away and wash hands. Reduce the area further if necessary. You can also spread the main routine across the day, allowing extra setup and handwashing time between sessions.
If timed cleaning feels stressful, use the same list without a countdown. Tick off three priorities and stop at a comfortable point. The timer is optional; safe, manageable work is the goal.

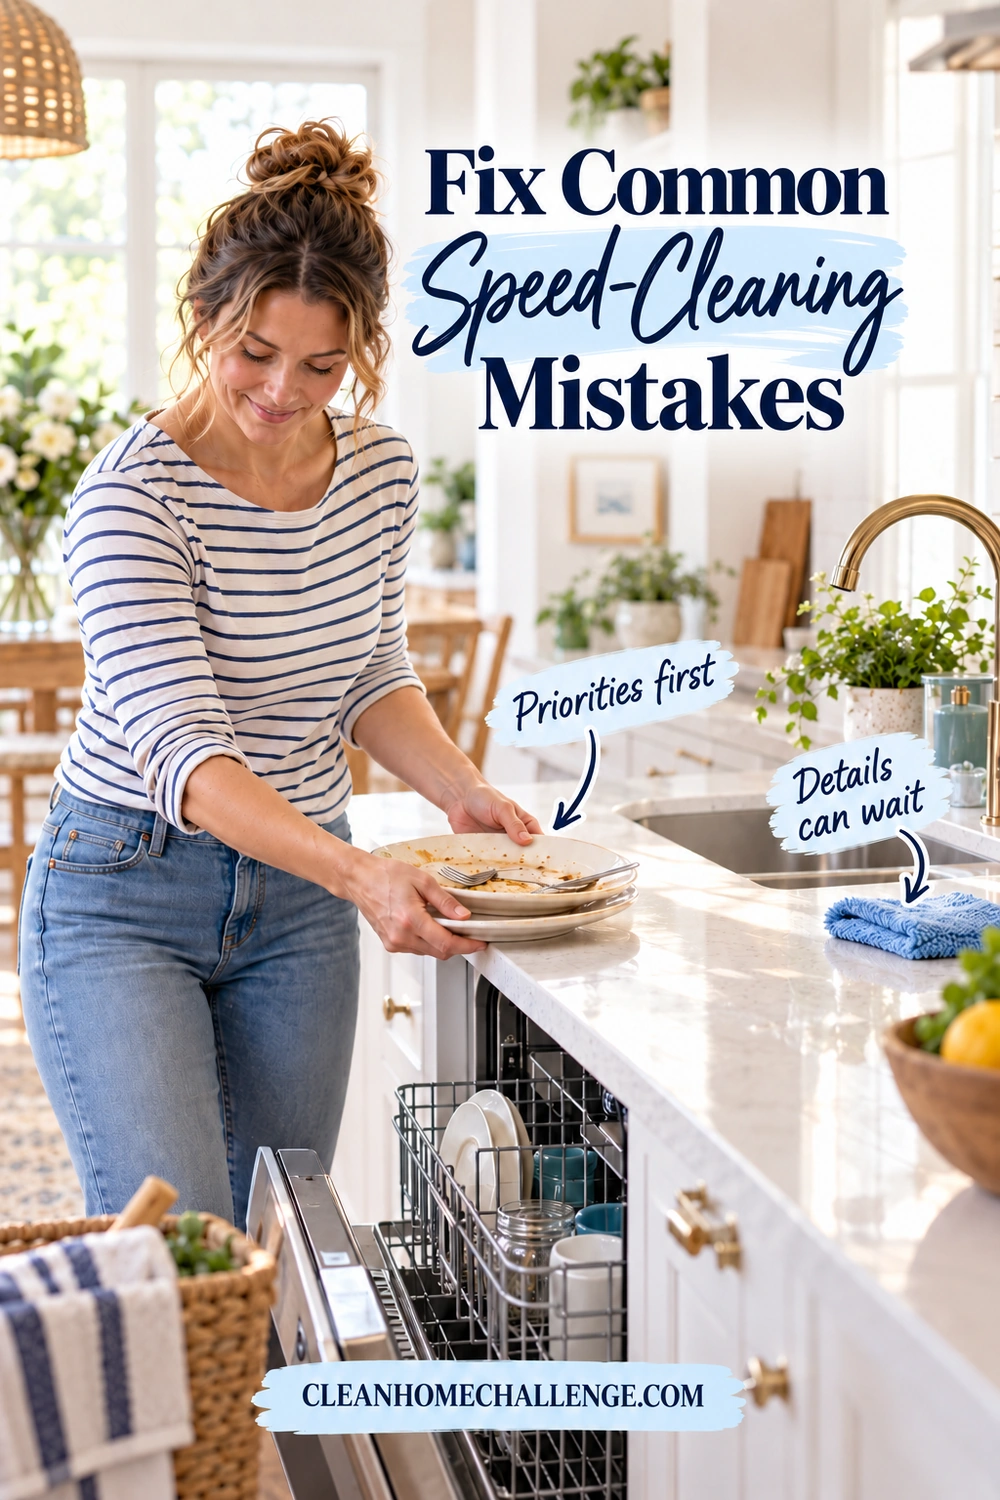
Fix Common Speed-Cleaning Mistakes
Most speed-cleaning problems come from an unclear finish line or an awkward setup. Adjust the process before deciding you need to move faster.
- Spending the whole session in the first room: Set a checkpoint for the kitchen. Finish any necessary hygiene step, then leave optional polishing for its weekly slot.
- Treating the basket as permanent storage: Give it one emptying time, such as after dinner, and ask each person to return their own belongings. If the same objects keep appearing, create a convenient home for those objects.
- Starting with the floors: Clear clutter and clean higher surfaces first so crumbs and dust do not fall onto a freshly cleaned floor.
- Using one cloth everywhere: Keep room-specific cloths separate and replace them when soiled. Rinsing a toilet cloth does not make it your kitchen cloth.
- Using more cleaner to work faster: Follow the measured dilution or application instructions. Excess product can leave residue and create extra rinsing work.
- Adding a full laundry cycle: Washing, drying, and putting away a load usually extend beyond this reset. Collect laundry or handle one stage when useful, but make a separate plan to finish it.
- Resetting already-clean areas automatically: If the living-room table is fine, put those minutes toward today’s real problem. A checklist should help you notice useful work.
- Restarting from the beginning after an interruption: Secure supplies, pause, and resume at the next useful step. There is no need to repeat rooms you have already finished.
If the same job overruns several times, record its actual duration once. Give it a longer slot, reduce another task, or ask someone to own it. Your household’s timings are better evidence than an idealized cleaning video.
Keep Your Home Manageable All Week
Use the 30 minute cleaning routine when the whole home needs a light reset. You do not need to add it on top of every other routine each day. On quieter days, a shorter pickup and kitchen clean may be enough. An evening-focused household might prefer the before-bed cleaning checklist instead.
Give the deeper jobs their own manageable place in the CHC weekly rhythm:
- Monday, kitchen: tackle one need such as the stovetop or refrigerator shelf.
- Tuesday, bathrooms: allow time for the shower, tub, toilet, and other areas due for a fuller clean.
- Wednesday, bedrooms: change needed linens and dust the surfaces skipped during resets.
- Thursday, living areas: clean the room beyond the central table and traffic path.
- Friday, floors: vacuum more thoroughly and clean compatible hard floors as needed.
- Saturday, laundry catch-up: finish outstanding loads and return clean items to their homes.
Adjust the days and frequency to suit actual use. Put occasional appliance care, high dusting, and other larger jobs on a separate schedule, following manufacturer guidance.
After a week, check three things: Was the kitchen usable afterward? Did the routine fit your available energy? Which area repeatedly needed more time? Keep the steps that helped and change one awkward part. A visible checklist or a shared family note can make the next start easier; the Cleaners Clubhouse can provide further routine support when you want it.
For today, choose your route, gather the caddy, and follow the first useful step. Finish the essential work safely, put the tools away, and enjoy the space you have made easier to live in.

CLEANERS CLUBHOUSE
Make Your Cleaning Routine Easier to Follow
Stop wondering what to clean next. Inside the Cleaners Clubhouse, you’ll get a practical 12-month cleaning calendar, printable worksheets and monthly challenges to help you keep moving without trying to do everything at once.
