

THIS POST MAY CONTAIN AFFILIATE LINKS. PLEASE READ MY DISCLOSURE FOR MORE INFO.
You sprinkle baking soda over a stubborn mess, pour on vinegar, and watch the bubbles take over. It looks busy enough to be doing something impressive. When dinner needs making and the sink needs cleaning, an inexpensive shortcut is easy to welcome.
The baking soda and vinegar cleaning myth comes from mistaking that visible reaction for extra cleaning power. The acid in vinegar reacts with the baking soda, using up some or all of each. The fizz does not automatically make the mixture a better cleaner for the job.
Both ingredients can still have useful, separate roles. The trick is choosing a method that suits the mess and the material, then giving the wiping, rinsing, and drying steps enough attention.
Here’s the quick version:
- For everyday food residue and greasy fingerprints, start with a surface-compatible cleaner or mild dish detergent where the manufacturer allows it.
- For a small mark that needs gentle scouring, baking soda and water may help on an approved surface.
- For mineral scale, vinegar may help where the item’s care instructions specifically permit it.
- For sanitizing or disinfecting, follow appropriate product directions. A homemade fizzy mixture isn’t a substitute.
Disclosure: This post may contain affiliate links. As an Amazon Associate, Clean Home Challenge earns from qualifying purchases. If you make a purchase through these links, we may earn a small commission at no extra cost to you. This helps us keep creating practical cleaning tips, routines and resources for busy families! 🧽
What Happens When Baking Soda Meets Vinegar
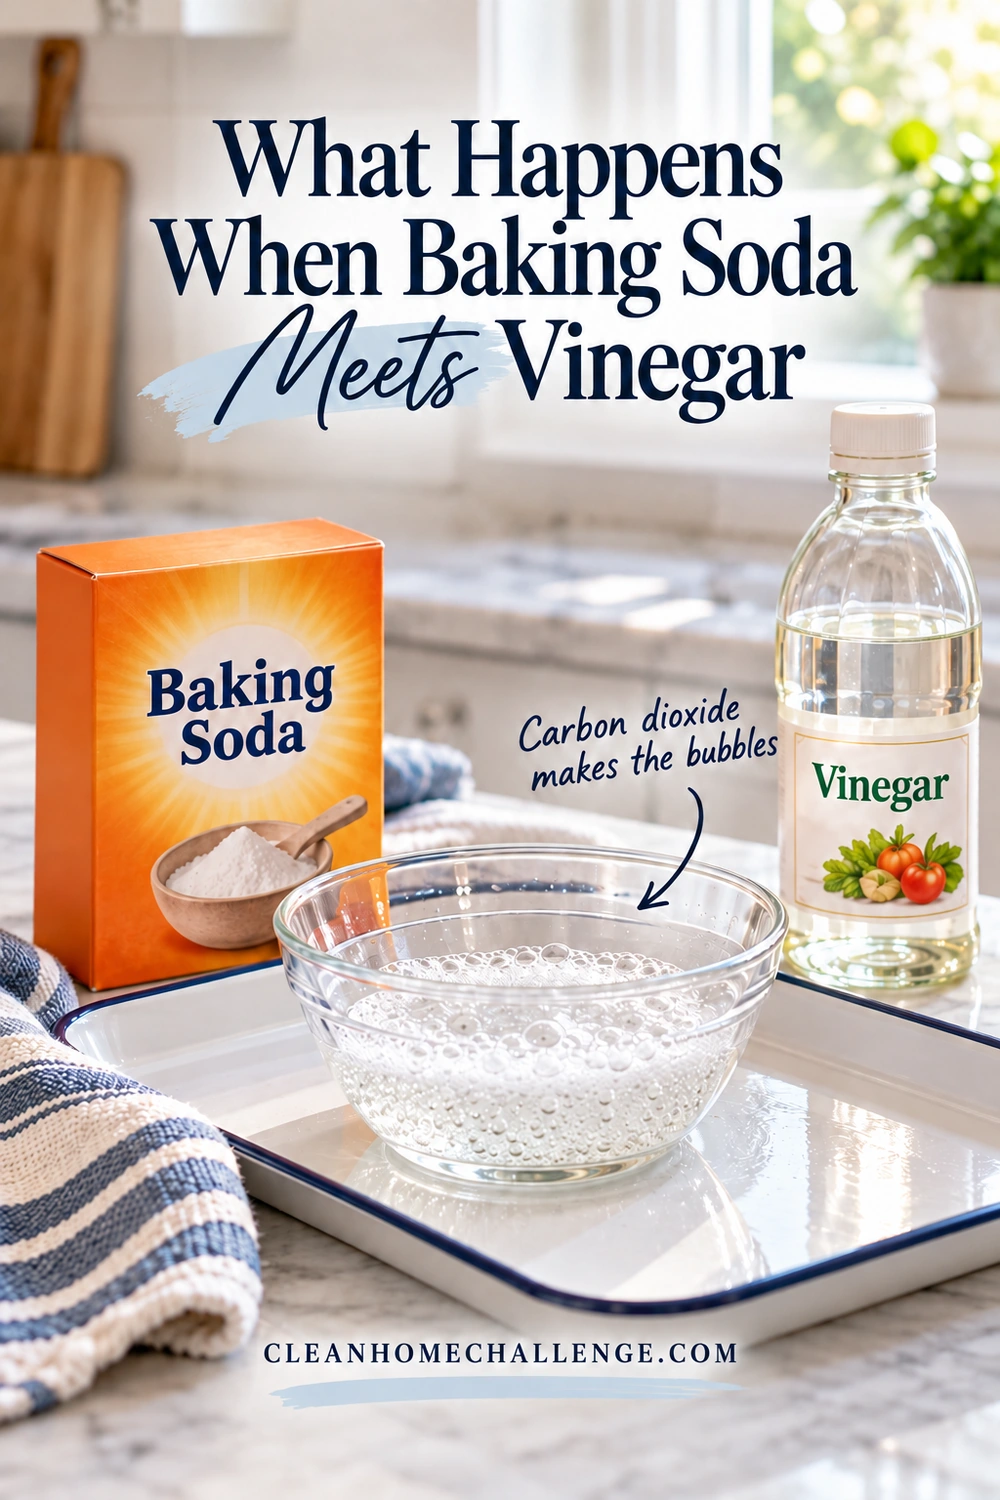
Baking soda is sodium bicarbonate, a mild base. Vinegar contains acetic acid dissolved in water. When they meet, the acid reacts with the bicarbonate, producing carbon dioxide gas, water, and sodium acetate, a dissolved salt. Those escaping gas bubbles create the fizz. The American Chemical Society’s explanation of the reaction shows why changing the amounts changes how much gas forms.
In everyday terms, the ingredients are reacting with each other. You are using up vinegar’s acidity and some of the baking soda before they can do the separate jobs you had in mind. The ACS explanation of neutralization helps explain why combining them is a poor default for a household cleaner.
The mixture isn’t always neutral
You may hear that the combination turns into “just water” or always ends up at pH 7. Both descriptions leave out important detail.
The final mixture depends on what you put in:
- If vinegar is in excess, some acetic acid remains after the bicarbonate has reacted.
- If baking soda is in excess, some bicarbonate remains, possibly including undissolved powder.
- Sodium acetate remains in the liquid. It isn’t table salt, and its presence matters to the solution’s chemistry.
Even a sodium acetate solution by itself can be alkaline, as OpenStax explains in its discussion of salt solutions. So an acid–base reaction does not guarantee a neutral final pH.
You don’t need to calculate a perfect mixing ratio. For cleaning, the useful conclusion is simpler: adding the second ingredient changes the first, and the fizz tells you very little about whether the resulting mixture suits your surface or stain.
If a recipe leaves plenty of baking soda behind, the remaining powder may still help with gentle scrubbing. If it leaves excess vinegar, some acidity remains. Neither result proves that combining the ingredients improved the clean.
Why Fizz Is a Poor Cleaning Test
The bubbles can appear in a clean bowl with no dirt present. The ACS gas demonstration illustrates why: a reaction generates the gas. Bubble volume does not tell you how much grime has been removed.
It helps to look at a cleaning method as a whole. Did you wet dried food, let it soften, rub it with a cloth, and rinse away the loosened mess? Those steps can explain a noticeable improvement without crediting the bubbles.
A fairer question is: could the same job have been done with one suitable cleaner and the same amount of wiping?
What if the mixture seemed to work?
There is no need to dismiss what you saw. A cleaner-looking sink is a real result. The explanation may include the water, the rubbing, an ingredient left over after the reaction, or another product in the recipe.
For example, dish detergent has a useful job of its own: it helps oily material mix with wash water so it can be removed. That is the principle illustrated in the American Chemical Society’s detergent activity. Adding baking soda and vinegar to a detergent recipe doesn’t establish that all three were needed.
Judge an everyday clean after the surface is rinsed as directed and dry. Look for remaining food, greasy smears, chalky residue, or a changed finish. More foam, a stronger smell, and a longer ingredient list are poor reasons to repeat a method.

Where Baking Soda Helps on Its Own
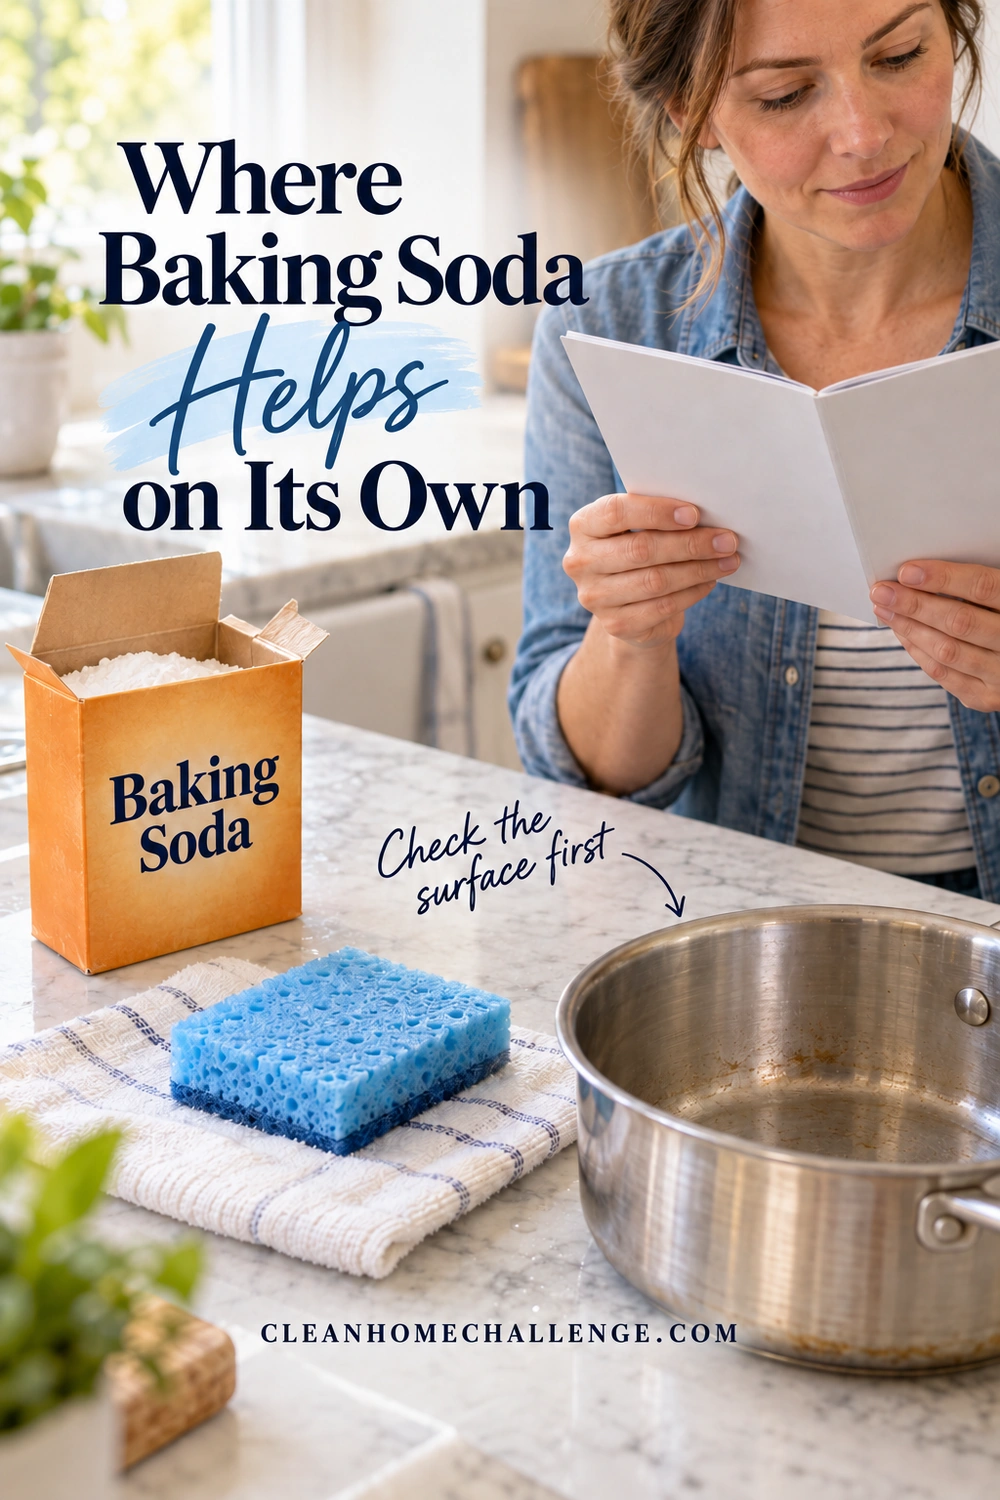
Baking soda can provide mild abrasive action when some powder remains undissolved. That makes it a possible spot-cleaning option for certain stubborn marks, rather than a reason to coat every kitchen surface. University of Wisconsin Extension’s baking soda resource describes this physical cleaning action.
“Mild” still needs a material check. A finish that tolerates a damp cloth may not tolerate repeated rubbing with powder. Check the exact item’s instructions, especially for coated appliances, polished surfaces, nonstick cookware, decorative finishes, and anything described as scratch-sensitive. Don’t assume that permission for one stainless steel item applies to another.
A careful spot-cleaning method
For an item whose care instructions allow baking soda:
- Remove loose crumbs and grit with a suitable soft cloth.
- Try the recommended everyday cleaning method first.
- If the mark remains, make only enough baking soda and water paste for that spot. Use the consistency and method the manufacturer recommends.
- Test a hidden area, then rinse and dry it before checking for a change in color or sheen.
- Work gently with a soft cloth or approved nonabrasive sponge. Stop if the finish changes.
- Remove the paste thoroughly with clean water as the item’s instructions allow, then dry.
For example, Whirlpool describes a baking soda and water paste for certain stainless steel stains, with gentle work along the grain, residue removal, and drying. The same guide tells readers to consult their appliance manual first. That model-specific check comes before any general tip, including this one.
Use the smallest area and least effort that gets a result. If repeated gentle cleaning leaves the mark unchanged, reassess it. More pressure can turn a manageable stain into a finish problem.
There is usually no need to follow baking soda with a vinegar spray. Remove the residue with the approved rinsing method. Skipping the extra ingredient also makes it easier to see whether the original approach worked.
Where Vinegar Helps on Its Own
Vinegar’s acidity can be useful against some mineral deposits. Think of the chalky scale that builds up in a compatible kettle, rather than treating vinegar as the answer to every greasy or sticky mess. University of Georgia Extension explains the different roles of acids and alkalis in cleaning.
The surface is just as important as the deposit. A product that affects the buildup may also affect what is underneath it.
Follow the item’s descaling instructions
KitchenAid’s kettle-care guidance gives examples of using white vinegar and water, followed by thorough rinsing. Use your own kettle’s instructions for the permitted product, concentration, fill level, treatment time, and rinse cycles.
This matters because a quick treatment for light buildup and a longer treatment for heavy scale are different jobs. Don’t copy a soaking time from an unrelated appliance or assume that more concentrated vinegar will be better.
For a vinegar-approved item:
- Remove other cleaner residue using the item’s care instructions before starting.
- Prepare only the specified dilution and amount.
- Follow the stated treatment time and any heating instructions exactly.
- Complete every rinse or fresh-water cycle before using the item again.
- Keep electrical bases, cords, and connections dry as instructed.
Baking soda isn’t an extra descaling step to add afterward. Use the prescribed rinse process instead.
Keep vinegar away from natural stone
Avoid vinegar on marble, limestone, travertine, and other natural stone surfaces. The Natural Stone Institute warns that acidic products can etch calcium-rich stone and advises against acid cleaners even for generally more acid-resistant stone because other sensitive minerals may be present.
Don’t assume a sealer makes vinegar appropriate. Use the cleaner recommended by the stone supplier or manufacturer.
Elsewhere, check first: faucet finishes, appliance parts, floor coatings, and specialty glass may have their own restrictions. A hidden patch test is an additional precaution after confirming compatibility; it doesn’t override a written instruction to avoid acids.

Match the Cleaner to the Mess
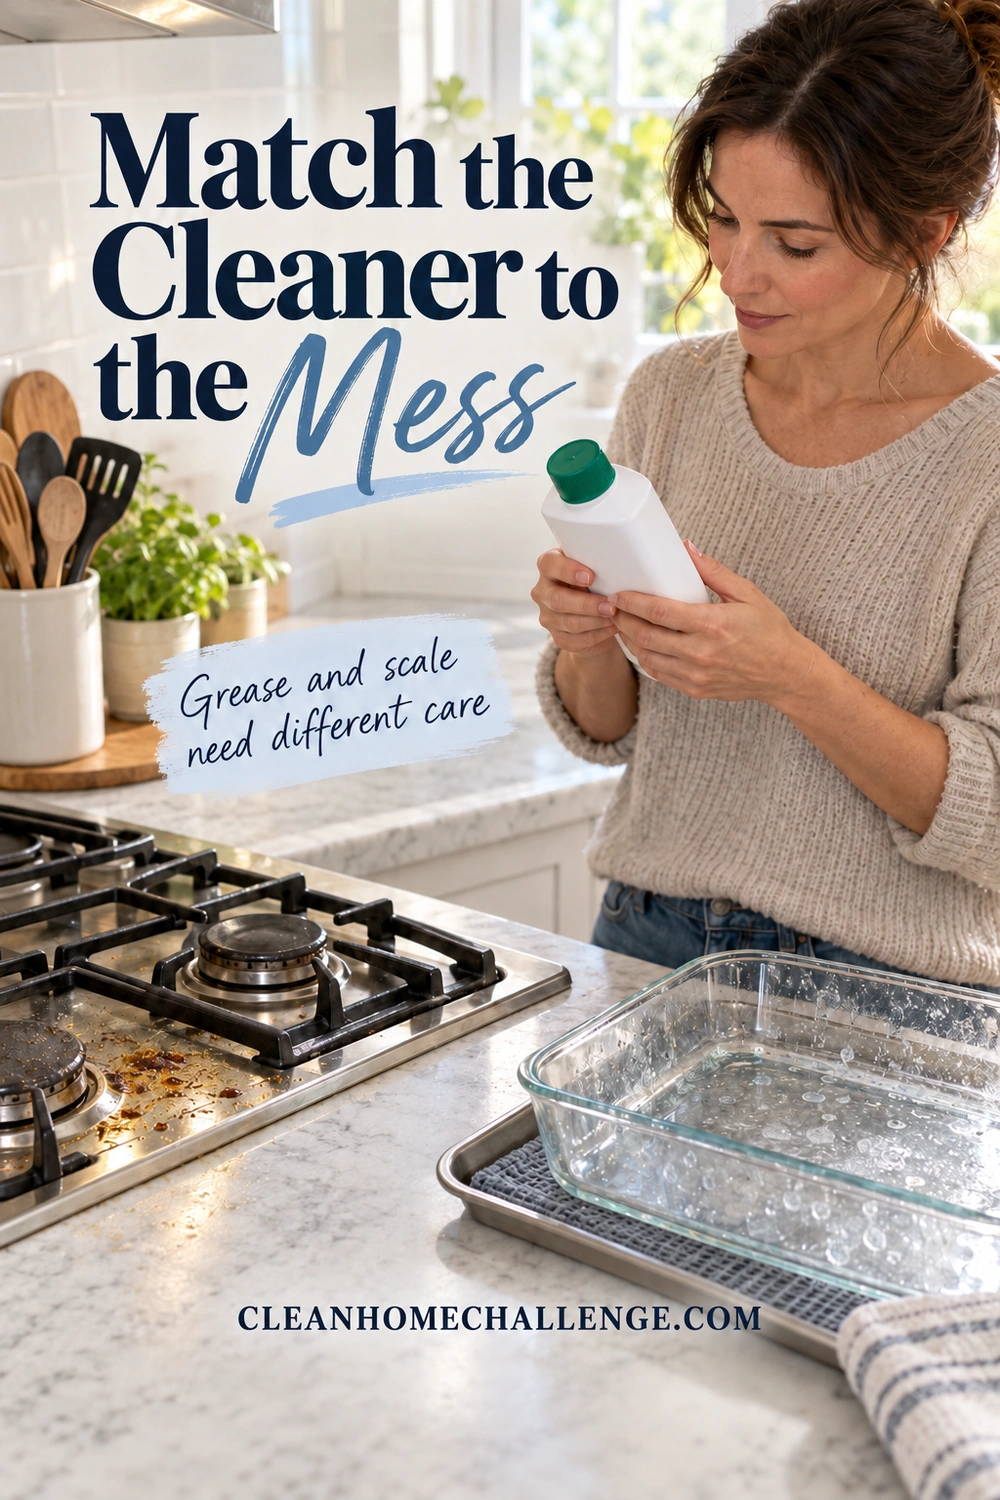
Before reaching for either pantry ingredient, name the problem in front of you. Grease, dried food, mineral scale, and an actual blockage need different approaches. “It looks dirty” isn’t quite enough information to choose well.
Everyday food and greasy fingerprints
On a washable surface that allows it, use mild dish detergent and water, or choose the manufacturer’s recommended surface cleaner. ACS explains why detergent helps remove greasy material.
Clear the area first so you can reach the whole mark. Follow the product’s dilution directions, wipe with a clean soft cloth, and remove residue as directed. Use a fresh part of the cloth as it picks up dirt. Dry the area if the surface’s care instructions call for it.
If you finish with a smeary film, check the amount of cleaner and whether the cloth needs changing before adding another product.
Dried-on food
Give the approved cleaning method time to soften the residue. On a water-tolerant, washable item, a brief soak or a damp cloth held against the food may reduce the rubbing needed. Use only the moisture and treatment time the item can tolerate.
A wood surface, an electrical opening, and a removable washable dish need different handling. When soaking isn’t allowed, follow the surface-specific instructions rather than improvising a paste.
Chalky buildup
Check that it really is a removable mineral deposit. A dull patch can also be etching or finish damage, which more cleaning won’t fix.
If the manufacturer permits vinegar or a named descaler, use that treatment on its own. If acids are prohibited, choose a compatible approach or ask the supplier. A stubborn mark on valuable stone is a good reason to pause.
A slow or blocked drain
Don’t rely on baking soda and vinegar fizz to clear a blockage. A bubbling drain doesn’t tell you that the obstruction has gone, and sealing the opening to increase pressure adds risk.
Start by checking for accessible debris at the strainer or stopper, following the fixture’s instructions. For persistent slow drainage, use an appropriate mechanical approach or get plumbing help. If a chemical drain product has already been used, don’t add another cleaner or use a plunger; follow the product’s instructions and tell the plumber what went in. Poison Control’s drain-cleaner guidance explains the chemical and splash hazards; Drano’s product precautions specifically warn against plunging after use.
A surface that needs sanitizing or disinfecting
Cleaning, sanitizing, and disinfecting serve different purposes. Cleaning removes dirt and many germs. Sanitizing lowers germs to levels considered safe by public-health standards. Disinfecting uses an appropriate product to kill germs on surfaces. The CDC’s home-cleaning guidance explains these distinctions and when an extra step may be needed, including illness and food-safety situations.
Don’t use a homemade baking soda and vinegar mixture as a disinfectant. When disinfection is needed, select a suitable EPA-registered product, clean the surface first, and follow the disinfectant’s directions for preparation, contact time, rinsing, and surface compatibility. Smelling clean or looking shiny cannot verify disinfection.

Keep DIY Cleaning Simple and Safe
A shorter cleaning routine should also make it easier to keep track of what is being used. Before starting, read the cleaner label and the item’s care instructions. Put away products you don’t need for the task.
Never store the reacting mixture in a closed container
Baking soda and vinegar release gas. Trapping it in a bottle or tightly closed jar can build pressure and force the closure or container to fail. A James Madison University chemistry demonstration illustrates the pressure-generating effect of this reaction.
Don’t make a batch in a spray bottle, screw the lid on, or try to use the trapped pressure as a cleaning tool. Keeping the ingredients separate avoids this unnecessary hazard.
Never mix vinegar with bleach
Vinegar and chlorine bleach can release hazardous chlorine gas, as Poison Control warns. Don’t add baking soda, ammonia, alcohol, or other cleaners to bleach either. Use bleach only according to its label, including any prescribed dilution with water. The CDC also advises against mixing bleach with other cleaners.
If you are unsure what is already on a surface or inside a drain, stop rather than adding another chemical. A homemade neutralizing attempt is not a safe way to handle an unknown cleaner.
Make the setup easier to manage
- Keep products in their original labeled containers whenever possible.
- Store cleaning supplies out of children’s and pets’ reach, preferably in a secured cabinet.
- Ventilate the work area and wear the protection specified on the label.
- Keep children and pets away while products are in use.
- Use clean tools, and avoid carrying bathroom residue onto food-preparation surfaces.
- Finish the rinsing and drying steps before putting the area back into use.
These precautions reflect Poison Control’s household-cleaning advice. Familiar pantry ingredients still deserve sensible handling; being used in food doesn’t make every cleaning use appropriate.
For disinfectants, keep the surface wet for the full label contact time and follow any food-contact rinse directions. Don’t rush that stage to fit a timer or borrow germ-killing claims from an online cleaning hack.

A Five-Minute Reset Without the Fizz
For an ordinary patch of everyday kitchen mess, you can make useful progress without setting up a mixing station. Choose one small, familiar surface with a cleaning method you already know is approved.
Have your chosen cleaner, a clean soft cloth, and any rinse and drying cloths ready. This is a suggested time box for a small task, not a promise that every stain or treatment will fit.
Minute 1: Clear and identify. Move dishes and loose items. Remove crumbs. Decide whether you’re dealing with fresh food, grease, or something that needs a separate treatment.
Minutes 2–3: Clean one manageable area. Use the approved cleaner at the recommended amount. Work methodically so you aren’t wiping around the same objects. Turn or change the cloth when it becomes dirty.
Minute 4: Remove residue. Rinse or wipe with clean water if directed. Keep moisture away from joints, openings, and materials that shouldn’t be wet.
Minute 5: Dry and put away. Dry where appropriate, return the essentials, and secure the supplies. If one stubborn mark remains, note what it needs rather than starting an unplanned chemical experiment.
On a low-energy day, choose an even smaller win: clear the sink edge or wipe the breakfast spot. Save descaling, stain treatment, and anything with a required contact time for a session that allows you to finish properly.
The habit worth keeping is choosing a suitable cleaner, using it as directed, and completing the cleanup. Baking soda and vinegar can stay available for their separate, approved uses. Your next everyday wipe-down can be simpler without the extra fizz.

CLEANERS CLUBHOUSE
Build a Safer, Simpler Cleaning Routine
Clean confidently with practical guidance that helps you choose sensible products and use them correctly. The Cleaners Clubhouse combines safer cleaning support with realistic routines, worksheets and challenges.
