

THIS POST MAY CONTAIN AFFILIATE LINKS. PLEASE READ MY DISCLOSURE FOR MORE INFO.
The cupboard under the stairs can collect an impressive amount of dust for a space you barely walk into. Shoe grit settles around the vacuum, cobwebs hide under the sloping ceiling, and the back of a shelf can go untouched for months.
You do not need a matching set of baskets or a whole weekend to improve it. The useful order is simple: check for problems, clear a manageable section, remove ordinary dust, clean suitable surfaces, let everything dry, and return only what belongs there.
This storage room cleaning checklist takes you through that process, including the awkward corners and the things you should stop to investigate. It is for routine household dirt. Rodent waste, significant mold, leaking chemicals, and water around electrical equipment need a different response.
For planning, allow about 60–90 minutes of hands-on work for a lightly filled cupboard, or 2–4 hours spread over sessions for a packed storage room. These are working estimates, not deadlines. Drying and repairs are extra, and the ten-minute version at the end is a perfectly useful starting point.
Disclosure: This post may contain affiliate links. As an Amazon Associate, Clean Home Challenge earns from qualifying purchases. If you make a purchase through these links, we may earn a small commission at no extra cost to you. This helps us keep creating practical cleaning tips, routines and resources for busy families! 🧽
Check for Damp, Pests, and Safety Hazards
Before pulling out boxes, open the door and use a flashlight to inspect the floor, lowest wall edges, shelf supports, and the underside of the stairs. Look from the doorway first so you do not put your hand into an unseen corner.
Check for wet cardboard, staining, crumbling surfaces, chewed packaging, droppings, unstable stacks, and leaking containers. Keep children and pets elsewhere while you work. Wear closed-toe shoes, and leave yourself a clear route out.
Stop ordinary cleaning if you find rodent evidence
Do not vacuum or sweep droppings, urine, or nesting material. Disturbing dry waste can put contaminated particles into the air. Do not move suspect boxes into your living room for sorting.
Follow the CDC’s rodent-cleanup instructions, including ventilation, rubber or plastic gloves, wet disinfection, safe disposal, and handwashing. Its guidance for enclosed spaces includes opening doors and windows for 30 minutes and leaving during ventilation. Use the label’s contact time for an appropriate disinfectant. Heavy infestations need additional precautions; contact a pest professional or local health department if the extent is unclear.
The vacuuming steps later in this guide apply only to ordinary household dust after you have ruled out contamination.
Treat dampness as a problem to solve
A musty smell, repeated condensation, or a wet wall needs investigation before you refill the space. Photograph damage and notify your landlord if you rent. Avoid covering a damp patch with shelf liner or a storage bin.
For substantial water damage, mold over about 10 square feet, or suspected hidden growth, seek experienced help. Sewage-contaminated water calls for professional cleanup. Even a smaller patch needs a separate, suitable cleanup plan and a moisture fix; see the EPA’s home mold guidance. Do not dry-brush suspect growth or run a fan across it.
Reserve space around equipment
If the cupboard contains a furnace, water heater, electrical panel, or shutoff valve, access comes first. Do not pile belongings in front of controls, cover ventilation openings, or clean inside equipment housings.
Keep combustible storage away from heat-producing equipment. Check the appliance manual and applicable local requirements for operating and service clearances, and ask a qualified professional if unsure. A gap that fits a box is not automatically usable storage. The U.S. Fire Administration’s storage-area guidance also emphasizes accessible electrical panels and clear stairs for escape.

Gather a Simple Storage Room Cleaning Kit
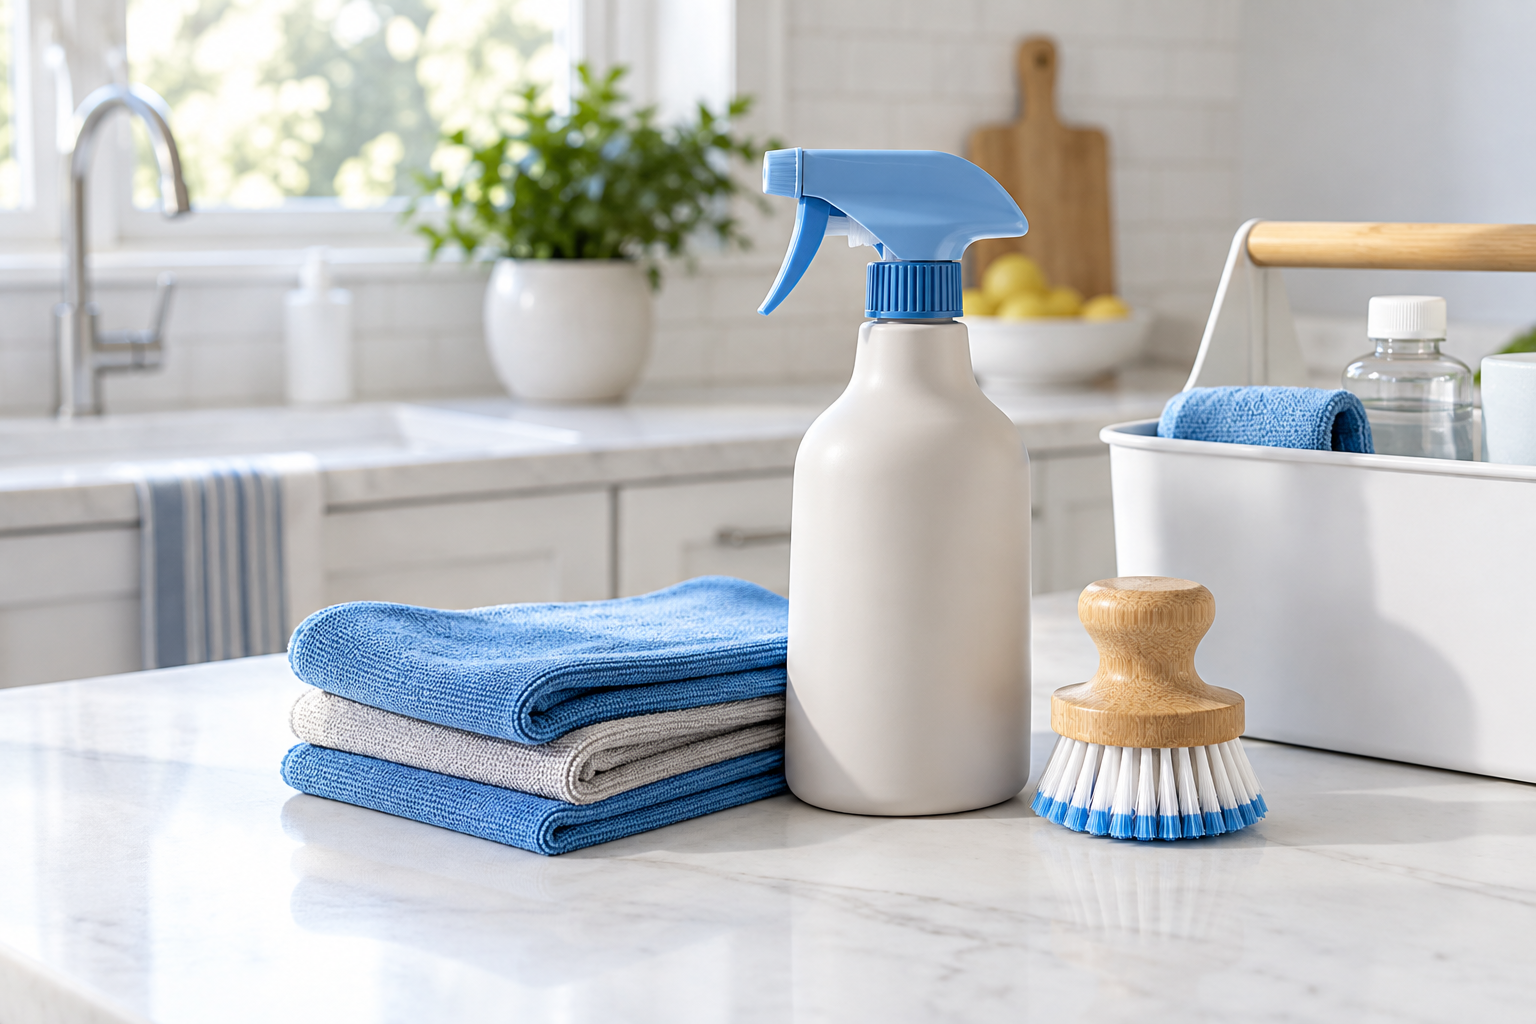
Most of this job uses supplies you already own. Set them in a caddy outside the doorway so you are not stepping over bottles in a tight space.
- Flashlight or a safely positioned portable light
- Vacuum with a crevice tool and soft brush attachment, for ordinary dust only
- Several soft cloths, including a separate dry cloth
- A long-handled duster for sound, accessible surfaces
- Mild detergent or a cleaner approved for the particular finish
- A small container of clean water, if the surface can be damp-cleaned
- A suitable floor-cleaning tool and fresh pad
- Gloves appropriate to the product label
- Garbage and recycling bags, plus a basket for things that belong elsewhere
- Labels, a pen, and a short list for repairs or replacement containers
A clean, soft cotton cloth can substitute for microfiber. You can skip the mop if the cupboard has carpet or the floor only needs dry cleaning. Avoid balancing on boxes to reach high shelves; use a suitable step stool only where there is level space and adequate headroom.
Choose cleaning products for the actual job
Routine dusty storage does not automatically need disinfectant. Cleaning removes dirt; sanitizing and disinfecting have different germ-reduction purposes. The CDC explains when household disinfection is useful, including illness-related situations.
Read labels for ventilation, dilution, protective equipment, and suitable materials. Never mix cleaning products, including bleach with vinegar, ammonia, or other cleaners. Test a hidden spot before treating a visible surface, and do not assume a homemade mixture is safe on every finish.
If the cupboard has no window, keep its door open during routine cleaning and ventilate the adjoining room where practical. If you cannot meet a product’s ventilation requirements, choose a suitable alternative or pause the job.

Empty One Manageable Section at a Time
Start with the items nearest the door. Clear enough room to work without turning the hallway into a second obstacle course. The stairs, exits, and everyday walking route must stay usable throughout the job.
For a small cupboard, you may be able to empty it completely. For a larger room, choose one shelf bay and the floor directly below it. Finish that zone before opening another.
- Prepare a landing area. Use a washable mat or old sheet in a nearby clear space for normally dusty belongings. This is not a sorting area for rodent-contaminated or moldy items.
- Unload safely. Remove loose objects from the top of a stack before moving lower boxes. Divide heavy contents into smaller loads and get help with anything awkward. Do not tug a buried bin from beneath a leaning pile.
- Make only the decisions needed to clean. Keep items that belong here together; put obvious household recycling and garbage into the appropriate bags; collect misplaced things in one basket.
- Inspect what was hidden. Look behind each container and beneath shelf edges as they become visible. Stop if you uncover moisture, contamination, damaged wiring, or a failing support.
- Clean containers before returning them. Wipe suitable hard-sided bins, handles, and lids, then dry them. Empty grit from an ordinary shoe tray and wash it according to its care instructions.
Do not spend the whole session sorting photographs or testing every old cable. Put a specific follow-up on your list, such as “review one box of cords Saturday.” That keeps cleaning moving without forcing rushed decisions about sentimental belongings.
Wash stored fabrics only when they need it, using their care labels, and let them dry completely before packing. Keep dusty shoes separate from clean linen. If a box is sound and clean, there is no need to replace it simply because it does not match the others.
Photograph an unfamiliar shelf fitting before removing anything. Leave fixed shelving, stair panels, pipes, and cables alone; routine cleaning should not turn into an unplanned building project.

Clean Shelves, Walls, and Awkward Corners
Work from high surfaces toward low ones so falling dust lands in an area you have not finished. Under stairs, the highest point may be beside the door rather than at the back. Start wherever you can reach safely.
Remove ordinary dust before adding moisture
Use a soft brush vacuum attachment or a long-handled duster on sound surfaces. Move gently along the upper corners, shelf tops, exposed ledges, and doorframe. Use the crevice tool for shelf joins and the narrow floor edge under the slope.
Do not force an attachment into a gap you cannot inspect. Keep tools away from exposed wiring and equipment interiors. If the finish is flaky, powdery, or damaged, stop rather than scrubbing it or creating more dust.
Fold your cloth into quarters and change to a clean face as it picks up dirt. A cloth that is already gray can smear dust across the next shelf. Change the cleaning water when dirty, and keep a dry cloth within reach.
Match the method to the surface
Painted walls and trim: Remove loose dust, then test gentle cleaning with a soft, lightly damp cloth. If needed and compatible with the paint, use mild detergent, remove residue with a clean damp cloth, and blot dry. Avoid hard scrubbing and abrasive pads, especially on flat paint. For larger washable areas, work in small sections from the bottom upward to reduce drip streaks. Benjamin Moore’s wall-care guide explains how finish affects cleaning. Follow the specific paint’s cure instructions if recently painted.
Laminate-covered shelves: Use a soft cloth with a compatible mild cleaner, then remove residue and dry. Keep water away from damaged edges and seams; a laminate surface does not make the board underneath waterproof. Formica’s care guidance warns against flooding joints. For melamine or another coating, check that product’s instructions rather than assuming identical care.
Unfinished wood or unknown shelving: Begin with gentle dry dust removal. Do not soak bare wood, particleboard, or an unidentified finish. Find the appropriate care instructions before using liquid or a stronger cleaner.
Washable plastic bins and coated metal shelving: Follow the manufacturer’s method, wipe away ordinary dirt, and dry thoroughly, including seams and handles. Inspect cracked bins, sharp edges, and rust-damaged supports before reloading them.
Finish with the door handle, accessible shelf fronts, door edges, and baseboards. These small areas often make the cupboard feel noticeably cleaner without washing every inch of wall. Keep liquid out of switches, outlets, and electrical equipment.
If your cupboard doubles as coat storage, our wardrobe cleaning guide can help you plan that part of the job.

Clean the Floor and Let Everything Dry
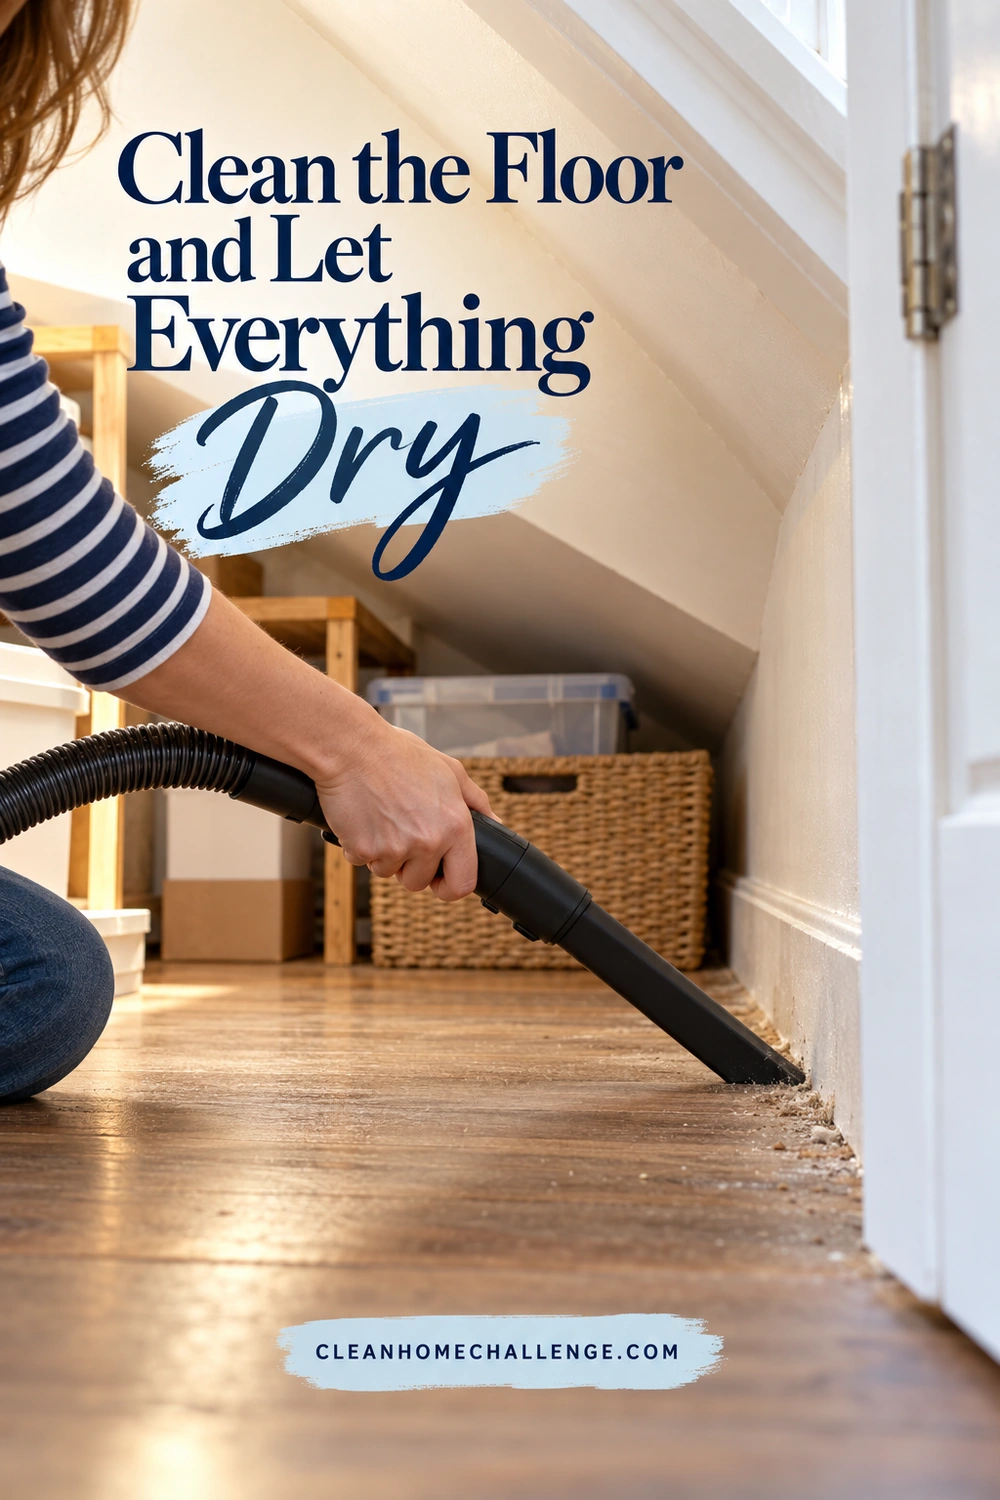
Once upper surfaces are finished, collect ordinary loose debris from the floor. Use the correct vacuum setting and attachment, including the edges beside shelving and the back corner. Pick up large objects by hand rather than sending screws, paper clips, or pieces of packaging through the vacuum.
Then choose a method for the floor you actually have:
- Wood or laminate: Follow the specific floor-care guide and use its approved cleaner and applicator. Do not flood the floor or assume steam is suitable. Shaw’s laminate instructions caution against wet mopping and abrasive products; other floors have their own requirements.
- Vinyl: Remove grit first and use an approved cleaner in the specified amount. A pH-neutral product is commonly recommended, including in Shaw’s vinyl-care guidance. Keep excess moisture out of seams and damaged areas.
- Tile or sealed concrete: Check the tile, grout, coating, or sealer instructions before damp mopping. An unknown concrete coating is a reason to identify the finish, not try a stronger chemical.
- Natural stone: Choose a stone-appropriate cleaner. Avoid vinegar or acidic household mixtures; the Natural Stone Institute explains the risk of etching acid-sensitive stone.
- Carpet: Vacuum with the appropriate setting. Spot-treat ordinary marks using a carpet-approved method after a hidden-area test. Avoid soaking a carpet in a small, poorly ventilated space.
Where damp mopping is approved, start at the farthest reachable point and work toward the door. With a flat mop, make controlled pull-back passes that bring dirt toward you, overlap slightly, and change a dirty pad. Follow the product’s dilution and rinsing directions rather than adding extra cleaner for a “deep clean.”
Make drying part of the task
Keep belongings out until cleaned surfaces are fully dry. Check shelf seams, the undersides of bins, and the low back corner, not just the easy-to-see doorway. A cool enclosed cupboard may need longer than you expect, so avoid promising yourself a fixed drying time.
Keep the door open while supervising access and ventilate nearby rooms when suitable. Do not use a portable heater to force-dry a packed cupboard. Do not direct a fan at suspect mold or rodent contamination.
Persistent dampness needs its source corrected. The EPA’s moisture guidance recommends drying water-damaged materials within 24–48 hours to help prevent mold. That is a prompt-action window after a leak, not a reason to leave routine cleaning water sitting around.
Put Things Back for Safer, Easier Access
Refill the space around how you use it. Before returning the first box, decide which areas must remain clear: the entrance, equipment access, ventilation openings, and the route to shutoff valves.
Put frequently used belongings near the front. Keep heavy items low on sound shelving within its load rating. Avoid overhead stacks you have to catch when you open the door. Store lighter, less-used items farther back only if you can retrieve them safely.
For an under-stairs cupboard, a shallow removable bin can make the low section easier to clean than a row of loose objects. Leave the taller area available for upright items if that suits the space. A bin should slide out without moving five other containers or dragging across a delicate floor.
Try these practical groupings:
- Everyday cleaning tools together, with mop heads fully dry
- Shoes or outdoor equipment in a washable tray
- Seasonal decorations in clearly labeled containers
- Spare household supplies in a small, visible group
- Paper keepsakes and textiles in a dry location suited to their care needs
Label the side you can see from the doorway. Specific names such as “holiday lights” or “spare towels” are easier to use than “miscellaneous.” Leave enough room to see the floor edge and inspect previously troublesome corners. Do not press absorbent belongings against a wall that has unresolved dampness.
Keep chemicals and combustible items in suitable storage
Keep cleaners in their original labeled containers, securely closed and inaccessible to children and pets. Separate them from food and follow any product-specific storage restrictions. Do not combine partly used bottles to save space. Our guide to storing cleaning products safely covers setting up a family-friendly storage area.
An under-stairs cupboard is not an appropriate place for gasoline or propane cylinders. Choose storage for flammable paints, solvents, and fuels using their labels and local fire-safety advice, rather than assuming they belong with household supplies.
Old paint, pesticides, oils, and some cleaners may require household hazardous-waste disposal. Do not pour leftovers down a drain or put everything into one garbage bag. Check your local collection instructions and the EPA’s household hazardous-waste guidance. Corroded or leaking containers need specific advice before handling.

Keep Your Storage Room Clean in Small Steps
A storage cupboard does not need a full reset every week. A little attention when you put things away can prevent the back corner from disappearing again.
Use this practical maintenance rhythm, adjusting it to how dusty and busy your home is:
- Each time you put something away: Return it to its group, check that it is dry, and keep the door opening and access areas clear.
- Monthly: Spend five minutes checking for leaks, musty odors, pest evidence, and unstable stacks. Remove ordinary grit at the entrance when needed.
- Every three to six months: Clean one shelf or bay, wipe container tops, and vacuum accessible edges after the safety check.
- At a seasonal change: Clean behind the items you are swapping, inspect the back wall, and review whether anything needs a different home.
Your storage room cleaning checklist
- Inspect for moisture, pests, damaged surfaces, and unsafe storage
- Keep stairs, exits, and equipment access clear
- Gather suitable tools and read cleaner labels
- Empty one manageable zone
- Remove ordinary dust from high surfaces down
- Clean shelves, containers, handles, and baseboards appropriately
- Clean the floor using its care instructions
- Let every cleaned surface and stored item dry
- Return belongings so they are stable, accessible, and easy to move
- Note repairs and choose the next small maintenance session
The ten-minute, lower-energy version
Start with the doorway safety check. If all is well, set a ten-minute timer and choose one reachable shelf or a small patch of floor. Remove only what you can comfortably put back. Lift off ordinary dust, wipe the suitable surface, and leave it to dry before reloading.
If bending or lifting is difficult, use a long-handled tool for an accessible area or ask for help moving heavy bins. It is fine to finish after clearing the entrance and writing down the next step. Leave your stopping point safe, with no unstable piles or blocked hallway.
The result to aim for is a cupboard you can open, inspect, and use without wrestling with its contents. Clean shelves, a dry floor, and a clear path are worthwhile progress, even if the boxes still do not match.


CLEANERS CLUBHOUSE
Follow a Simple Room-by-Room Cleaning Plan
Break the house into manageable spaces and know exactly where to focus next. The Cleaners Clubhouse gives you a follow-along 12-month calendar, printable worksheets and motivating monthly challenges.
