
THIS POST MAY CONTAIN AFFILIATE LINKS. PLEASE READ MY DISCLOSURE FOR MORE INFO.
A countertop ice maker can keep producing ice while the scoop, bin, or reservoir quietly needs attention. Topping up the water does not clean those surfaces, and an automatic cleaning button does not necessarily wash the removable pieces for you.
The most useful approach is to separate the job into two parts: wash the pieces your manual says you can remove, then follow that exact model’s procedure for the water circuit. Descaling may be a separate task again. A small amount of preparation makes those distinctions much easier to remember when the kitchen is busy.
This guide helps you build that plan without borrowing a cleaner, dilution, or rinse count from a different machine. Keep your owner’s manual beside you and use the free care record below to save the details once.
Disclosure: This post may contain affiliate links. As an Amazon Associate, Clean Home Challenge earns from qualifying purchases. If you make a purchase through these links, we may earn a small commission at no extra cost to you. This helps us keep creating practical cleaning tips, routines and resources for busy families! 🧽
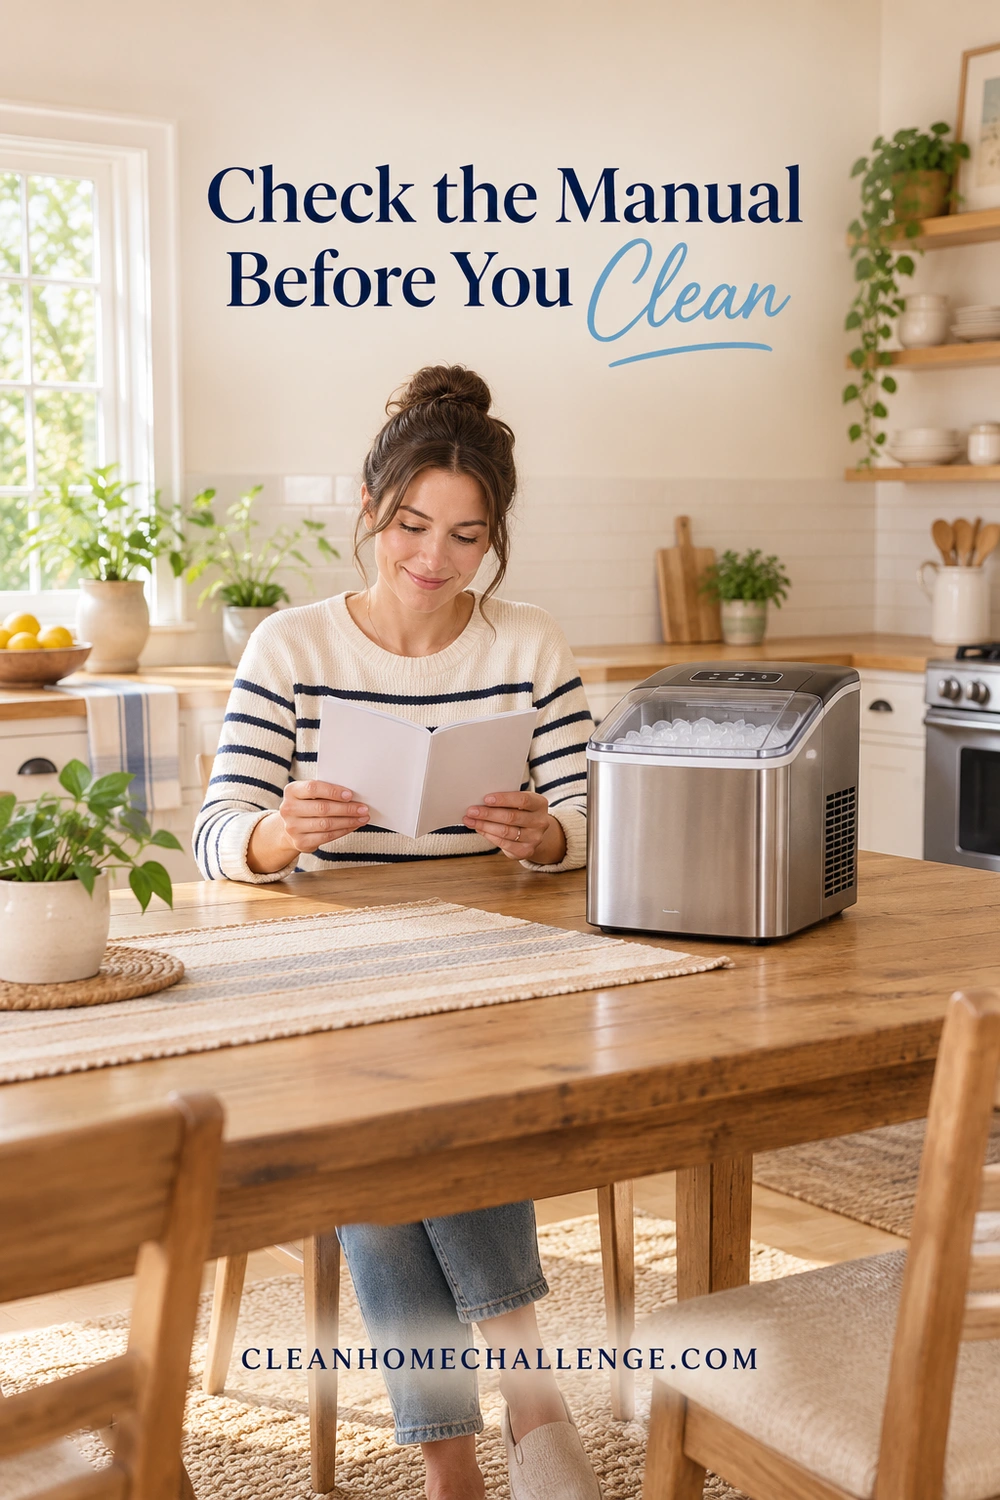
Check the Manual Before You Clean
Start with the model number on the rating label, not simply the brand printed on the lid. Two ice makers from the same company can use different controls, filters, drain arrangements, and cleaning procedures. Find the matching manual and check whether a separate side tank or accessory has its own instructions.
For example, GE provides different cleaning directions for Opal models with and without a large round front button. Its round-button guidance also says not to use soap in the water reservoir. That is a useful reminder that washing an ice bin with soapy water does not automatically make soap appropriate for the internal circuit. See the GE round-button Opal instructions for that specific design.
Make a short model-specific plan
Before emptying anything, locate these details:
- Which bin, scoop, tray, screen, or tank parts are user-removable.
- The permitted washing method for each removable piece.
- The cleaner or sanitizer approved for the water circuit, including its quantity and water temperature.
- Whether a filter must be removed, replaced, or handled differently during the cycle.
- The cleaning-cycle sequence, draining steps, fresh-water rinses, and any ice batches to discard.
- The separate descaling directions and recommended maintenance interval.
If the instructions are missing or unclear, contact the manufacturer with the exact model number. Do not improvise an internal cleaning recipe while waiting. You can still inspect the outside and plan the job, but keep a machine with unresolved internal contamination out of service.
Gather only what the instructions call for
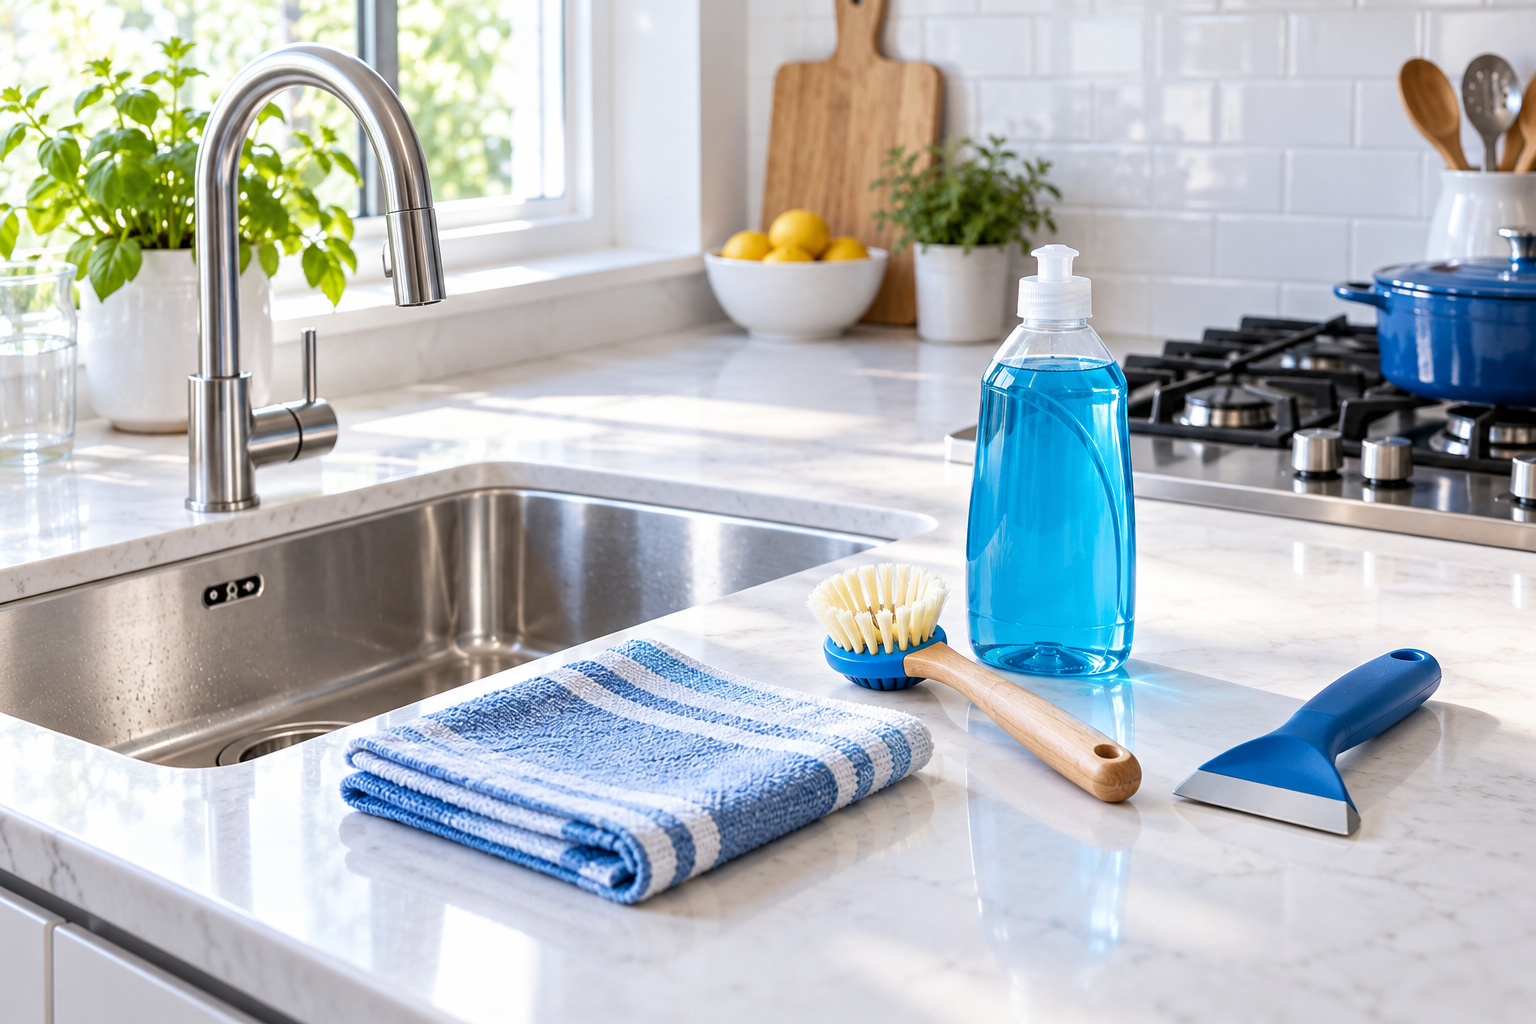
A clean soft cloth, a clean drying area, a suitable container for draining, and the approved cleaner are a useful starting point. Have drinking-quality water available for the specified rinses. Add mild dish soap only for parts whose instructions permit it, and use a soft brush only where the manual allows brushing.
Keep a phone or printed manual on a dry section of the counter so you can read the next step without handling it with wet hands. Move food, clean dishes, and children’s cups away from the work area. Put all cleaning products where children and pets cannot reach them.
Switch off and unplug before manual washing or handling removable parts, following any waiting period in the manual. An automatic cleaning cycle may require reconnecting the power later; do that only at the specified point, with the plug, hands, and surrounding electrical area dry. Never immerse the appliance or send water through vents and controls.
A realistic time budget: allow a calm preparation and washing period, plus whatever cycle, soak, rinse, and drying time your model requires. Do not assume a quick wipe finishes the whole job. If you only have five minutes now, find the manual and complete the care record first, then choose a time when you can finish every rinse.
Wash the Bin, Scoop, and Removable Parts
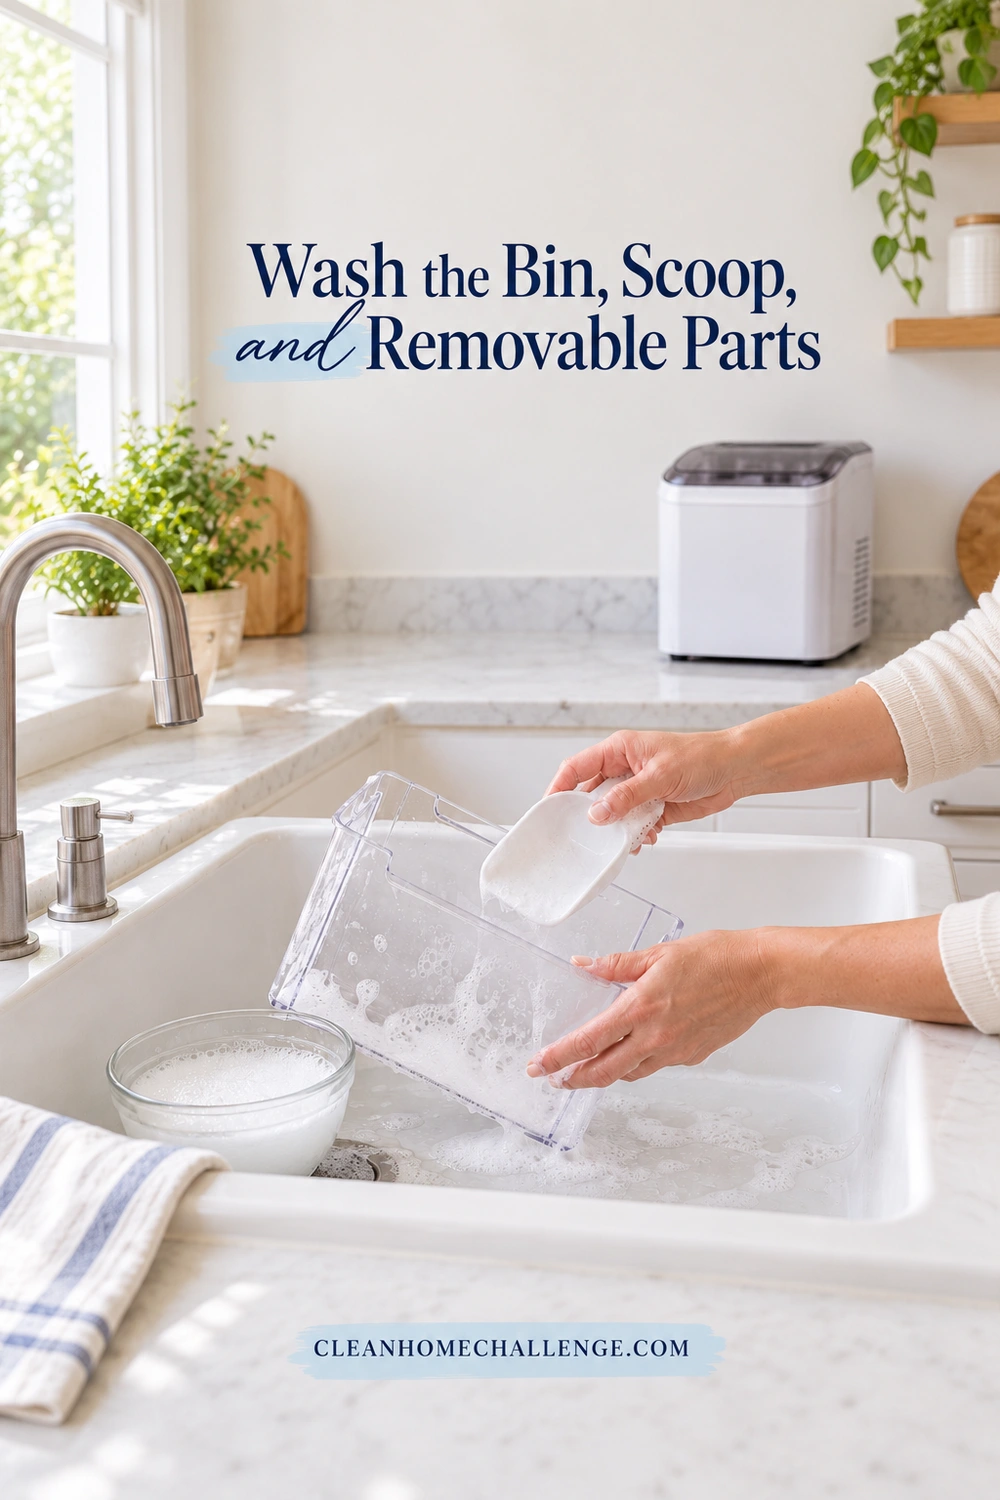
Ice touches more than the machine’s hidden pipework. The collection bin, scoop, lid edges, and removable accessory pieces deserve their own check. Work through the permitted parts one at a time so a clean item does not land back on a wet or dirty counter.
- Remove the ice and drain as directed. Do not save ice that has contacted cleaning solution. Follow the manufacturer’s disposal instructions for cleaning or rinse batches too.
- Take out only parts designed for the user to remove. Photograph their position if helpful. Do not pull at fixed tubing, open the housing, or force a stuck fitting.
- Wash each permitted piece by its own care instructions. When hand washing with mild soapy water is allowed, use a soft cloth and pay attention to the scoop handle, bin rim, accessible corners, and underside of a removable lid.
- Rinse thoroughly using the specified method. Turn a removable piece so you can reach its corners. Keep the washing water separate from the electrical body and from a reservoir that prohibits soap.
- Dry as instructed and set aside cleanly. Inspect the area where each part will sit before putting it back. Replace cracked or damaged food-contact pieces rather than trying to hide the damage with extra scrubbing.
Newair’s general ice-maker cleaning guidance discusses washing baskets and scoops and warns readers to check their own manual. Treat that page as background, not permission to put every brand’s plastic parts in a dishwasher or to use its internal cleaner recipe in a different model.
Give the scoop a sensible home
Wash the scoop by its permitted method, including the handle that gets touched repeatedly. Keep it in the clean location the manufacturer recommends. If it falls on the floor or is used for something else, clean it again before returning it to ice service.
Avoid scooping with a drinking glass or another object that could chip or break. Use the correct scoop gently, and replace a damaged one. A simple household rule helps: hands stay on the handle, and the scoop is only for ice.
Deal gently with accessible residue
A soft cloth is a better first choice than an abrasive pad. Do not scrape plastic, seals, or ice-making surfaces with a knife or other sharp tool. Hard white deposits and a slippery film are different observations; neither should lead to an invented stronger cleaner mixture.
If residue remains after the approved procedure, note where it is and ask the manufacturer for the next step. Stop using the machine if there is persistent slime, suspected contamination you cannot reach safely, damaged parts, or a recurring unexplained residue. Do not serve a trial batch to see whether the problem has gone away.
Keep manual cleaning within the accessible areas identified in the instructions. A narrow opening is not an invitation to push a brush deep into tubing or dismantle the refrigeration assembly.
Clean the Water Circuit and Rinse Correctly
The water circuit needs the procedure written for that appliance. Some machines circulate an approved cleaner in a dedicated mode; others give a different sequence. The words “self-cleaning” describe a feature, not a guarantee that every surface and removable part is now ready for use.
Think of three separate purposes when reading the instructions:
| Job | What to look for in the manual |
|---|---|
| Routine washing | Directions for removing everyday soil from the permitted parts |
| Cleaning or sanitizing the circuit | The approved product, amount, cycle, contact period, and rinsing instructions |
| Descaling | A separate method for mineral deposits, with its own cleaner and schedule |
Descaling is not a substitute for a sanitizing procedure when the manual requires one. Equally, using a sanitizer does not mean mineral buildup has been removed. Our guide to cleaning, sanitizing, and disinfecting explains the broader terms, but your ice maker’s instructions still control this particular task.
Follow one complete procedure
Read the full sequence before starting. Check the fill level, filter arrangement, drain-plug position, and mode selection. Measure the approved amount instead of estimating it. More cleaner is not a shortcut; it can leave more product to remove and may damage components.
Use only the product and application permitted for the exact machine and follow its label too. A general countertop disinfectant, fragranced cleaner, dishwasher detergent, or homemade mixture is not automatically suitable inside an ice maker. Do not combine bleach, vinegar, descaler, or other cleaners. Where a manual specifies separate treatments, follow its separation and rinsing directions completely.
Stay with the task while the machine runs its required cycle. Keep a written count of completed rinses rather than relying on memory while cooking dinner or helping with homework. A simple row of tick marks on the care record makes it clear which stage you have reached.
Finish the fresh-water rinses
Drain at the specified points and refill with the required clean water for each rinse. Reusing the drained solution is not a fresh-water rinse. Follow the exact number of cycles or other completion instructions, including any ice that must be discarded before normal use resumes.
For a model-specific example, the GE directions for Opal designs without a round front button distinguish bin care, reservoir sanitizing, and descaling. That separation matters more than copying a single recipe from a short video. Use the page only if it matches your appliance and current manual.
Do not decide that rinsing is complete by tasting the water or ice. Follow the written finish. If there is continuing foam, odor, residue, a leak, or an error after the prescribed process, stop and get model-specific support instead of serving the next batch.
Before restarting normal ice production, refit the correct parts, caps, and filters according to the manual. Check that everything is seated properly and that the surrounding surface is dry. Keep discarded cleaning-cycle ice separate so nobody accidentally adds it to a drink.
Keep Your Ice Maker Ready for Next Time
Once the machine is clean, save the details that were hardest to find. You do not need an elaborate maintenance binder; one clear care record near your household cleaning notes can be enough.
Download the free Countertop Ice Maker Care Record (PDF). It has space for the model, approved cleaner, cycle and rinse instructions, separate descaling information, and the next maintenance date. Fill it in from your manual rather than copying a neighbor’s settings. Keep the original instructions available when you use it.
Choose reminders that match the machine
Use the manufacturer’s interval and any specific conditions it lists, such as water hardness or frequency of use. Do not apply one universal monthly or yearly schedule to every countertop ice maker. If the appliance has a cleaning alert, record what that alert means for your model so it does not become background noise.
A practical reminder might sit alongside your Monday kitchen reset: check whether the next service date is due, whether the scoop needs attention, and whether there is visible residue or a leak. That is a reminder to check, not a replacement for the full cleaning interval in the manual.
After a cleaning session, write down the date and any issue you noticed. Add descaling and filter servicing separately if they happen on different dates. If the manual changes or you replace the machine, update the care record before reusing it.
Before a break or storage
Follow the manual’s shutdown, draining, and drying procedure before leaving the ice maker unused or putting it away. Simply switching it off can leave water in places you cannot see. Keep removable parts together once they are clean and dry, and store the appliance in the position and conditions its manufacturer permits.
When bringing it back into use, follow the startup or after-storage cleaning directions. Check drain caps, accessories, and the electrical cord before reconnecting. A machine that developed an odor during storage needs the approved cleaning procedure and investigation of any persistent problem before it returns to family drink duty.
If today’s job feels too much: make the machine safe, remove it from use if cleaning is overdue or contamination is unresolved, and put the manual and supplies together for a later session. It is better to complete the correct procedure at a manageable time than to skip the final rinses because everyone needs the counter back.
For help keeping kitchen tasks part of a realistic household routine, you can explore Cleaners Clubhouse. The free care record above is available without joining; use it whenever it makes this particular job easier.
CLEANERS CLUBHOUSE
Make Kitchen Cleaning Feel More Manageable
Turn Monday into your kitchen reset day with a clear routine you can follow. The Cleaners Clubhouse gives you practical cleaning guidance, printable support and monthly challenges to help you stay consistent.