

THIS POST MAY CONTAIN AFFILIATE LINKS. PLEASE READ MY DISCLOSURE FOR MORE INFO.
The first warm afternoon often reveals what winter left behind: muddy steps, leaves in the playhouse, and a slide that needs attention before anyone uses it. You do not have to restore every toy to its original color. Start by checking its condition, then clean the sound, accessible surfaces with the method its manufacturer allows.
This guide helps you clean outdoor play equipment after winter without turning a family yard reset into a repair project. It covers ordinary dirt on suitable plastic and coated metal, the places where you should pause, and a small routine that keeps the job manageable. Wooden structures, electrical parts, damaged equipment, and serious contamination need their own instructions.
The practical order is check, clear, wash, rinse, dry, and recheck. Keep children and pets out of the work area until equipment is dry, cleaning supplies are put away, and any safety concerns have been resolved. A clean-looking playset is not automatically safe to use.
Disclosure: This post may contain affiliate links. As an Amazon Associate, Clean Home Challenge earns from qualifying purchases. If you make a purchase through these links, we may earn a small commission at no extra cost to you. This helps us keep creating practical cleaning tips, routines and resources for busy families! 🧽
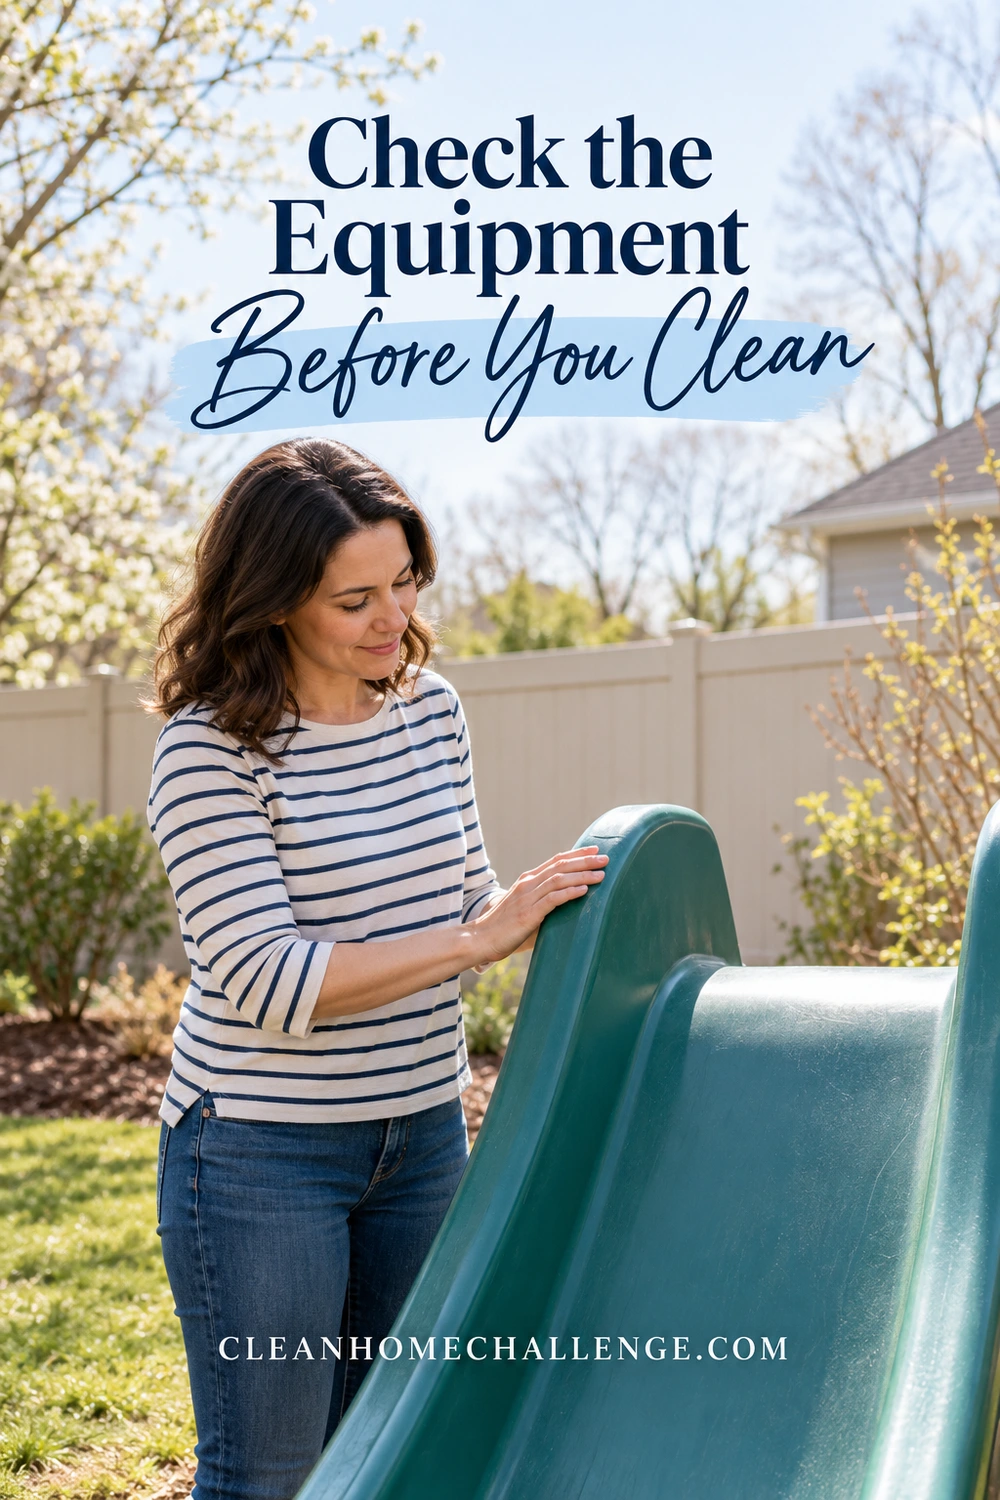
Check the Equipment Before You Clean
Begin with the manual and a slow walk around
Find the model name and care instructions before bringing out a cleaner. Take a photo of the label and save the manual location on your care sheet. If the label has faded, look for purchase records or ask the manufacturer to identify the item from photographs. Similar-looking equipment can have different coatings, hollow sections, decals, and maintenance rules.
Walk around the equipment from ground level. Look at the slide edges, steps, handholds, seats, fasteners, and nearby ground. Winter debris can conceal a problem, so lift loose leaves gently rather than immediately covering everything in suds. Do not climb onto an unexamined structure to reach the roof or test strength by hanging from a suspect part.
The U.S. Consumer Product Safety Commission’s home playground handbook emphasizes ongoing checks of hardware, wear, swing components, anchors, and protective surfacing. Use it alongside the equipment manual; a washing checklist cannot certify structural safety or replace proper installation.
Sort findings into three decisions
Use this simple sorting approach to avoid scrubbing something that should be taken out of use:
| What you find | What to do next |
|---|---|
| Loose leaves, ordinary mud, or dusty sound surfaces | Continue with the permitted cleaning method. |
| Missing caps, cracks, sharp edges, peeling coating, rust, splinters, or a damaged seat | Keep the affected equipment out of use and obtain the manufacturer’s repair or replacement advice. |
| Movement at anchors, unfamiliar modifications, or uncertain structural condition | Stop and arrange a competent assessment before use. |
| Standing water or dirt inside an inaccessible hollow section | Ask the maker about its intended drainage and cleaning access. Do not drill a new hole. |
Check the landing and running areas too. Clear fallen branches and unrelated trip hazards, but do not sweep away protective material to make the area look tidier. Restore surfacing according to the equipment and surfacing instructions. Grass alone is not a substitute for appropriate impact-absorbing surfacing beneath elevated play equipment.
Set a realistic boundary for today’s job
Choose one item or one reachable section. As a planning example, allow a short session for inspection and gathering supplies, then another for washing; drying and repairs may take much longer. There is no universal drying deadline. The weather, material, and concealed gaps all matter.
Write down any problem and where it is located. A clear photograph and model number make a support request more useful than “the swing looks worn.” If a problem affects safe use, keeping the equipment unavailable is the useful result for today, even if cleaning has to wait.
Wash Plastic and Coated Metal Gently
Gather a small, dedicated outdoor kit
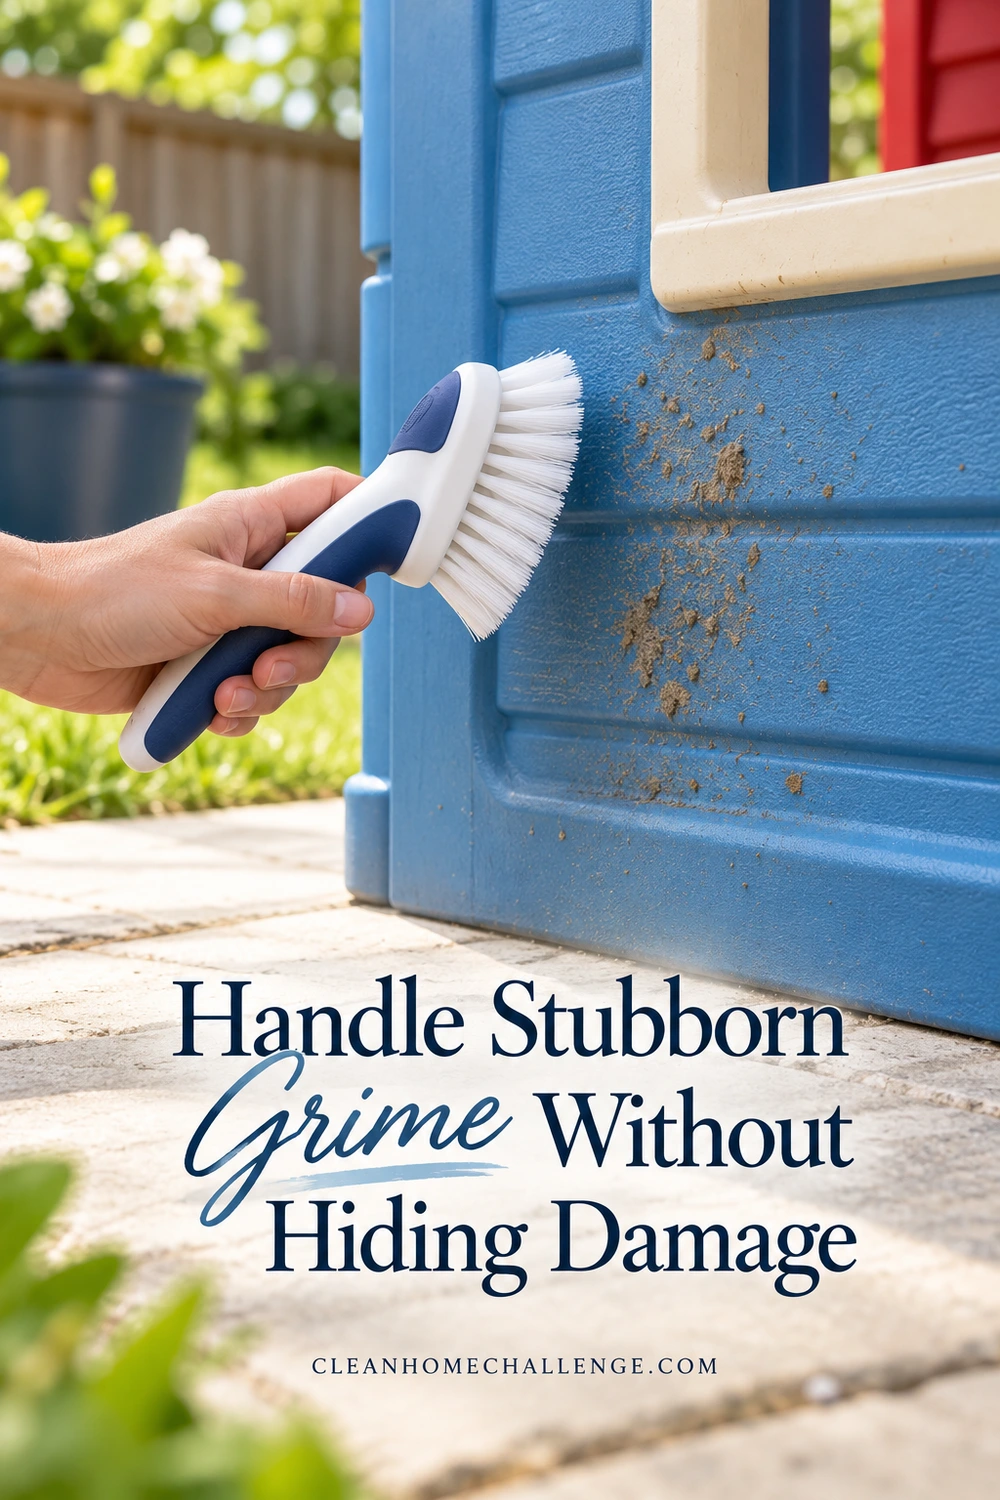
For sound surfaces whose instructions permit washing, gather a soft cloth or sponge, a soft-bristled brush, clean rinse water, and the mild cleaner allowed by the manufacturer. A small detailing brush helps with accessible grooves. Add gloves or eye protection when the cleaning product label requires them. Keep outdoor cleaning tools separate from dishwashing brushes.
You probably do not need a collection of specialist products. Check what you already own and read its label. A familiar cleaner is still the wrong choice if the equipment maker excludes it. Avoid choosing a product simply because its label says natural or heavy duty.
Step2’s plastic-product care guidance includes mild dish soap, water, and soft tools for ordinary dirt on its suitable products. That supports a gentle starting point for those items; it does not make every outdoor toy, painted frame, rope, or electronic feature washable in the same way.
Work through one small section
- Clear loose debris. Remove leaves and grit with a soft tool. If the manual permits rinsing, use a gentle flow on washable surfaces. Keep water away from battery compartments, lights, speakers, openings, and other excluded parts.
- Prepare the permitted solution. Follow the cleaner label and equipment directions. Use a modest amount of soap where allowed, rather than adding more because the item has been outside all winter.
- Wash with light pressure. Start on a small, unobtrusive area. Use overlapping passes on reachable surfaces, then gently work around textured steps and molded corners. Stop if the finish changes or material comes away.
- Remove residue. Rinse using the method the item permits. Where hosing is unsuitable, change to a separate clean, damp cloth and refresh it often. Do not let dirty wash water become the rinse water.
- Dry and inspect again. Remove accessible droplets with a clean towel where appropriate, then allow remaining moisture to dry fully. Look again at grooves, handholds, and joints before considering the job finished.
Give coated metal its own attention
On a sound, washable coated frame, use the maker’s permitted cleaner and a soft cloth. Do not scour a scratch to make it blend in, flood bearings or joints, or add oil to a slide or handhold. Lubrication belongs only on the parts and schedule specified in the manual, with the specified product.
Keep labels and decals readable. Avoid scrubbing their edges or trying to remove a safety label along with grime. If a label or protective cap is missing, add it to the maintenance list rather than improvising a substitute.
When you finish, empty and put away buckets promptly, manage the hose so it is not a trip hazard, and clean the tools. Do not leave a partly completed wet play area available while you go inside to start another chore.

Handle Stubborn Grime Without Hiding Damage
Repeat gentle cleaning before escalating
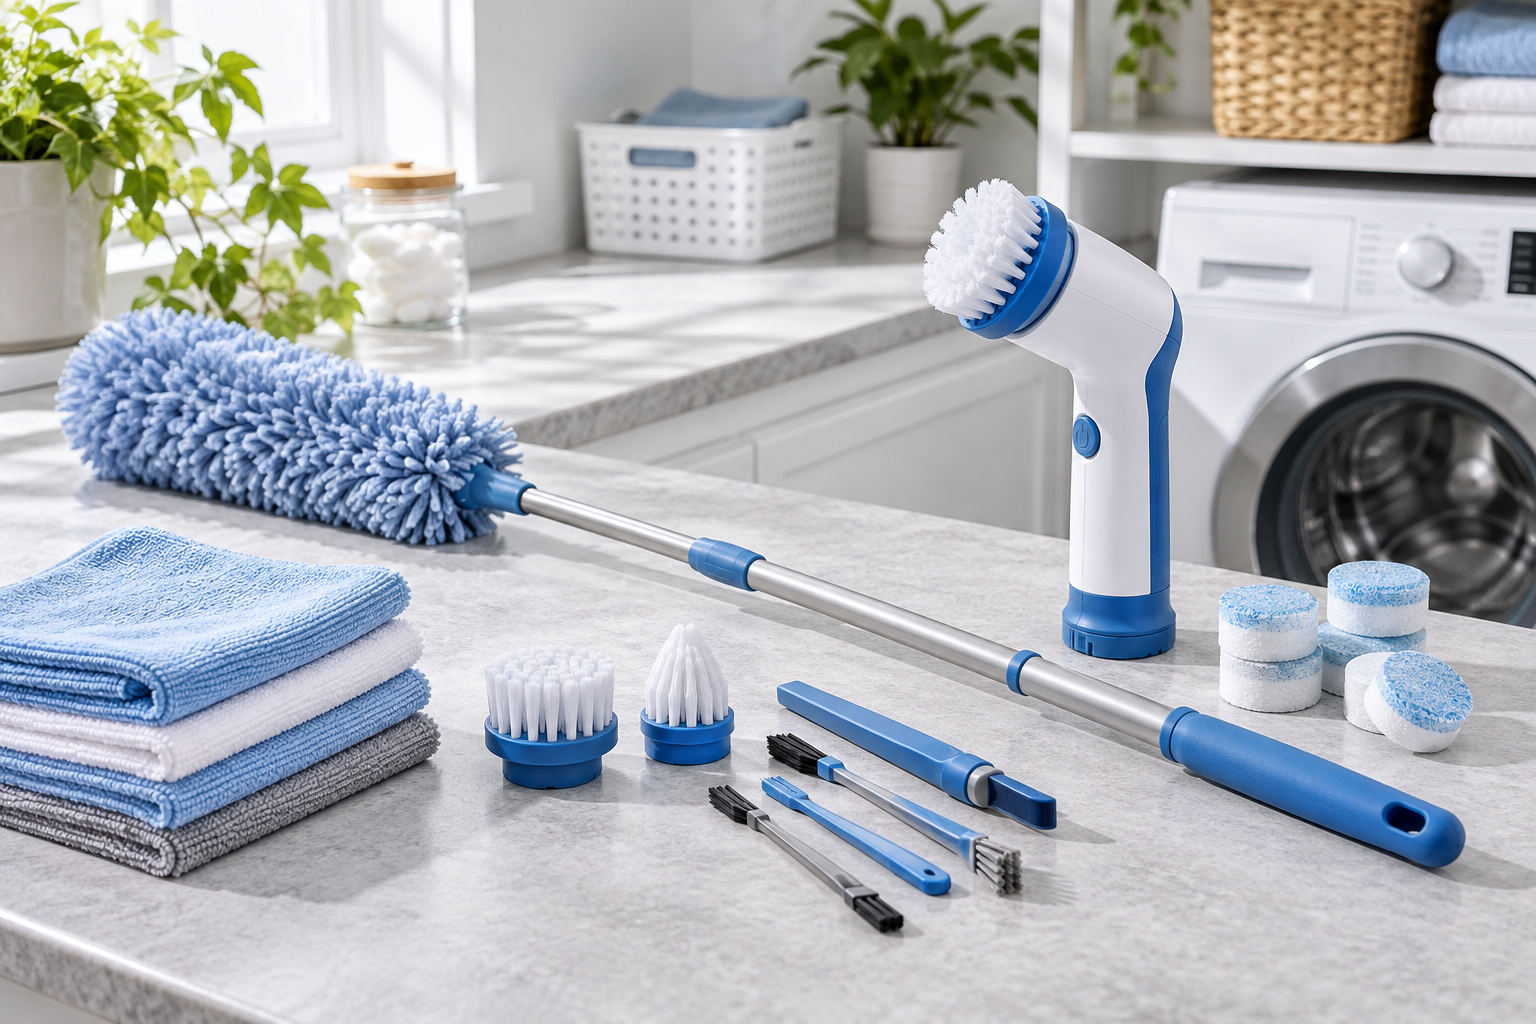
If a patch remains, first decide whether it is removable dirt, staining, or a changed surface. Compare it with nearby areas without using a sharp tool to investigate. A clean cloth that still lifts soil suggests there may be more to remove; cracking, roughness, flaking, or weakened plastic calls for advice instead.
For ordinary stuck-on dirt, repeat the approved wash on that small area. If the maker permits a brief wetting period, keep to its directions and avoid letting cleaner dry in place. Use a soft brush to reach the texture rather than bearing down with an abrasive pad. Persistent discoloration is not a reason to combine products or use a stronger concentration.
Avoid a universal pressure-washer rule. Some manufacturers allow specific settings on specific products; that does not authorize blasting an assembled playset, decals, wood, joints, or a different brand’s plastic. This guide uses gentle hand cleaning. If you want to use powered equipment, obtain instructions for the exact item and operate it within those limits.
Treat contamination as a separate question
Routine washing removes dirt; it is different from a labeled sanitizing or disinfecting process. CDC household guidance explains that surfaces should be cleaned first and that disinfectants need the correct surface use, contact time, and other label directions. Sunlight and a fresh smell are not proof that equipment has been disinfected.
Do not add bleach, vinegar, or another cleaner to the wash bucket. If disinfection is warranted, check that both the equipment and the product permit the intended use, including any rinsing needed for children’s contact surfaces. Keep children away through the complete process and required drying period.
Animal waste, extensive growth, a persistent musty smell, or contamination inside an inaccessible cavity needs more than a general dirt-removal tip. Keep the item out of use while you obtain suitable manufacturer or public-health advice. Do not dry-brush contaminated material into the air or assume a stain’s color identifies what it is.
Know which materials belong outside this washing routine
Wooden structures need the exact maker’s care and maintenance instructions. Paint, sealants, timber condition, and treatments differ; a cleaning method suitable for a plastic playhouse may damage wood. Do not sand an unknown old coating or treat decay as a cosmetic mark.
Ropes, fabric seats, nets, and straps also need their own directions. Inspect them rather than assuming a machine wash, bleach soak, or replacement rope is acceptable. Clean only the components the manufacturer identifies as user-cleanable, and have uncertain wear assessed.
For cracked or brittle plastic, damaged load-bearing parts, or significant corrosion, stop chasing an improved appearance. Record the issue and ask about approved replacement parts. Cleaning is useful when the item is sound; it cannot restore strength or make an unsuitable repair dependable.
Build a Simple Play-Area Reset Routine
Finish with a return-to-use decision
Before children return, check that accessible surfaces and moisture-trapping areas are dry, residue has been removed, and tools, buckets, and products are stored securely. Follow the manual’s assembly and maintenance checks. If a part was removed under those instructions, confirm it has been correctly refitted. Do not improvise fasteners or change the design to make cleaning easier.
Keep a clear distinction between “washing completed” and “ready for play.” You might finish the first while a replacement seat or professional assessment is still pending. Note that unresolved issue on the sheet, and keep the equipment unavailable until it is resolved. Continue supervising children during ordinary play.
Use the free check-and-clean sheet
Download the Outdoor Play Equipment Check-and-Clean Sheet (PDF). It gives you a place to record the model, allowed cleaner, inspection findings, completed washing steps, and next action. It is a practical memory aid, not an inspection certificate.
Use a separate line for each item so that the clean little playhouse does not get confused with the swing still waiting for a part. Record the date you actually completed the work and any separate repair decision. Leave a checkbox unticked when something is uncertain; that is more useful than a fully ticked sheet that hides an unfinished job.
Make the next clean smaller
After messy play, remove visible dirt from suitable surfaces before it builds up. Empty water-play items after use and dry them as their directions require. Step2’s maintenance advice highlights keeping intended drains clear and avoiding trapped dampness. Never store a water-filled bucket with the play equipment.
Choose a simple place for small, fully dry items. If their instructions allow covered storage, use it without blocking drainage or trapping moisture. KidKraft’s outdoor-toy guidance also recommends checking stored toys for insects before use. Take care around nests or animals; do not reach blindly into a dark opening.
Build checks around your actual equipment manual, weather, and use, rather than waiting for another winter to pass. Inspect after storms or other events that may have changed its condition. The seasonal deep clean is one reminder within ongoing care, not a replacement for it.
On a busy day, your small win can be finding the manual, checking one item, or safely finishing a single washable surface. For help breaking the rest of your household deep cleaning into achievable steps, explore Cleaners Clubhouse using the invitation below. Finish the useful task in front of you, write down what comes next, and let the rest have its own turn.


CLEANERS CLUBHOUSE
Need Help Getting Through a Proper Deep Clean?
Follow the 7-Day Deep Clean Bootcamp when your home needs more than a quick tidy. The Cleaners Clubhouse breaks the work into achievable steps with printable support and seasonal cleaning guidance.