THIS POST MAY CONTAIN AFFILIATE LINKS. PLEASE READ MY DISCLOSURE FOR MORE INFO.
A smart toilet adds a few extra details to an ordinary bathroom clean: a sensor window, a control panel, a remote, and electrical parts that need to stay protected. A quick spray with your usual toilet cleaner can reach places it should not, even when the outside looks easy to wipe.
To clean smart toilet sensors and exterior surfaces, start with your exact model’s maintenance instructions. For accessible surfaces the maker permits you to clean, use its approved soft-cloth method, keep liquid out of openings, and remove remaining droplets before restoring normal operation. The porcelain bowl, plastic seat, electronic housing, and remote may each have different rules.
This guide is for routine, reachable exterior care. It does not cover opening the housing, repairing sensors, cleaning electrical connections, or dismantling plumbing. You can make useful progress without doing any of those jobs.
Disclosure: This post may contain affiliate links. As an Amazon Associate, Clean Home Challenge earns from qualifying purchases. If you make a purchase through these links, we may earn a small commission at no extra cost to you. This helps us keep creating practical cleaning tips, routines and resources for busy families! 🧽
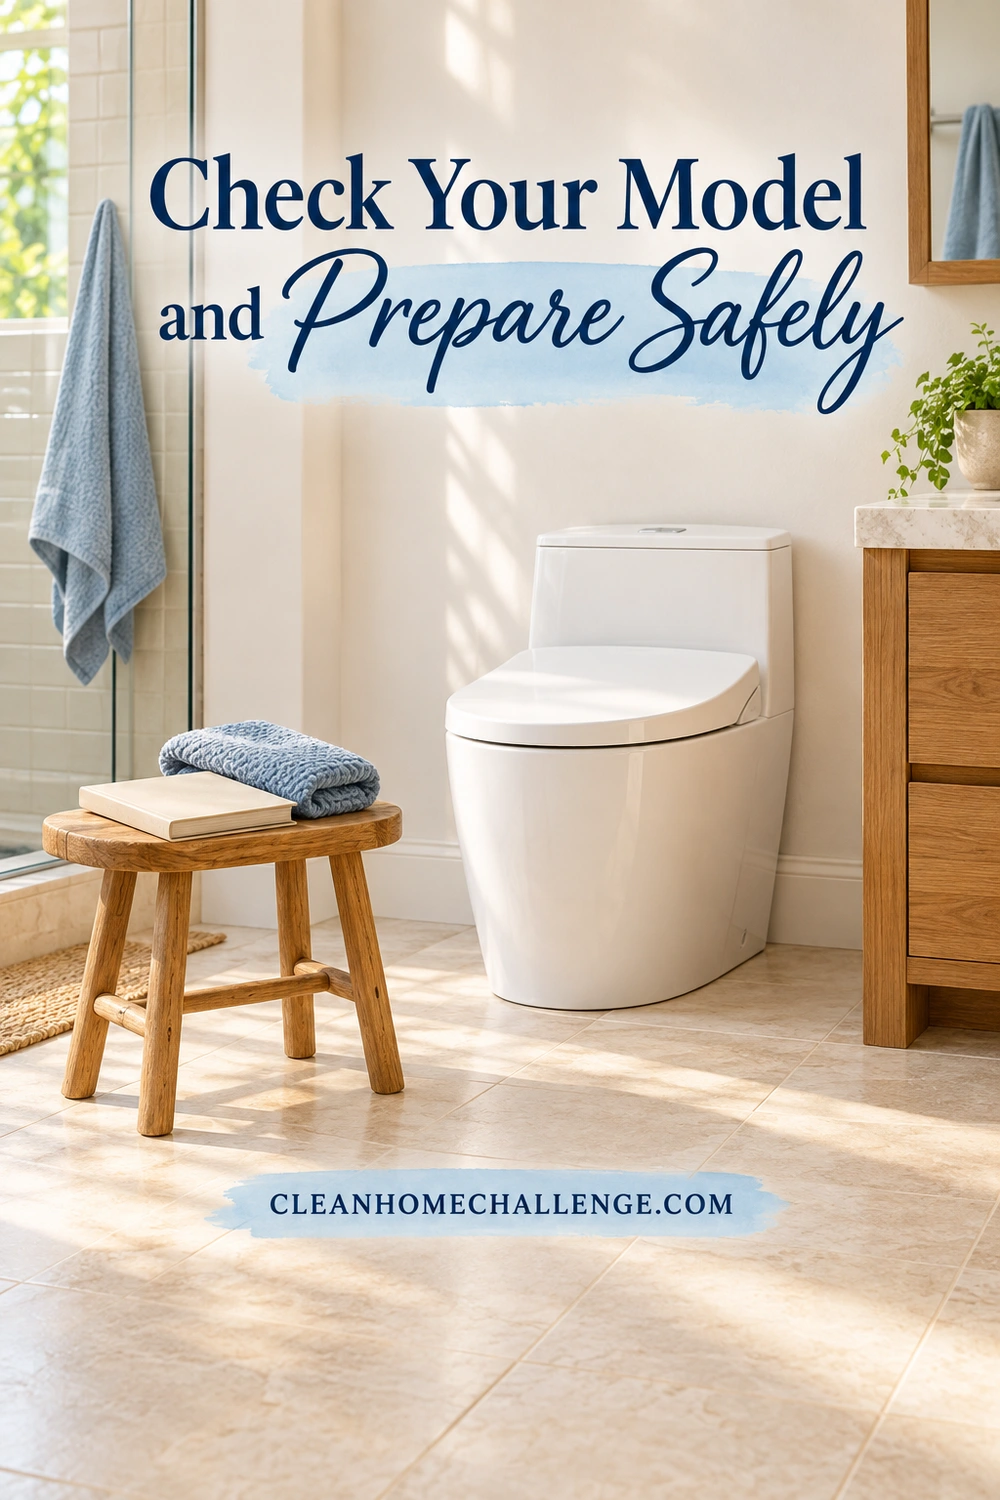
Check Your Model and Prepare Safely
Find the instructions before choosing a cleaner
Look for the product name and model number in your paperwork or on an accessible label identified in the manual. An integrated intelligent toilet and an add-on bidet seat can look similar while having different maintenance procedures. Use the manual for the actual unit, including its regional version, rather than assuming every product from the same brand is identical.
Open its care or maintenance section and answer four questions:
- How should this model be switched off or disconnected for exterior cleaning?
- Which cloth and cleaning products are permitted on its plastic and electronic surfaces?
- Where are its accessible sensors, receiver, buttons, and air openings?
- Which parts may the owner remove, and which require service?
If the instructions are missing, save the model details and contact the maker. Leave stain removal and any uncertain cleaner out of the job until compatibility is clear. Choosing a stronger product is not a useful substitute for identifying the finish.
Separate the zones
Think of the toilet as several small cleaning jobs, rather than one washable object. The glazed bowl may tolerate a product that its plastic lid or electronic casing does not. An exposed sensor window is not the same thing as a sensor built inside the seat. Do not try to uncover a hidden sensor to make it accessible.
Make a simple note of what you can see and what the manual calls it. That prevents a surprisingly common mistake: treating a dark decorative panel as a sensor, or pushing a cloth into a vent because it looks dusty. The parts diagram is more useful than guesswork here.
Gather a small, dedicated kit
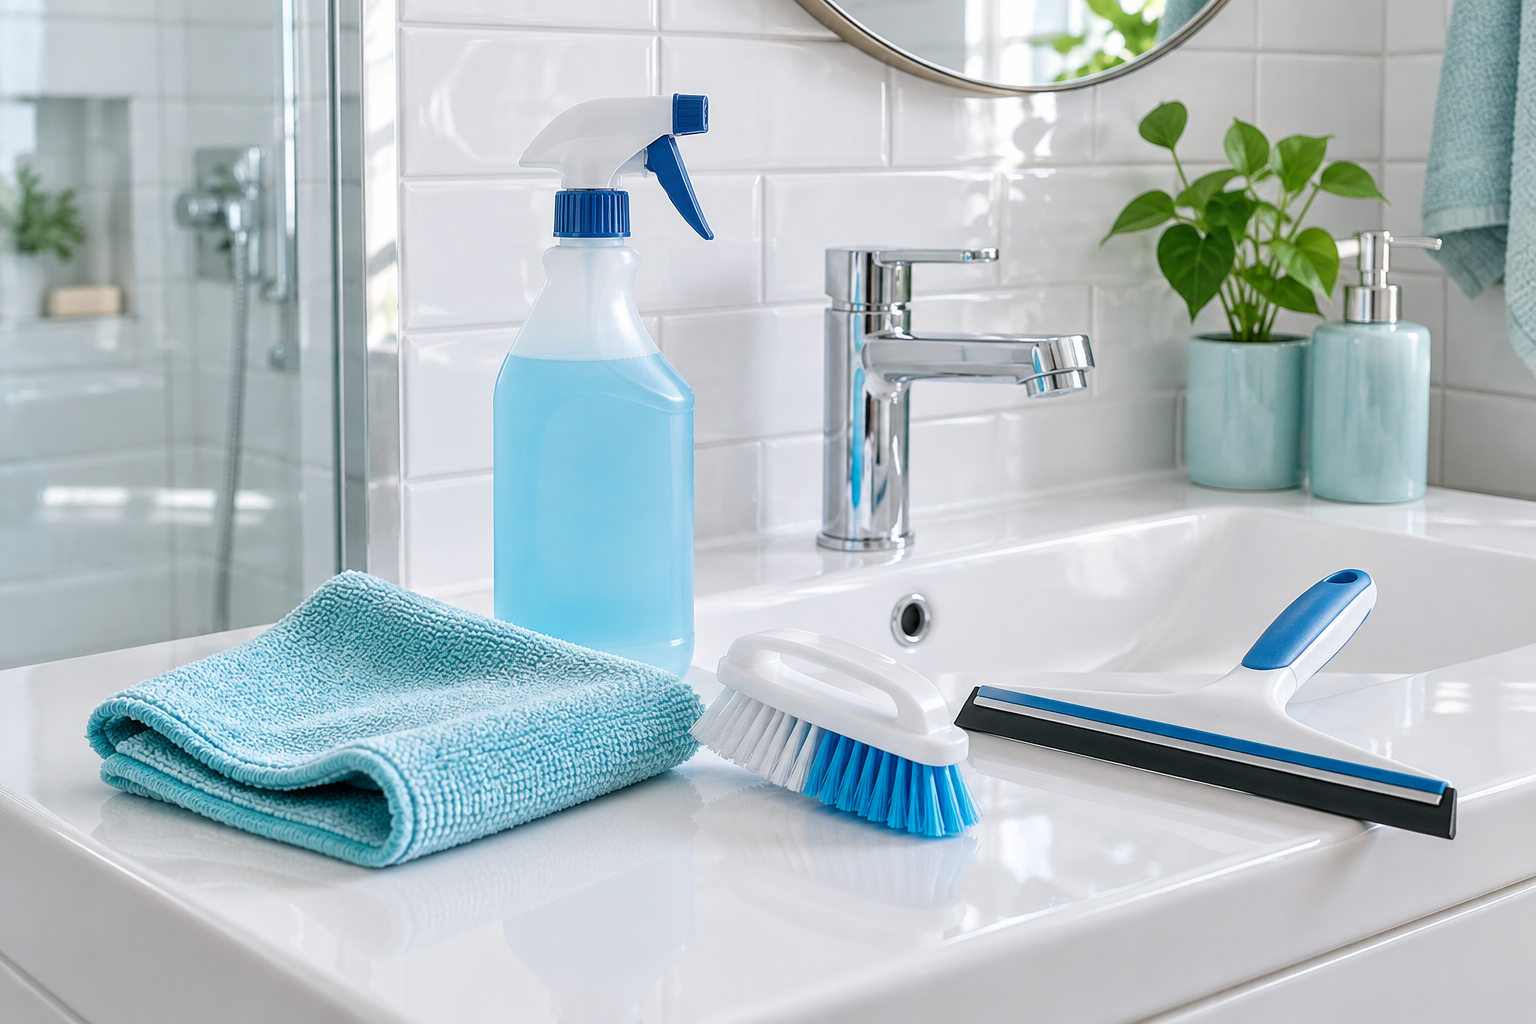
Set aside clean, soft, nonabrasive cloths that meet the maker’s instructions, a little clean water, and only the approved cleaner if one is needed. Keep bowl-cleaning tools separate. A cloth that has just wiped the bowl rim should not move on to the remote or sensor window.
Wear household cleaning gloves when appropriate for the task and product label. Clear toiletries from the immediate work area so you have somewhere stable for supplies, away from the toilet and electrical outlet. Keep children and pets out of the work area. Wash your hands after the clean and after removing gloves.
Put the unit into its prescribed cleaning state
Follow the manual’s specific power or cleaning-mode procedure before wiping. For example, TOTO’s NEOREST LS maintenance instructions distinguish normal exterior maintenance from powered cleaning functions. Those exceptions are a reason to check the model, rather than copy a button sequence from another toilet. [1]
Keep your hands dry when following any plug-handling instruction, and do not reach into a wet outlet area. If the cord, plug, outlet, or housing appears damaged or wet, stop using the unit and seek appropriate service advice. Do not remove a panel to reach a connection or repeatedly reset a tripping protective device. KOHLER’s smart-toilet guide treats electrical faults and damaged components as safety matters, not routine cleaning tasks. [2]
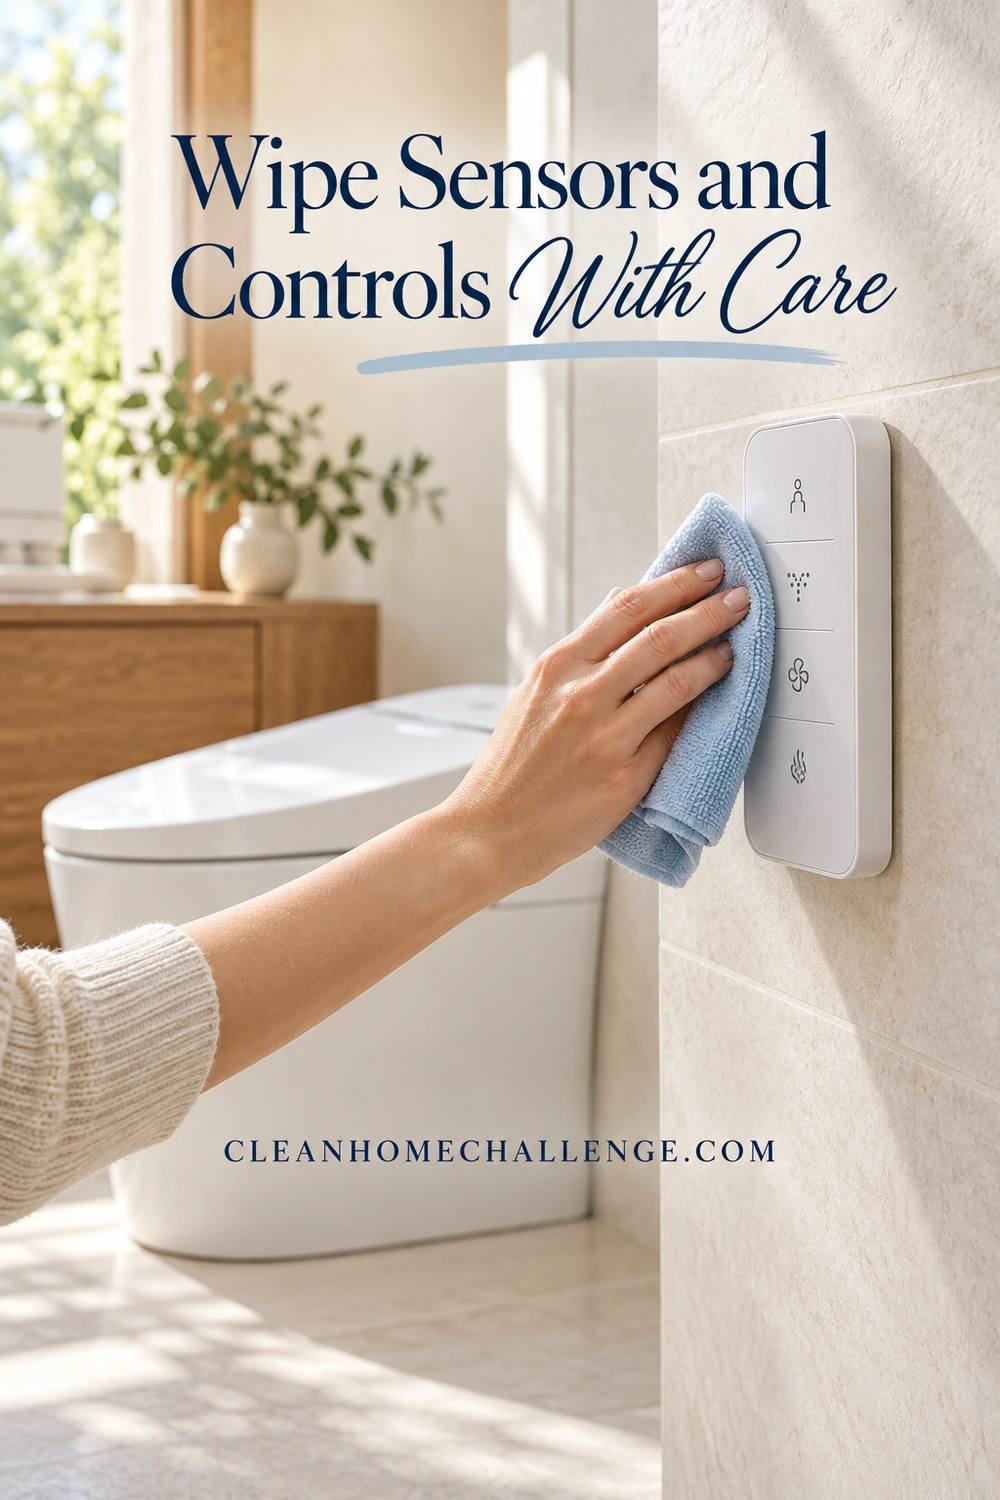
Wipe Sensors and Controls With Care
Start with the cloth, not the spray bottle
Prepare the cloth away from the toilet. Where a damp cloth is permitted, wring it out thoroughly so it does not drip when lightly held. The aim is controlled contact with an accessible surface, not enough water to run into a seam.
Do not spray cleaner or water directly toward sensors, buttons, the remote, air outlets, or gaps in the casing. A waterproof-looking exterior does not establish that its openings are safe to wet. Do not use a steam cleaner for this task.
Use the mildest method the manual permits. Water on a well-wrung soft cloth may be the routine approach; detergent may be reserved for particular dirt and surfaces. Do not assume that disinfecting wipes, alcohol, vinegar, glass cleaner, or bathroom descaler are suitable for a sensor or plastic control area. Check both the product directions and the toilet maker’s compatibility instructions.
Clean only the accessible sensor surface
Locate the sensor or receiver in the parts diagram. Wipe its exposed surface lightly with the approved cloth, using a clean section as soil transfers. Avoid pressing hard, polishing repeatedly, or rubbing with a dry abrasive material. If the manual gives different instructions for a particular sensor, those take priority.
A visible film may need more than one gentle pass, but it does not justify scraping. Do not use a blade, abrasive pad, powdered cleaner, or improvised descaling paste. Do not put a cotton swab, pin, or brush into an opening unless the exact maintenance procedure specifically calls for it.
Check for remaining moisture using the maker’s finishing method. The NEOREST LS manual specifically warns that water droplets on the seat sensor can affect operation. It also cautions against dry-cloth or tissue rubbing on relevant plastic parts. This is why a generic instruction to buff every surface dry can be unhelpful. Follow the finish instructions for your model and cloth instead. [1]
Give controls and the remote a separate clean
Use a fresh cloth area for the remote and control buttons. Keep the cloth barely damp where permitted, and keep moisture away from button edges, charging points, and battery compartments. Do not immerse a remote or remove its battery cover simply to clean the outside.
If a wall-mounted controller is meant to stay in its bracket, wipe the reachable face there. Remove it only if the manual describes how. Work gently around buttons without repeatedly activating them. Return the remote with clean hands after the other dirty tasks are finished.
Brondell’s CL950 manual also emphasizes soft-cloth seat cleaning and following the product’s care instructions. Its advice is useful background, but it does not override a different maker’s restrictions or authorize the same cleaning product on every remote. [3]
If a mark stays put
Stop after the permitted gentle method if the mark is unchanged. What looks like dirt might be mineral damage, a scratched lens, discoloration, or a finish problem. Record where it is and ask the manufacturer what treatment is compatible. A clear photograph and model number can make that question much easier to answer.
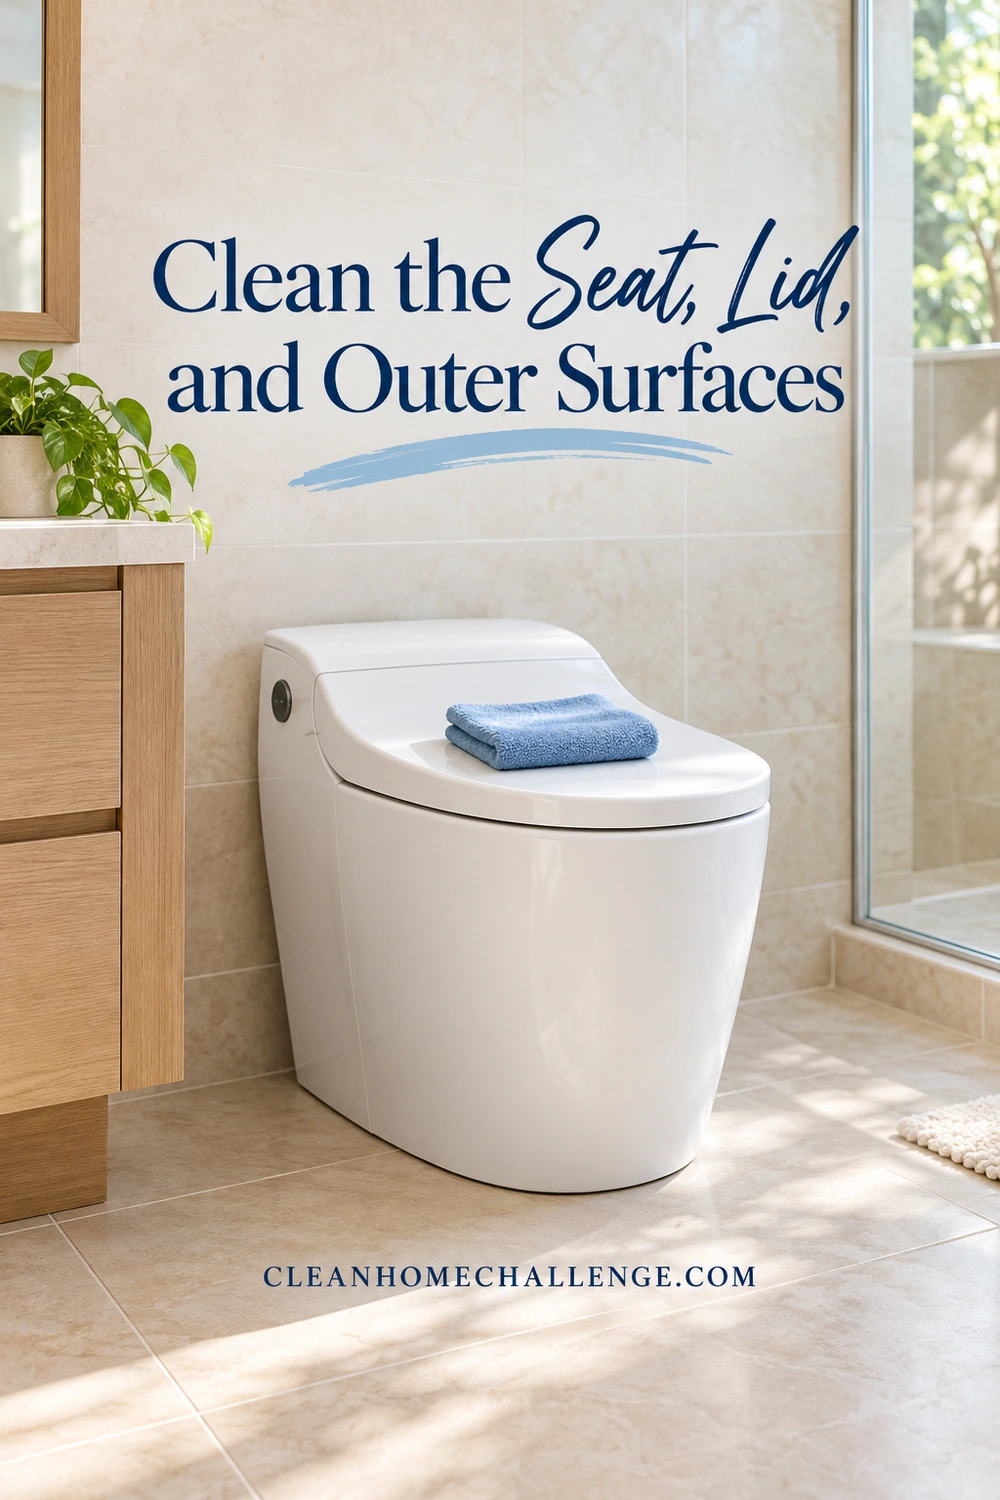
Clean the Seat, Lid, and Outer Surfaces
Work from the cleaner areas toward the dirtier ones
After the sensor and controls, move to the lid, seat, and accessible casing in the order your manual allows. Fold the cloth to expose a clean face often. Set aside a soiled cloth rather than spreading its contents farther around the toilet.
Wipe manageable areas instead of coating the whole unit with cleaner. Give extra attention to visible fingerprints and reachable edges, keeping fingers clear of moving hinges. Never force an automatic lid or lean on it while reaching behind the toilet. Do not stand on the seat or use it as a step.
For a stubborn spot on an approved surface, use only the cleaner and dilution the manual specifies. Do not invent a stronger mix or a soaking time. Remove cleaner residue using the prescribed method. If the permitted product cannot do the job without vigorous rubbing, pause and seek advice before changing methods.
Keep bowl products in the bowl
Treat bowl cleaning as a separate operation with its own directions and tools. Avoid splashes onto the seat, electronic top unit, and nearby fittings. If a product lands on an adjacent surface, follow the manufacturer’s accidental-contact instructions promptly.
TOTO’s LS manual has model-specific limits around bowl cleaner, the lid position, and cleaner vapors near the top unit. Other models can differ. Read those details before starting the bowl, especially if an automatic closing function changes what happens during a flush. Do not apply a dwell time from this example to another product. [1]
If you are selecting supplies from the bathroom favorites below, check each item’s suitability for your exact toilet before using it. Inclusion in a general bathroom list is not approval for electronic parts or specialty finishes.
Leave service-only spaces alone
Some models provide a documented lift or release for cleaning a specific gap. That does not mean every lid, panel, or housing should come off. Use a release only when the manual identifies it as an owner maintenance step and you can follow the procedure safely.
Leave concealed wiring, electrical contacts, internal sensor assemblies, sealed housings, and plumbing adjustments to the appropriate professional. Do not direct water into vents to flush out dust. If you cannot reach a spot without forcing a tool inside, record it as a question for the maker rather than expanding the job.
Finish without rushing
Inspect accessible seams and surfaces for cleaner residue and droplets. Complete the prescribed moisture-removal and drying checks, then restore the unit using its instructions. There is no universal drying time for every model, room, and cleaning method.
Keep hands clear of moving parts during the normal-function check. Do not simulate a seated person or bypass a sensor to test a wash function. Use only the ordinary checks described by the manufacturer. If the unit responds unexpectedly, stop and consult troubleshooting guidance instead of continuing to wipe a powered, moving part.
Build a Gentle Bathroom Care Routine
Make the next clean smaller
Add a glance at accessible sensor and control surfaces to your usual bathroom reset. Deal with actual splashes or visible soil promptly using the approved method, and follow the manual’s maintenance schedule for the rest. A weekly bathroom routine is a useful reminder, but it does not replace a maker’s more frequent care instructions.
Tuesday can be your CHC bathroom reset day: gather the dedicated cloths, check what needs attention, and choose one manageable task. On a busy day, safely cleaning a visibly marked control surface may be enough for that moment. Complete any necessary preparation and finishing steps even when the wiping itself is brief.
Store toilet cloths separately from kitchen supplies and wash them according to their own care directions. Put cleaners away in original containers, out of reach of children. A small labeled kit can save you from hunting through several bottles while trying to remember which one is permitted.
Keep the model details on a care card
Download the free Smart Toilet Exterior Care Card (PDF) below. It has space for your model, manual location, approved cloth and cleaner, power procedure, and a short finish check. Fill in those model-specific details once, then keep the card with your bathroom routine. It is a reminder to use the correct instructions, rather than a replacement for the manual.
Download the Smart Toilet Exterior Care Card (PDF).
If a follow-along routine would make bathroom cleaning easier to fit around family life, you can explore the Cleaners Clubhouse below. Start with the useful small job in front of you; the free care card does not require a membership.
When the problem needs more than cleaning
An unresponsive sensor is not proof that it is dirty. Check the manual’s user troubleshooting section for simple causes such as an obstructed receiver, settings, or remote batteries. Record an error message exactly rather than guessing what it means.
Stop routine cleaning and seek help for persistent faults, cracks, leaks, unusual heat, a burning smell, wet electrical components, or repeated protective-device trips. Do not dismantle the casing or keep resetting the unit. Cleaning can remove permitted surface soil; it cannot establish that an electrical fault is safe.
The goal is a cared-for toilet and a routine you can repeat comfortably. Know your model, keep liquid controlled, and let gentle exterior cleaning end where service work begins.
Sources and model notes
Manufacturer guidance checked October 24, 2026. The specific examples below illustrate why model instructions take priority; they are not interchangeable maintenance procedures.
- TOTO NEOREST LS instruction manual, especially operational precautions and maintenance.
- KOHLER Smart Toilet Homeowners Guide, 1571558-5, safeguards and user troubleshooting.
- Brondell Swash CL950 owner’s manual, seat cleaning and maintenance.
- KOHLER toilet-seat care guidance, soft-cloth cleaning and finish compatibility.
CLEANERS CLUBHOUSE
Take the Guesswork Out of Bathroom Cleaning
Use Tuesday as your bathroom reset day and work through the job in a sensible order. Inside the Cleaners Clubhouse, you’ll find practical routines, printable support and challenges that make deeper cleaning easier to manage.