

THIS POST MAY CONTAIN AFFILIATE LINKS. PLEASE READ MY DISCLOSURE FOR MORE INFO.
A teak shower bench is easy to overlook until the seat feels filmy or the feet leave a dirty outline on the shower floor. The temptation is to spray it with whatever you are using on the tiles. Before you do, give the wood its own cleaning plan.
To clean a teak shower bench without stripping its finish, identify the bench and follow its care instructions, remove loose debris, and use the maker-approved gentle cleaner with a soft cloth or soft nonmetallic brush. Work with the grain, clean underneath as well as on top, rinse away residue as directed, and allow air to reach the wood while it dries. Keep strong bathroom cleaners and cosmetic restoration products out of this routine unless the bench maker specifically approves them.
Allow about 15–20 minutes of hands-on time for light everyday buildup, plus drying time. That is a household planning estimate, not a required soaking time. This guide covers an intact teak shower bench; it does not cover structural repairs, wall-mount removal, or refinishing.
Disclosure: This post may contain affiliate links. As an Amazon Associate, Clean Home Challenge earns from qualifying purchases. If you make a purchase through these links, we may earn a small commission at no extra cost to you. This helps us keep creating practical cleaning tips, routines and resources for busy families! 🧽
Check the Teak Finish Before You Start
“Teak” describes the wood, not every coating that might be on it. A bench can be natural and unfinished, factory treated, stained, sealed, or maintained with a particular oil. A finish can also have been added by a previous owner. The correct cleaner depends on that history.
Find the brand and model in your receipt, assembly sheet, or an accessible label. Look up the care guide and note any finish name. If the instructions distinguish between natural teak and a colored finish, use the section for your actual bench. Do not scrape the wood, dismantle a seat, or test it with a solvent to identify the coating.
Manufacturer guidance illustrates the difference. ARB Teak’s natural-teak care guide advises against adding oil or other finishes. ALA Teak’s product-care guidance discusses optional oiling for maintaining color on certain finishes. These are separate product instructions, not interchangeable recipes. Follow your own bench’s current guide if it differs from either example.
Look for a reason to stop
Before wetting the bench, check for splinters, soft areas, loose joints, damaged feet, lifting coating, or movement that was not there before. Do not stand on the bench or load it to test a questionable joint. Stop using a damaged or unstable bench and ask its manufacturer or installer for an assessment. A clean surface cannot make an unsafe seat sound again.
A light gray color is different from a rough, weakened, or persistently marked area. Note what you can see without assuming every dark patch is mildew or every gray patch needs sanding. Photograph a persistent mark in good light so the supplier can advise on the right treatment.
Gather a small, separate kit
- Clean soft cloths: one for washing, one for removing residue when appropriate, and one for drying.
- A soft nylon or other nonmetallic brush, only if the care guide allows it.
- Fresh comfortably warm water.
- The mild soap or named wood cleaner the maker permits, used at its stated dilution.
- Gloves and ventilation required by that cleaner’s label.
Use a clean tool without trapped grit. A bathroom brush that has just scrubbed grout may carry abrasive particles or another cleaner onto the wood. Keep the bench-cleaning cloth separate from toilet-cleaning supplies.
If the brand or finish is unknown, start by identifying it. Do not assume an all-purpose spray, vinegar recipe, bleach spray, descaler, scouring paste, or “natural” cleaner is suitable. A gentle-sounding product name is not finish compatibility. Ask the supplier what to use before treating stubborn buildup.

Clean the Slats, Underside, and Feet Gently
Clear bottles and other belongings from the bench and lower shelf. Keep children and pets away from the wet work area, and make sure you have stable footing. Never use the bench as a step or lean on shower fittings to reach underneath it.
For a freestanding bench, move it only if you can lift it safely and the maker permits moving it. Protect the shower base from dragging feet or trapped grit. A second adult can help with a heavy or awkward bench. Leave fixed seats attached; do not loosen mounts, hinges, or plumbing for routine cleaning.
Work through one manageable area at a time
- Remove loose debris. Lift away hair and loose grit with a clean soft cloth. Avoid rubbing particles back and forth across the finish. If the maker recommends an initial rinse, use a gentle flow and keep runoff off incompatible neighboring materials.
- Prepare the permitted wash. Follow the bench guide and cleaner label. If mild soap and water are allowed, use the recommended amount; do not add extra soap to make thicker foam. There is no universal dilution for every teak finish.
- Clean the seat slats. Use light pressure with the approved cloth or soft brush. Follow the direction of the wood grain. Clean one slat and its exposed edges before moving to the next so you can see where residue remains.
- Reach the accessible gaps. Fold a cloth around a slat edge or use an allowed soft brush that fits easily. Do not force a tool into a joint, pry apart slats, or use a blade or wire brush.
- Clean the rails and lower shelf. Work over the accessible underside, support rails, shelf edges, and legs. Change or rinse the cloth when it becomes dirty rather than carrying that film over the rest of the bench.
- Finish at the feet. Wipe the accessible foot surfaces and the area where each foot meets the floor. Do not pull off protective pads or adjustable parts unless the product instructions specifically call for it.
Support a movable bench securely if its underside needs a different position. Do not balance it on one corner while scrubbing, place it on an unstable bath edge, or reach beneath a heavy bench that could fall. If an area cannot be accessed safely, leave it and get help rather than turning a small cleaning job into a lifting problem.
Keep the tile cleaner away from the wood
Clean the surrounding shower surface with its own compatible method after moving the bench safely out of the way, if possible. Finish that job, rinse away its cleaner as directed, and clear the floor before returning the wood. This also prevents one product from being applied over another product’s residue.
Never mix cleaning products. Do not spray strong bathroom cleaner through the slats to reach the floor beneath. The wood, tile or stone, grout, metal parts, and protective feet may each have different care limits. Keep runoff under control and stop if a product changes the wood’s color, texture, or coating unexpectedly.
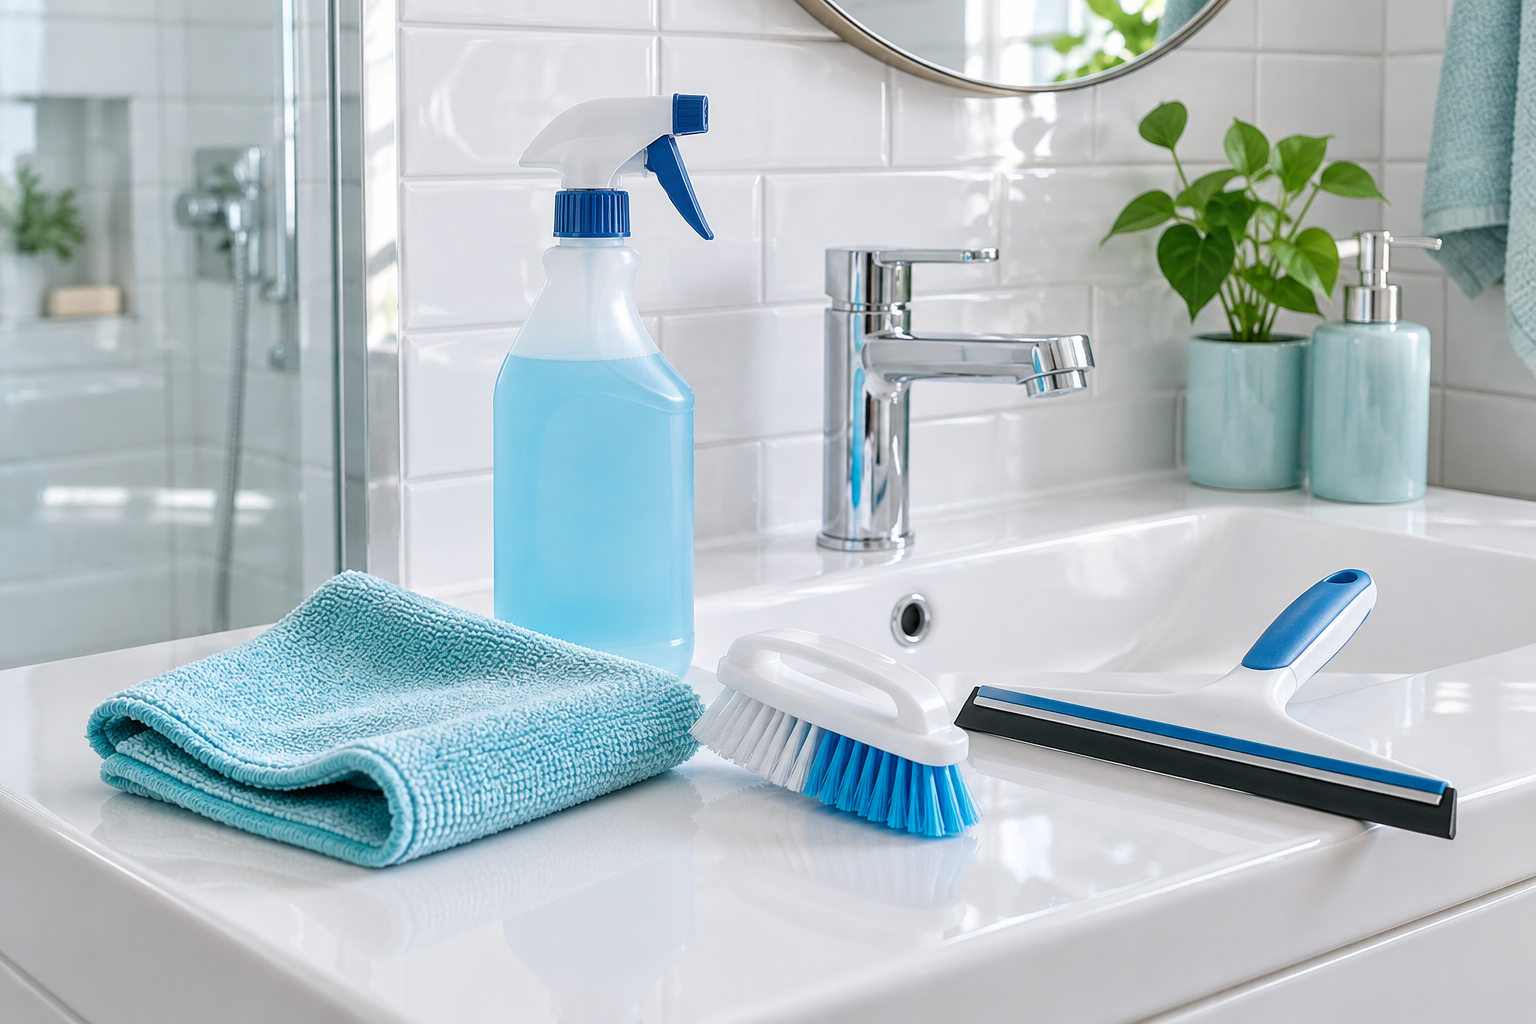
The bathroom supplies below are a place to browse useful tools, not approval to use every listed chemical on teak. Choose only the tools and products your bench’s care instructions allow.

Rinse Away Residue and Let the Bench Dry
Cleaning is not finished while soap remains in the slat gaps. Remove the wash solution using the rinsing method the bench maker allows. For a bench approved for rinsing, use clean water at a gentle flow and work from the top toward the lower rails and feet. Avoid pressure washing and prolonged soaking.
Where the care guide specifies wiping rather than flowing water, use a fresh clean-water cloth and change the water as it becomes soapy. Do not keep wiping with the original wash cloth and call it a rinse. Follow any product-specific residue-removal instructions instead of inventing a dwell time.
Check the underside again. Water can carry loosened soap onto a lower shelf or into a corner that looked clean at the start. Wipe accessible droplets with a soft dry cloth, then allow the bench to finish drying with air reaching both the upper and lower surfaces. Avoid leaving it standing in a puddle or covering it with a wet bath mat.
Use the bathroom’s intended ventilation and the bench’s recommended drying position. Do not use a hair dryer, heater, or unusually hot water to hurry the process. There is no reliable “dry in ten minutes” promise for every bench, finish, room, and humidity level.
Before putting the bench back into service, make sure the seat and shower floor are free of slippery cleaner residue and the bench is positioned securely as directed. Return only the items normally stored there. Do not leave a damp cloth or shampoo bottle covering the same patch of wood for days.
A smaller reset for a busy day
If the bench needs only light attention and its instructions allow it, rinse away fresh soap after use, remove reachable water, and let it dry. Save the full underside-and-feet clean for a time when you can access those areas safely. A short completed job is useful; leaving detergent on the seat while you move to another room is not.
Tuesday’s bathroom reset is a handy CHC reminder to look over the bench. That does not mean every bench needs a chemical wash every Tuesday. Adjust the full-clean frequency to your maker’s instructions, the number of people using the shower, and actual residue. For example, DecoTeak’s care page gives its own routine for indoor shower furniture. Use product-specific guidance rather than borrowing an outdoor teak schedule.

Keep Routine Cleaning Separate From Restoration
Routine cleaning removes residue. Restoration changes the appearance or surface treatment. Brighteners, sanding, stripping, stain removers, and oils can belong to a maker-approved restoration process, but they are not automatic next steps after a gentle wash.
Do not keep scrubbing simply because clean wood is still gray. Color can change with use and exposure, and restoring a golden appearance is a separate choice. Likewise, do not oil over soap film, an unknown dark mark, or damp wood to hide the problem. Ask the manufacturer whether the mark needs treatment and whether the product is suitable for a seat used in a shower.
Decide what the remaining mark needs
| What you notice after the bench dries | A sensible next step |
|---|---|
| The surface is clean, intact, and evenly faded | Check whether this is expected weathering; restoration may be optional. |
| Soap film remains in an accessible gap | Review the permitted gentle method and residue removal before increasing strength. |
| A dark patch persists or returns | Photograph it and ask the maker about diagnosis and an approved treatment. |
| The coating lifts, the wood feels soft, or a joint is unstable | Stop using the bench and arrange an assessment. |
| The floor has a mark under a foot | Identify the floor material and use its own care guidance; do not treat the wood and floor as one surface. |
This routine does not claim to disinfect the bench or solve a mold problem inside damaged wood. If a specialist treatment is needed, follow the exact product and bench instructions, including any restrictions on contact time, ventilation, rinsing, and return to use. Do not substitute a stronger cleaner because the first wash did not restore the original color.
Keep the right instructions ready for the next person
Download the free Teak Shower Bench Care Card (PDF).
The free one-page Teak Shower Bench Care Card has space for your brand, finish, approved cleaner, manual location, drying instructions, and next check. Fill it in from your bench’s actual care guide. The checklist helps another family member follow the same routine without guessing from the bottles in the bathroom. No email signup is needed.
Keep the card with the manual or save a photo on your phone. Note a persistent mark or a question for the supplier instead of asking the next person to “scrub harder.” If you need to stop using the bench, tell everyone who relies on it and arrange a suitable alternative rather than leaving an unclear note.
For help fitting tasks like this into a manageable home routine, explore the Cleaners Clubhouse. The support described below is separate from this free care card. Your goal today is a bench that is clean, safely positioned, and cared for according to its finish—not a whole bathroom makeover.

CLEANERS CLUBHOUSE
Take the Guesswork Out of Bathroom Cleaning
Use Tuesday as your bathroom reset day and work through the job in a sensible order. Inside the Cleaners Clubhouse, you’ll find practical routines, printable support and challenges that make deeper cleaning easier to manage.