

THIS POST MAY CONTAIN AFFILIATE LINKS. PLEASE READ MY DISCLOSURE FOR MORE INFO.
A vacuum that suddenly leaves crumbs behind can turn a quick floor clean into a frustrating job. Before reaching for a coat hanger or trying to push harder, pause. The flexible hose needs a gentle check, and the obstruction may actually be in a nearby connector, the wand, or the floor head.
To clear a vacuum hose blockage without puncturing it, switch off and disconnect the vacuum from power, follow your exact model’s instructions for detaching accessible parts, and inspect both ends. Remove only debris you can reach safely. Keep sharp tools and liquids out of the hose, and stop if the obstruction needs force or unauthorized disassembly.
This guide is for ordinary household dry-vacuum hose blockages. It is not a repair guide for electrical faults, hazardous debris, or a damaged hose. Set aside a short, uninterrupted checking session; a stubborn blockage may need manufacturer support rather than more time and pressure.
wp:block {“ref”:15754} /Make the Vacuum Safe and Find the Blockage
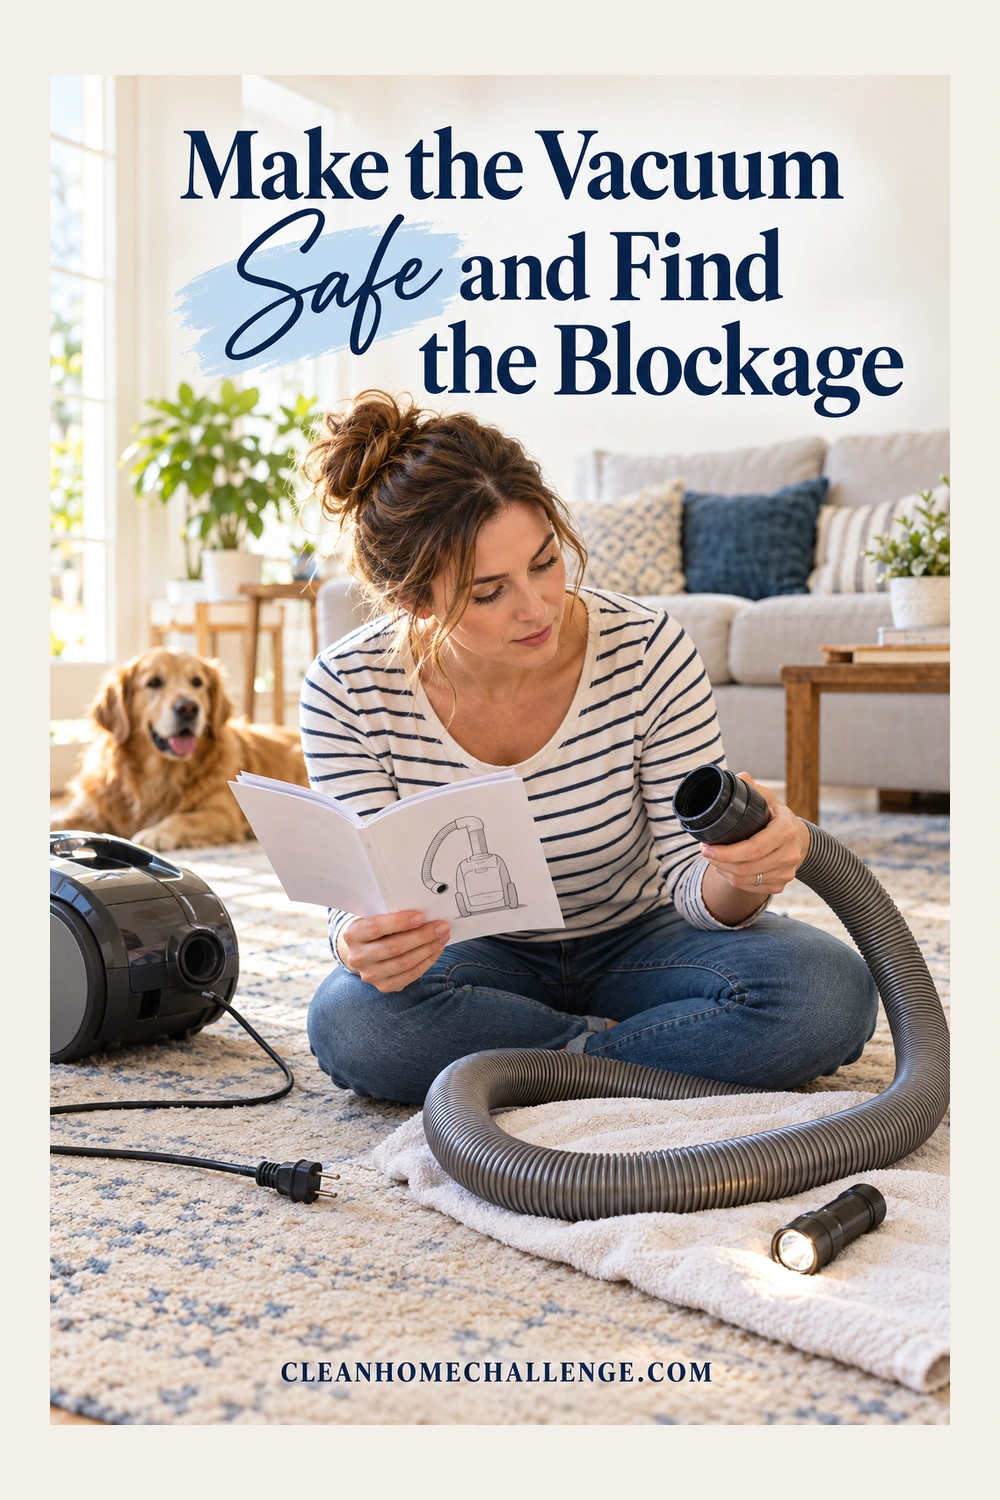
Disconnect the power before touching the air path
Turn the vacuum off and unplug a corded machine at the outlet. Keep the plug where you can see it. On a cordless model, follow the manual’s power-isolation instructions; remove a user-removable battery if instructed, and do not open a sealed battery compartment. Keep fingers away from switches and triggers while inspecting.
If the vacuum stopped after becoming hot, leave it switched off and follow its prescribed cooling and reset procedure. There is no single cooling time for every machine. Smoke, a burning electrical smell, sparking, liquid entry, or a damaged cord calls for stopping use and arranging appropriate service, not repeated restart attempts.
Gather the model number and manual, a flashlight, a dry towel or tray for parts, and a small trash bag. A photo of the original hose connections can help you put everything back. Keep children and pets away from loose parts and collected debris while the machine is open.
Check the obvious causes of weak pickup
Low suction does not prove that the hose is blocked. With the machine disconnected, check whether the dust cup or bag needs attention, whether a filter is incorrectly fitted or overdue for the care described in the manual, and whether debris is sitting in an accessible inlet. Check the correct floor setting as well.
For example, Shark’s troubleshooting guidance treats filters, the dust cup, hose connections, accessories, and the brushroll as separate possible causes of poor pickup. Use the page for context, then follow the instructions for your own model.
Do not wash a filter simply because another vacuum’s filter is washable. Keep any washed, care-approved parts out until they meet the maker’s full drying requirements. This blockage check does not require washing the hose or filters.
Locate the section that needs attention
Find the hose-release points in the manual. Some hoses detach at both ends; others have a fixed or wired handle, an internal connection, or a short lower section that is not intended for routine removal. Release clips as shown, support rigid cuffs, and avoid pulling on the corrugated wall. Stop if a connection will not release as described.
Set the detached, user-serviceable part on the dry towel. Shine a flashlight into each accessible opening from outside. Check the hose cuffs, the bend near the handle, and adjoining openings separately. A visible plug of lint at one end is a different problem from a hidden object behind an inaccessible elbow.
Do not put your face against the opening, blow through it, or probe unseen debris with a finger. If the contents could include glass, needles, sharp metal, or other hazardous material, stop and ask the manufacturer or an appropriate service provider how to proceed.
Clear Accessible Debris Without Forcing the Hose

Start at an open end
Work only on the detached sections the manual permits you to handle. Point an open end toward the trash bag or tray and let loose dry debris fall out. Support the hose along its length rather than hanging the entire weight from one cuff. Do not whip it, slam the ends on the floor, or stretch a spiral hose beyond its normal movement.
Remove an accessible, obviously soft lint clump only if you can lift it away safely without pushing it farther inside. Keep the opening in view. An item that disappears around a bend is a reason to reassess access, not to chase it blindly with a hook.
If the hose naturally flexes, reposition it gently within its normal curve to inspect another angle. Do not crush it flat, twist opposing cuffs, or try to straighten a fixed bend. The aim is to reveal loose debris, not squeeze a lodged object through a narrow connector.
Use only the removal method approved for that model
Internet advice often recommends a broom handle. That can be a model-specific instruction, but it is not permission to push a rod through every vacuum hose. BISSELL’s PowerLifter Rewind/Momentum clog instructions, for instance, specify a particular removal route and direction. Those details belong to that product family.
For an unspecified hose, do not improvise with a rod. If your exact manual authorizes a particular clearing implement, follow its stated access, tool, and direction limits. Stop if the implement catches, meets resistance, or makes the hose wall bulge. A smooth end does not make a tool suitable for a hose with internal bends, wires, or a narrowing cuff.
Avoid wire coat hangers, skewers, screwdrivers, knives, drain snakes, and hooked grabbers as improvised hose tools. They can catch on the lining or create damage you may not notice until the vacuum loses suction again. Do not cut the hose open, drill an access hole, or heat the plastic to soften it.
Keep liquids and pressure tricks out of this job
Do not pour water, detergent, vinegar, oil, or another cleaner into the hose to move a dry blockage. Some assemblies have electrical contacts or components that must stay dry, and trapped moisture creates a separate drying problem. Washing instructions for a removable filter do not apply to a hose.
Likewise, do not connect compressed air, a garden hose, or another vacuum as an improvised clearing system. A hidden object may move unpredictably, and the assembly may not tolerate the pressure or treatment. Follow a specific manufacturer procedure if one exists; otherwise ask for help with the lodged item.
If a sock, plastic wrapper, or solid object remains out of reach after accessible checks, stop. Tell support what you believe entered the hose and where you can see it. Avoid adding a second stuck object in an attempt to remove the first.
wp:block {“ref”:15821} /Reassemble and Check for Normal Suction
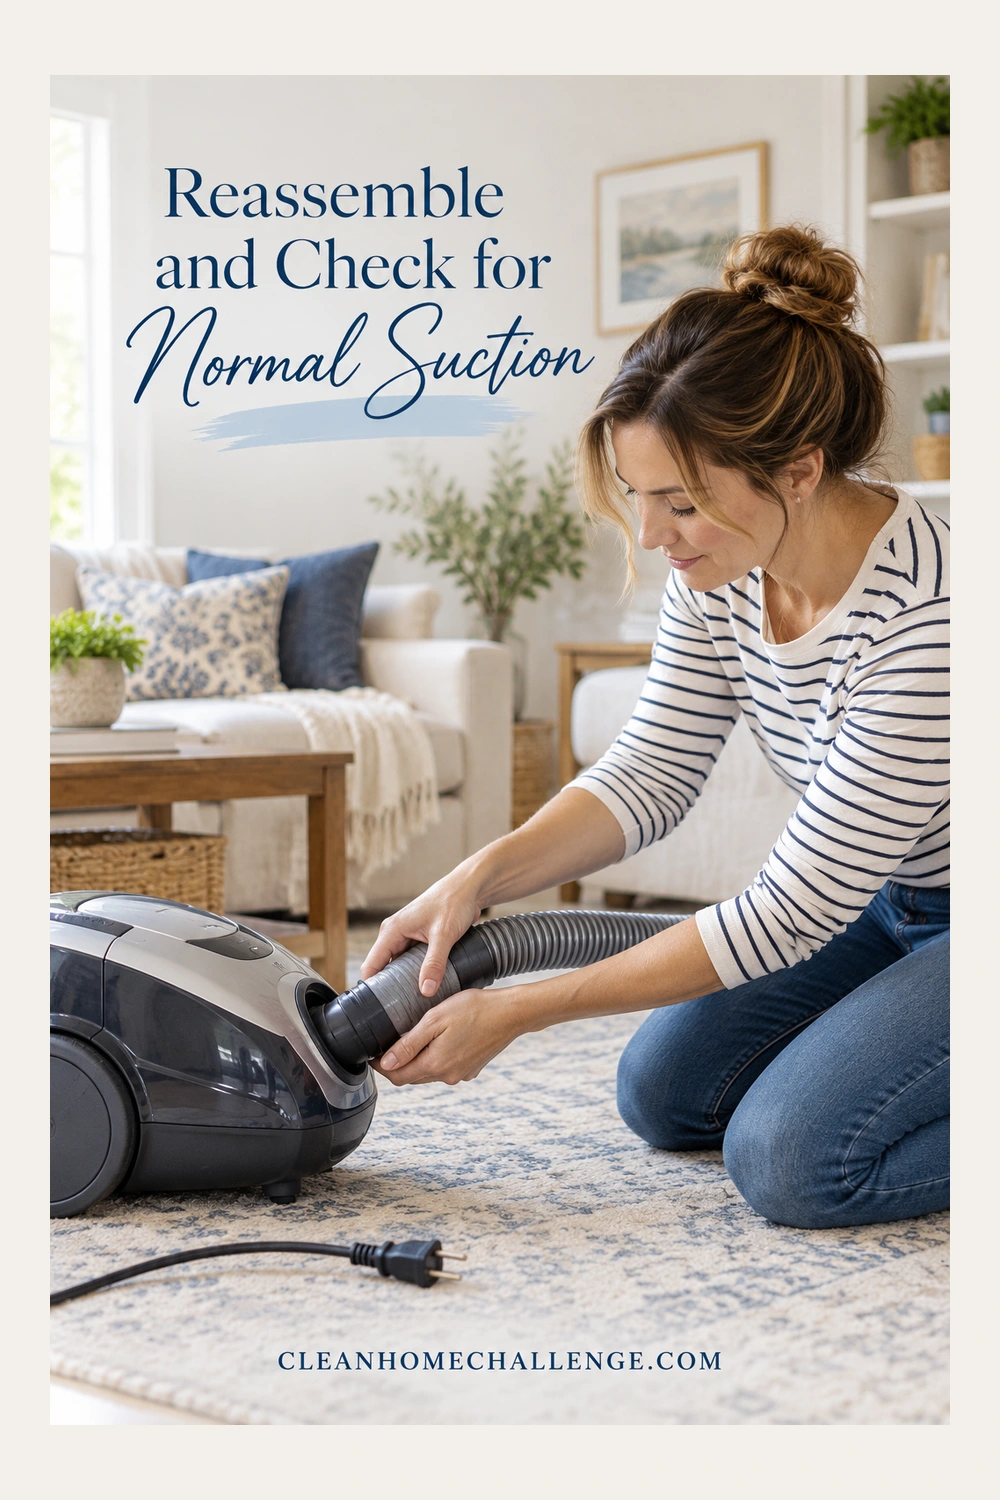
Inspect before reconnecting
With power still disconnected, look over the visible hose wall, seams, cuffs, clips, and seals. Check for a tear, a loose cuff, a split in a bend, or a section that has become crushed. Compare anything unusual with the manufacturer’s parts or service guidance.
Dyson’s model-specific troubleshooting route includes checking the hose for holes or tears as well as blockages. A clear air path and an intact hose are separate checks. If you find damage, leave the machine out of use while you obtain the correct replacement or service advice. A tape patch is not a substitute for a verified repair, particularly around a powered handle or connection.
Refit the hose and any other removed user-serviceable parts exactly as shown in the manual. Make sure each cuff sits squarely and each required latch engages. Reinstall the dust cup or bag and the correct dry filters. Do not run a vacuum without the parts its instructions require, even briefly.
Test the assembled machine, then reassess
Once everything is correctly fitted and any required cooling period is complete, reconnect power and use the normal operating mode in a clear area. Keep clothing, hair, fingers, and small objects away from the intake and brush. Do not deliberately vacuum up a coin or another test object.
Check whether normal pickup has returned and whether the usual warning indicators have cleared. If the vacuum surges, cuts out, sounds abnormal, smells wrong, or still has poor pickup, turn it off again. Do not keep cycling it on and off to pull the obstruction through.
A clear hose with continuing low suction needs the next step in the maker’s troubleshooting sequence. The cause may involve another air-path section, a seal, a filter, a bag, or a component requiring service. Record what you have already inspected so you do not repeat the same checks or buy a hose on guesswork.
Save a short care record
Download the free Vacuum Hose Check and Care Record (PDF). It has space for your model, manual location, permitted access points, what you found, and the outcome. Keep it with the vacuum’s paperwork so the next person can see what was checked.
The checklist does not replace the manual. Leave an unresolved blockage marked as unresolved, and note that the vacuum should stay out of use until the next safe step is agreed. There is no need to finish a repair just because you started a cleaning session.
Keep Small Objects Out of Your Vacuum Hose

The most useful habit happens before you switch the vacuum on: take a quick look over the floor and pick up objects the machine is not designed to collect. Socks, tissues, food wrappers, craft scraps, and small toys can disappear behind a sofa leg and then lodge in a bend.
Make this a small family reset. One person can gather laundry while another checks under the table for toys and paper. Put found items into a basket to sort afterward; the floor check does not have to become a whole-room organizing project.
Keep the dust cup or bag within its marked limits, follow the filter-care schedule for your model, and investigate a change in pickup promptly. Store the hose on its intended supports without trapping it under heavy items or pulling it tight around a cupboard corner. Lift or move the vacuum using its designated handle rather than dragging it by the hose.
For Friday floor cleaning, a practical sequence is: pick up loose objects, check that the vacuum is assembled and ready, then vacuum the areas your family uses most. If the machine needs service, choose another suitable tool for today’s small mess and leave the repair for a safe, focused session.
If you would like help making these little checks part of a manageable routine, explore the Cleaners Clubhouse. The goal is a tool that is ready when you need it and a routine your household can keep up with.
wp:block {“ref”:15788} /