

THIS POST MAY CONTAIN AFFILIATE LINKS. PLEASE READ MY DISCLOSURE FOR MORE INFO.
When the dishes, laundry, and floor clutter all need attention, deciding where to start can take as much energy as cleaning. A useful catch-up cleaning schedule gives you a short order of work and a clear place to stop.
Start with anything that makes the home harder to use safely: food waste, spills, blocked walkways, and the kitchen or bathroom your family needs today. Then finish one useful laundry load and work through the remaining mess in small sessions. You can leave window tracks, closet organizing, and detailed dusting for another week.
This guide walks through a manageable messy house reset, including a three-day plan you can stretch around work, children, or low-energy days. The time ranges are planning estimates for active work, not deadlines. Your home’s size, the amount of buildup, your mobility, and available help will all affect the pace.
Disclosure: This post may contain affiliate links. As an Amazon Associate, Clean Home Challenge earns from qualifying purchases. If you make a purchase through these links, we may earn a small commission at no extra cost to you. This helps us keep creating practical cleaning tips, routines and resources for busy families! 🧽
Choose Today’s Cleaning Priorities
Take a quick look around without starting five jobs. Ask: What do we need to eat, wash, get dressed, and move through the house today? Write down three specific outcomes, such as “clear the food-prep counter,” “clean the main toilet,” and “find tomorrow’s school clothes.”
Use this order when everything feels urgent:
- Address immediate hazards. Deal with slippery spills and keep exits and main walking routes clear. Stop ordinary cleaning if you encounter sewage, extensive mold, sharps, or another hazard that needs specialist advice.
- Remove food mess. Gather abandoned cups and plates, discard food waste, and empty overflowing trash. Keep bags light enough to carry comfortably.
- Restore essential spaces. Choose one usable food-preparation surface and the bathroom your household relies on most.
- Prepare what tomorrow needs. Identify essential clothing, towels, or bedding before deciding which laundry load comes first.
Your first 15 minutes
Try five minutes gathering food trash, five minutes returning dishes to the kitchen, and five minutes clearing one counter. Adjust the order if a walkway or spill needs attention first. Wash your hands after handling trash and before handling clean dishes or food. If one job fills the whole session, stop there and choose the next step for later.
Keep a small “put away” basket nearby for ordinary items that belong elsewhere. Return its contents at the end of the session; don’t turn it into a permanent hiding place or use it for sharp objects, chemicals, or important paperwork.
If you’re overwhelmed by housework, a useful minimum might be clearing access to the sink and washing the dishes needed for the next meal. Once that outcome is reached, you can stop. Avoid pulling everything out of a cabinet or beginning a donation project during this first pass. Those jobs create decisions and extra piles before the daily basics are working again.

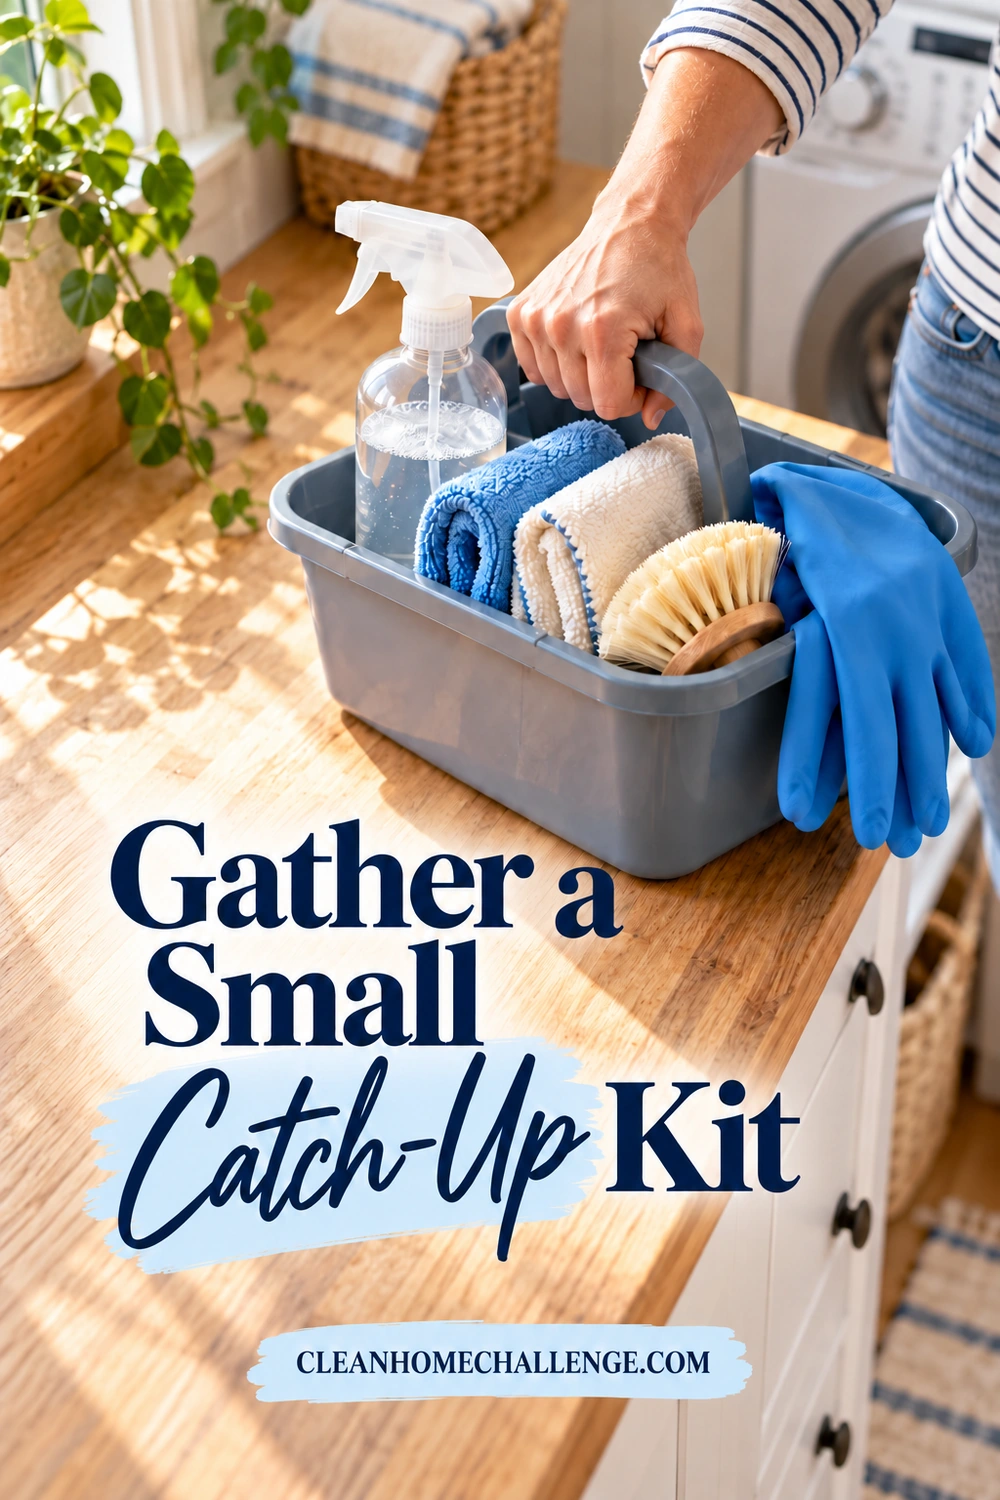
Gather a Small Catch-Up Kit
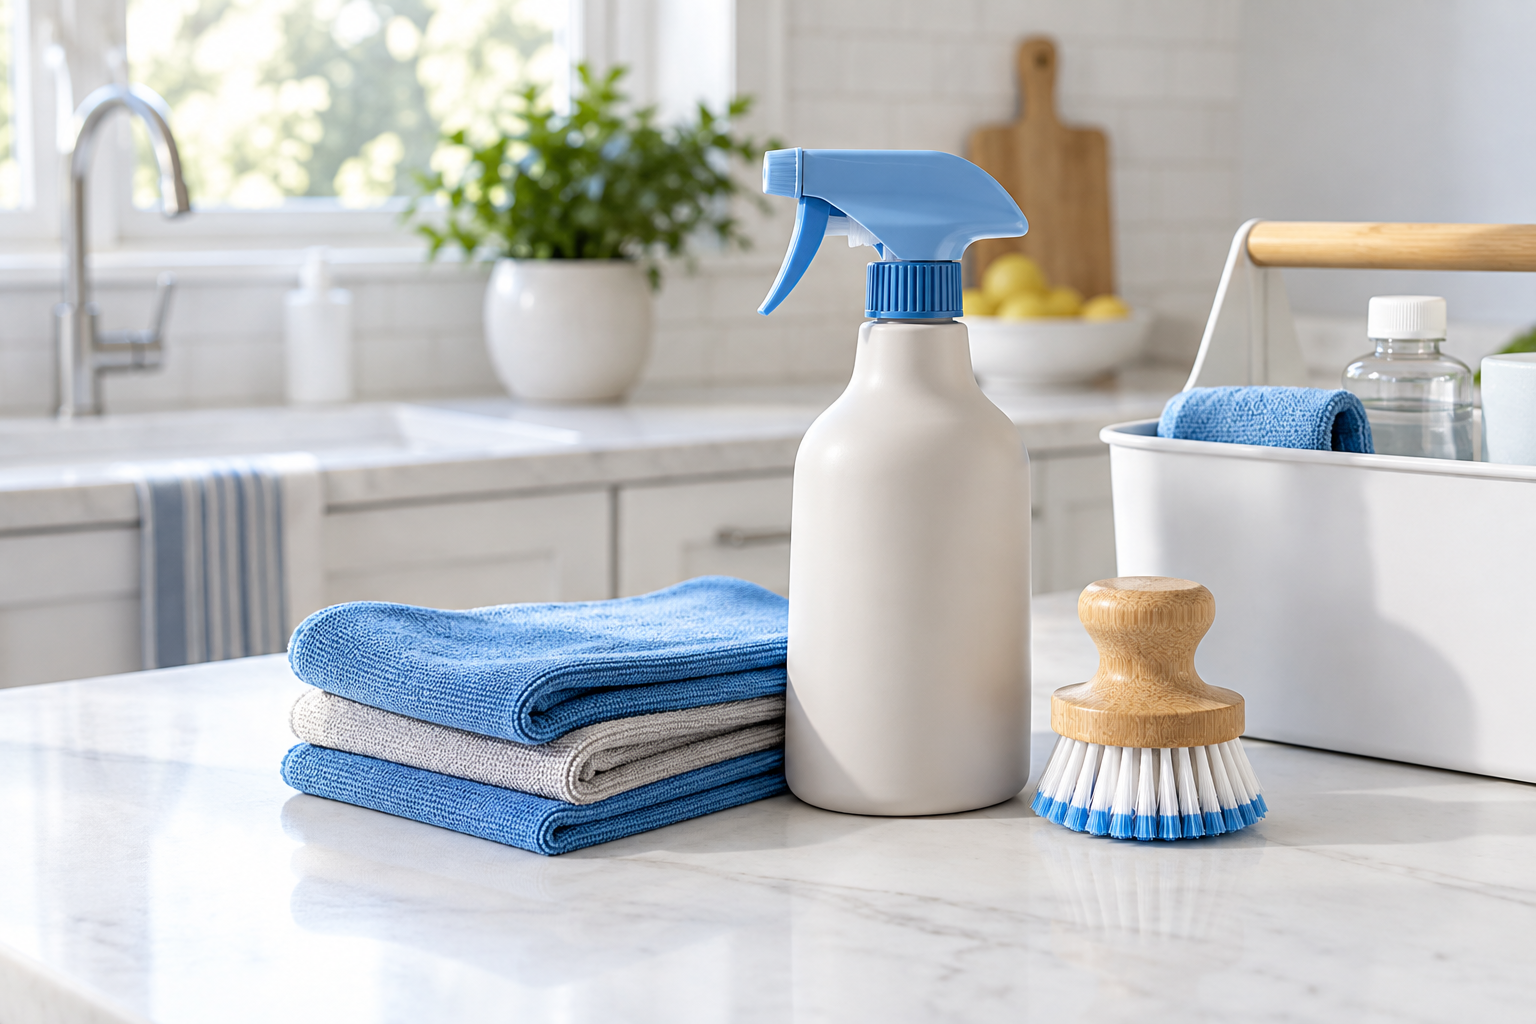
Use supplies you already own, provided they suit the surfaces you’re cleaning. You don’t need a new product collection to make a start.
- A trash bag and a manageable laundry basket
- Several clean cloths, with separate cloths for the kitchen and bathroom
- Dish soap and a cleaner approved for the surface you plan to wipe
- A toilet brush and a suitable toilet cleaner
- Gloves or other protection specified on product labels
- A broom or suitable vacuum, plus a mop and compatible floor cleaner when needed
Carry only what you need for the current room. Keep the toilet brush and bathroom cloths separate from kitchen supplies. Put used cloths aside for laundering rather than dipping them into your clean-cloth supply.
Read the label before opening a product. Follow its dilution, ventilation, application, rinsing, and protective-equipment instructions. Test a new compatible cleaner on an inconspicuous area when the surface maker recommends it. An “all-purpose” label doesn’t establish that a product is suitable for every finish.
Use one product at a time. Never mix bleach with vinegar, ammonia, acids, alcohol, or another cleaner. Don’t add a second toilet product over the first. The EPA’s disinfectant safety guidance warns against mixing products because dangerous chemical reactions can result.
Keep products in their labeled containers and out of children’s and pets’ reach, including while you take a break. Ventilate as directed, and keep others away from the area while a product is working or a floor is wet.
For a lower-energy session, place the small kit near your chosen task and work at a comfortable height. Sit for sorting or folding if that helps, and take breaks before you feel exhausted. Choose a smaller job if lifting, reaching, or kneeling is difficult. Cleaning longer today shouldn’t be the condition for having a usable home tomorrow.
Reset the Kitchen and Bathroom
Allow roughly 15–30 minutes per room for a basic reset, split into shorter sessions if needed. A larger backlog may take several rounds. Finish the kitchen with kitchen-only cloths, then change supplies before moving to the bathroom.
Make the kitchen usable
- Create space for clean dishes. Empty the dishwasher or put away the dry dishes on the rack.
- Deal with the current pile. Scrape food into the appropriate waste bin, load dishwasher-safe items, and hand-wash what needs it. Don’t leave knives hidden in cloudy washing water.
- Clear one preparation area. Return food and everyday items to their places. Move non-kitchen belongings to the return basket.
- Clean the cleared surface. Remove crumbs, wipe with a suitable cleaner, and rinse or dry as directed. Wipe the sink once the dishes are out of the way.
- Take out food trash. Replace the liner and deal with any visible spill in the bin before returning it.
For natural stone, use care guidance for the specific stone and finish. The Natural Stone Institute cautions that acidic products, including vinegar, can damage susceptible stone. Skip abrasive scrubbers unless the surface maker permits them.
Cover the bathroom essentials
Remove trash and used towels. Clean the sink and faucet with a suitable product, then the toilet exterior, seat, and bowl using dedicated tools. Follow the toilet cleaner’s instructions and required working time. Add a clean hand towel and check that soap and toilet paper are available. Address visible dirt or a slippery tub or shower floor before use; leave detailed grout work for a separate session.
Clean first; disinfect when needed
CDC home-cleaning guidance distinguishes removing dirt and germs through cleaning from killing remaining germs through disinfection. Routine cleaning is usually sufficient; disinfection is appropriate when someone is sick or at increased risk because of a weakened immune system. For food-contact surfaces contaminated by raw meat or its juices, clean and then sanitize with a product approved for that purpose, following USDA kitchen-safety guidance.
When disinfection is needed, use a suitable registered product and follow its label. The EPA explains contact time: the surface must stay visibly wet for the specified period. Follow any food-contact rinsing directions too. A quick spray and immediate wipe may not complete that job.

Move One Laundry Load All the Way Through
Choose the load that solves the next practical problem: tomorrow’s clothes, needed towels, or dirty bedding. If clean laundry already fills the baskets, put one basket away before starting another wash.
Define “finished” before you begin: washed, dried completely, and returned to a place where people can find it. Allow roughly 10–20 minutes of hands-on time for a modest load, plus the machine cycles and drying time. Air drying, bulky items, and a laundromat trip need a longer window.
- Check and sort. Read care labels, empty pockets, and separate items according to fabric, color, and soil level. Treat stains with a method suitable for both the stain and fabric.
- Load without cramming. Follow your machine’s capacity guidance and the detergent’s dose for the load. Extra detergent doesn’t make an overloaded wash more effective.
- Plan the transfer. Set a reminder or connect it to something you’ll already do, such as returning from school pickup. Choose a time when you can move the wet laundry promptly.
- Dry as directed. Use the care label’s dryer setting or provide enough hanging space. Clean the dryer’s lint filter before use and follow its maintenance instructions.
- Put everything away. Fold only what needs folding. Easy-access drawers, hangers, or a designated clean-clothes basket for each person can make the final step manageable.
Whirlpool’s laundry-sorting guide supports checking care labels and separating incompatible items. The U.S. Fire Administration advises clearing the lint filter before using a dryer.
Don’t strip every bed if you don’t have clean replacements or time to dry the bedding. Don’t begin several loads when folding or drying space is already full. If you use shared machines, gather the load, supplies, payment method, and bags for clean clothes before leaving. That preparation counts as useful progress even when washing must wait until tomorrow.

Clear Walkways and Clean the Main Floors
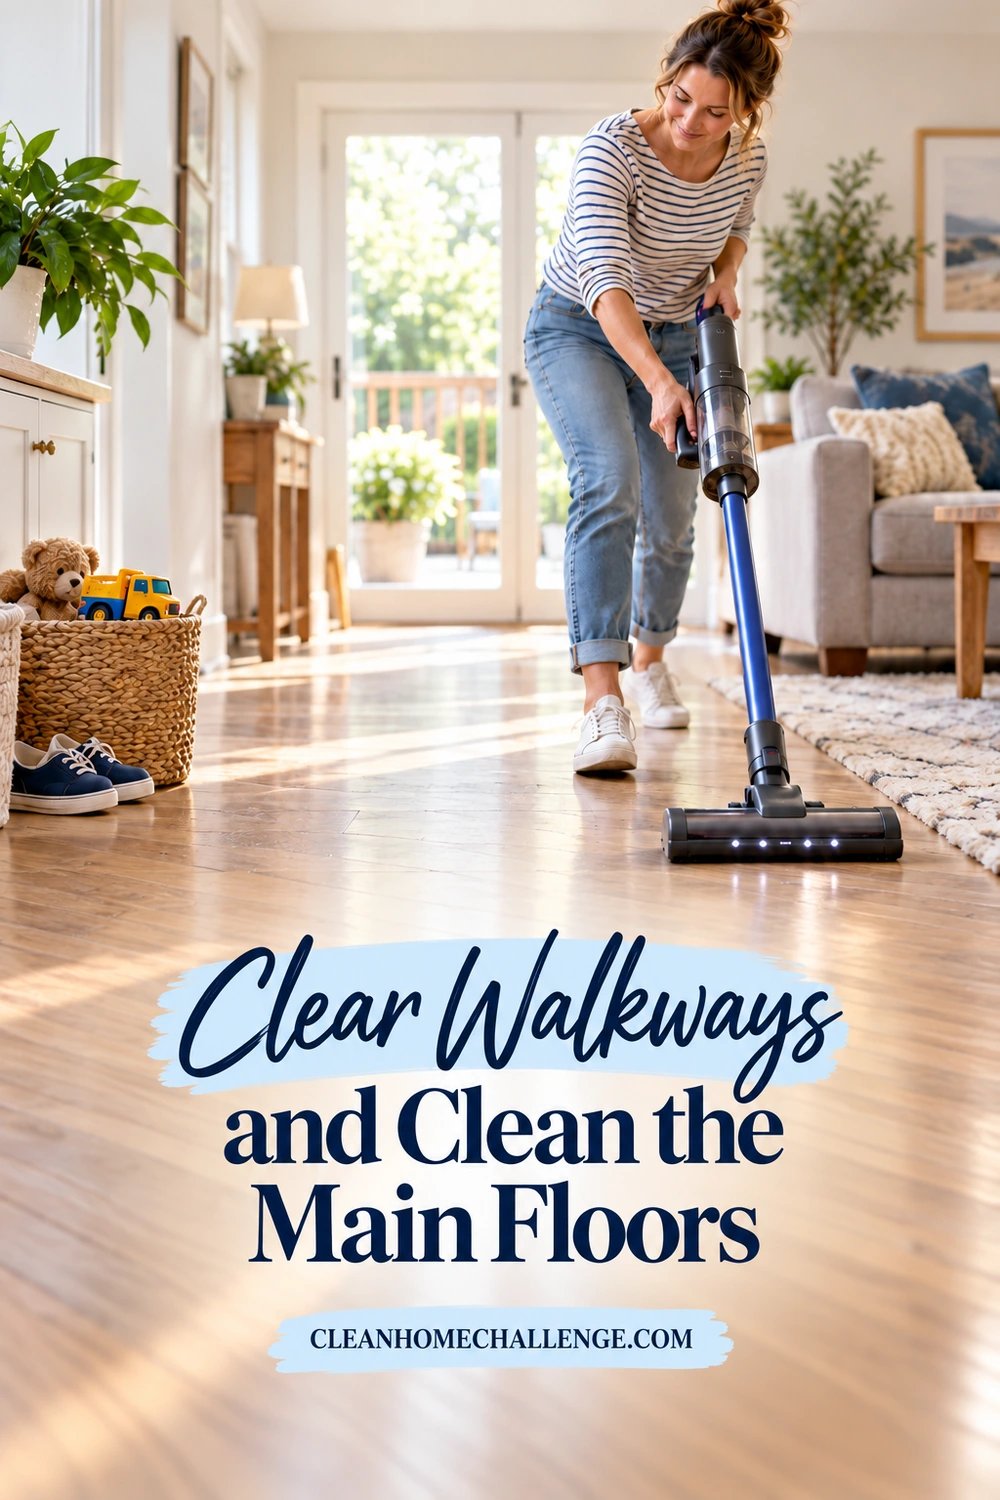
Start with the routes between beds, bathrooms, the kitchen, and exits. Move shoes to a reachable storage spot, place toys in their usual container, and collect clothing in a hamper. Keep stairs and doorways clear rather than shifting the same pile into another traffic route.
Once the floor is accessible, remove crumbs, grit, and hair with a broom or vacuum suitable for that floor. Use the appropriate floor setting and check that the head and wheels are clean. Vacuum accessible carpet without moving heavy furniture during this catch-up session.
Mop only where wet cleaning is needed and permitted. Follow the flooring manufacturer’s instructions for the material and finish, including the cleaner and amount of moisture. Bona’s wood-floor guidance warns that excess water can damage wood. Avoid steam or a soaking-wet mop on wood or laminate unless the specific flooring manufacturer expressly permits the method.
For a compatible flat mop, start in the far corner and work toward the exit. Pull the mop back toward you in overlapping passes, collecting loosened dirt instead of pushing it ahead repeatedly. Use the amount of solution the product directs, turn or replace a dirty pad, and follow any rinsing instructions. Keep children and pets off the area until it is dry.
Allow around 10–20 minutes for one main floor area, with separate drying time. A whole floor level, heavy clutter, or dried-on mess may need longer. If you’re short on energy, clear the pathway and remove the obvious crumbs. Spot-clean a sticky patch with the correct method instead of automatically mopping every room.
Common setbacks here are vacuuming around movable piles, cleaning floors before wiping the counter above them, and using extra cleaner to tackle old dirt. Clear first, work from higher surfaces down, and repeat a suitable cleaning step if needed rather than increasing the concentration.
Build a Three-Day Catch-Up Schedule
Use these as three stages. They can happen on consecutive days, alternate days, or across a week. Begin each stage with a brief check for fresh food mess and walkway hazards, then spend your available time on that day’s focus.
Day 1: Restore the basics
Gather food waste, handle the dishes needed today, clean one counter, and reset the main bathroom. Start one essential laundry load only if you can complete it. Choose one or two 15-minute sessions, adding time or another day if the backlog needs it.
Minimum version: remove food trash, clear access to the sink, and clean the toilet your household uses.
Day 2: Make the rooms easier to use
Return yesterday’s stray items, finish the laundry, and clear the main walking routes. Sweep or vacuum accessible floors, then spot-clean or mop compatible areas that need it. Leave a clear place to sit and a usable place to sleep.
Minimum version: put away one basket of clean clothes and clear the route between the bedroom, bathroom, and kitchen.
Day 3: Close one remaining gap
Look at what is still interfering with daily life. Pick one job, such as the second bathroom, remaining dishes, or another essential wash. Allow 20–40 minutes if that suits your day, or split the job. Put nonurgent deep-cleaning tasks on a short later list with a realistic next opportunity.
Minimum version: complete the most useful unfinished task and choose tomorrow’s daily reset.
Share whole jobs when another household member is available. “Please empty the dishwasher, reload it, and wipe this counter” is clearer than “help with the kitchen.” Give each person a finish point and avoid assigning the same task twice. Children can help with suitable nonchemical jobs under supervision; adults should handle cleaning products and hazardous mess.
If the plan slips, continue from the next useful step. You don’t need to repeat finished rooms to make the calendar look right. Keep current food mess and essential hygiene moving while slowly reducing the older cleaning backlog.

Keep the Backlog From Building Again
Choose a short daily reset that protects the spaces you just recovered. After dinner or another reliable cue, deal with dishes, clear the main counter, put away obvious floor clutter, and check tomorrow’s clothing. Some households need a laundry load daily; others can schedule fewer loads. Match the habit to the amount your family actually produces.
Then return to a weekly room focus. The Clean Home Challenge rhythm uses Monday for the kitchen, Tuesday for bathrooms, Wednesday for bedrooms, Thursday for living areas, Friday for floors, and Saturday for laundry catch-up. Shift those days to suit work and care commitments. Leave Sunday, or another suitable window, flexible rather than filling every gap.
Give each recurring task an owner and a realistic finish point. A hamper where clothes are actually dropped, a reachable basket for toys, and a clear place for incoming papers can reduce the work of resetting a room. If something repeatedly piles up, adjust its storage or handoff before adding another cleaning session.
Keep the deferred list short. Choose one deeper job in a future weekly session, such as cleaning a shelf or tackling shower buildup with the correct method. Avoid adding every missed task to tomorrow. A home that can be used comfortably is a worthwhile result while the slower work continues.
What if I still can’t keep up?
Reduce the routine to today’s food mess, essential bathroom cleaning, clear walking routes, and necessary laundry. Ask for a specific piece of help if it is available, or consider a cleaner for a clearly defined job if that fits your budget. A persistent shortfall can mean the workload exceeds the time or energy available. Review what can be shared, simplified, or done less often.
For guided routines and follow-along support, Cleaners Clubhouse can be a helpful next step. Start with the smallest repeatable habit that makes tomorrow easier, then build from there.

CLEANERS CLUBHOUSE
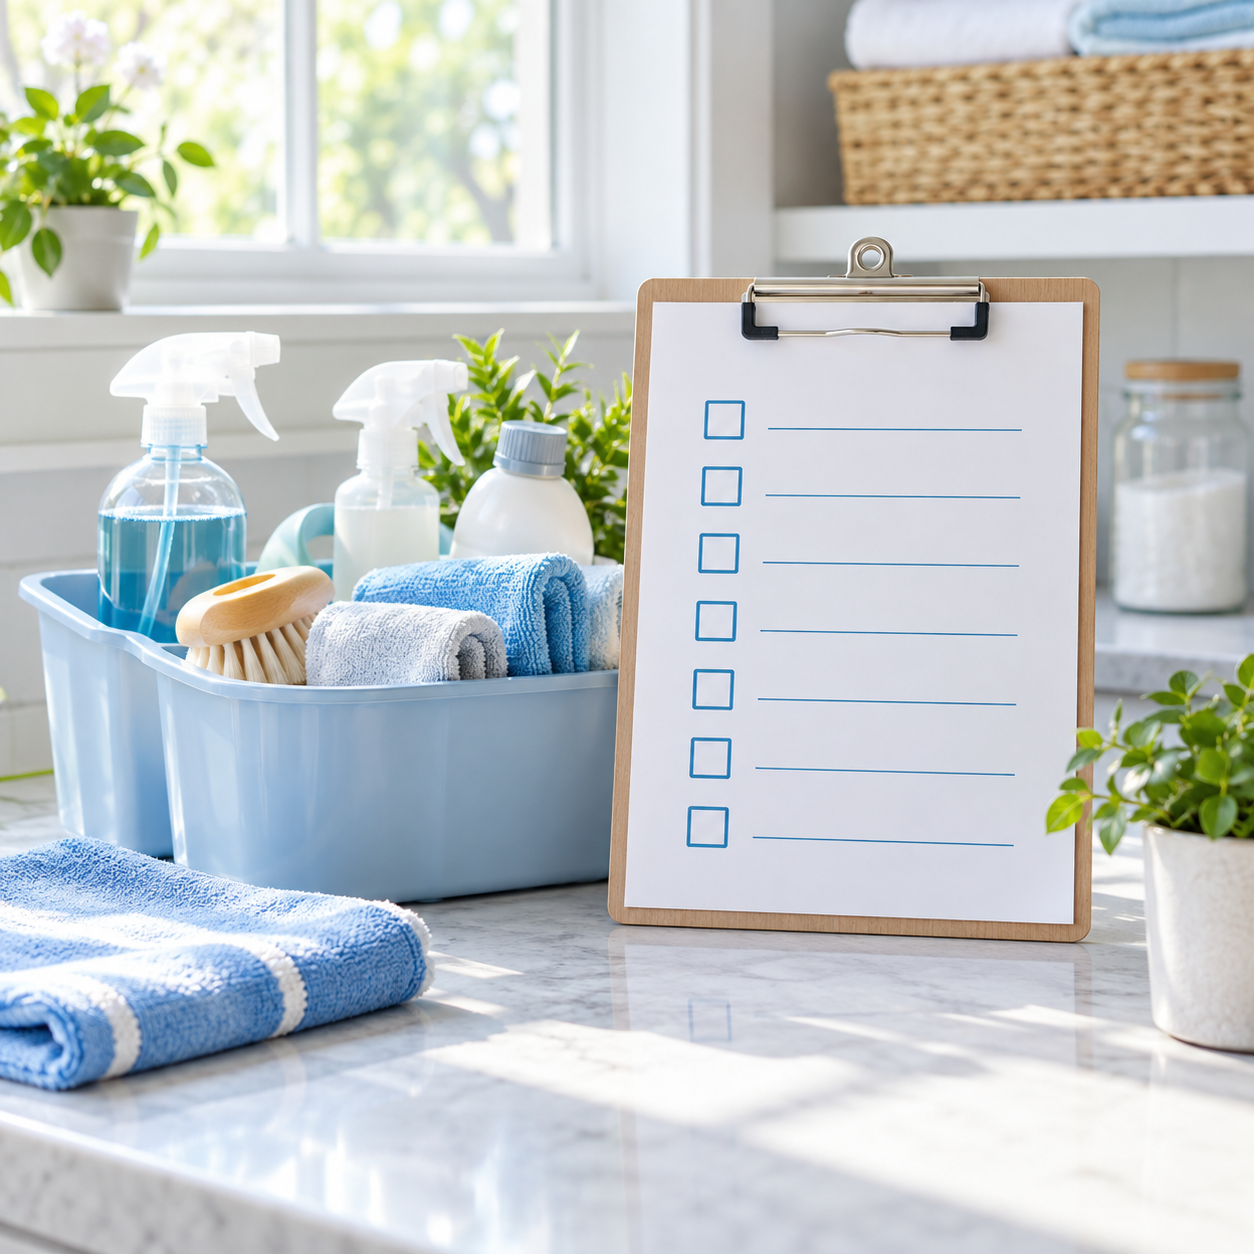
Make Your Cleaning Routine Easier to Follow
Stop wondering what to clean next. Inside the Cleaners Clubhouse, you’ll get a practical 12-month cleaning calendar, printable worksheets and monthly challenges to help you keep moving without trying to do everything at once.
