

THIS POST MAY CONTAIN AFFILIATE LINKS. PLEASE READ MY DISCLOSURE FOR MORE INFO.
The room you avoid is often doing too many jobs. It holds laundry waiting to be folded, a project that needs a decision, bags from the car, and things nobody knows where to put. Standing in the doorway, you can see a hundred unfinished tasks. That does not mean you have to start a hundred tasks today.
To recover a cluttered room, check for hazards, choose one useful result, clear access, and work through a small area from sorting to putting away. Clean what you uncover, then protect the room’s most important function. A usable chair, an accessible bed, or a clear work surface is a meaningful result even when the shelves still need attention.
This guide is for an ordinary room overwhelmed by belongings and routine household dirt, not a room damaged by a flood, fire, sewage, or another hazardous event. The seven stages below can happen over several visits. You do not need a dramatic before-and-after photo, a shopping cart of organizers, or somebody else’s definition of tidy.
Disclosure: This post may contain affiliate links. As an Amazon Associate, Clean Home Challenge earns from qualifying purchases. If you make a purchase through these links, we may earn a small commission at no extra cost to you. This helps us keep creating practical cleaning tips, routines and resources for busy families! 🧽
Check the Room Before You Start
Pause at the entrance before picking up a bag. Turn on adequate lighting if it is safe to do so. Look at the floor, doorway, furniture, and anything stacked overhead. Can you enter without stepping over objects? Can the door open freely? Is a stack leaning toward you? A room that needs sorting should not become a room where you get hurt trying to make progress.
Keep escape routes usable throughout the job. The U.S. Fire Administration advises keeping doors and windows unblocked as part of a home escape plan. Do not create a sorting station in a hallway or move clutter in front of an exit. Read the USFA’s home fire escape guidance.
Know when this is a different kind of cleanup
Stop ordinary decluttering if you discover sewage, unidentified leaking chemicals, exposed needles, unstable heavy stacks, damaged electrical equipment, or signs that the structure is unsafe. Keep children and pets away and arrange appropriate qualified help. If there is an immediate danger, leave the area and contact emergency services.
Visible mold and significant water damage also need a separate assessment. EPA guidance distinguishes limited cleanup from larger or more complicated problems, including contaminated water. Do not cover a damp problem with a rug or carry moldy items through the home just to clear space. Check EPA’s mold cleanup guidance before proceeding.
If you find rodent droppings, stop the normal sweeping or vacuuming routine. CDC warns against disturbing rodent waste that way and provides specific cleanup precautions; heavy infestations require additional measures. Use CDC’s rodent cleanup instructions or seek qualified help.
Gather a small working kit
For ordinary clutter, start with sturdy footwear, a trash bag, a laundry basket, a cloth, and a few existing containers. Use suitable gloves for the task, remembering that ordinary cleaning gloves do not make handling hidden sharp objects safe. Do not reach blindly into bags or compress their contents with your hands.
Finally, agree on boundaries with anyone whose belongings are in the room. “May I collect dishes and obvious food wrappers?” is different from permission to discard papers, clothing, or projects. Set aside uncertain items for their owner. Helping someone recover space does not require taking control of their possessions.

Choose One Useful Goal for This Session
“Fix the room” is too broad to tell you what to do next. Choose a result you can recognize without examining every drawer. You might want to reach the window, sit at the desk, use the guest bed, or open a cabinet. Pick the function that would make tomorrow easier.
Write one sentence: “Today I am clearing enough of the desk to use my laptop.” This defines both your starting area and your stopping point. The closet can remain closed. You can leave the photo albums for another session. Those are choices about scope, not evidence that the job is failing.
A realistic ten-minute start
Use this sample plan only if your initial check shows that the area is safe. The minutes are a planning aid, not a speed target.
- Minutes one and two: Identify the goal and put your bag and basket within easy reach without blocking access.
- Minutes three through six: Remove obvious trash and ordinary dishes from the small working area. Take small, manageable loads.
- Minutes seven and eight: Return a few easy items to established homes or place them in one labeled return container.
- Minutes nine and ten: Close the session. Remove collected trash, put supplies away, and write the next specific step.
Ten minutes may be enough only to assess the room and remove one small bag. That still gives the next visit a better starting point. Do not race the clock around sharp objects, heavy items, stairs, or a wet floor.
Plan a longer session in phases
If you have around an hour, consider ten minutes for preparation and access, twenty for sorting one small zone, ten for cleaning the exposed surfaces, and ten for putting things away. Leave the remaining time for breaks and closing down. Adjust the plan to your energy, mobility, and the actual room.
Set the finish time before you begin. If you must collect a child, start work, or prepare dinner, reserve enough time to leave the room usable. Avoid emptying every drawer just because you have finally started.
For a helper, give a bounded job: “Please take these mugs to the kitchen,” or “Please sit with me while I choose which books stay here.” Agree that the owner makes the disposal decisions. Clear roles are more useful than several people moving things in different directions.

Clear a Safe Path and Remove Obvious Trash
Begin at the doorway and work inward through reachable, stable items. Your first route should connect the entrance with the function you chose, while preserving access to exits. Do not climb over a mound to reach the “best” starting spot or pull objects from underneath an unstable stack.
Move a few items at a time rather than dragging everything into the hall. Keep the path wide enough for the people and mobility aids that use it; a narrow gap you can squeeze through is not a useful household route. If achieving safe access involves heavy lifting or unsafe stacks, get suitable help before proceeding.
Start with decisions that are genuinely easy
Collect things everyone agrees are trash: empty snack wrappers, ordinary packaging that is no longer needed, and clearly discarded tissues. Check boxes before flattening them. Avoid assuming that every scrap of paper or shopping bag is trash; receipts, small parts, keepsakes, or important documents may be mixed in.
Use local disposal guidance for batteries, electronics, chemicals, medicines, and other special waste. Keep those separate and safely contained rather than putting everything into one general trash bag. Label the next action so the container does not become an unidentified box later.
Take food and ordinary dishes out as a separate pass. Bring them to a usable kitchen area rather than setting them on another crowded surface. If you find something hazardous or unfamiliar, return to the stop-and-assess approach instead of treating every discovery as routine cleaning.
Keep the working area contained
Place the laundry basket beside your working zone, not behind you where it becomes a trip hazard. Collect only the clothing you can comfortably carry. Sort care needs later in the laundry area; you do not have to start a wash cycle in the middle of clearing access.
Do not overfill trash bags. Tie off a manageable bag and take it to its proper collection point before opening another. If taking it out requires assistance, arrange that assistance rather than lining the hallway with bags.
At this stage, resist arranging shelves or comparing storage baskets. A clear route and removed waste provide a foundation for the detailed decisions ahead. Look back from the doorway after each short pass. If your bags, tools, or return items are narrowing the route again, pause and reset your setup before continuing.

Sort the Room Without Creating More Piles
Work within a small boundary: one chair, one section of the desk, or the floor beside a cabinet. Finish that area before expanding. Emptying an entire room can leave you with nowhere to sit and several larger decisions than the ones you started with.
Use existing containers with clear temporary labels. A simple set is “stays here,” “belongs elsewhere,” “owner decision,” and “leaving.” Ordinary trash remains separate. Donation and special disposal can have separate destinations within the leaving category, but only after the owner has agreed.
Give each item a destination, not a new pile
For something that stays, ask what it is used for and whether it already has a place. Return it immediately if the place is accessible and doing so does not interrupt the task. Otherwise, keep it in the small stays-here container until that zone is ready.
For something that belongs elsewhere, put it in the return basket. Make one short delivery trip at the end of the phase instead of wandering through the home after every object. Complete the delivery into an actual storage spot; dropping the basket in another doorway simply moves the problem.
Use the owner-decision container sparingly. Add a note such as “Alex: keep these cables?” rather than a vague “miscellaneous” label. Agree on a time to review it together. A decision date is a reminder, not permission to throw someone else’s things away when the date arrives.
Handle papers and projects in smaller groups
Separate papers needing action from papers being kept. Put an appointment letter or bill where the responsible person will actually see it. Protect personal information when discarding documents, and check retention needs before destroying anything important.
Keep the parts of an unfinished project together. A small box with the project name and its next step is easier to revisit than loose supplies spread over three surfaces. Decide whether the room is the right place for it now, not whether you should have completed it months ago.
If sentimental items slow the session, contain that category and schedule a separate review. You can recover the chair without deciding the future of every family photograph today.
Before opening another zone, empty the return basket, close agreed donation bags, and put the retained items into their temporary or permanent homes. A small completed area is more useful than a whole room sorted into piles that nobody can walk around.

Clean the Surfaces You Have Uncovered
Clean in small sections as space becomes available. First identify the material: painted wood, laminate, stone, fabric, and unfinished wood can require different care. Check the surface manufacturer’s instructions and the cleaner’s label. A product suitable for one desk is not automatically suitable for every shelf and floor.
For routine household cleaning, CDC explains that cleaning removes dirt and many germs, while disinfection is a separate step that is not always necessary. Follow product directions, provide the recommended ventilation, and never mix cleaning chemicals. When a disinfectant is needed, its labeled wet contact time matters. See CDC’s home cleaning and disinfecting guidance.
Choose the next useful surface
If your goal is a usable desk, clean the exposed worktop and the chair you will use before tackling decorative objects. If your goal is a guest bed, follow the bedding’s care labels and make the sleeping surface usable before polishing a bookshelf.
For ordinary dust, use a method appropriate to the finish and work from higher accessible surfaces toward the floor. Avoid shaking dusty textiles across the freshly cleared area. Change a dirty cloth rather than spreading residue across the next surface. Do not stretch from a chair or stand on furniture to reach high places.
Keep moisture away from electrical equipment. Follow the equipment manufacturer’s cleaning instructions instead of spraying directly into openings or onto plugged-in devices. Leave damaged equipment alone until it has been assessed appropriately.
Do not turn recovery into a renovation
A stain you cannot identify may need separate research or professional advice. Note its location and stop experimenting. Repeated applications of different products can create a bigger problem than the original mark.
Likewise, resist moving a heavy cabinet alone to reach a patch of dust. Recover the accessible space first and plan suitable help for furniture-moving tasks. The room can become functional before every hidden edge is cleaned.
Finish the newly exposed floor with a method approved for its material, after checking again for sharps and other hazards. Keep people and pets away from wet areas until they are dry. Do not place a storage bin on a damp floor and trap moisture beneath it.
Before returning items, check that surfaces are dry and the arrangement still supports your original goal. Leave enough open space to use the desk, sit down, or reach the bed. Clean space is useful space; it does not have to be filled immediately.

Put Everyday Items Where You Use Them
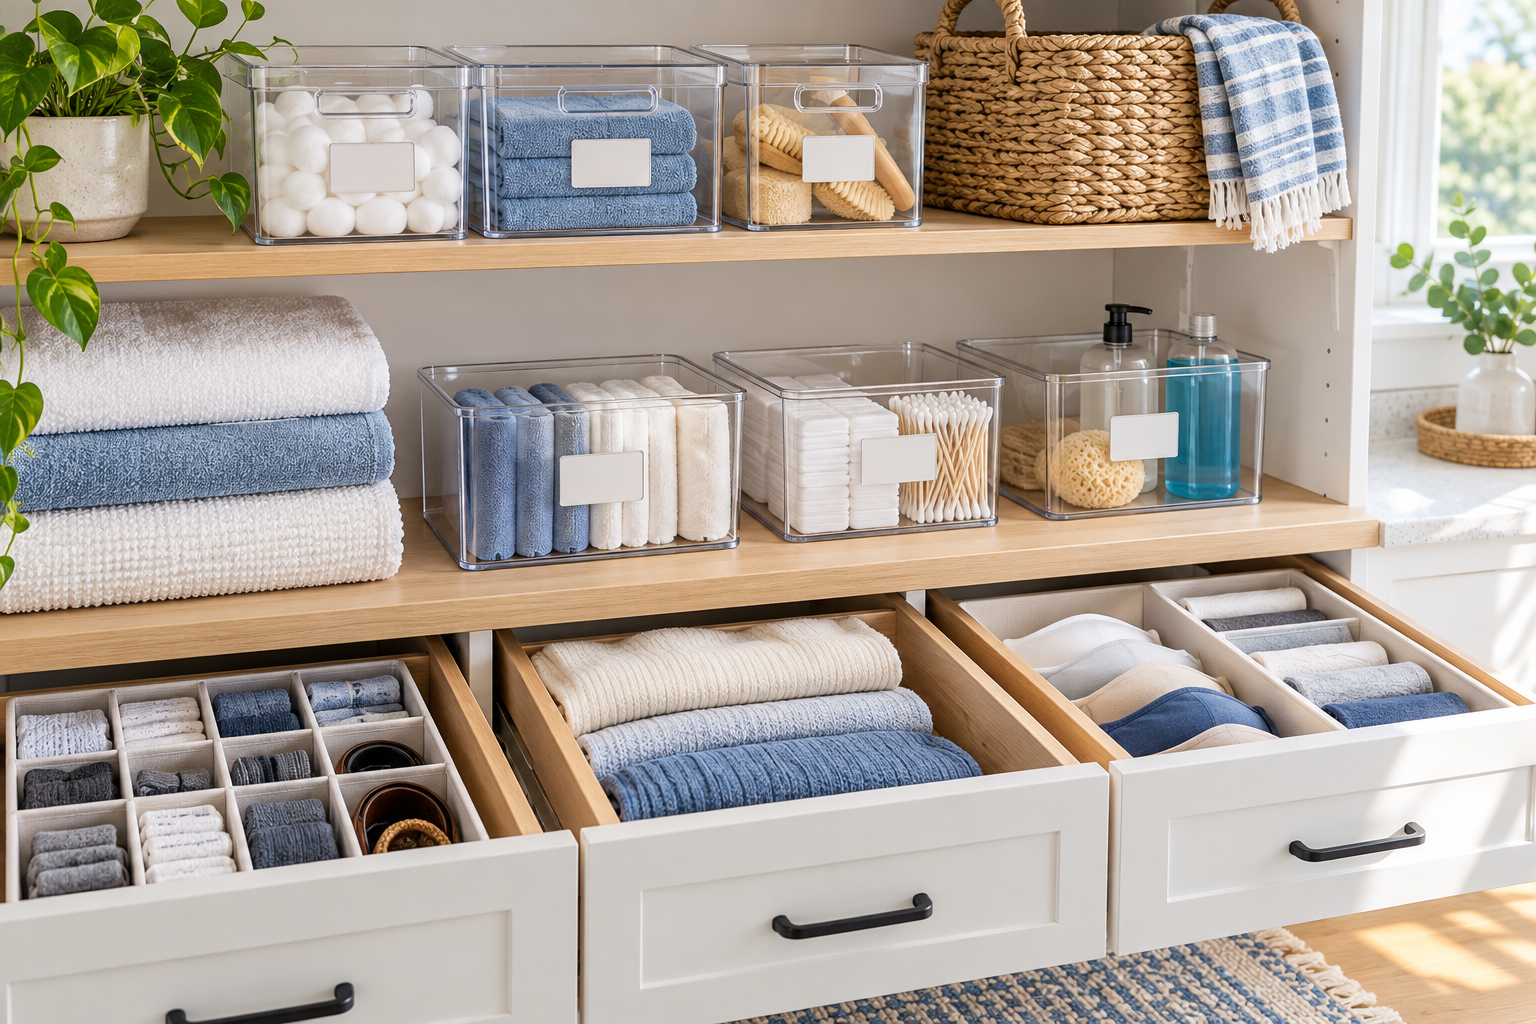
The easiest storage system to maintain is one the household can use without a long series of steps. Start with the items that caused repeated piles: clothes, chargers, papers, hobby supplies, school bags, or things waiting to leave the house. Give those categories practical homes before organizing rarely used objects.
Ask, “Where do we naturally use this?” A reading blanket belongs near the reading chair. Current paperwork needs an accessible action tray, not a beautiful box behind seasonal decorations. A laundry basket works best where people can reach it without moving furniture.
Match storage to the person
Use reachable locations and labels that make sense to everyone involved. An open basket may work better than a lidded box for frequently handled items. A broad label such as “drawing supplies” can be easier to maintain than six small categories that nobody wants to sort at the end of the day.
Check the arrangement with the people who use it. Children, older adults, and anyone with mobility or vision needs may use the room differently. Do not put everyday essentials somewhere that requires climbing, bending painfully, or guessing what an unmarked container holds.
Store heavier items in stable, suitable locations rather than overhead. Follow furniture and shelving instructions, including load limits and any required anchoring. Do not assume a freshly organized stack is stable simply because its boxes match.
Let the available space set a boundary
If a category will not fit without cramming, decide whether some items belong elsewhere or whether the collection needs an owner-led review. Buying another bin is not always the answer. A bin still needs somewhere safe to live and a purpose that justifies the space it takes.
For example, a guest room may need one shelf for current household paperwork, not every archived document. A hobby room may need a container for the project in use and a separate planned storage area for backups. These are household decisions rather than universal limits.
Test your arrangement before purchasing organizers. Use boxes and containers you already own for a week of normal use. Notice whether the labels are clear, the basket is large enough, and the room’s main function remains available.
Keep a deliberate empty area where work happens. A clear chair should not become the overflow shelf, and a clear bedside route should not become the donation queue. Storage has done its job when it supports using the room, not when every inch is occupied neatly.

Keep the Room Usable With a Small Reset
A recovered room needs a manageable way to absorb normal life. Choose a reset attached to something that already happens, such as finishing work at the desk or putting laundry away. Keep it small enough to repeat on an ordinary busy day.
Start with three actions: remove dishes and trash, return everyday items, and restore the room’s main usable surface or route. Some days that takes a few minutes; other days you may only complete one action. The purpose is to stop small arrivals from quietly taking over the room again.
Share the maintenance clearly
Assign responsibilities to the people who use the space, with suitable support where needed. “Everyone takes their cups out when they leave” is easier to follow than “Please keep this room nice.” Agree who reviews the action tray and who returns shared supplies, rather than letting every unfinished decision land on one person.
If an item repeatedly ends up in the same wrong place, examine the storage system. Is its home too far away, already full, or difficult to open? Adjust the location or category before assuming the answer is more effort.
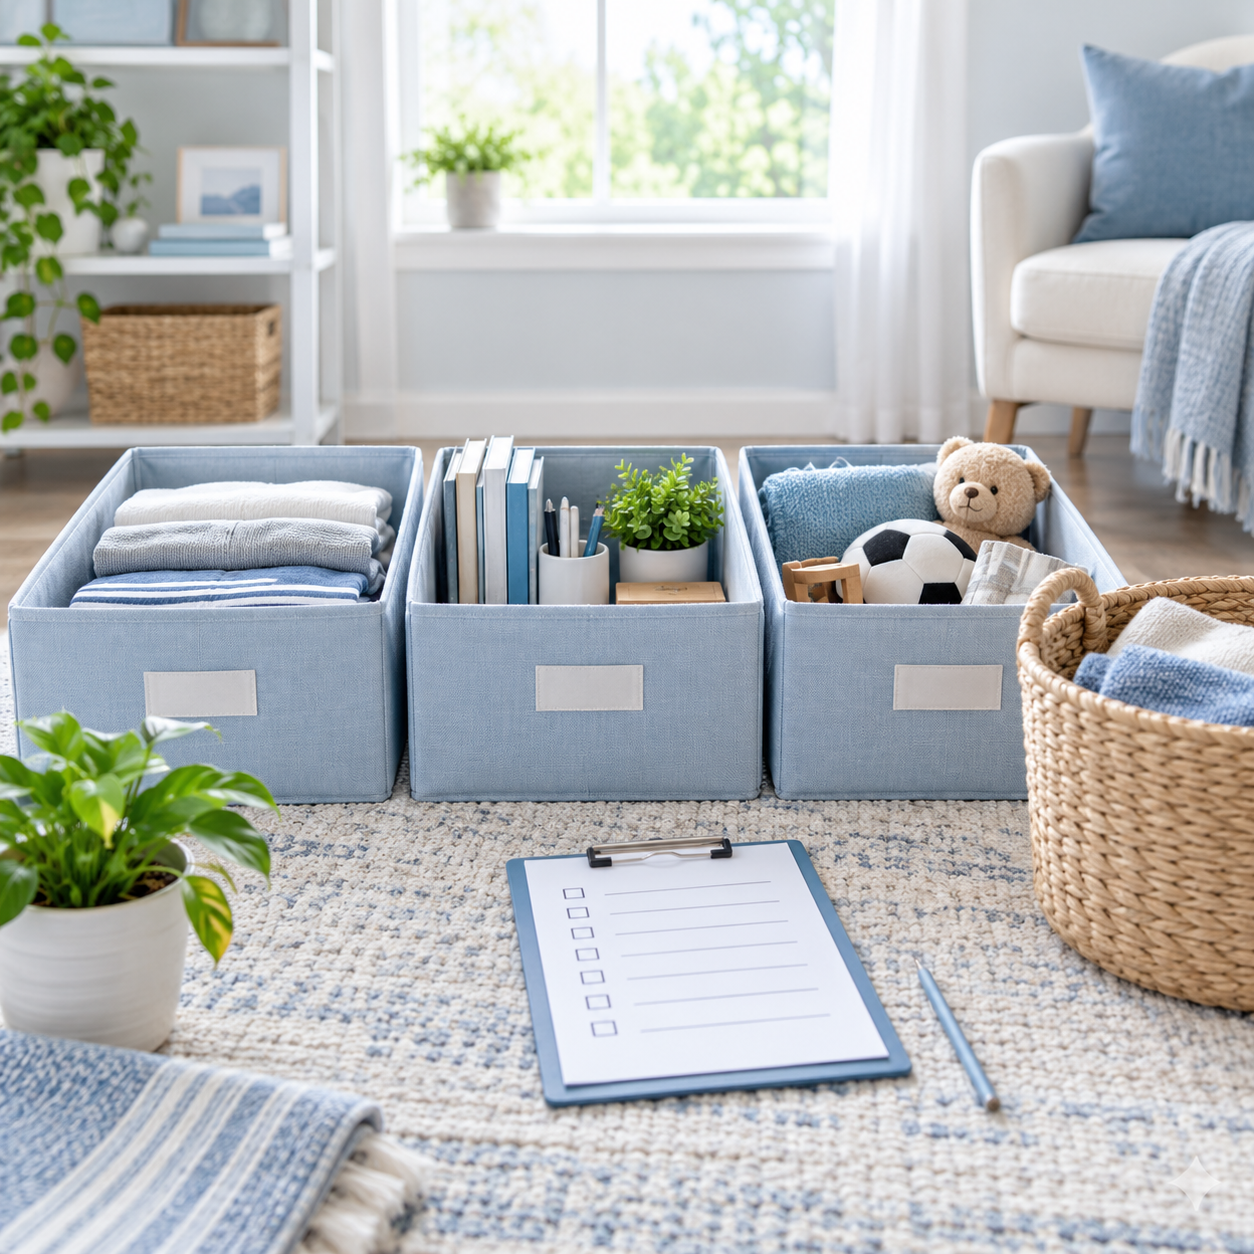
Use a short recovery checklist
Copy this into a note or write it on a card:
- The doorway and escape routes are clear.
- The room’s main function is available.
- Ordinary trash and dishes have left the room.
- Returned items reached their actual homes.
- Other people’s decisions remain with them.
- Cleaning supplies are put away safely.
- The next small task is written down.
At the end of a session, record a specific next action: “Sort the top desk drawer for fifteen minutes,” or “Ask Sam about the two project boxes.” This is easier to restart than a note saying “Finish room.”
If clutter returns after an unusually busy week, restart at the doorway and repeat the smallest useful stage. You do not have to dismantle a working system because it had a difficult week. If the room consistently needs more physical help or decision support than your household can provide, consider a suitable cleaner or organizer and explain the boundaries before they begin.
The goal is a room you can use and return to with a clear next step. You can stop for the day, close the door if you wish, and come back later without pretending that everything must be finished at once.

CLEANERS CLUBHOUSE
Ready to Clear the Clutter One Step at a Time?
Join the 30-Day Declutter Challenge and work through your home in small, achievable steps. The Cleaners Clubhouse includes the plan, printable support and encouragement to help you keep going.
