

THIS POST MAY CONTAIN AFFILIATE LINKS. PLEASE READ MY DISCLOSURE FOR MORE INFO.
You’re folding a clean shirt when the light catches it: a dark, greasy-looking patch, right where dinner landed. The shirt has already been washed. It may have been through the dryer, too. Before you turn it into a cleaning rag, a careful second attempt can be worthwhile.
To remove set-in grease stains from clothes, start with a fabric-safe laundry pretreatment, wash according to the care label, and air-dry before deciding what to do next. Some old cooking-oil marks improve, but no method can promise to rescue every garment. Extra heat and harder scrubbing aren’t reliable shortcuts.
This guide is for small, everyday food-grease spots on washable clothing, such as butter, salad dressing, or a cooking-oil splash. It isn’t a treatment plan for oil-soaked towels, fuel spills, or clothing contaminated by industrial chemicals. Keep those out of your ordinary laundry routine and follow the relevant product, appliance, and professional safety advice.
Disclosure: This post may contain affiliate links. As an Amazon Associate, Clean Home Challenge earns from qualifying purchases. If you make a purchase through these links, we may earn a small commission at no extra cost to you. This helps us keep creating practical cleaning tips, routines and resources for busy families! 🧽
Can Washed Grease Stains Come Out?
Sometimes, yes. Washing a stain once doesn’t automatically make it permanent. A mark that survived the dryer is more challenging, but it may still respond to a suitable pretreatment. Whirlpool specifically suggests an enzyme-based cleaner as an option for old oil stains on clothes that have already been washed and dried. Whirlpool’s oil-stain guide
Grease is awkward because water alone doesn’t readily carry it away. Detergents contain surfactants that help loosen oily soil and keep it suspended so it can rinse out. That is why putting a suitable laundry product directly on the mark can be more useful than simply running the same wash again. American Cleaning Institute: how cleaning works
Washed and still damp
If you spot the grease while unloading the washer, keep that item out of the dryer. Check the label and pretreat it before another appropriate wash. You don’t need to deliberately dry the stain first to make the next treatment work.
Washed and already dried
Set the garment aside for inspection and start gently. Tell a professional cleaner about the dryer cycle if you decide to get help. Heat history is useful information, not a reason to scrub the fabric until it thins.
A mystery mark that appeared after laundry
Think back before choosing a treatment. Was there a food spill in that spot? Are similar patches appearing on several garments? Fabric-softener marks and other laundry residues can resemble greasy stains. The American Cleaning Institute treats fabric-softener stains as a separate problem, with different instructions. ACI stain-removal guide
If the cause is uncertain, check your detergent dose, dispensing instructions, and washer guidance rather than assuming every dark patch is cooking oil. For a broader starting point, see The Complete Household Stain Guide: What to Do Before You Scrub.

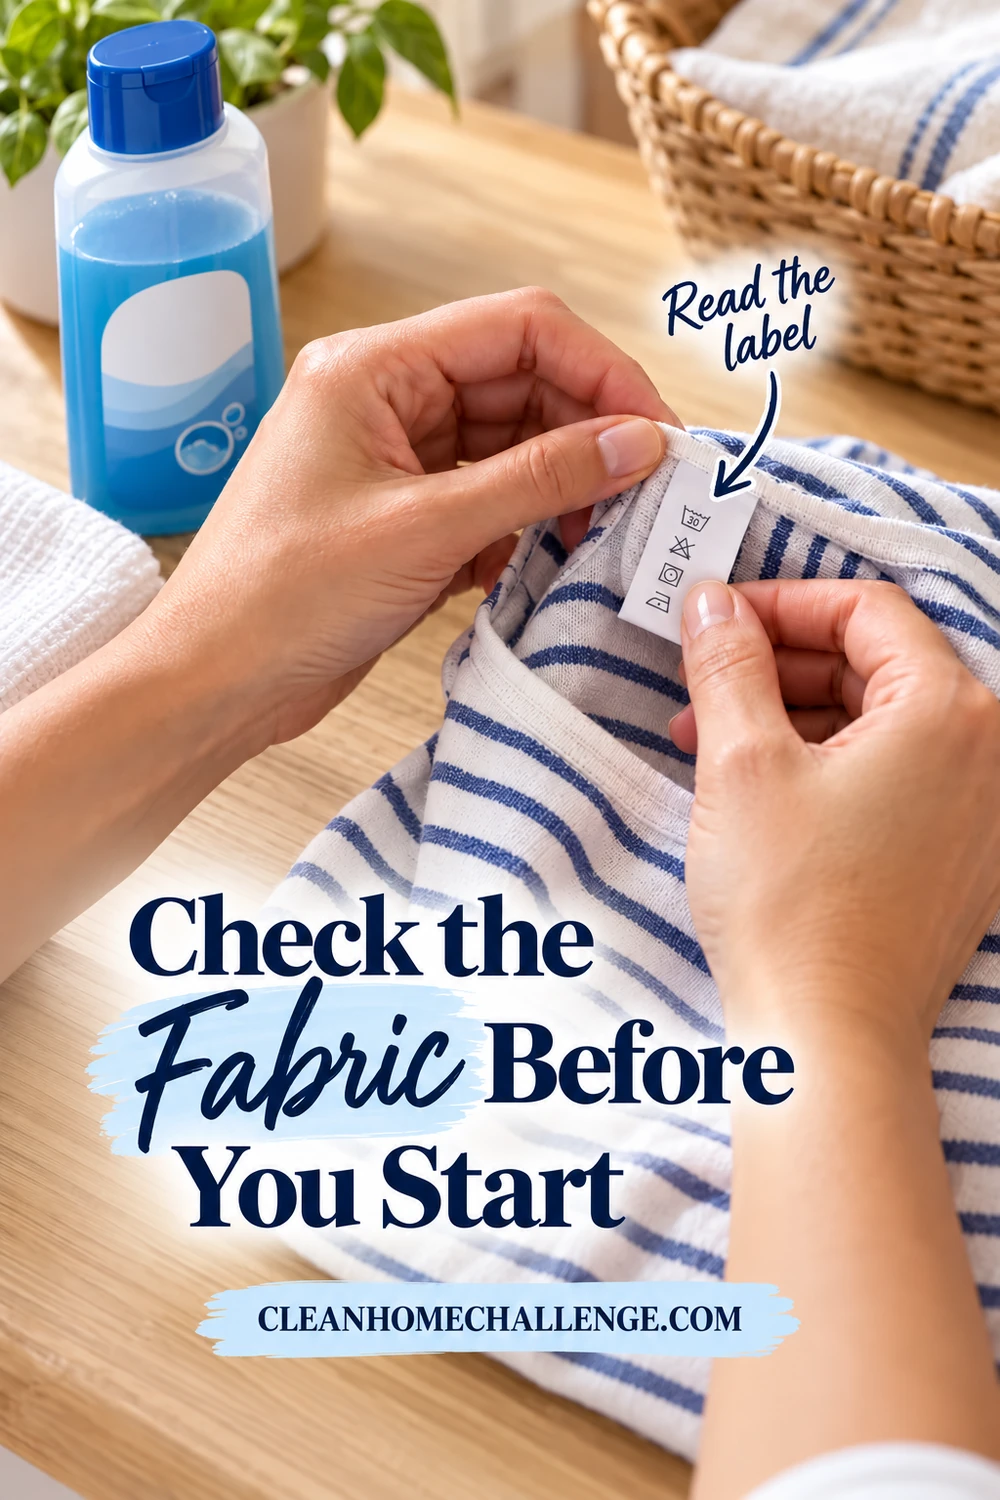
Check the Fabric Before You Start
Give yourself a few minutes to look at the garment and gather supplies. The aim is to improve the stain while keeping the shirt, pants, or sweatshirt wearable.
Read the whole care label
Look for the washing method, maximum water temperature, drying instructions, and any restrictions on bleach or rubbing. A fiber label that says “cotton” doesn’t replace the care instructions for the finished garment, which may include dyes, trim, prints, or a lining. The FTC explains that care instructions must account for the whole item. FTC clothing-care guidance
- Machine-washable cotton or polycotton: consider the gentle spot-treatment method below if both labels allow it.
- Washable synthetics or stretch fabrics: keep to the garment’s temperature and treatment limits. Don’t increase heat because a mark is stubborn.
- Hand-wash-only clothing: retain the required washing method; don’t switch to a machine cycle for convenience.
- Silk, wool, leather, dry-clean-only pieces, or garments with uncertain instructions: ask the garment maker or a professional cleaner before using a general-purpose stain remover.
“Color-safe” on a bottle doesn’t guarantee that every dye will stay put. OxiClean, for example, requires testing and excludes silk, wool, leather, and dry-clean-only items from its Max Force spray instructions. OxiClean Max Force directions
Gather a small, useful kit
You’ll need a liquid laundry detergent approved for pretreating, or a laundry stain remover labeled for grease and compatible with the fabric; a clean white cloth; access to water; and somewhere suitable to air-dry the garment. A timer helps if your product has a short treatment window.
Choose one pretreatment product. You don’t need a bowl of homemade ingredients, a stiff brush, or several sprays layered together.
Test a hidden spot
Follow the product’s patch-test directions on an inside seam or hem. Check for color transfer, fading, or a change in texture after rinsing and drying as instructed. If the test changes the material, stop. For a valuable or sentimental piece, professional advice may be the better first step even when the fabric is washable.
Plan for a few minutes of hands-on work, the product’s labeled waiting time, a full wash, and air-drying. This is a small laundry task, but it usually isn’t a five-minute rescue before leaving the house.
Pretreat the Grease Stain Gently
For an already-washed food-oil mark, start with a laundry product rather than trying to recreate a fresh-spill treatment. There may be no loose grease left to blot away.
1. Find the entire mark
Lay the garment on a clean, well-lit surface. Look at the stain from more than one angle and note its edges. You can take a quick photo to help find it again after washing. Don’t draw around it with a pen or add another substance as a marker.
If there is still solid food on the surface, lift it gently without grinding it in. Place a clean white cloth inside the garment so you can work on one layer at a time. Don’t stretch the fabric taut.
2. Apply the chosen laundry product
Use the amount and wet-or-dry application method on its label. Cover the affected area rather than soaking the entire garment unnecessarily. If the directions allow working the product in, use a gentle fingertip motion or the specified applicator. Avoid vigorous brushing, especially on fine knits, prints, and worn fabric.
Tide’s grease-stain instructions support direct pretreatment with a suitable liquid laundry detergent and a short wait before washing. This is a practical starting approach, not permission to use any concentrated cleaner on any fabric. Tide’s grease-stain method
3. Use the product’s actual waiting time
There is no universal “leave it overnight” rule. Follow your bottle, including warnings about letting the product dry. A treatment that allows a longer wait is different from one that must be washed out promptly.
For example, OxiClean Max Force permits a minimum five-minute treatment and longer waits for some stains, but limits exposure to five minutes on fabrics prone to color change. Read the directions for the exact formula you own instead of transferring timing from a different spray. OxiClean’s pretreatment instructions
Keep the garment and open products away from children and pets during this step. Follow label precautions for ventilation, gloves, and skin contact, then put the container away.
Can you use dish soap instead?
Some dish soaps have manufacturer-approved laundry uses on particular fabrics. They are an alternative, not an extra layer over your stain remover. Follow the dish-soap maker’s fabric, amount, and repeat-use restrictions, and your washer instructions. Rinse dish soap out thoroughly before machine washing; don’t pour it into the detergent dispenser.
Dawn’s current guidance warns that dish soap isn’t a washing-machine detergent, restricts its described pretreatment to cotton/polycotton, and says not to reapply Dawn to the same spot and wash again. That makes a suitable laundry pretreatment the simpler choice for a repeat-treatment plan. Dawn’s laundry-use guidance


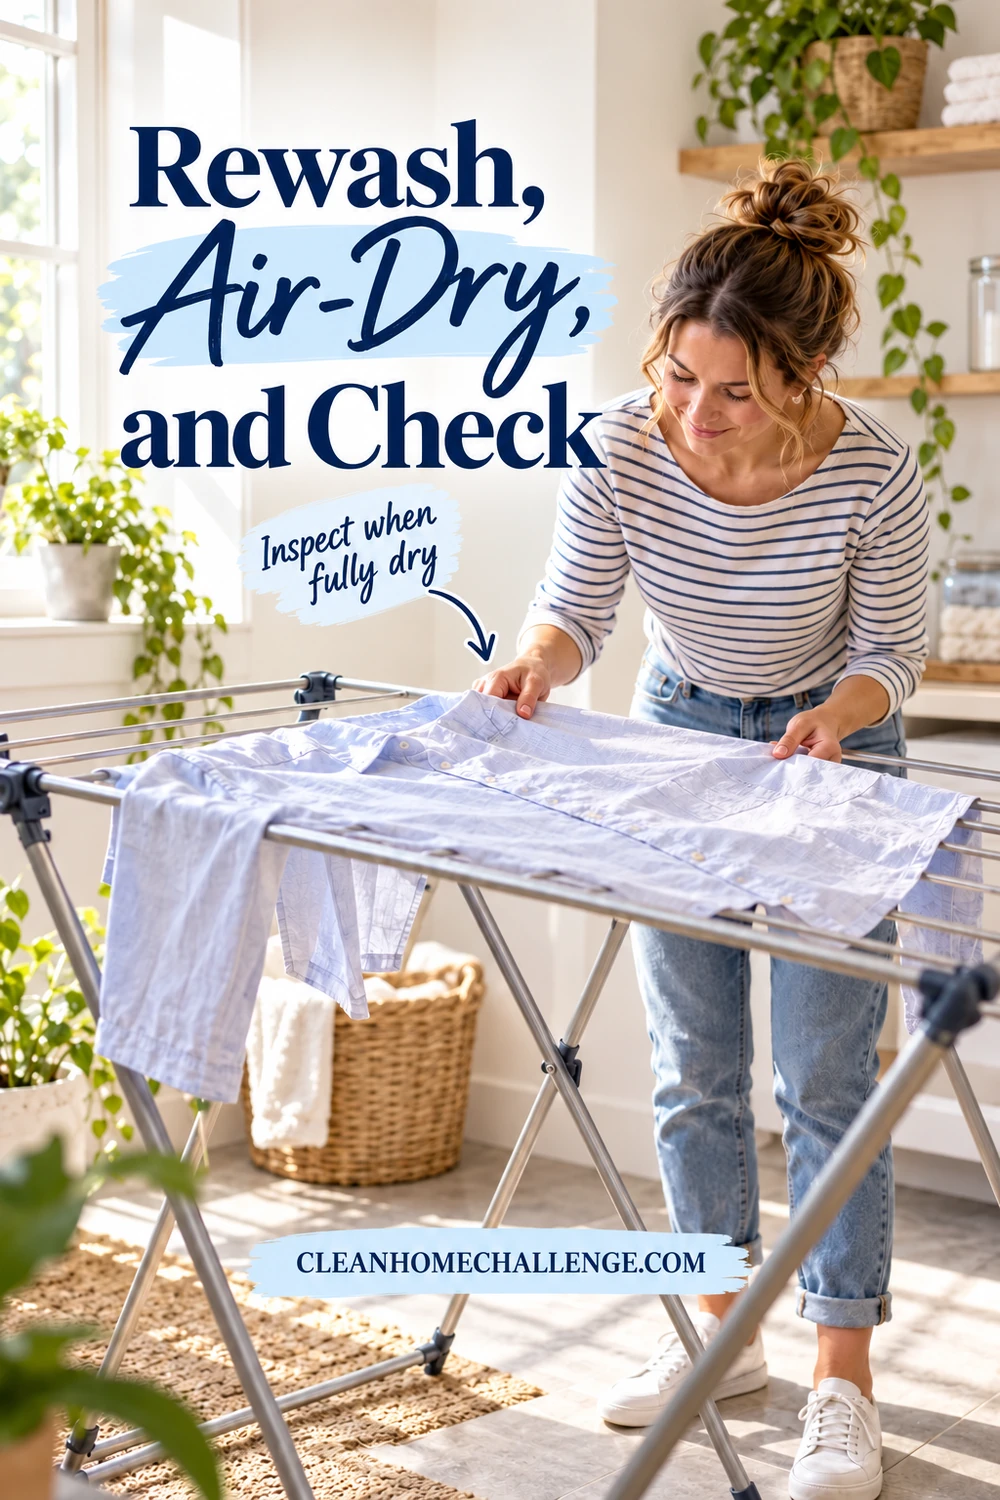
Rewash, Air-Dry, and Check
After pretreating, wash using the cycle and water temperature the garment allows. For a tough stain, choose the warmest permitted setting, not automatically the hottest setting on the washer. Cold-wash-only clothing still needs cold water. ACI’s stain-washing guidance
Use your regular laundry detergent at its recommended dose for the load, water conditions, and soil level. A stain doesn’t mean you should double the detergent. Leave enough room for the load to move and follow your washer’s loading instructions. Select a proper wash cycle rather than a rinse-only cycle.
Whether to rinse off the pretreatment depends on the product. Tide’s liquid-detergent method goes into the wash without a pretreatment rinse. Dish soap, by contrast, should be thoroughly rinsed away before machine washing, as Whirlpool advises. Tide’s washing steps, Whirlpool’s dish-soap rinse instructions
Let the fabric dry without added heat
Remove the item after washing and air-dry it in the way its label allows: hanging, on a rack, or flat. Keep it away from heaters and other heat sources. Don’t use an iron, hair dryer, or another tumble-dryer cycle to speed up this check.
Inspect once it is fully dry, in good light. Compare the original spot with the surrounding fabric and your earlier photo. A wet patch can make judging the result difficult.
- The mark looks gone: the appearance has improved, but this isn’t proof that every trace of oil is gone. Keep following the appliance’s oil-contamination warnings.
- The mark is lighter: another label-approved laundry treatment may be worth trying.
- The mark is unchanged, or the fabric is fading or roughening: stop and reassess before doing more.
Why the dryer caution matters
Heat can make a remaining stain harder to remove, and oily textiles raise a separate fire concern. CPSC warns particularly about cloths heavily soiled with vegetable oil: ordinary laundering may leave oil behind, and heating or piling the warm cloths can lead to fire. A small food spot is a different situation from an oil-soaked towel, but a clean-looking result cannot override your appliance’s warnings. Air-dry throughout this rescue process. CPSC’s vegetable-oil textile warning
When a Grease Stain Won’t Budge
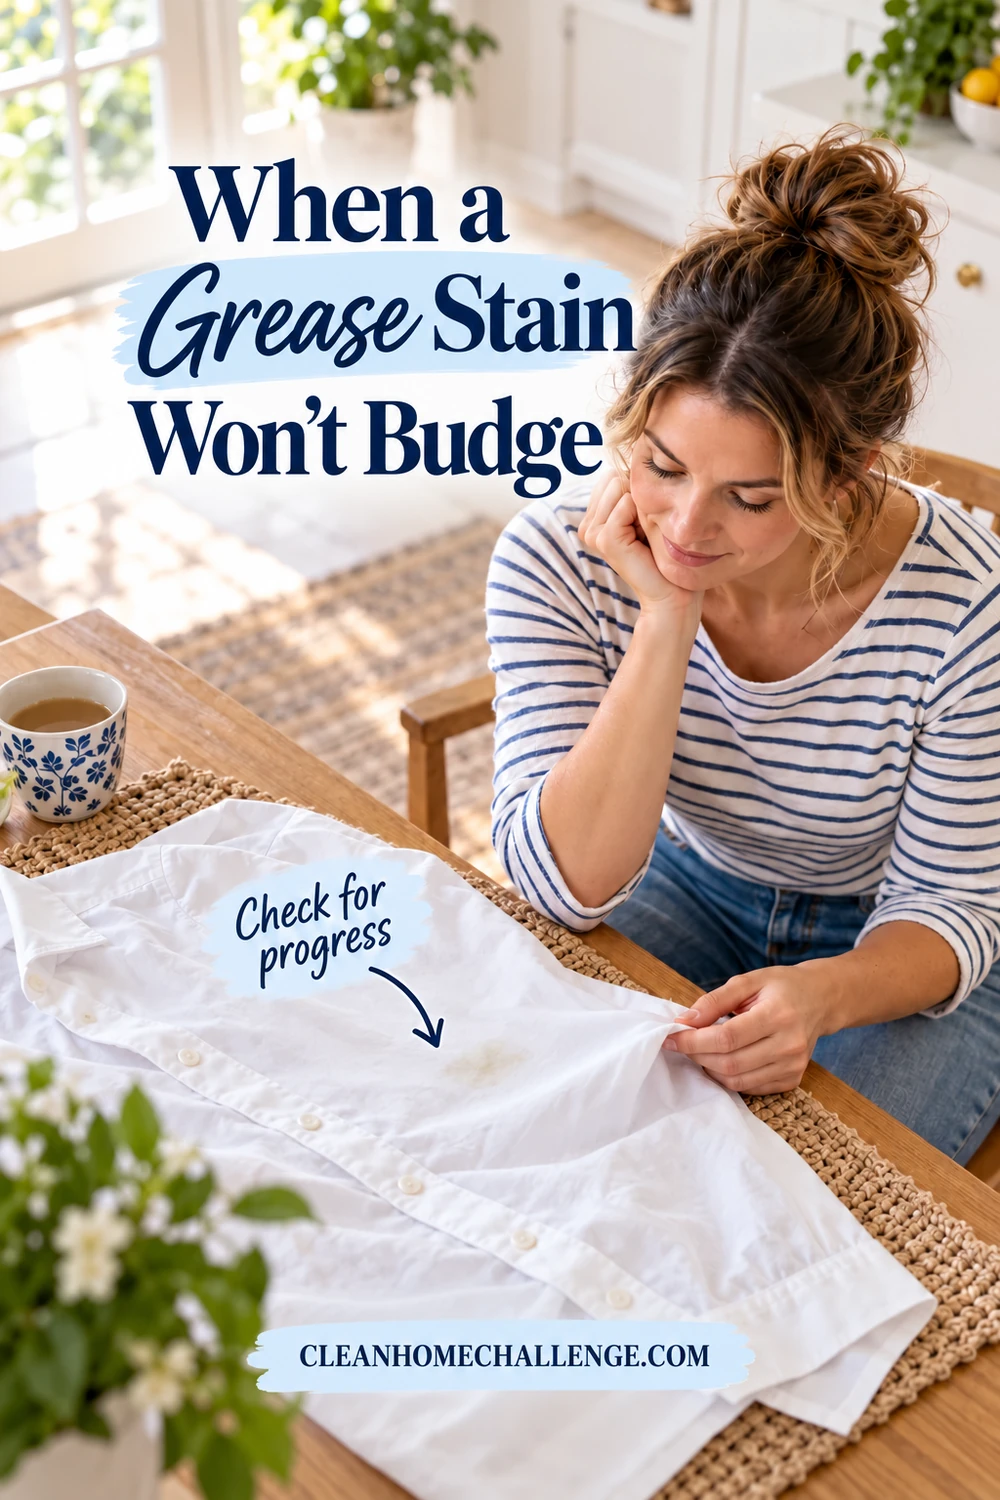
A stubborn mark calls for a decision, not an increasingly complicated recipe. First ask whether it improved and whether the garment still looks and feels sound.
If you can see progress
Repeat the same laundry method only if the product permits repeat use and the fabric shows no damage. Wash and air-dry again before judging. Don’t increase the dose, temperature, or waiting time beyond the labels just because the first result was incomplete.
You can fit this into the next suitable laundry load rather than dedicating an entire afternoon to one T-shirt. Keep it clearly separate from items headed for the dryer.
If ordinary detergent made no difference
Consider a fabric-compatible laundry stain remover specifically labeled for grease or oily food stains. An enzyme-containing laundry product can be a reasonable next option for some old marks. Follow its instructions as a new treatment after the previous wash has removed the earlier product; don’t combine pretreaters on the spot. Whirlpool identifies enzyme-based pretreatment as an option for washed-and-dried oil stains. Whirlpool’s advice for old oil stains
If a colored food shadow remains
Pizza sauce and other foods contain more than oil. A reddish or yellowish mark may need a product labeled for that food stain. Avoid assuming that bleach is the answer because the shirt is white. The garment’s bleach restrictions still apply, and oxygen-based products also have fabric exclusions. OxiClean’s guidance for oily barbecue-sauce stains
Know when to get help
Stop home treatment if the dye changes, the surface becomes fuzzy, or the fabric starts to distort. A professional cleaner is sensible for delicate, expensive, structured, or sentimental clothing, and for a mark that shows no improvement after careful treatment. Tell them what spilled, whether it was dried with heat, and exactly which products you already used. Tide Cleaners recommends professional care for dry-clean-only garments, delicates, and difficult stains. Tide Cleaners’ food-stain advice
Some stains won’t fully disappear. Choosing to keep a clean but marked shirt for home wear is a perfectly reasonable stopping point.
Grease-Stain Mistakes to Avoid
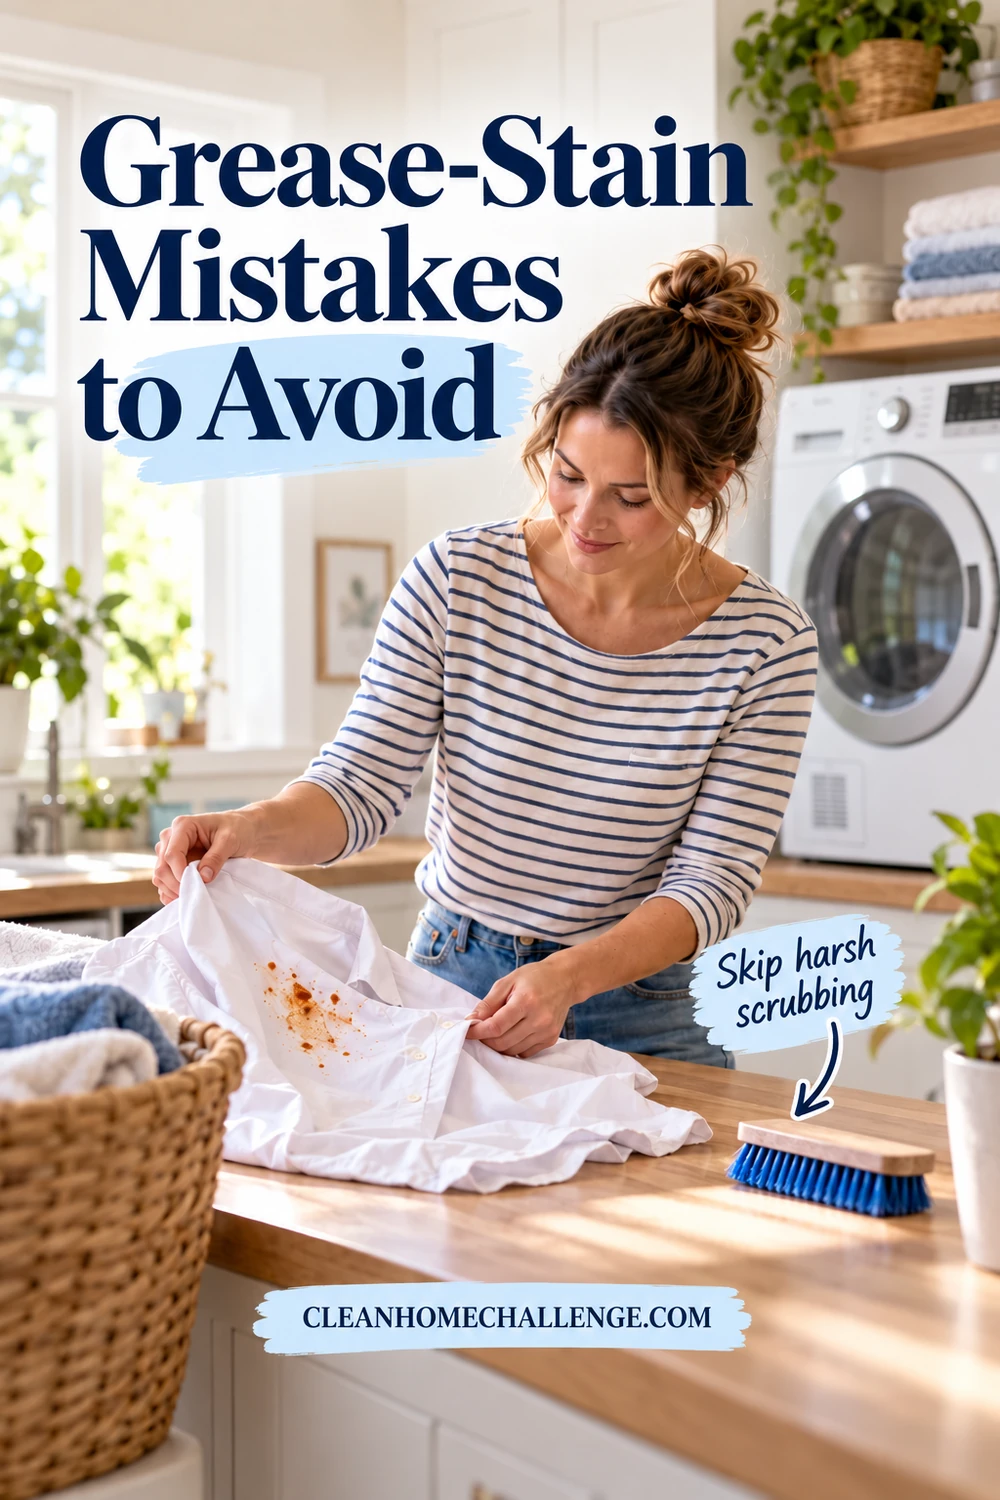
The internet has plenty of dramatic grease-removal tricks. A short, controlled process is easier to evaluate and less likely to create another problem.
- Skip WD-40, gasoline, lighter fluid, paint thinner, and other workshop products. Don’t add a combustible substance to clothing as a household laundry hack. GE warns against washing or drying items contaminated with combustible or explosive substances, including gasoline, degreasers, and dry-cleaning solvents. GE appliance fire precautions
- Don’t mix stain removers with bleach, vinegar, ammonia, or other cleaners. Use products only in combinations expressly allowed by their labels. Bleach mixed with acids or ammonia can produce dangerous gases. Poison Control’s cleaner-safety advice
- Avoid the “hotter is better” approach. Boiling water, hot irons, and high-heat drying may conflict with the garment’s care instructions. Warm washing water is useful only when the item permits it.
- Don’t scrub until the patch looks pale. You may be removing dye or damaging the surface rather than removing the stain.
- Don’t leave every treatment on overnight. Product timing varies, and some formulas must not dry on the garment.
- Don’t expect baking soda alone to reverse every dried-in stain. An absorbent may help with accessible oil, but a mark that has survived washing needs a realistic, fabric-compatible cleaning plan. You can start with laundry pretreatment without adding a powder stage.
Heavily oil-soaked textiles and fuel- or solvent-contaminated workwear need separate handling advice. Don’t treat them as ordinary food-spotted laundry, and don’t assume a wash or a lack of odor proves they are safe for a dryer. Check the substance’s safety instructions and ask the appropriate laundry professional or local authority how to handle them.
A Simple Routine for Fewer Stains
You don’t need to inspect every sock under a spotlight. A small checkpoint around cooking clothes and favorite tops is enough to make stain care more manageable.
When you notice a fresh food-oil splash, gently blot excess oil with a clean cloth instead of rubbing it around. Check the care label and treat it as soon as practical. Tide’s oil-stain guidance emphasizes prompt attention and label-led washing. Tide’s oil-stain guide
Try a three-part habit:
- Before washing: check the fronts of shirts, sleeves, and laps of pants that have been near greasy food. Pretreat only when you can meet the product’s washing deadline.
- After washing: pull out known stained items for air-drying instead of automatically transferring the whole load to the dryer.
- Once dry: check the marked area and choose one next step: put it away, repeat an allowed treatment, or ask for help.
For small food-spotted garments awaiting treatment, use a designated, visible place so they don’t disappear into the normal laundry pile. This is not a storage plan for oil-soaked cloths. Keep cleaning supplies in their original containers, secured away from children and pets.
If today is already full, the useful first step is simply to keep that shirt out of another heated drying cycle. You can read its label and plan the treatment when you have time. Once the usable clothes are ready, a faster folding and putting-away routine helps finish the job.
A missed grease mark doesn’t mean you did laundry badly. Give it a gentle, appropriate treatment, allow time to inspect the result, and stop before the rescue does more harm than the original stain.


CLEANERS CLUBHOUSE
Get Step-by-Step Help With Tricky Cleaning Jobs
When a stain, smell or stubborn cleaning problem has you stuck, a clear plan makes all the difference. The Cleaners Clubhouse gives you practical guidance, useful printables and routines you can actually follow.
