

THIS POST MAY CONTAIN AFFILIATE LINKS. PLEASE READ MY DISCLOSURE FOR MORE INFO.
A freestanding bath looks lovely until you notice the soap ring inside and the dust collecting in that awkward gap behind it. Then a simple bathroom job can turn into too much leaning, twisting, and scrubbing.
The practical approach to how to clean a freestanding bath is to check its finish, remove dry debris first, and use a compatible soft cleaning head on a long handle. Work from the nearest accessible side in small sections, follow the cleaner’s directions, and finish by rinsing and drying.
The aim is less unnecessary reaching, not a promise that cleaning will be pain-free. Your bath’s height, the space around it, and your own mobility all matter. If a section is difficult to reach safely, leave it for someone who can help. A cleaner bath is useful; pushing through discomfort is not part of the job.
For an ordinary maintenance clean, set aside roughly 15–25 minutes as a planning guide, plus any product-specific waiting time. Heavy buildup or an inaccessible layout can take longer. You can also split the work across separate sessions.
Disclosure: This post may contain affiliate links. As an Amazon Associate, Clean Home Challenge earns from qualifying purchases. If you make a purchase through these links, we may earn a small commission at no extra cost to you. This helps us keep creating practical cleaning tips, routines and resources for busy families! 🧽
Check Your Bath Material Before Cleaning
“Freestanding” describes the installation, not the material. Two white tubs can need different care, and the outside may have a different finish from the bathing surface.
Look for the manufacturer’s name in your purchase paperwork, installation information, or product listing. Find the care instructions for your exact model, including any special coating. Don’t try to lift or shift the bath to find a label.
Use this material checklist before opening a cleaner:
Acrylic: Verify the approved cleaner and cleaning-head material. Start with a manufacturer-approved gentle cleaner and soft sponge or cloth.
Enameled steel or cast iron: Check enamel care, anti-slip treatment, and any easy-clean coating. Use the maker’s routine wash, rinse, and dry method.
Stone resin or solid surface: Identify the exact composite and its gloss, matte, or painted finish. Follow the model’s care guide; do not treat all composites alike.
Natural stone: Verify the stone type, finish, and sealer requirements. Use a stone-approved neutral cleaner only where the supplier permits it.
Refinished or painted surface: Check the refinisher’s or coating supplier’s instructions. Follow that coating’s guidance rather than assuming the original tub’s rules still apply.
For example, Kohler’s acrylic-bath guidance calls for soft cloths or sponges rather than abrasive brushes or scouring pads. “Tub scrubber” on the packaging does not automatically mean the head suits your bath.
Special finishes can change the rules further. Kaldewei’s care instructions include extra restrictions for its easy-clean surfaces, including avoiding microfiber cloths. Choose a soft cloth the maker allows.
For natural stone, don’t assume vinegar or an everyday limescale spray is suitable. Acid can damage certain stones, and the Natural Stone Institute advises against acidic cleaners. Where the manufacturer recommends it, test a permitted cleaner on a small, inconspicuous accessible area before a full clean. A patch test cannot make a prohibited product safe.
If the material is still unknown, pause stain treatment and ask the manufacturer, installer, or landlord. That is easier than fixing a dulled finish.

Choose Tools That Reduce Bending
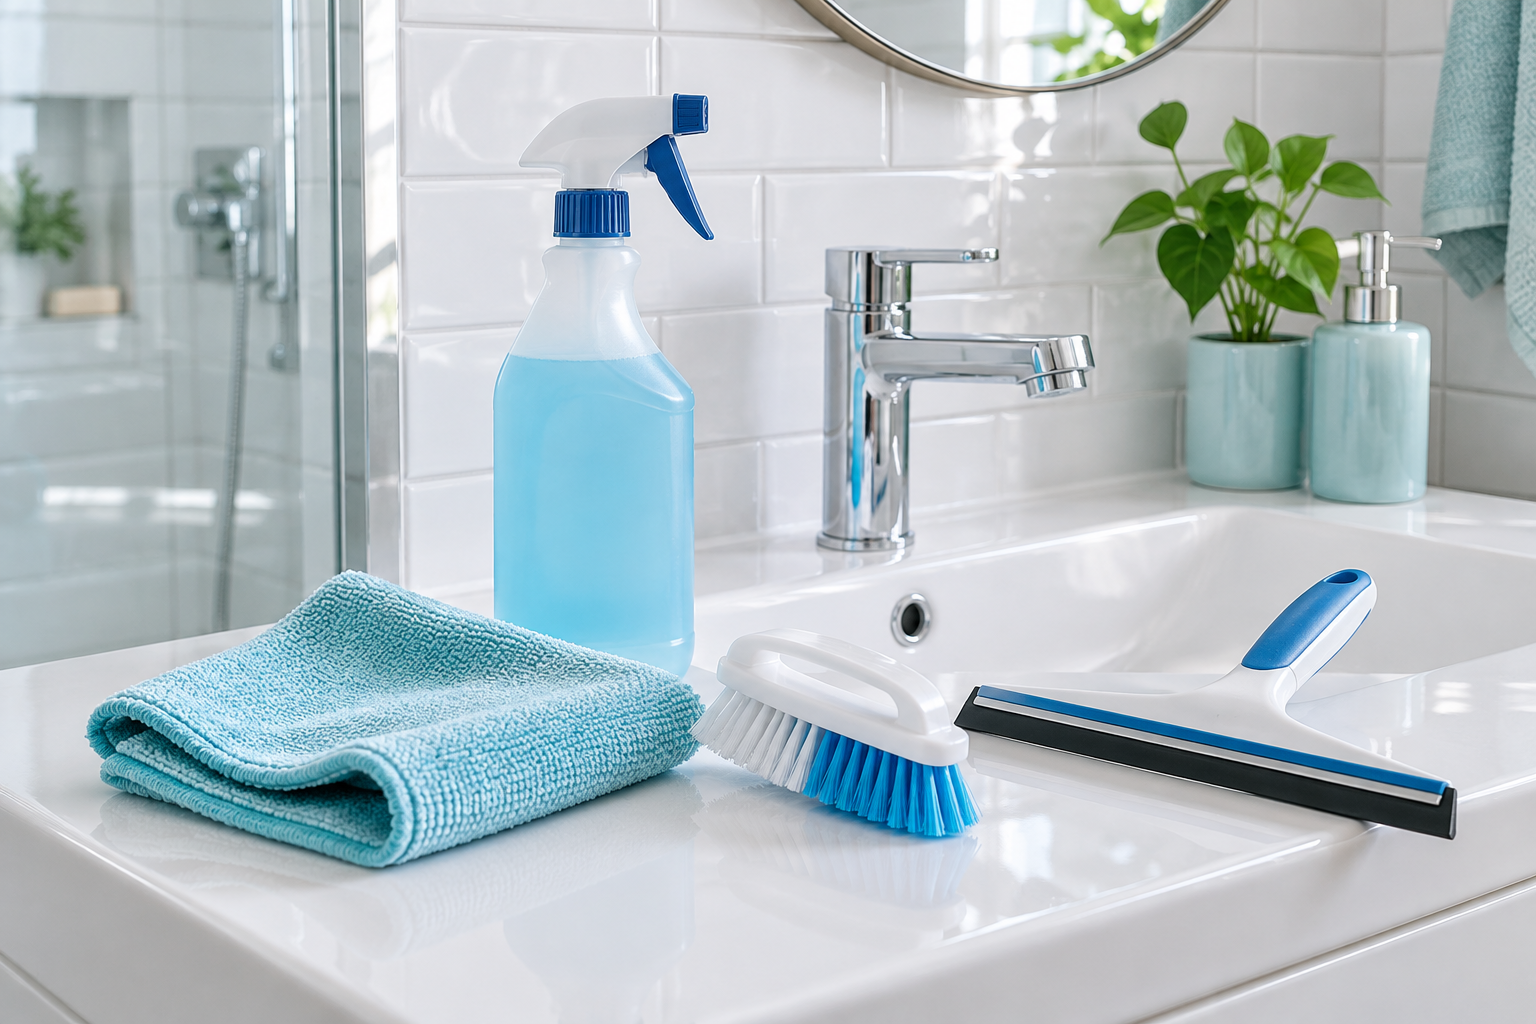
A small kit is enough. The most useful bath cleaning tools are the ones you can control comfortably and use without damaging the surface.
Gather:
- An adjustable long-handled soft scrubber: Choose a genuinely nonabrasive sponge or cloth head approved for the finish. Look for a secure connection and a handle that does not collapse under light pressure.
- A slim, soft dry duster: Useful for collecting hair and dust in the gap behind the tub. A washable cover makes it easier to start each pass clean.
- Several finish-safe cloths: Keep separate ones for the bath, floor, and drying. Microfiber is an option only when the relevant care instructions allow it.
- One suitable cleaner: Check both the tub manufacturer’s guidance and the product label. A gentle dish soap is appropriate only where the maker recommends it.
- A practical rinsing tool: A handheld shower hose that already reaches is convenient. Otherwise, use a lightweight plastic pitcher with a small amount of water at a time.
- Label-recommended protective equipment: This may include gloves or eye protection, depending on the product.
Before you start, try the handle length with the tub empty and dry. Can you reach the near side and base without locking your elbows out? Can you change angle without bumping the faucet or wall? A longer handle helps only if it remains easy to guide.
OSHA’s housekeeping guidance supports extended-handle tools and reducing prolonged bending and awkward reaching. Applying those principles at home means choosing the tool for both your reach and the space available.
An electric scrubber is optional, not a requirement. Its weight, grip, and head compatibility matter. Don’t use a drill attachment or stiff brush simply because it works quickly on someone else’s tub. Follow the tool’s water-use instructions, and keep charging equipment away from the wet work area.

Set Up a Stable, Easy-Reach Workspace
Spend a moment making the room workable before applying any product. You need a clear route around the accessible sides of the bath and somewhere sensible to put supplies.
Move bath toys, bottles, laundry, and loose mats out of your walking path. Place the cleaning kit on a stable nearby surface within comfortable reach, rather than balancing bottles on the tub’s curved rim. Keep children and pets out of the work area.
Check that the floor is dry and your footwear provides a secure grip. Don’t spread a loose towel underneath your feet as a makeshift platform. NIOSH’s home-care safety material identifies clutter, loose rugs, poor lighting, and wet floors as trip and fall hazards.
Open a window or use the bathroom ventilation as directed by the product label. Read the instructions before you apply anything: dilution, protective equipment, contact or dwell time, and rinsing requirements can differ.
Use one product at a time. Never mix cleaners in a bottle or layer different products on the same patch of tub. In particular, do not combine bleach with vinegar, acids, ammonia, or another cleaner. Keep the product in its labeled container and store it securely afterward. These precautions follow CDC household-cleaning guidance.
Finally, decide which parts are comfortably accessible today. Keep both feet on the bathroom floor, move closer to the area you are cleaning, and avoid twisting to reach behind yourself. Don’t climb into a wet or soapy bath, balance on its rim, or use a faucet as a handhold. If your balance, reach, or mobility makes the task difficult, ask for help before starting the wet stage.

Clean Behind the Bath Before You Add Water
The best time to clean behind the bathtub is while the gap and floor are dry. Water turns loose hair and dust into a mess that is harder to collect.
Start with a look from each accessible end. Use the room light or a flashlight from a comfortable position. Check for fallen items, exposed pipes, damaged sealant, or unexplained standing water before sending a tool into the gap.
- Remove what you can safely reach. Pick up bottles and toys from the accessible edge. Leave anything wedged beyond comfortable reach for someone who can retrieve it without moving the tub.
- Choose a head that fits freely. A slim duster should slide into the gap without being forced against the bath, wall, or plumbing. Keep all hard edges covered.
- Pull loose debris toward the opening. Make short, gentle passes rather than pushing dirt farther behind the bath. Remove collected hair from the head between passes.
- Clean the exposed floor. Once dry debris is gone, use a barely damp, floor-compatible cloth head if needed. Work from each accessible end, then use a dry head to collect remaining moisture.
- Wipe reachable outside surfaces. Use the cleaner and cloth approved for the bath’s exterior. A painted shell may need different treatment from the interior.
Don’t spray blindly behind the tub or pour water into the gap. You need to be able to reach, remove, and dry whatever you apply. If a flat mop fits, guide it in and pull it back toward you in controlled passes rather than pushing hard against the base.
Never drag, tip, or shift a freestanding bath for routine cleaning. Leave plumbing connections and sealed edges alone. If the installation makes part of the floor impossible to access, ask an installer about a workable maintenance approach.
Persistent dampness, a recurring musty smell, or water returning after you have dried the area needs investigation. Extra scrubbing will not resolve a leak.

Clean the Tub in Small, Manageable Sections
When you are ready to deep clean the tub, divide the job into the rim, the nearest inner wall, the next accessible wall, and the base. That gives you a clear sequence without expecting one position to reach everything.
1. Remove loose debris from the empty tub
Collect visible hair and grit with a finish-safe cloth before wet cleaning. Put it in the trash rather than rinsing it into the drain. Check the cleaning head for trapped grit too.
2. Prepare the surface as instructed
Some products go on a damp surface; others have different directions. Follow the label and the bath’s care guide rather than automatically filling the tub or soaking it with hot water.
There is usually no need to carry a heavy bucket for a routine surface clean. Keep your rinse supply light and refill it if necessary.
3. Apply the correct amount of cleaner
Work on an area you can wash and rinse without overstretching. Apply the product by its stated method, keeping overspray off floors, nearby stone, metal fixtures, and painted surfaces.
More cleaner is not a shortcut. It can create extra rinsing work, and product strength is not a substitute for material compatibility.
4. Let the label set the waiting time
If the cleaner calls for a dwell time, use a timer and give it that time before wiping. If it says to wipe and rinse promptly, do that instead. Never borrow a “leave for 20 minutes” rule from another product or an online cleaning hack.
Take your break standing clear of the tub. Don’t leave an applied product unattended where children or pets can reach it, and don’t let it dry unless its directions specifically permit that.
5. Wipe with light, controlled passes
Guide the soft head over a small area. Reposition yourself around the accessible sides rather than leaning across the whole bath. Rinse or replace the head when it becomes dirty so you are not moving residue back onto a cleaned section.
Wash the base from the nearest practical position using the handle. If you cannot reach a patch while staying stable, leave that patch for help. You do not need to finish every surface in one stretch.
6. Give the rim and fittings their own attention
Wipe bottle rings and drips from the rim. Clean the faucet, drain trim, and overflow cover according to their own finish instructions; a cleaner approved for the tub may not suit metal coatings.
Clean only accessible surfaces. Don’t remove an overflow cover, loosen plumbing, or dismantle a drain as part of this routine.
7. Rinse completely
Rinse by the product and bath instructions, keeping the water directed into the tub. A low-flow handheld rinse is easier to control than spraying around the room. With a pitcher, use small pours and refill rather than stretching with a full container.
Check the base, waterline, and area around the drain for leftover foam or visible film. Rewash a missed patch with the same approved method if needed, then rinse again. Stop to dry floor splashes as they occur.
8. Dry and reset
Use a clean, finish-safe cloth on comfortably reachable surfaces. A compatible soft cloth head on your long handle can help with the base. Never climb into the bath to dry it.
Check that the floor is dry before replacing a mat or returning the room to use. Rinse the tools, allow them to dry, and put the cleaner away securely.
For ordinary upkeep, cleaning and disinfecting are different jobs. The CDC says routine disinfection is generally unnecessary unless someone is sick or more vulnerable to illness. When disinfection is needed, use a surface-compatible product and meet its separate contact-time and rinsing directions.

Handle Stubborn Marks Without Harsh Scrubbing
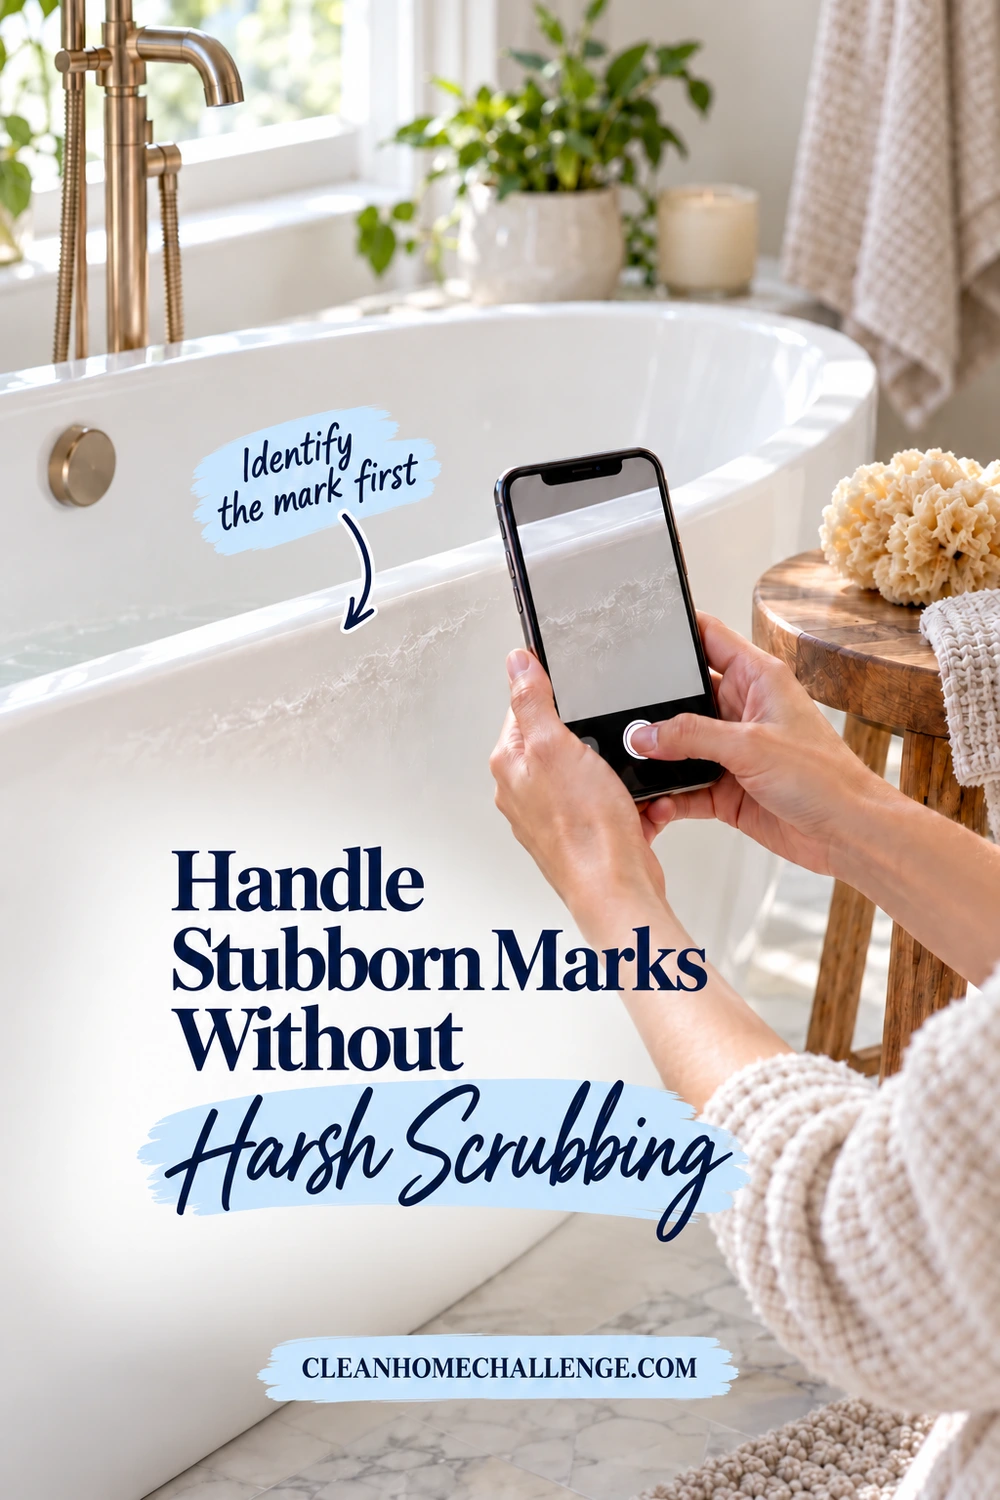
A mark that survives one gentle clean is a cue to identify the problem, not automatically scrub harder. Take a quick photo before trying another treatment so you can compare the result or show the manufacturer.
A slippery or greasy ring: This may be residue from soap, bath oils, or other bathing products. Recheck the label for the approved application and waiting time. Repeat the compatible cleaning method if the instructions allow it, rather than switching to a harsher pad.
A chalky patch: It may be a mineral deposit, but do not assume an acidic descaler is safe. Ask the manufacturer for a suitable hard-water treatment for your exact surface and finish. Protect nearby fixtures and stone from any treatment approved for the tub.
A dull, rough, or scratched patch: More cleaning may not help if the finish is damaged. Stop experimenting with abrasive powders, melamine erasers, sandpaper, polish, or steel wool. Repair instructions are model-specific and should come from the maker or an appropriate professional.
That distinction matters with composite baths. Victoria + Albert’s care guide gives different directions for gloss, matte, and painted finishes. A restoration method permitted for one finish is not a general cleaning shortcut for another.
Likewise, Signature Hardware advises avoiding acids, abrasives, and ammonia on its resin tubs. Don’t assume “stone resin” follows the same rules as enamel or natural stone.
Dark or recurring marks around a sealed edge: Clean only what the surface guidance permits. If marks keep returning, sealant is failing, or the area stays wet, investigate the moisture source rather than repeatedly applying stronger chemicals.
If you cannot identify the mark, stop and ask. Avoid toilet-bowl cleaners, oven cleaners, drain chemicals, and improvised cleaning mixtures on the bathing surface.
Try a Five-Minute Bath Reset
On a busy day, a short reset can keep the job from becoming overwhelming. This is a light-maintenance option for a recently used, lightly soiled bath, not a substitute for treating buildup or carrying out required disinfection.
Use five minutes as a flexible time box:
- Clear the space. Put away bottles and toys and check that the floor is dry.
- Collect hair and debris. Use a suitable soft tool on the accessible areas.
- Rinse away fresh bath residue. Follow the bath’s after-use care instructions and keep water inside the tub.
- Wipe a small priority area. Focus on a fresh waterline or the near rim using the approved method.
- Dry and put away. Dry reachable surfaces and floor splashes, then return supplies to their storage spot.
If a cleaner needs more time than you have, don’t shorten its directions to fit the timer. Choose a water-only after-use rinse if your care guide allows it, or save the product-based clean for another session.
For a lower-energy day, make the goal smaller still: clear the rim today and ask someone else to rinse and dry the bath. Another option is to handle the dry gap during one session and the interior during another, leaving no cleaner on the surface between sessions.
You can stop after a useful piece of the job. If you experience pain, dizziness, or instability, stop rather than trying to complete the checklist. For ongoing difficulty, an occupational therapist or other appropriate clinician can help you work out adaptations for your circumstances.

Keep Bath Cleaning Manageable Each Week
A routine should fit the bath’s use and your household. Start with a small plan, then adjust for visible residue, water marks, and how often the tub gets used.
- After use, when practical: Drain fully, follow the maker’s quick rinse guidance, and remove floor splashes. Keep bottles from sitting in puddles on the rim.
- On your bathroom-cleaning day: Check the waterline and base, wipe the exterior, and collect dust from the reachable gap. In the Clean Home Challenge weekly rhythm, Tuesday is bathroom day, but any consistent day works.
- When you notice buildup: Schedule one manageable section for extra attention rather than turning the whole room into an all-day project.
- During an occasional closer check: Look for returning dampness, damaged sealant, or loose fittings and arrange appropriate help rather than trying to clean around a developing problem.
Keep the care guide somewhere easy to find and write the approved cleaner’s name on your household supply list. That helps everyone use the same suitable method without guessing.
The next time you clean your freestanding bath, aim for a workable sequence: dry debris first, a soft compatible tool, small reachable sections, and a complete rinse and dry. A little less buildup makes the next session more manageable, and sharing the awkward parts is a sensible part of keeping a family home running.
For support turning these small jobs into a repeatable routine, the Cleaners Clubhouse can be your next step.

CLEANERS CLUBHOUSE
Take the Guesswork Out of Bathroom Cleaning
Use Tuesday as your bathroom reset day and work through the job in a sensible order. Inside the Cleaners Clubhouse, you’ll find practical routines, printable support and challenges that make deeper cleaning easier to manage.
