
THIS POST MAY CONTAIN AFFILIATE LINKS. PLEASE READ MY DISCLOSURE FOR MORE INFO.
A marble vanity can look cloudy just hours after a busy morning. Shower walls collect soap film, and the floor somehow gathers hair again before bedtime. You can keep on top of these everyday messes without scrubbing the finish or turning bathroom cleaning into a major project.
If you’re figuring out how to clean marble bathroom surfaces, start with the material, then choose a compatible cleaner, work gently, and dry the surface. The important part is knowing when a mark needs a different approach. More cleaner and more elbow grease can make some stone problems worse.
This guide brings together stone-industry and manufacturer care guidance for vanities, showers, and floors. Allow roughly 20–30 minutes for a small bathroom’s routine stone surfaces, plus any label-required waiting or drying time. That’s a planning estimate, not a target. An unfamiliar surface or stubborn deposit deserves more time and a careful test.
Disclosure: This post may contain affiliate links. As an Amazon Associate, Clean Home Challenge earns from qualifying purchases. If you make a purchase through these links, we may earn a small commission at no extra cost to you. This helps us keep creating practical cleaning tips, routines and resources for busy families! 🧽
Identify Your Stone and Finish
Before opening the cleaning caddy, check what was installed. Look for a countertop invoice, leftover tile box, builder’s specification, or care sheet. If you’re renting, ask the property manager. A veined appearance alone cannot reliably identify the material.
Check the material and the finish separately
Natural marble, limestone, and travertine contain acid-sensitive minerals. Granite and quartzite also need material-specific care; their names do not make an acidic bathroom cleaner a safe choice. The Natural Stone Institute’s care guide explains why stone composition matters when choosing cleaning products.
The finish matters too. A polished surface is reflective, while honed stone has a more matte appearance. Textured finishes and filled travertine can need additional instructions. Don’t try to make a deliberately matte surface glossy as part of routine cleaning.
Use this short identification check:
| What you have | What to establish before cleaning |
|---|---|
| Natural marble, limestone, or travertine | Exact stone, finish, any filler or coating, and approved care products |
| Granite, quartzite, slate, or another natural stone | Supplier’s care guidance, finish, and any sealer or treatment |
| Engineered quartz | Brand and model, then that manufacturer’s cleaner restrictions |
| Cultured marble or cultured stone | Manufacturer’s instructions for its resin and surface coating |
| Marble-look porcelain or ceramic | Tile and grout instructions; separately identify any real-stone trim |
Engineered quartz is a different product from quarried quartzite. For example, Cambria’s care instructions prohibit sealers and certain cleaners, including potentially damaging products at any pH. A cleaner sold for natural stone is not automatically appropriate for every engineered surface.
Cultured marble is also different from natural marble. Many products have a gel-coated surface. C&J Marble’s cultured-product guidance recommends a soft cloth or sponge and a mild, nonabrasive cleaner. Follow the maker’s instructions rather than applying natural-stone polishing or sealing advice.
What if you cannot identify it?
Postpone stain treatments, descaling, and sealing. For an ordinary splash, gently blot it and use a soft cloth lightly dampened with plain water, then dry. Get the material confirmed before using a new cleaning product. Never perform a vinegar or acid test on an installed surface to identify it.

Build a Stone-Safe Cleaning Kit
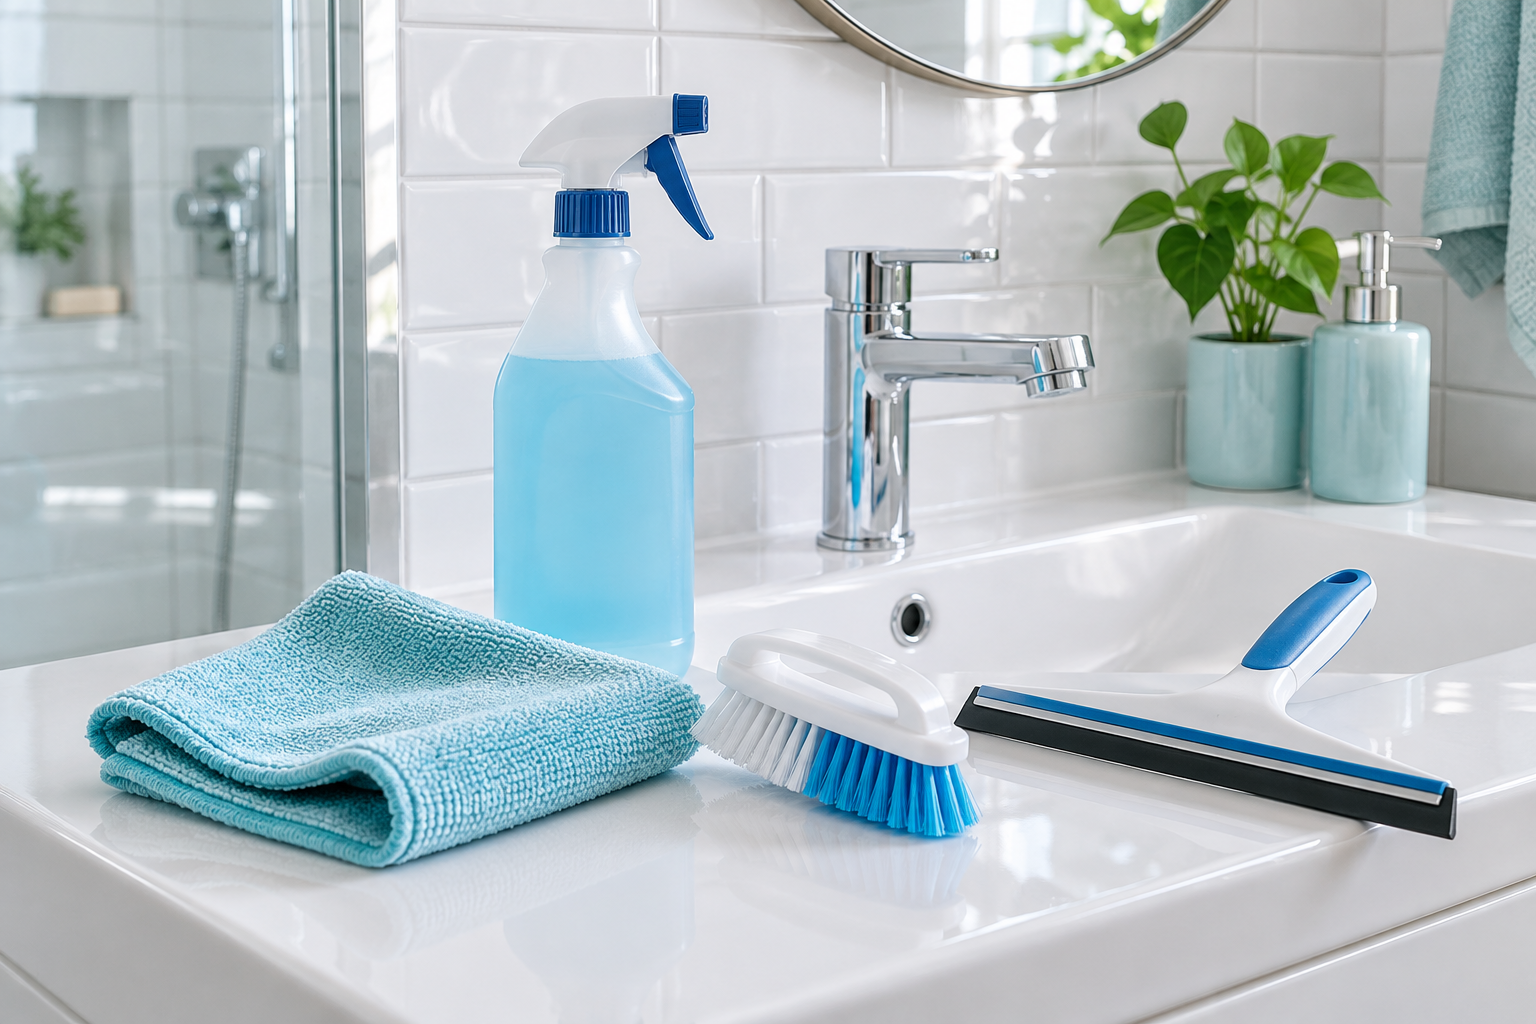
A small, clearly labeled kit is easier for the whole household to use correctly. Keep the everyday stone supplies together so nobody grabs the toilet cleaner for a mark beside the sink.
Choose the cleaner by its full instructions
For routine natural stone cleaning, look for a pH-neutral cleaner specifically labeled for your stone, finish, and intended location. Check whether it is suitable for floors, showers, grout, and existing sealers where relevant. A front-label claim such as “bathroom cleaner” or “natural” does not answer these questions.
LATICRETE’s Stone & Tile Cleaner guidance illustrates the distinction between ready-to-use and concentrated formulas. Read the bottle you actually have. Measure a concentrate exactly as directed; extra cleaner does not mean a better result.
Ask the stone supplier or cleaner manufacturer when instructions conflict. A product approved for a counter may be unsuitable for a shower floor, coating, or nearby metal finish.
Gather:
- Several clean, soft microfiber or cotton cloths, including dry finishing cloths
- A soft sponge without a scouring side
- A soft-bristled brush only where the stone and grout instructions allow it
- A clean rubber-bladed squeegee for compatible smooth shower surfaces
- A soft dust mop and clean, damp-mopping pad
- A small bucket, measuring tool if needed, and fresh rinse water
- Gloves and any eye protection required by the product label
Keep a separate cloth for the toilet. Check tools for trapped grit before using them on stone. Put the brush aside on delicate coatings or fixtures unless their care instructions permit it.
Test before a full clean
Apply a new product in a small, inconspicuous area using its specified dilution and method. Complete any rinsing and drying instructions, then compare the fully dry test area with its surroundings. Stop if the color, sheen, or texture changes. A patch test supplements compatibility guidance; it does not override a label exclusion.
Daltile’s natural stone guidance supports stone-specific neutral cleaners, gentle agitation, testing, and manufacturer-directed application. Skip vinegar, lemon juice, scouring powders, rough pads, and general-purpose descalers for this routine. Leave steam tools and powered scrubbers out unless the installation manufacturer expressly permits them.
Ventilate the room, follow label precautions, and keep children and pets away while cleaning and drying. Never mix cleaning products. Store bottles securely in their original labeled containers.
A bathroom product collection may include cleaners unsuitable for stone. Choose only items explicitly approved for your identified stone and finish. Skip generic acidic descalers, abrasive tools, and bleach products unless the exact surface and product manufacturers’ directions permit that use.

Clean the Vanity, Shower, and Floor
Work through one small area at a time. Move toiletries to a washable tray outside the work area, lift bath mats, and check for loose tiles, damaged joints, or unexpected standing water. Deal with those concerns before soaking or scrubbing nearby surfaces.
1. Start with the vanity
Remove loose hair and dust with a clean, soft cloth. Lift soap dispensers rather than dragging them. Check underneath bottles and around the faucet base for pooled water or product residue.
Apply your approved cleaner as its label directs. Where the directions permit application to a cloth, that can help control overspray near mirrors, cabinets, and fixtures. Wipe in manageable sections, turning the cloth to a clean face as it picks up residue.
Do not leave a cleaner sitting while you tackle another room. Follow its stated working time and wipe-off instructions. Some formulas require rinsing and others do not. For example, FILA’s REFRESH & RESEAL instructions specify wiping until dry without rinsing; that method should not be borrowed for a different product.
Where rinsing is required, use a separate cloth dampened with clean water and change it as needed. Dry the stone, faucet surround, and accessible edges. Return toiletries only after the surface and bottle bases are dry.
2. Clean the shower from high to low
Remove bottles and movable accessories so you can reach the shelves and corners. Pick up loose hair before adding water. Work from a stable position; don’t stand on a slippery shower floor or climb on the tub edge.
Clean one wall section, then the next, using the approved cleaner and a soft cloth or sponge. Give shelves, niches, and the lower splash zone their own pass. Use only the label’s working time, and do not let a product dry in place unless its instructions specifically call for that.
Rinse when required with controlled amounts of clean water. A handheld shower can help in an intact shower enclosure, but keep the spray away from questionable joints and outside cabinets. For smaller areas, repeated passes with a clean, damp cloth give more control.
Clean the shower floor last. Lift the loosened residue instead of moving the same dirty solution around. Finish by removing excess water and drying accessible ledges. MSI’s marble bathroom care guidance emphasizes gentle marble-compatible cleaning, rinsing, and drying after exposure to shower products.
For textured stone or small mosaics, work gently around the joints with an approved soft brush. If you need considerable force to make progress, pause and reassess the mark rather than increasing pressure.
3. Treat grout and nearby fixtures as separate materials
A grout cleaner must also be compatible with the surrounding stone. Grout lines are too narrow to assume an unsuitable cleaner will stay off adjacent tiles. Avoid aiming a general bathroom spray at the grout and hoping for the best.
Follow separate instructions for the shower glass, faucet finish, drain, and sink bowl. Plan where spray and rinse water will go before applying a product. If you cannot keep an incompatible cleaner off the stone, choose another approved method or ask the manufacturer.
Use a fresh cloth for each product. Rinse and dry accidental overspray promptly according to the affected surface’s guidance. Kohler’s care instructions specifically call for attention to nearby overspray and gentle cleaning tools.
4. Finish with the bathroom floor
Dry-dust the floor first, reaching behind the door and around the vanity feet. Use a vacuum only if its attachment and wheels are appropriate for the stone and free from damage or grit.
Damp-mop a small section with a floor-approved cleaner at the correct dilution. With a flat mop, pull the pad back toward you in controlled passes, then shift across to the next strip. Rinse or replace the pad when dirty. Work toward the doorway so you don’t walk back over the damp area.
Follow the product’s rinse directions, remove excess moisture, and allow the floor to dry fully before replacing mats or reopening the room. Leave wax and countertop polish off the floor. For example, the STONETECH Stone Polish data sheet excludes floors. A shine-enhancing product can create a slipping hazard.

Handle Soap Scum and Hard Water Carefully
White bathroom marks can look similar while needing different treatment. Before buying anything stronger, clean a small area using your normal approved method, rinse as directed, and let it dry completely.
Look at what remains:
| What you notice | A possible explanation | Sensible next step |
|---|---|---|
| Smears or cloudy streaks after cleaning | Cleaner residue or soil that was redistributed | Recheck dilution and wipe-off instructions; use fresh cloths |
| A film where body wash and soap collect | Soap scum or product buildup | Consider a stone-compatible soap-scum remover |
| A crust around repeated splash or drip points | Mineral deposits | Ask about a nonacidic treatment for the exact stone |
| A dull splash outline with no obvious layer to lift | Possible etching or finish damage | Stop scrubbing and assess the finish |
These are clues, not a diagnosis. Several problems can exist in the same patch.
Use a specialty remover only when it matches the surface
Routine cleaner may not remove established soap scum. A suitable next step can be a nonacidic soap-scum remover whose instructions explicitly include your stone and finish. “Nonacidic” still does not mean suitable for every coating or nearby fitting.
As one example, the STONETECH Soap Scum Remover data sheet lists natural stone substrates and calls for an inconspicuous test, protective equipment, controlled application, thorough rinsing, and drying. It is a specialty product, so do not assume its directions apply to an ordinary cleaner or another brand.
Start with the smallest affected area. Protect neighboring materials, follow the label, and inspect the dry result before continuing. Repeat only if permitted and the finish remains unchanged. There is no universal “leave it for 15 minutes” rule.
Don’t trade mineral deposits for surface damage
Avoid reaching for vinegar, lemon, toilet-bowl cleaner, or a generic limescale remover on marble. FILA’s marble bathroom guidance cautions against acidic descaling products on this acid-sensitive material.
Skip razors, pumice, sandpaper, and improvised scraping as a household fix. If a deposit remains firmly attached after an approved treatment, ask a stone-care professional to identify it. Clean the areas that respond and leave the stubborn patch alone while you get advice.
Check dripping faucets and standing water at the same time. Removing buildup without addressing the repeated wetting can leave you doing the same difficult job again.

Tell Stains From Etching Before Treating
A mark that survives cleaning is not automatically a stain. Let the area dry, then examine it under ordinary room light and from a low angle. Photograph it before trying anything else.
A stain usually involves a change in color from something absorbed into the material. An etch is damage to the surface caused by a chemical reaction. On polished marble, it may appear as a dull spot, pale splash, or ring that interrupts the reflection. Daltile explains this distinction in its natural stone care guidance.
Think about what happened there:
- Did hair dye, makeup, oil, or a leaking bottle sit on the surface?
- Did someone use a new cleaner or an acid-containing personal-care product?
- Does the mark coincide with a drip, bottle base, or cleaning splash?
- Has the patch changed after cleaning and fully drying?
Share those details with the stone supplier. A colored mark and an etched patch can occur together, so treating one may not resolve the other.
Can sealer fix a dull mark?
An ordinary penetrating sealer will not repair etching. LATICRETE’s stone-care FAQ distinguishes stain protection from acid damage and explains that restoring an etched finish requires refinishing. Adding a coating can also change the appearance without restoring the original surface.
Do not rub an unidentified patch with a DIY poultice, solvent mixture, peroxide treatment, or polishing powder. The appropriate treatment depends on the stain, stone, and finish. Ask for a material-specific plan, including a test area and realistic expectations.
Handle fresh spills promptly
Blot an ordinary toiletry spill rather than spreading it across the vanity. Remove the residue using the surface’s approved method, then dry. For an acid-containing product, prompt removal matters even on sealed stone. If a cleaning chemical spills, follow that product’s safety instructions and don’t add another chemical to neutralize it.
Keep personal-care bottles on a washable, stone-compatible tray with a clean, non-scratching base. Check underneath it regularly rather than letting it hide dampness.

Know When to Stop and Call a Pro
You don’t need to solve every mark during a Tuesday bathroom clean. Stop treatment if the surface becomes rougher, lighter, darker, or duller, or if a cleaner causes an unexpected reaction. Remove it according to its directions and keep the label for reference.
Arrange an assessment for:
- Etching, widespread dullness, deep scratches, or a finish that needs blending
- Orange-brown staining that may involve rust
- Dark patches that persist when surrounding stone is dry
- White powder that repeatedly returns after gentle cleaning
- Loose tiles, failing grout or caulk, leaks, or water escaping the enclosure
- Recurring suspected mold, a musty smell, or signs of moisture behind surfaces
A stone-restoration specialist can assess the surface. Leaks or damaged shower construction may also need a plumber or qualified installer. Surface cleaning and additional sealer will not repair failed waterproofing.
For recurring mold concerns, address the moisture source as well as the affected material. The EPA’s household mold guidance emphasizes fixing water problems and controlling moisture. Don’t assume a stone cleaner disinfects or resolves hidden mold.
To make an assessment useful, send clear photos, the stone name if known, when the problem started, and the names of products already used. Ask what the proposed treatment will change, whether the finish can be matched, and how long the bathroom must stay out of use.
If disinfection is needed, choose an appropriately registered product approved for the exact surface and follow its contact time. CDC cleaning guidance distinguishes cleaning from disinfecting. Don’t substitute a damaging product because it promises stronger germ control.

Keep the Bathroom Easier to Maintain
Aim for less buildup between proper cleans. A realistic routine leaves room for rushed mornings and evenings when everybody is tired.
After showers and busy mornings
Squeegee compatible smooth shower walls and glass, then dry the ledges where water collects. Wipe obvious vanity splashes and bottle rings. Lithofin’s marble bathroom guidance recommends removing splashes and using a squeegee to help limit deposits.
Use the exhaust fan during showers and allow the room to clear afterward, following the ventilation system’s instructions. Hang towels and wet mats so they can dry. Choose mats suitable for the floor and check underneath them regularly.
Make Tuesday the manageable reset
Use the Clean Home Challenge Tuesday bathroom routine as a starting point:
- Clear the vanity and gather laundry.
- Clean and dry the stone vanity.
- Work through the shower in sections.
- Check the grout, caulk, and faucet for changes.
- Dust and damp-mop the floor, then let it dry.
- Put back only the toiletries used regularly.
Adjust the frequency to your household and the amount of buildup. A heavily used shower may need attention sooner. A guest bathroom may mostly need a quick check and dust removal.
If you have only three minutes
Choose one small job: dry the shower ledge, remove the toothpaste splash, or clear the vanity so tomorrow’s clean is easier. Keep compatible supplies accessible to adults and securely away from children. A missed day doesn’t require stronger chemicals at the next clean.
Keep a simple care record
Save the stone name, finish, approved cleaner, and installer contact in one place. Record any sealer used and its instructions. Ask the supplier whether resealing is needed; don’t adopt a universal monthly or yearly schedule. The Natural Stone Institute notes that some stones do not require sealing and that sealing improves stain resistance rather than making stone stain-proof.
The useful goal is a bathroom you can care for confidently: the right product, a gentle clean, a dry finish, and a clear stopping point when something needs expert attention.

CLEANERS CLUBHOUSE
Take the Guesswork Out of Bathroom Cleaning
Use Tuesday as your bathroom reset day and work through the job in a sensible order. Inside the Cleaners Clubhouse, you’ll find practical routines, printable support and challenges that make deeper cleaning easier to manage.
