

THIS POST MAY CONTAIN AFFILIATE LINKS. PLEASE READ MY DISCLOSURE FOR MORE INFO.
A top-loader can keep the family laundry moving while quietly collecting detergent residue around its rim, inside its dispenser, and in places the wash basket hides. You might notice a stale smell when you lift the lid, sticky softener in a cup, or little flakes appearing on freshly washed clothes.
The practical answer to how to clean a top loader washing machine is to empty it, clean the accessible surfaces and approved removable parts, then run the cleaning process specified for your exact model. Finish by removing loosened residue and letting the machine dry safely.
You don’t need to take the washer apart or combine several products. You do need to check whether your machine calls for a washer cleaner, an approved bleach procedure, or a self-cleaning cycle without additives.
For planning, allow roughly 15–25 minutes of hands-on work for a routine clean, plus the machine’s full cycle and drying time. A neglected dispenser may take longer. If today only has room for a small job, start with the lid and rim and schedule the cycle when the washer can finish undisturbed.
Disclosure: This post may contain affiliate links. As an Amazon Associate, Clean Home Challenge earns from qualifying purchases. If you make a purchase through these links, we may earn a small commission at no extra cost to you. This helps us keep creating practical cleaning tips, routines and resources for busy families! 🧽
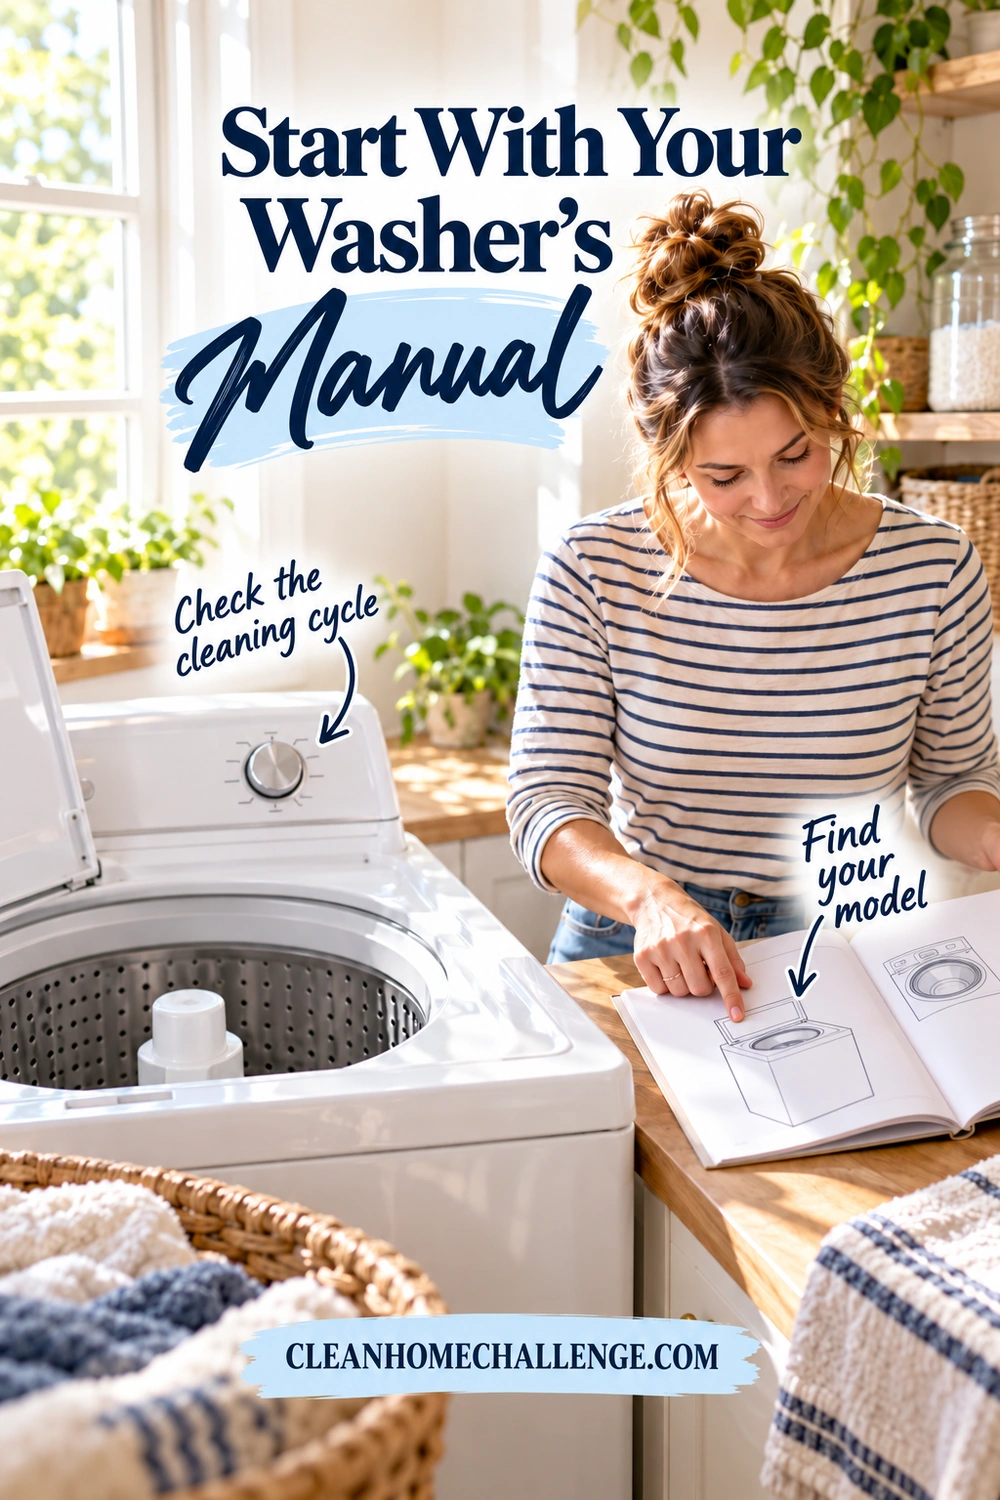
Start With Your Washer’s Manual
Two top-loaders can look almost identical and have different cleaning instructions. Find the model number on the appliance label, then open the matching owner’s manual on the manufacturer’s website. Look for “Washer Care,” “Maintenance,” or the instructions for Clean Washer, Tub Clean, Self Clean, or Basket Clean.
Write down five things before opening a cleaner:
- The cleaning cycle or approved alternative cycle
- Whether any cleaning product is needed
- The correct product type, dose, and compartment
- Any extra rinse or finishing steps
- The recommended cleaning interval
That small check prevents a lot of avoidable guesswork. A cycle’s familiar name doesn’t tell you what to pour into the machine.
Know whether you have an agitator or impeller
An agitator is the tall central post with fins. An impeller is the low-profile plate or disc at the bottom of the basket. Both are top-loading designs; the distinction helps you identify the surfaces you can reach. Whirlpool explains the two wash systems here.
For routine cleaning, wipe the accessible agitator surface or exposed impeller plate without unbolting anything. A softener cup on top of an agitator may be owner-removable, but a center cap that looks removable isn’t permission to pull it off. Some washers have an intentionally removable agitator; follow that model’s instructions only if this feature is specifically provided. Whirlpool’s removable-agitator guide distinguishes these designs from fixed agitators.
Check before hunting for a filter
Don’t assume every top-loader has a pump-filter hatch like a front-loader. GE explains that many of its top-load filtering systems require no owner cleaning, while certain space-saving models have removable basket filters. Use the filter instructions for your own machine; never remove the wash plate or a cabinet panel just to search. See GE’s top-load filter guidance.
If you rent, ask for the appliance manual or model information rather than experimenting with an unfamiliar machine. A photo of the model label and the relevant care page makes the next clean easier, too.
Gather a Simple Cleaning Kit
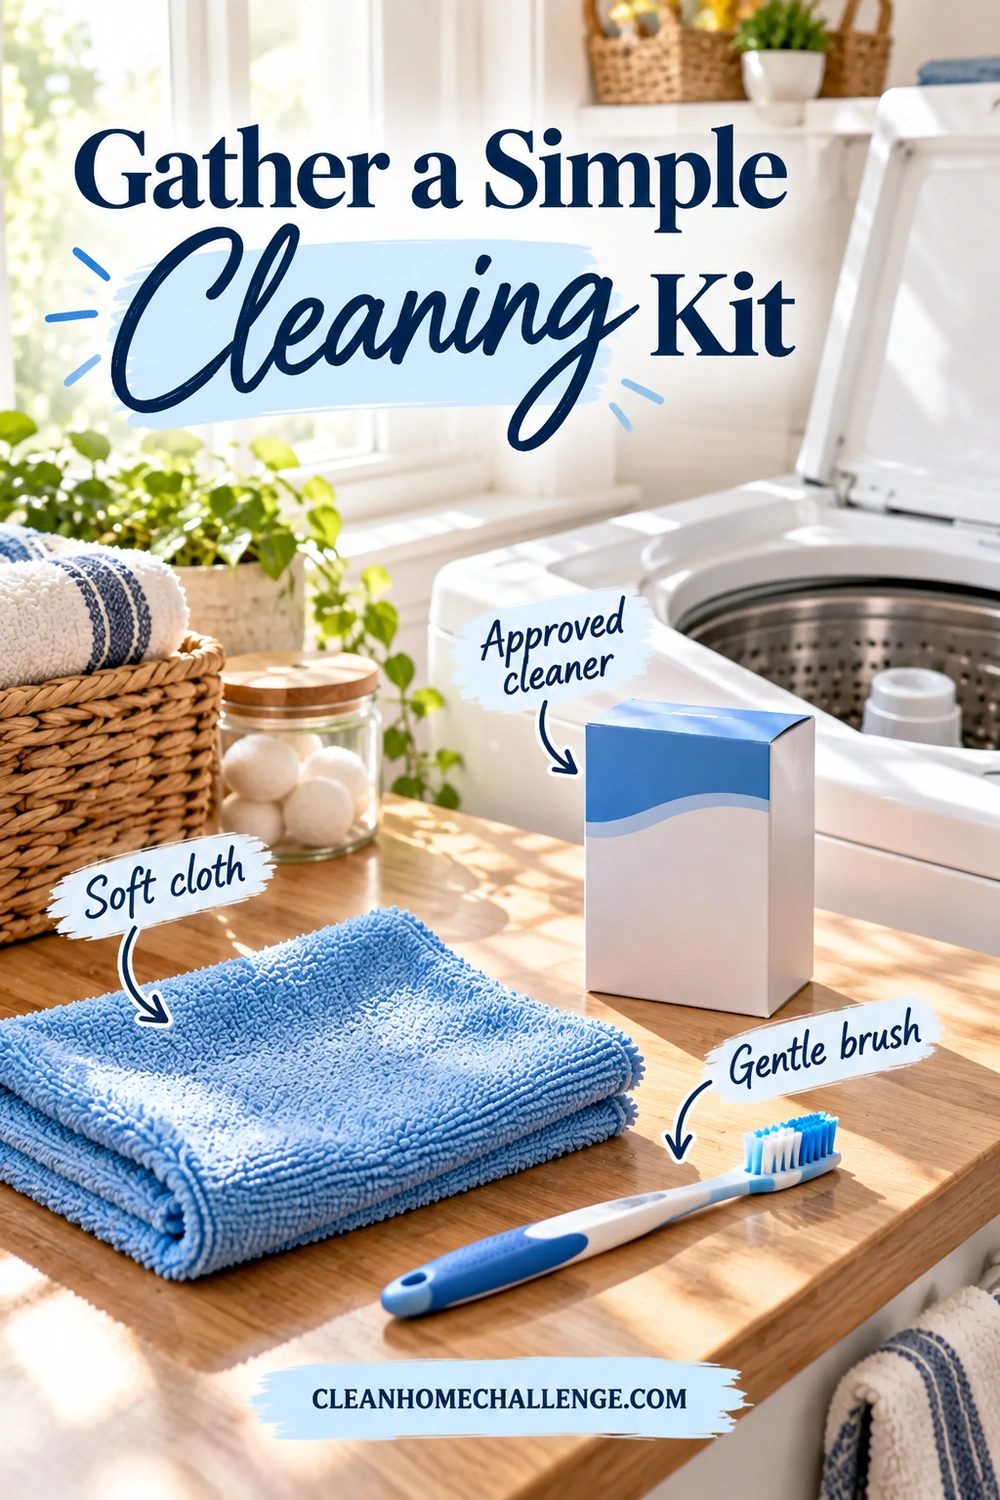
Set out a few useful items on a clear counter:
- Two or three soft microfiber cloths
- A small, soft-bristled brush, such as a cleaning toothbrush
- Warm water and a bowl for approved removable parts
- A towel to protect the counter and catch drips
- Mild soap for surfaces or parts only where the manufacturer permits it
- The washer-cleaning product specified or accepted for your machine, if one is required
- Gloves and any other protection directed by the product label
Keep the bowl and cloths used for routine washing separate from any bleach-cleaning equipment. Don’t gather several chemicals “just in case.” Choosing the method before starting keeps the job simpler.
Choose one compatible method
A washing-machine cleaner is different from laundry detergent, a dishwasher tablet, or a general bathroom cleaner. Check that the package is intended for washing machines, compatible with your model’s instructions, and suitable for the cycle you plan to use. Products can differ in dose and placement even when their packaging looks similar.
Vinegar is not a universal shortcut. Whirlpool warns that repeated exposure to its acidity can damage certain washer components, including rubber seals and hoses. Follow your own manufacturer if it gives a specific approved use; otherwise choose its recommended alternative. Read Whirlpool’s vinegar guidance.
Never combine chlorine bleach with vinegar, acids, ammonia, a washer-cleaning tablet, or another cleaner. Don’t add a second product to something already in the tub. The CDC warns that mixing bleach with other cleaners can release dangerous vapors; it also advises ventilation and label-directed protective equipment. CDC bleach safety guidance.
Skip homemade mixtures and extra scent boosters during this maintenance job. More ingredients make it harder to follow the appliance’s care instructions and identify what caused a problem.
Before hand-cleaning, let the machine stop completely, switch it off, and follow the manual’s power-disconnection instructions. Keep children and pets away from the open washer and cleaning supplies. Never reach into a moving basket or interfere with the lid lock.
Clean the Lid, Rim, and Dispensers
Start with the parts you can actually see and touch. They often need attention even when the cleaning cycle runs regularly.
Work from the lid down
- Remove every garment and loose object from the basket, including forgotten socks and laundry balls.
- Wipe dust from the exterior and control area with a soft cloth. Keep moisture out of buttons, seams, and electrical openings; apply any permitted cleaner to the cloth rather than spraying the controls.
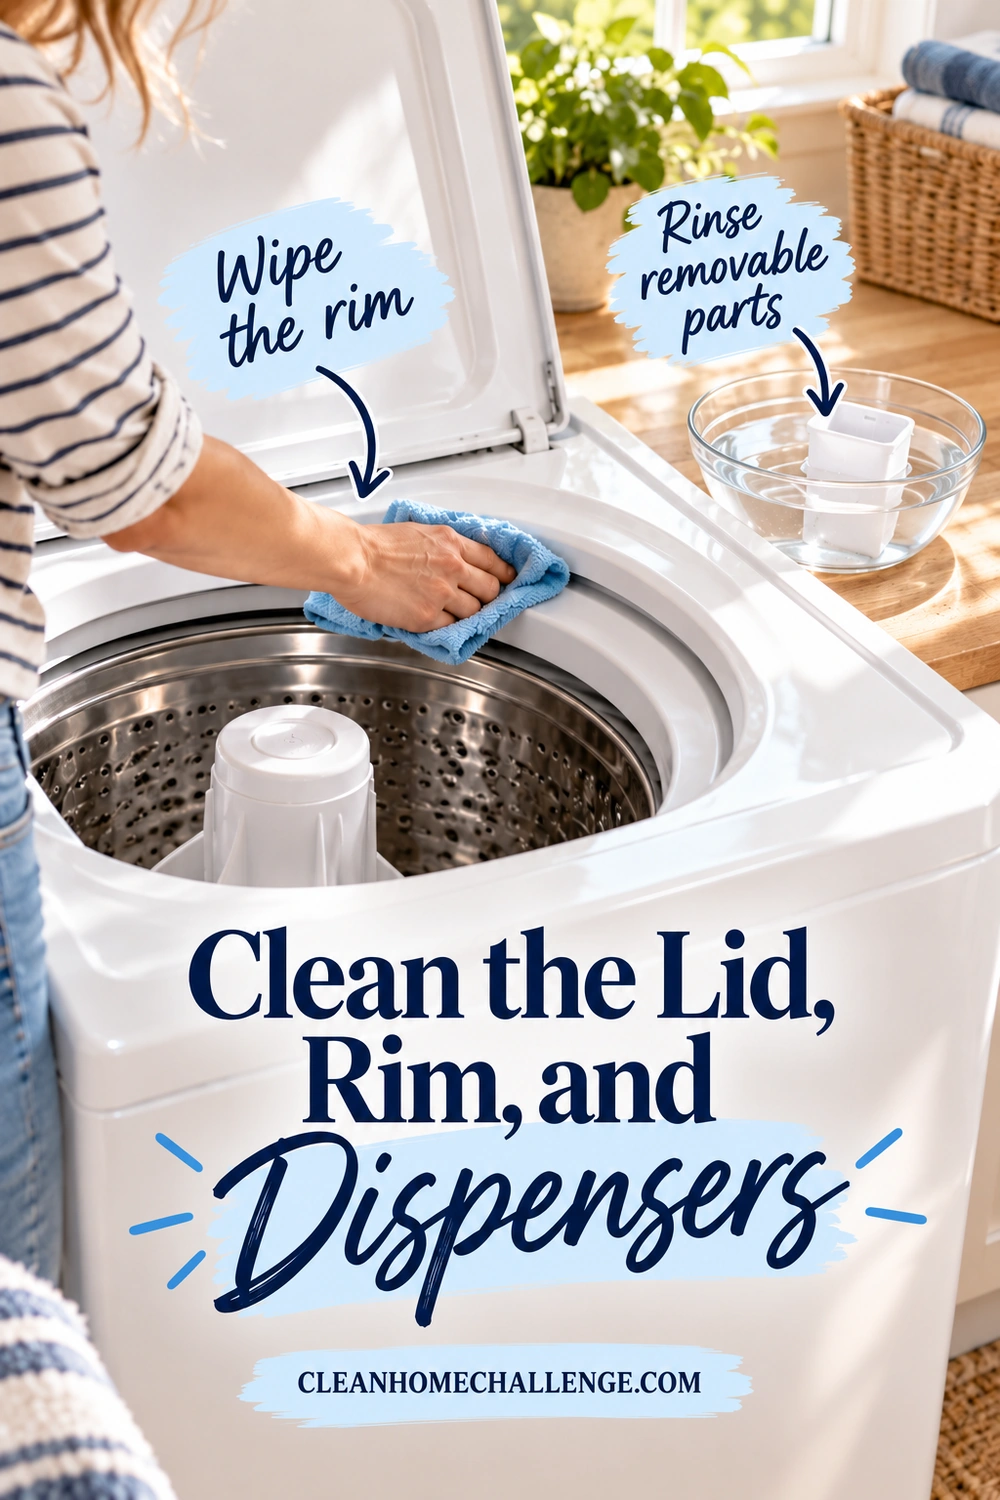
- Wipe the underside of the lid, the top rim, and the accessible edge around the basket opening. Refold the cloth as it picks up residue.
- Wipe exposed agitator fins or the impeller’s upper surface gently. Keep fingers and tools out of narrow mechanical gaps.
- Remove cleaning residue with a clean, water-dampened cloth where the surface-care directions require it, then towel dry accessible areas.
Use a soft brush on reachable textured areas only when the finish allows it. Avoid metal tools, abrasive pads, and scraping at coatings. Whirlpool’s general washer-cleaning guide recommends attention to dispensers, the lid, and exterior as well as the machine’s interior. See its washer-care walkthrough.
Rinse removable dispenser parts carefully
Check the manual’s release method before pulling a drawer or softener cup. Set permitted removable pieces on your towel in the order they came out. Rinse them with warm water and gently brush away softened deposits. Use mild soap only if the manufacturer’s instructions allow it, then rinse it away thoroughly.
Clean the accessible dispenser recess with a damp cloth. Don’t pour water into the control housing or force a brush into an opening. Refit inserts and siphon caps exactly as directed so they can dispense properly.
For example, GE allows certain top-load dispenser drawers to be washed in warm, mildly soapy water, but says the dispenser box stays installed and the drawer and siphon caps are not dishwasher-safe. GE’s dispenser instructions show why removal and refitting are model-specific.
If a fixed dispenser has stubborn buildup beyond reach, stop at the accessible surfaces and follow the manufacturer’s flushing or service advice. A cleaning day doesn’t need to become a repair project.
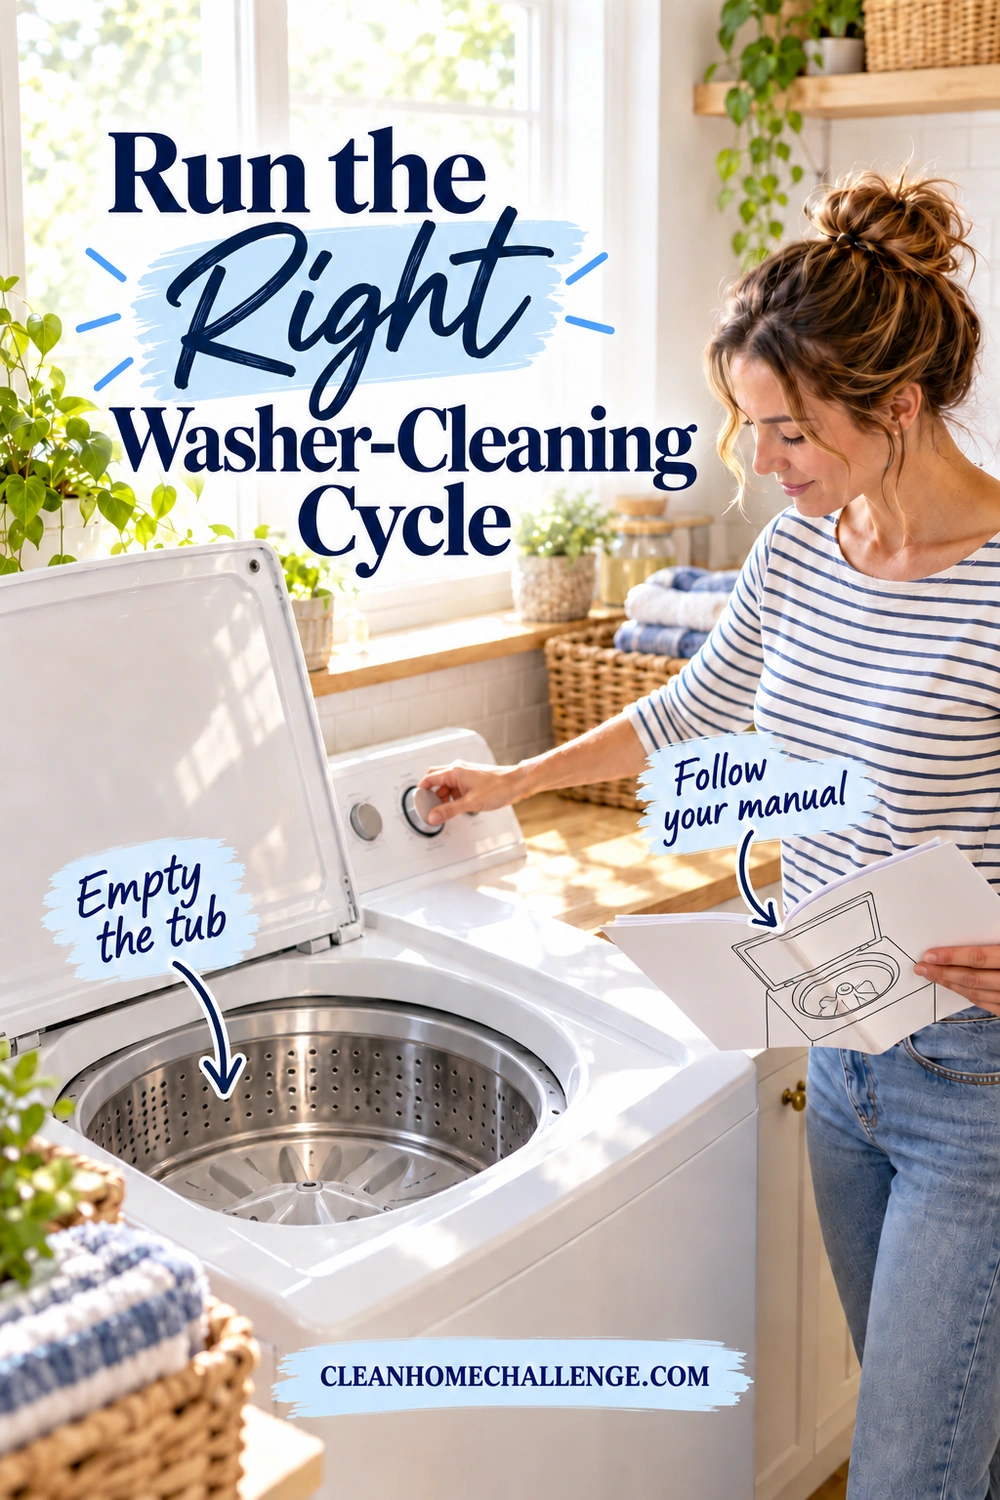
Run the Right Washer-Cleaning Cycle
Once hand-cleaning is finished, restore power according to the manual. Now use the process you checked in the manual. Keep the basket empty throughout. A machine-care cycle isn’t the time to slip in a few towels to “make use of the water.”
Follow this decision order
- Confirm that approved removable parts are correctly refitted and the basket contains no clothing or tools.
- Add the specified cleaner only if your machine’s procedure calls for it. Measure the stated amount and use the correct location.
- Select the named cleaning cycle and required settings. Close the lid and start it.
- Let the programmed process finish. Follow the manual if a power failure or accidental cancellation interrupts it.
- Complete any required rinse before returning to laundry.
Don’t bypass the lid lock, manually top up a low-water washer, or force a soak by repeatedly opening the lid. Those adjustments can change how the machine operates. Use the display or manual for timing, rather than a universal “one-hour deep clean.”
Why the brand examples differ
Samsung says its routine Self Clean cycle doesn’t require added cleaner. Its top-load reminder appears after 20 washes, and it also recommends monthly cleaning for lower-use machines. Existing odor has separate troubleshooting instructions. Samsung’s cleaning guide explains this distinction.
Whirlpool’s top-load care guide W10455760B gives an affresh-tablet method and a separate chlorine-bleach alternative. In that guide, the tablet goes in the basket; the bleach alternative specifies 1 cup (236 mL) in the bleach compartment. It also calls for a Rinse & Spin afterward. These quantities and finishing steps belong to washers covered by that guide, not every top-loader. Read the matching Whirlpool guide before using its procedure.
LG’s tub-cleaning guidance distinguishes placement for tablets, liquids, and powders, with the product’s package determining the amount. Use LG’s top-load instructions and your model manual together.
If there is no dedicated cleaning cycle
Check the manual for the approved alternative, then match the cleaner’s instructions to it. For example, affresh’s directions specify one tablet in an empty basket, using Clean Washer or an appropriate Normal or Heavy cycle with hot water. That is a product-specific example, not a rule for every cleaning powder or liquid. See affresh’s use instructions.
If the cleaner and washer instructions don’t agree, contact the manufacturer before adding anything. You can still finish the accessible wipe-down while you confirm the right method.
Wipe, Rinse, and Let It Dry
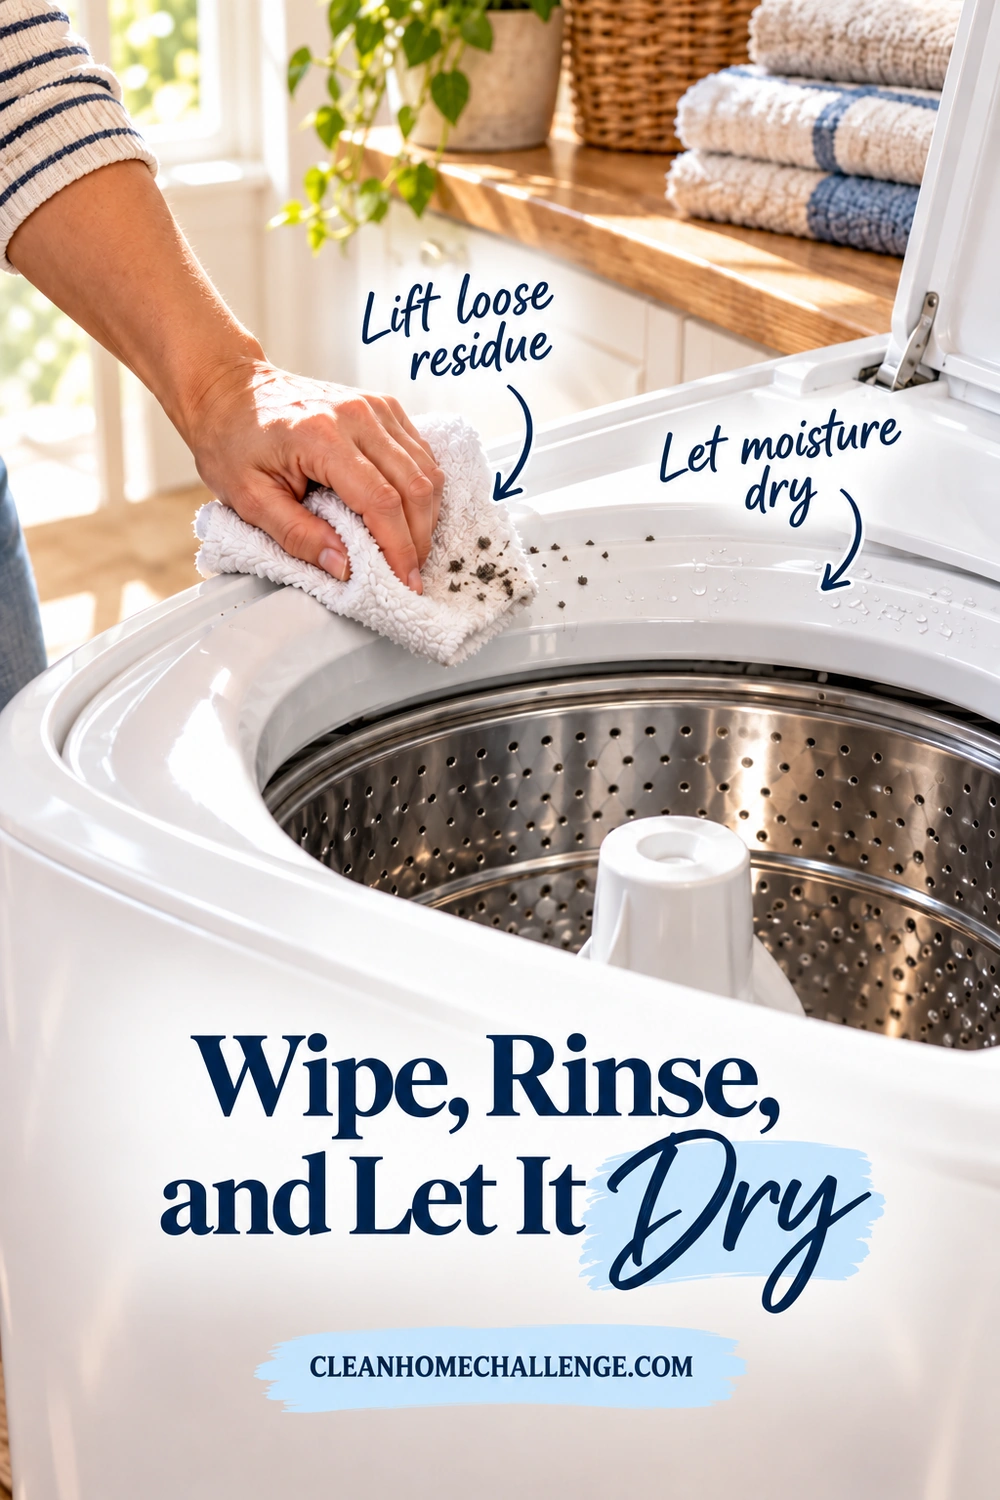
When the cycle finishes, wait until the basket has fully stopped and the lid unlocks normally. Let hot surfaces cool before touching them. Then check the basket, rim, and dispenser for loosened deposits.
Lift visible specks with a soft, damp cloth rather than pushing them down a gap. Refold or rinse the cloth so you aren’t spreading dirty residue around the tub. If a cleaning tablet leaves material behind, follow that product’s removal instructions instead of adding another chemical. Affresh notes that occasional undissolved tablet residue can remain and should be removed. See its product guidance.
Run a separate rinse if your washer manual or cleaner label requires one. There isn’t one universal extra-rinse rule: some procedures specify it, and others include their own finishing stages. If visible suds or residue remain, consult the named troubleshooting steps before putting clothes back in.
Give moisture a way out
Wipe accessible wet areas and allow the lid and any appropriate dispenser opening to stay open while the machine dries, as your manual recommends. LG’s top-load guidance includes drying the interior after washing as part of odor prevention. LG’s tub-care guidance covers this finishing step.
In a family home, drying must fit around safety. Keep children and pets out of the laundry area; don’t leave an open appliance accessible to them. Use a supervised drying period and the safety instructions for your machine rather than propping the lid with an improvised object.
If you only have five minutes today
Empty the washer, wipe the lid and reachable rim, dry those surfaces, and put the next full clean on your calendar. Leave the cleaner in its original container until you are ready to run the complete approved process. This small reset is useful maintenance, but it doesn’t clean hidden areas the way the prescribed cycle is designed to.
Before the next load, check that the basket is empty, the dispenser is seated correctly, and the required rinse is complete. A neutral-smelling, residue-free finish is a more useful goal than a strong cleaning fragrance.
Troubleshoot Odors and Residue
If one clean doesn’t solve the problem, narrow down what you’re seeing before repeating products or scrubbing harder.
A musty smell comes back quickly
Recheck the accessible dispenser, the underside of the lid, and whether damp laundry sits in the basket. Review your detergent type and amount, too. Whirlpool notes that non-HE detergent in a washer that requires HE can leave odor-producing residue. Its top-load interior guidance explains the connection.
If the manufacturer provides an enhanced cleaning sequence for an existing odor, follow that sequence with the specified product. Don’t invent a stronger dose or repeat an unlimited number of cycles. Seek support if the recommended process doesn’t resolve it.
Black or brown flakes appear
Residue can loosen during cleaning, but color alone doesn’t identify the material. Remove reachable loose pieces, check whether the manufacturer’s guidance calls for another cleaning cycle or rinse, and reassess before washing good clothing. Samsung’s stain troubleshooting addresses brown flakes separately from rust-related staining. See Samsung’s residue and stain guidance.
Persistent flakes, rust-colored marks, peeling material, or deposits that immediately return deserve a service assessment. Don’t unbolt the agitator, lift the wash plate, or try to clean between the inner and outer tubs yourself.
White marks or a chalky film remain
A photograph cannot reliably distinguish undissolved detergent, cleaner residue, and mineral deposits. Review the products you’ve used and your local water conditions with the manufacturer’s guidance. If descaling is recommended, use an approved washer-compatible product and its instructions. Don’t move straight from a bleach procedure to an acidic descaler or vinegar treatment.
There is standing water or a drain-like odor
A cleaning product won’t correct an installation or drainage fault. Samsung identifies incorrect drain-hose placement and drainage issues as possible contributors to bad smells. Check its model-specific installation information or ask an appliance technician or plumber to assess the setup. Samsung’s odor troubleshooting covers drainage checks.
Stop using the washer and seek appropriate service for leaks, a burning smell, repeated drain errors, unusual grinding, or damaged parts. Don’t keep running cleaning cycles through a fault. If the washer seems clean but towels still smell, work through why towels smell after washing to check the laundry and drying routine separately.

Keep Your Washer Fresh Between Loads
The easiest maintenance plan has a few repeatable habits and one reminder you can actually follow.
After each laundry session
- Move wet clothes out promptly rather than leaving them overnight when you can avoid it.
- Wipe obvious splashes or spills before they become sticky deposits.
- Check that no small item is left in the basket.
- Allow safe drying according to the manual, with children and pets kept away.
For regular washes, use the required detergent type and measure for the load, detergent concentration, water conditions, and label instructions. “One full cap” isn’t a useful standard because caps and formulas vary. Avoid filling dispensers beyond their marked limits, and keep laundry loosely loaded according to the machine’s instructions. GE’s wash-performance guidance explains how correct loading and detergent use help.
Make the cleaning interval specific
A monthly calendar check is a useful starting reminder, but the actual cleaning interval comes from your washer. GE recommends monthly tub cleaning; other machines use wash-count reminders or a different schedule. Heavy laundry weeks may reach a cycle-count reminder before the next calendar month. GE’s tub-cleaning guidance gives its recommended interval.
Write a simple note: “Washer cleaned on ___; next check ___; follow ___ cycle.” Keeping the cycle name with the reminder saves you searching again. Store the cleaner securely in its original packaging, where children and pets can’t reach it.
Saturday laundry catch-up can be a convenient place for this job if that fits your week. Start the machine-care cycle after the last load, when you can let it finish and return for the final check. Keep the rest of the room manageable with the laundry-room cleaning checklist rather than adding every cupboard and shelf to this one task.
For support building a laundry routine that fits your household, explore Cleaners Clubhouse. Start with the next manageable step: check the manual, wipe one neglected area, and give your washer its proper cleaning cycle when you have the time available.

CLEANERS CLUBHOUSE
Make Laundry Catch-Up Feel More Manageable
Use Saturday to catch up without letting laundry take over the whole weekend. Inside the Cleaners Clubhouse, practical routines and printable support help you keep washing, folding and household jobs moving.
