

THIS POST MAY CONTAIN AFFILIATE LINKS. PLEASE READ MY DISCLOSURE FOR MORE INFO.
You’ve wiped the oven window, turned the cloth over, and wiped it again. That brown drip is still there. Before you reach for a stronger cleaner, check whether the mark is actually on a surface you can touch.
Learning how to clean between oven glass starts with your exact oven model. Clean the exposed inner and outer surfaces first. If the stain is trapped between panes, only use an access or removable-glass procedure that the manufacturer explicitly provides for your model. Otherwise, ask the manufacturer’s service team to help.
There isn’t one safe door-opening trick for every oven. Some have glass designed for owner cleaning, while others need professional attention. This guide helps you work out which job you’re looking at, clean the accessible glass carefully, and decide when to stop.
For a busy week, a clearer outer window and a plan for the stubborn mark are a perfectly useful result. You don’t need to turn a quick kitchen reset into an afternoon of loose screws.
Disclosure: This post may contain affiliate links. As an Amazon Associate, Clean Home Challenge earns from qualifying purchases. If you make a purchase through these links, we may earn a small commission at no extra cost to you. This helps us keep creating practical cleaning tips, routines and resources for busy families! 🧽
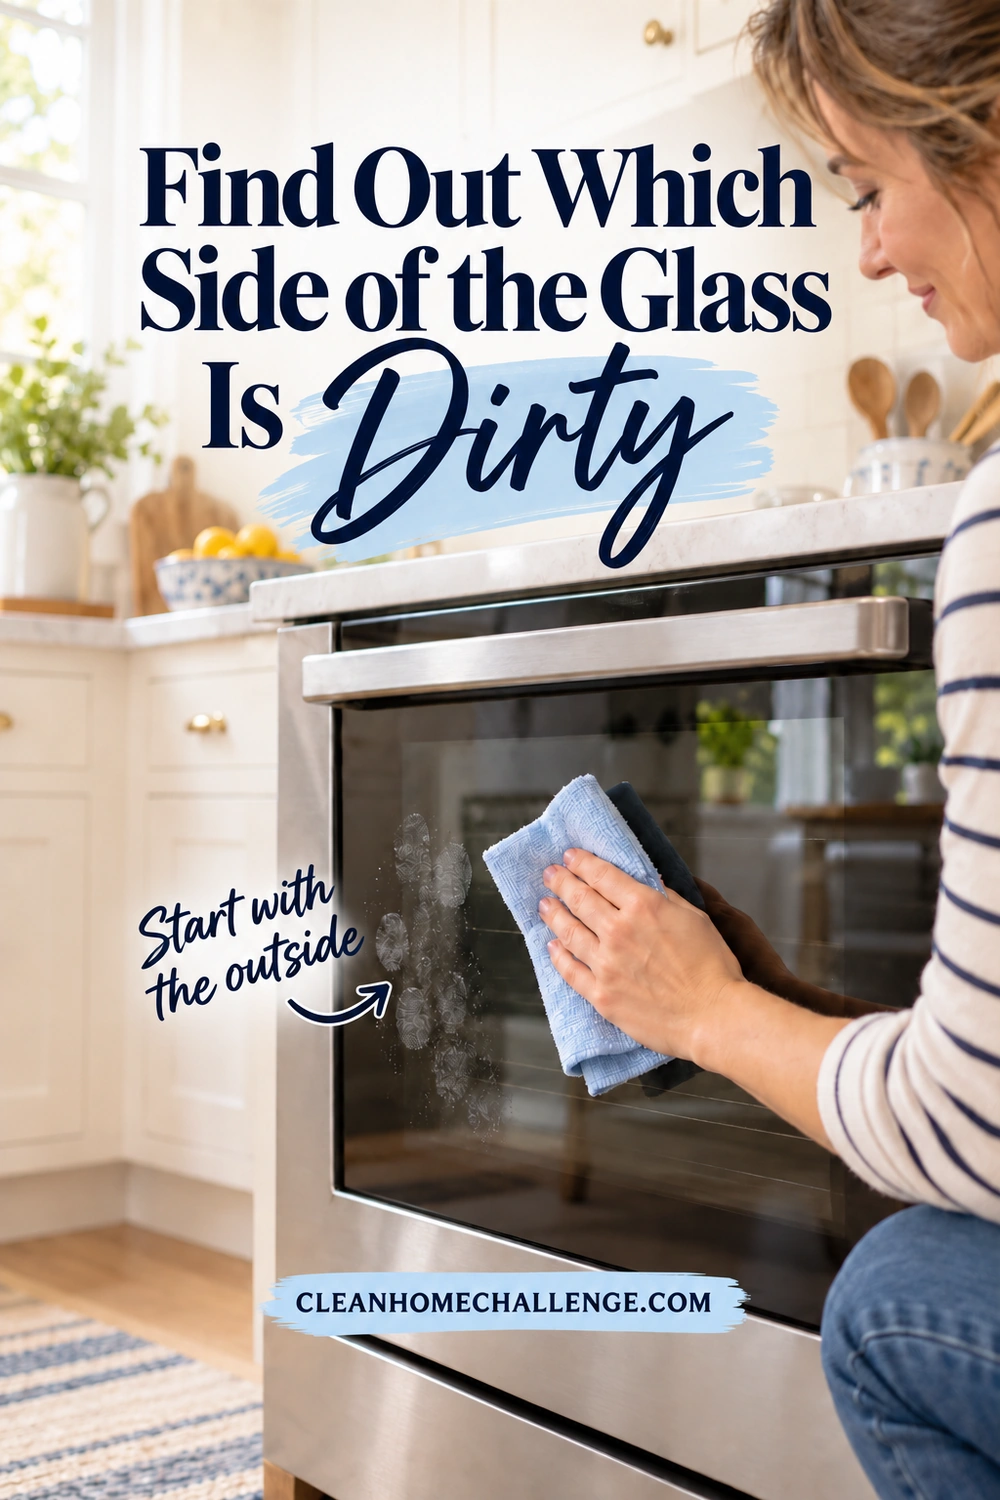
Find Out Which Side of the Glass Is Dirty
An oven door can have several panes, so “inside the glass” can mean two different things. The surface facing your food is usually reachable when you open the door. The enclosed faces between the panes are a separate cleaning job.
Start with three simple descriptions:
- Outer glass: the exposed window facing the kitchen, where fingerprints and splashes collect.
- Inner exposed glass: the surface facing the oven cavity, where cooking splatter can bake on.
- Between-pane glass: enclosed surfaces that your cloth cannot reach through an ordinarily opened door.
Wait until the oven is completely cool, then check the window in good light. Look from the front and, with the door open normally, from the oven side. Don’t poke into a gap to investigate.
If your manual permits it, wipe a small area on each exposed face with a barely damp, soft cloth and dry it. A fingerprint that disappears is a surface mark. A drip that appears unchanged after both exposed faces are clean may be between panes. Reflections can make its position confusing, so treat this as a useful check rather than a definite diagnosis.
Why grease can appear between the panes
You haven’t necessarily missed a cleaning step. GE explains that cooking vapor can travel through door slots, carrying grease that settles on the window as the vapor cools. Streaks can therefore develop inside a door during normal use. GE’s explanation of oven-window streaks also recommends reducing excess grease inside the oven before long cooking sessions.
Cloudiness can be moisture rather than grease, especially around steam-producing cooking. AEG notes that moisture between the panes of some microwave-combination doors can evaporate. Persistent moisture or an unfamiliar change deserves a model-specific check, not an improvised drying treatment. AEG’s condensation guidance explains that distinction.
If you see cracked glass, a chipped edge, a loose pane, or a door that no longer closes properly, stop cleaning and contact service before using the appliance again. Don’t assume that a line is baked-on food and try to scrape it away.
Check Your Oven Manual Before You Start
Find the complete model number using your manufacturer’s identification guide, purchase paperwork, or the accessible rating label. You may find the label around the door opening, but its position varies. Don’t pull a range out or remove panels just to search for it.
Download the matching owner’s manual from the manufacturer’s official website. A similar-looking oven, the same brand, or a video with the same handle design isn’t enough. Even related models can have different hinges, glass coatings, trim, and cleaning instructions.
Search the manual for “door glass,” “cleaning and care,” “removing the door,” and “glass panels.” Read the complete relevant section, including the replacement instructions and warnings, before deciding to proceed.
Your checks should answer these questions:
- Is the instruction for my exact model? Confirm the full model identifier and the pictured door arrangement.
- Does it permit owner access between panes? Instructions for lifting off a complete door do not automatically authorize taking that door apart.
- Which surfaces and products are covered? Exterior glass, inner glass, decorative coatings, and surrounding trim may have different rules.
- Can I complete the whole job safely? Include handling, drying, refitting, and any checks required before reuse.
Manufacturer advice genuinely differs. Whirlpool’s general oven-cleaning guide discourages door disassembly and suggests professional help. GE provides an access method for suitable models but specifically directs owners of side-swing doors and doors with cameras to service. Neither page gives blanket permission for every oven. See Whirlpool’s between-glass advice and GE’s model cautions.
When to arrange professional help
Contact the manufacturer or an authorized appliance technician if the instructions are missing, unclear, or don’t match what you see. Also stop if the job requires unexplained screw removal, disturbing insulation or wiring, forcing a clip, or handling a door you can’t support comfortably.
For a microwave or microwave-combination oven, don’t apply ordinary oven-door instructions. AEG specifically says its microwave and combination-microwave doors should only be removed by an authorized service technician.
When requesting help, provide the model number and a photo of the stain. Ask whether between-pane cleaning is supported, whether the quoted service includes it, and whether any damaged seals or glass need separate attention. Warranty terms vary, so ask before assuming either cleaning or accidental damage will be covered.

Set Up a Safe, Simple Cleaning Station
Choose a time when the oven is off, completely cool, and won’t be needed shortly. Allow it to cool naturally. Don’t use a cold wet cloth to hurry things along: Whirlpool warns that applying one to hot inner-door glass can cause breakage. Its owner’s manual makes complete cooling a specific precaution.
Follow your manual’s instructions about switching off and disconnecting power for the cleaning task. Don’t move a heavy cooker to reach a plug or disconnect gas fittings. If you cannot safely carry out the stated preparation, ask the service team for guidance.
Gather a small kit:
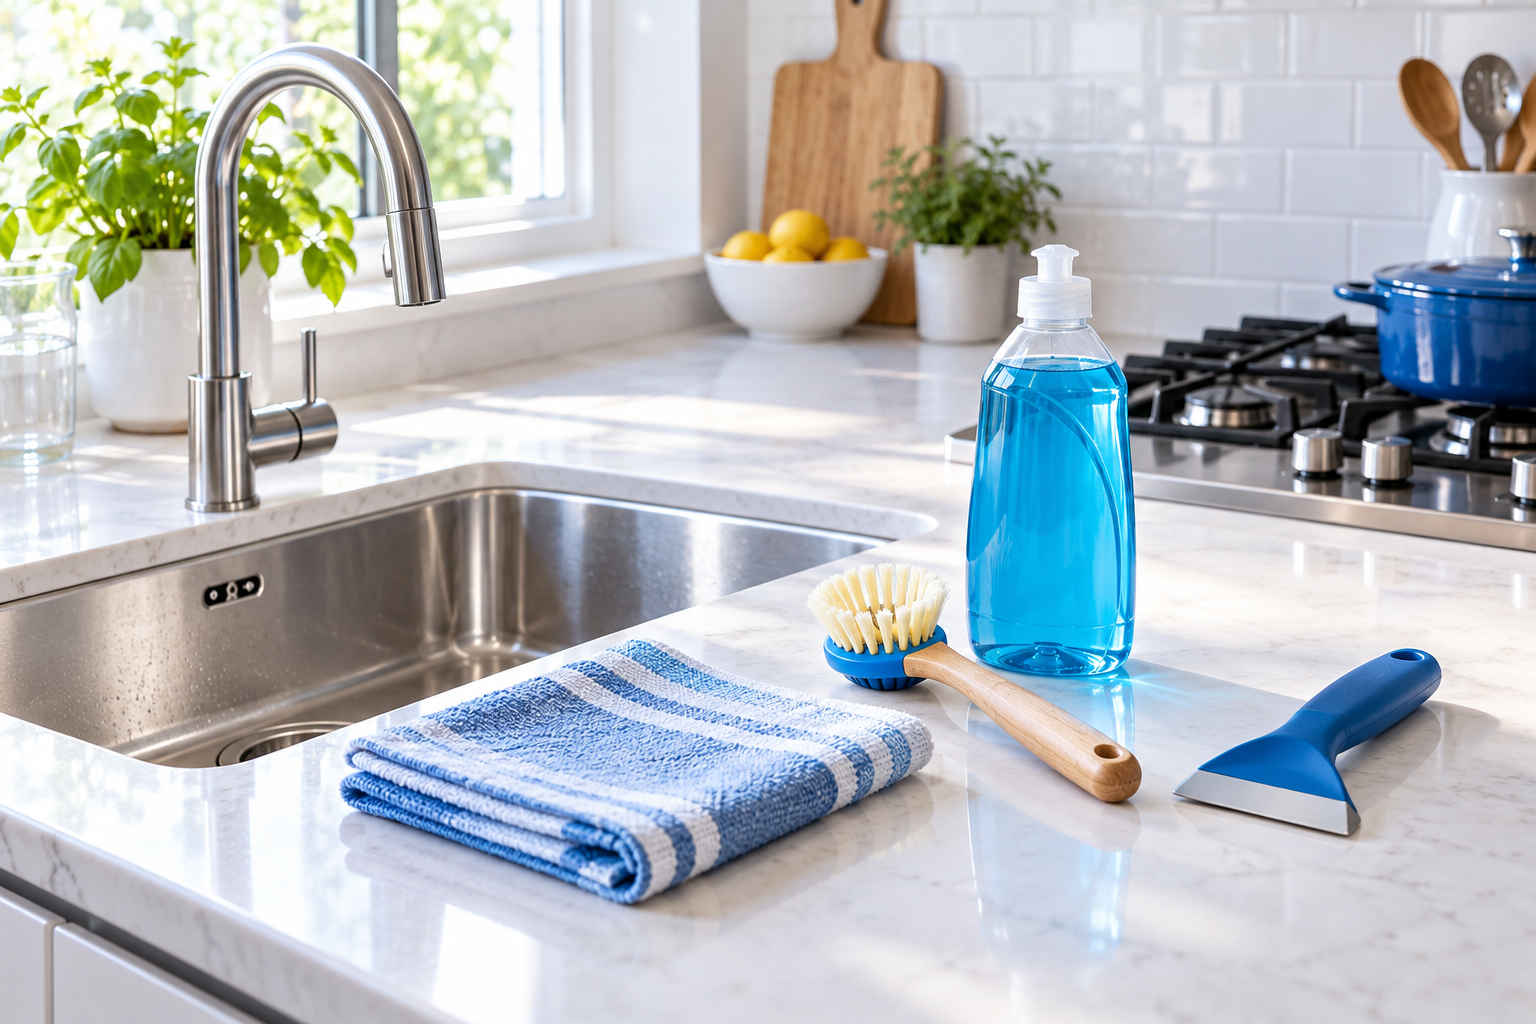
- Several clean, soft microfiber cloths, including one reserved for drying
- A small bowl of water at the temperature your manual allows
- The mild detergent or glass-cleaning product approved for the particular surface
- A clean towel to protect the nearby work area or floor
- Gloves and any other protection required by the cleaner’s label
- Your model manual, open to the relevant instructions
Inspect the cloths for grit and dried cleaning residue. A cloth used on the floor or a greasy stovetop needs laundering before it goes near the oven window. Keep a spare ready so you can change cloths instead of spreading loosened grease around.
You don’t need a scraping or slim-gap tool for the exposed-glass routine below. Buy extra equipment only after checking whether your model actually permits the task you intend to use it for.
Keep children and pets out of the immediate work area, and put products back out of reach when you’re finished. Follow label ventilation instructions. Protect nearby finishes from accidental cleaner drips, and patch-test a permitted product on an inconspicuous area if the manufacturer recommends it.
For an ordinary wipe-down, allow roughly 10–20 minutes of hands-on time as a planning estimate. Cooling, stubborn soil, and any manufacturer-approved removable-glass work add time. Avoid promising yourself a full between-pane clean in the gap before dinner; it may need a separate appointment.

Clean the Glass You Can Safely Reach
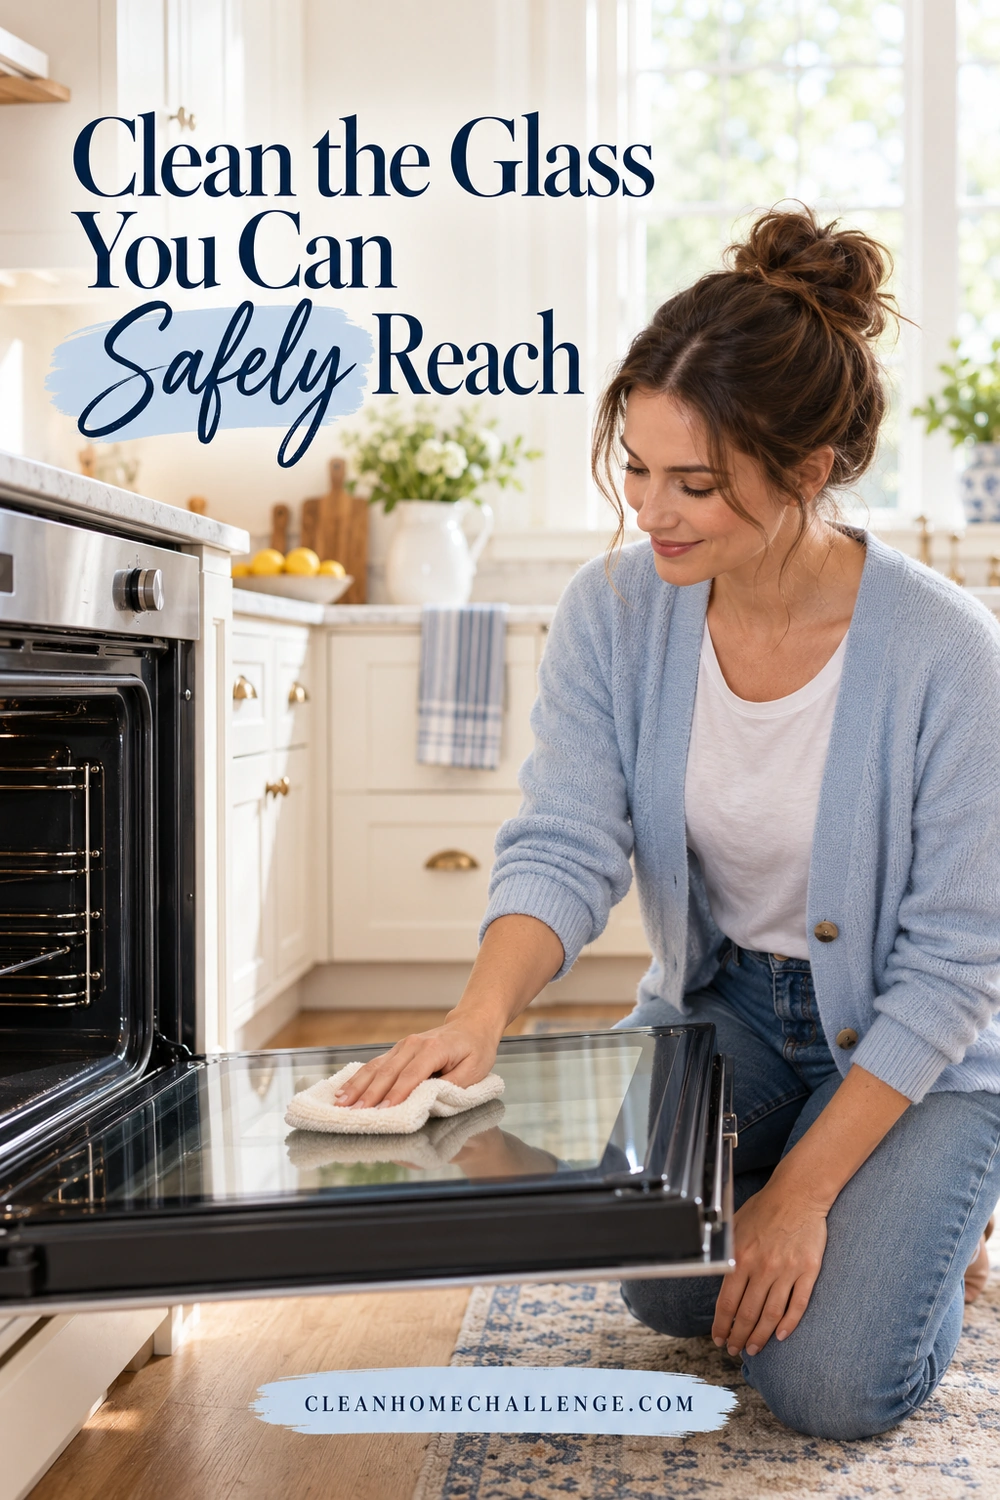
Use this sequence for exposed glass only, and let your model’s instructions take priority. Bosch lists mild soapy water and a soft cloth as an oven-window cleaning option, while warning against abrasive pads and cleaners. That makes a gentle, approved approach a sensible place to start. Bosch’s oven-glass cleaning guidance provides the details.
Step 1: Lift loose debris
With the oven cold, gently collect loose crumbs from accessible glass using a soft cloth. Avoid dragging gritty particles across the surface. Work around seals rather than rubbing, pulling, or lifting them.
Keep your body weight off the open door. It shouldn’t become a shelf for a cleaning bucket or a place to lean while you reach into the cavity.
Step 2: Dampen the cloth
Prepare the cleaner exactly as its label and your manual direct. For permitted mild soapy water, use a small amount of detergent rather than creating a bowl full of thick foam.
Wring out the cloth so it is damp, not dripping. Apply a compatible cleaner to the cloth when its directions allow, rather than spraying near door gaps, controls, or vents. Samsung warns that moisture entering door cracks can travel between the glass panes. Samsung’s oven-care guidance is particularly useful here.
Step 3: Work in small areas
Wipe the reachable glass gently, turning to a clean section of cloth as soil lifts. Keep moisture away from openings and the gasket. Clean the outer and inner exposed faces separately so heavy cooking grease isn’t carried onto the front window.
If a greasy spot resists, use only the soaking or dwell time permitted for that product on that surface. There is no universal overnight treatment for oven glass. Don’t respond to a stubborn mark by pressing harder, adding another chemical, or letting cleaner pool against the frame.
A repeat gentle pass may help. If it doesn’t, stop and check whether the mark is on the other side of the pane or whether your manufacturer specifies a different product.
Step 4: Remove the residue
Use a fresh cloth, dampened with clean water and well wrung out, to remove soap when the product requires rinsing. Rinse and refold the cloth as needed. Follow the label for any other permitted cleaner’s removal instructions.
A gray or greasy film often means the cloth needs changing. More cleaner is rarely the useful next step when you’re simply moving old residue around.
Step 5: Dry and inspect
Finish with a clean, soft, lint-free cloth. Check from a couple of angles for remaining smears, then leave the appliance dry and ready for use according to its manual.
If the exposed faces now look clear but one drip remains trapped inside, you’ve established the limit of this wipe-down. Move to the model-specific decision below rather than repeating the same scrubbing.
Clean Between Panes Only When Your Manual Allows It
Some ovens have owner-removable glass; many do not offer the same access. The safe process is to follow the complete procedure supplied for your model, including its handling and reassembly requirements. A general article cannot supply the correct screw locations, hinge positions, or pane orientation for an unidentified door.
For example, an AEG manual for models BPX535A61B and BPX535A61M explicitly describes removable internal panes and requires correct pane order and orientation when replacing them. It also specifies careful drying and prohibits dishwasher cleaning. Those details belong to those models, rather than every AEG oven. See the AEG model manual, cleaning section.
If owner-removable glass is explicitly supported
Use this checklist alongside the actual instructions:
- Read to the end first. Understand how everything goes back before releasing anything. If the refitting directions are unclear, arrange help instead.
- Prepare the handling area. Use the stable, protected surface the manual requires. Arrange assistance if needed; a heavy door is awkward even when you feel comfortable with other cleaning jobs.
- Follow only the specified access sequence. Don’t remove extra screws, improvise a hinge position, or force a part because it looks similar to a tutorial.
- Keep the model’s orientation information available. Refer to the manual’s markings and diagrams. A reference photo can supplement them, but cannot establish that an incorrectly fitted door was correct to begin with.
- Clean only with the specified method. Protect the edges and coatings. Don’t soak a pane in the sink, use a dishwasher, or substitute a scraper unless the exact instructions permit it.
- Dry fully and refit as directed. Complete all stated alignment, seating, and latch checks before use. Never heat the oven to dry an incomplete door assembly.
If you find damaged glass, a displaced seal, an unexpected loose part, or a step that doesn’t match the manual, stop. Don’t use the oven with a pane missing or a door that isn’t securely and correctly refitted. Fisher & Paykel’s model-specific glass-care warnings show why those checks matter.
If the manual doesn’t provide a suitable method
Leave the enclosed area alone and contact service. A visible slot does not establish that it is an owner-cleaning access point. Likewise, a door that can be removed for installation isn’t automatically designed for household disassembly.
You can ask the manufacturer whether there is another approved cleaning instruction for your exact model. Until you have that answer, keep your cleaning to exposed surfaces. A trapped cosmetic streak is a better reason to ask a question than to experiment with the door’s construction.

Skip the Shortcuts That Can Damage Oven Glass
Many oven-cleaning tips make sense only for a particular appliance or surface. Keep these boundaries in mind when choosing a method.
Don’t slide a coat hanger or improvised tool into the door. It can catch, leave material behind, or press against parts you cannot see. This guide doesn’t recommend a generic gap-cleaning trick, even if it worked on someone else’s oven.
Don’t spray through vents or flood the edges. Cleaner that reaches the wrong side of the glass can create another trapped streak. Keep liquids controlled on the surface you are actually cleaning. Never block a vent to prevent stains.
Don’t assume a cooktop scraper is safe on door glass. Coatings and surface requirements differ. Leave razor blades, sharp metal scrapers, steel wool, and abrasive pads out of this routine. Even a plastic scraper requires model-specific permission; “plastic” doesn’t establish compatibility.
Don’t clean warm glass or add sudden heat. Let the appliance cool completely before wiping. Avoid boiling water, ice-cold water on warm glass, hair dryers aimed at panes, and attempts to bake a wet door dry.
Don’t mix products to make them stronger. Use one approved product as directed. This routine doesn’t need baking soda followed by vinegar, bleach, or a homemade combination. Keep cleaners in their labeled containers so there is no confusion about what’s being used.
Don’t treat self-clean as a between-pane remedy. A cleaning cycle doesn’t grant access to enclosed glass, and it may leave those streaks unchanged. Only run a supported cycle for its intended purpose, following the manual’s preparation and safety instructions. Don’t start one simply to avoid deciding whether the door needs service.
Don’t keep scrubbing suspected damage. A mark that doesn’t change might be a scratch, coating damage, or an enclosed stain. Stop if you are unsure, especially if the surface feels chipped or the glass looks cracked. Ask for advice before trying a more aggressive product.
The useful question is whether the method is approved for this surface on this model. A dramatic before-and-after photo can’t answer that for you.

Keep Oven Glass Clear With Small Weekly Habits
A small routine helps you notice fresh splashes before the whole window feels like a project. It also gives you a chance to spot changes without repeatedly dismantling anything.
Add a glass check to your Monday kitchen routine:
- Confirm the oven is off and completely cool.
- Look at both exposed sides of the window.
- Remove accessible fingerprints or fresh spots using the approved method.
- Remove any cleaner residue and dry the glass.
- Note enclosed streaks or damage that need a model check or service advice.
Make the frequency fit your cooking. A week of roasts may leave more splatter than a week of reheating covered dishes. Weekly is a useful reminder to look, rather than a requirement to deep-clean every time.
The five-minute version for a busy day
After the oven has cooled and you’ve checked the care instructions, clean just the accessible outer window. Wipe with your approved damp cloth, remove residue, and dry. Put the cloths away and finish there.
If the problem is between panes, use that short session to find the model number and save the correct manual instead. You’ve still moved the job forward without leaving an appliance half dismantled.
For longer-term upkeep, clean excess cooking grease from the oven using its approved care method, deal with accessible spills after cooling, and avoid sending liquid toward the door gaps. Keep your care instructions somewhere easy to find for the next kitchen reset.
If you like having the next small job set out for you, the Cleaners Clubhouse can help you build a manageable kitchen routine around the time you actually have.
The best answer to how to clean between oven glass is the one your appliance supports. Start with what you can safely reach, use the exact manual for anything enclosed, and bring in service when access or refitting is uncertain. A comfortably clean kitchen can include a stubborn streak while you arrange the right help.

CLEANERS CLUBHOUSE
Make Kitchen Cleaning Feel More Manageable
Turn Monday into your kitchen reset day with a clear routine you can follow. The Cleaners Clubhouse gives you practical cleaning guidance, printable support and monthly challenges to help you stay consistent.
