

THIS POST MAY CONTAIN AFFILIATE LINKS. PLEASE READ MY DISCLOSURE FOR MORE INFO.
Floor grout can look grubby even when the tiles have just been mopped. The thought of following every line with a toothbrush is enough to put the job off again, especially when there is dinner to make and a room everyone still needs to walk through.
The practical answer to how to clean floor tile grout is to match the cleaner to your floor, loosen dirt with a suitable long-handled brush, and lift the dirty liquid away before it dries. Working in small, finished zones keeps the job manageable and reduces the amount of cleaning you need to do down at floor level.
You do not have to tackle the whole kitchen today. Start with one patch, check the result once it dries, and use that test to plan the rest. This guide is for routine cleaning of an existing, fully cured tiled floor. Newly installed grout, damaged joints, and unknown floor coatings need their own care instructions.
Disclosure: This post may contain affiliate links. As an Amazon Associate, Clean Home Challenge earns from qualifying purchases. If you make a purchase through these links, we may earn a small commission at no extra cost to you. This helps us keep creating practical cleaning tips, routines and resources for busy families! 🧽
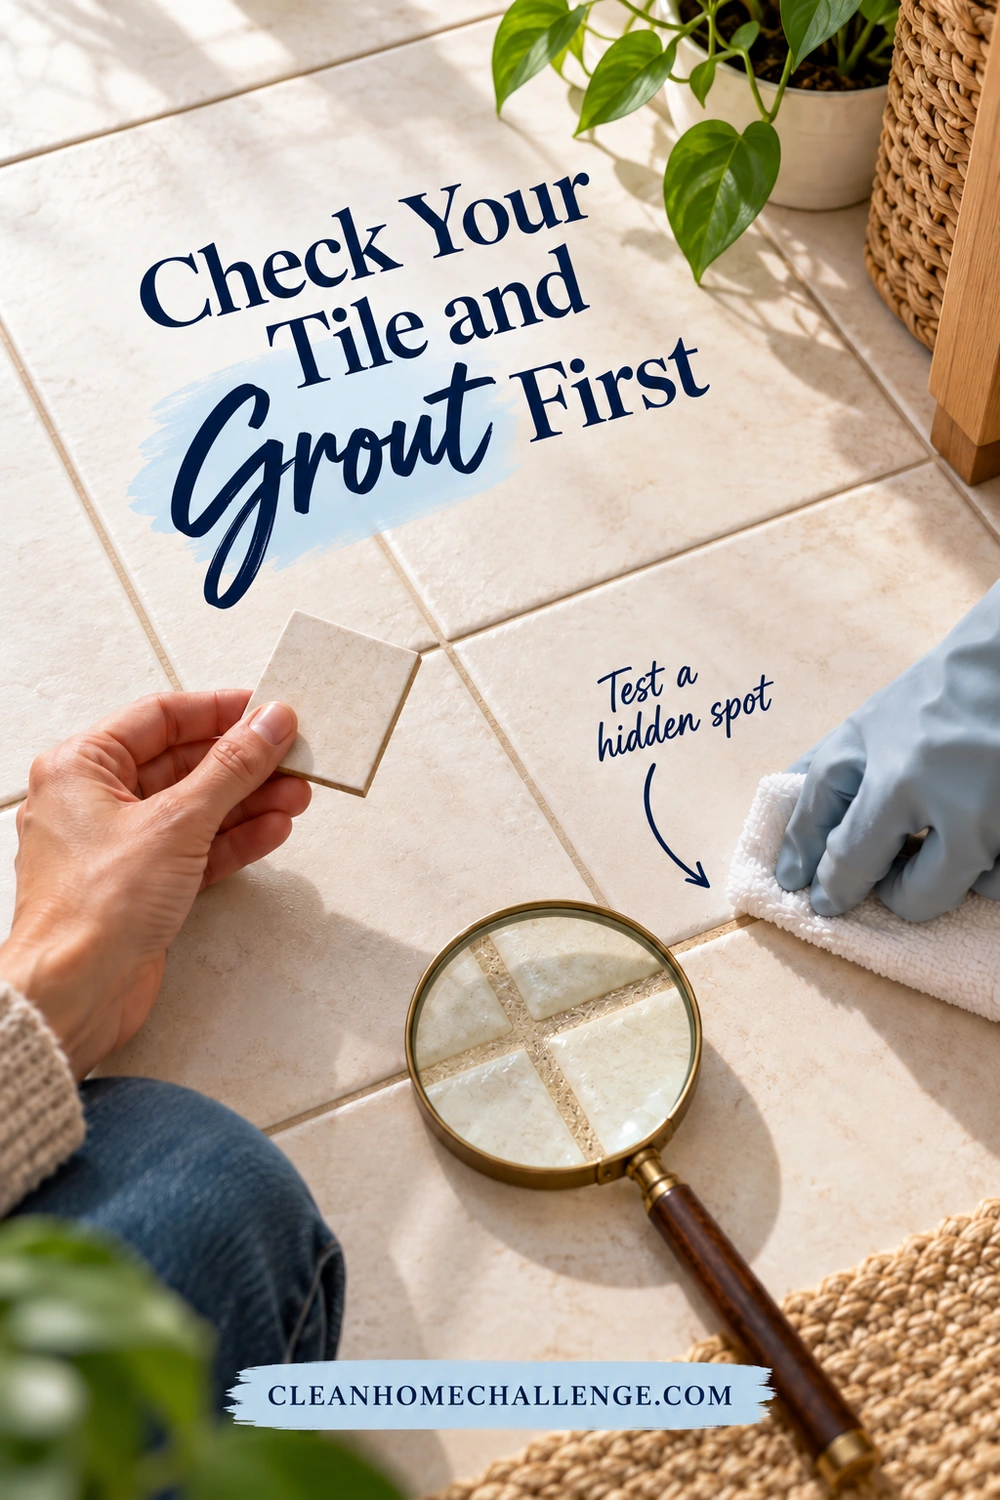
Check Your Tile and Grout First
Before choosing a cleaner, find out what you are cleaning. A stone-look tile might be porcelain, while an older floor may contain actual limestone, marble, slate, or another natural stone. Appearance alone is not a reliable guide.
Look for leftover packaging, installation paperwork, a product name on an invoice, or information from the installer or landlord. Identify the grout too, if possible, and check whether it has a sealer or a colored coating. Check the original grout color in the paperwork or a protected, intact area. Gray, tan, or charcoal grout may be its intended color; cleaning should not aim to turn every joint white. If you cannot confirm the materials, dry-clean loose dirt for now and ask the supplier for a compatible wet-cleaning method.
Match the cleaner to the whole floor
- Ceramic or porcelain tile: Choose a cleaner approved for the particular tile finish and the grout. Polished surfaces and decorative coatings may have additional restrictions. Daltile specifically cautions against acid-based and solvent-based cleaners on certain polished porcelain products. Daltile ceramic and porcelain care
- Natural stone: Start with a pH-neutral cleaner labeled for that stone and its finish, provided it is also compatible with the grout. The Natural Stone Institute warns that acidic products can etch susceptible stone and abrasive cleaners can scratch it. Skip vinegar, lemon juice, and gritty cleaning pastes. Natural Stone Institute care guidance
- Cement-based grout: Check the grout and sealer instructions before deep cleaning. Avoid making a strong acid, toilet-bowl cleaner, or abrasive powder your default grout treatment.
- Epoxy or ready-to-use grout: Use the named manufacturer's care guidance. LATICRETE recommends mild routine cleaning for epoxy grout and notes that harsh products may dull it. Its epoxy guidance also explains that epoxy grout does not require sealing. A ready-to-use product is not automatically an epoxy product. LATICRETE epoxy-grout care
A cleaner saying “tile and grout” on the front still needs a careful label check. Read the permitted surfaces, exclusions, dilution, application method, contact time, and rinsing instructions. Include any grout colorant in that compatibility check.
Test the full method on an inconspicuous patch. Use the intended dilution and brush, remove the solution as directed, and let the patch dry before judging the color or finish. Stop if the surface dulls, the color changes unexpectedly, a coating lifts, or grout begins coming away.
This first check can save far more work than scrubbing a large floor with the wrong product.
Build a Simple Standing Toolkit
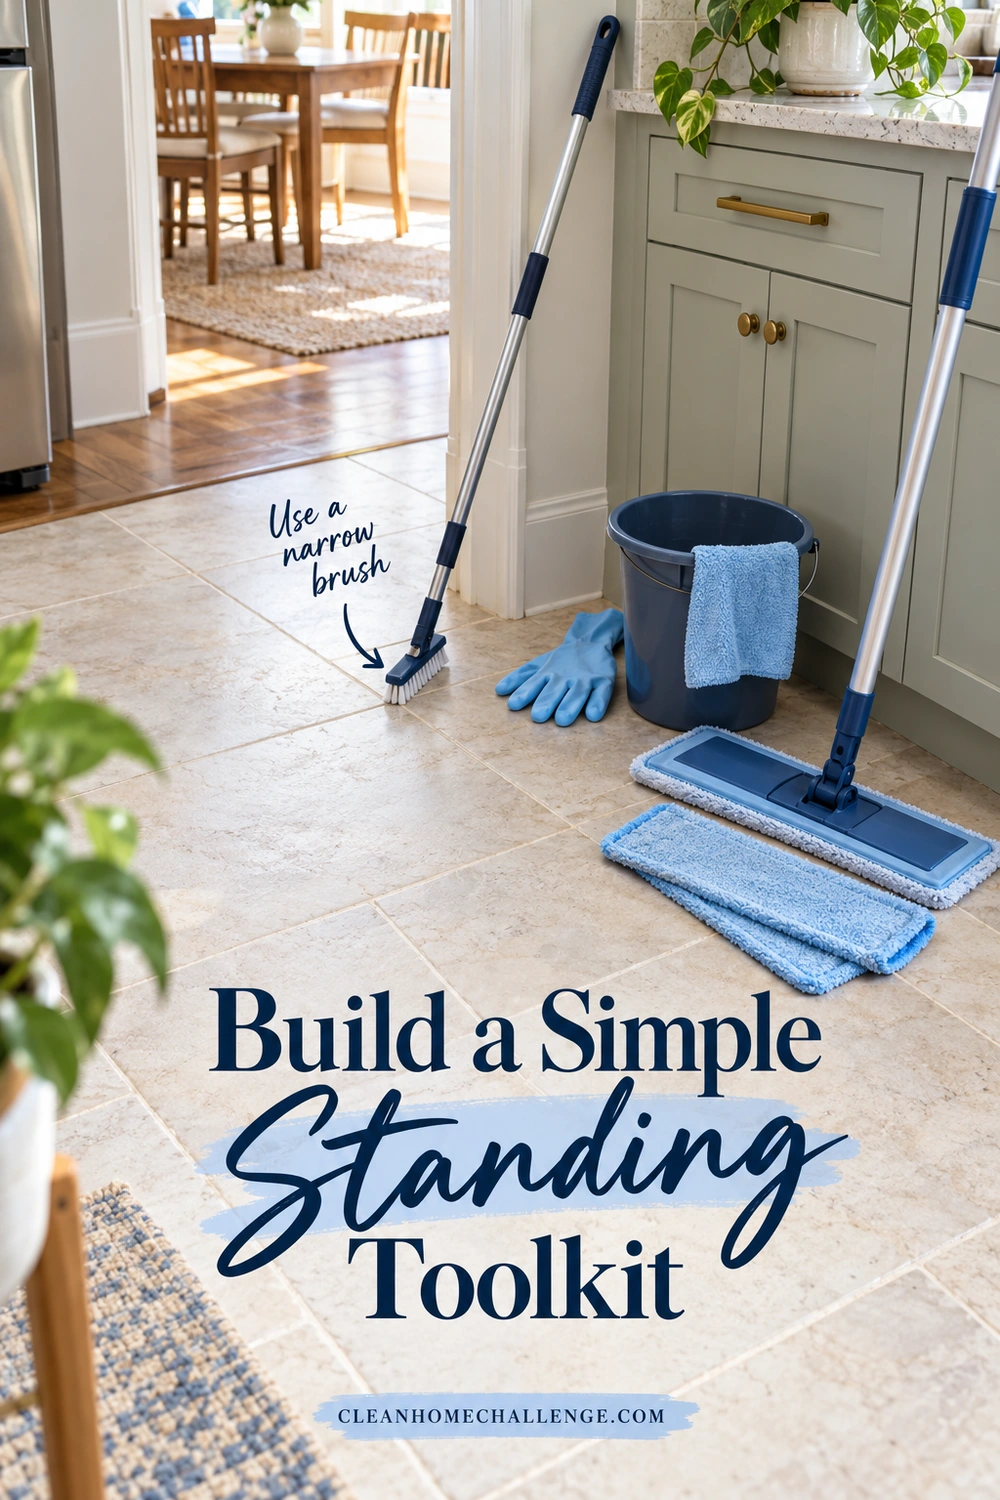
You need a way to reach the grout and a way to collect what you loosen. A standard flat mop is useful for the second job, but its pad may glide over recessed grout without giving the joints much attention.
Gather these basics before you wet the floor:
- An adjustable long-handled grout brush with nonmetal bristles suitable for your surface
- A compatible cleaner and a measuring container if dilution is required
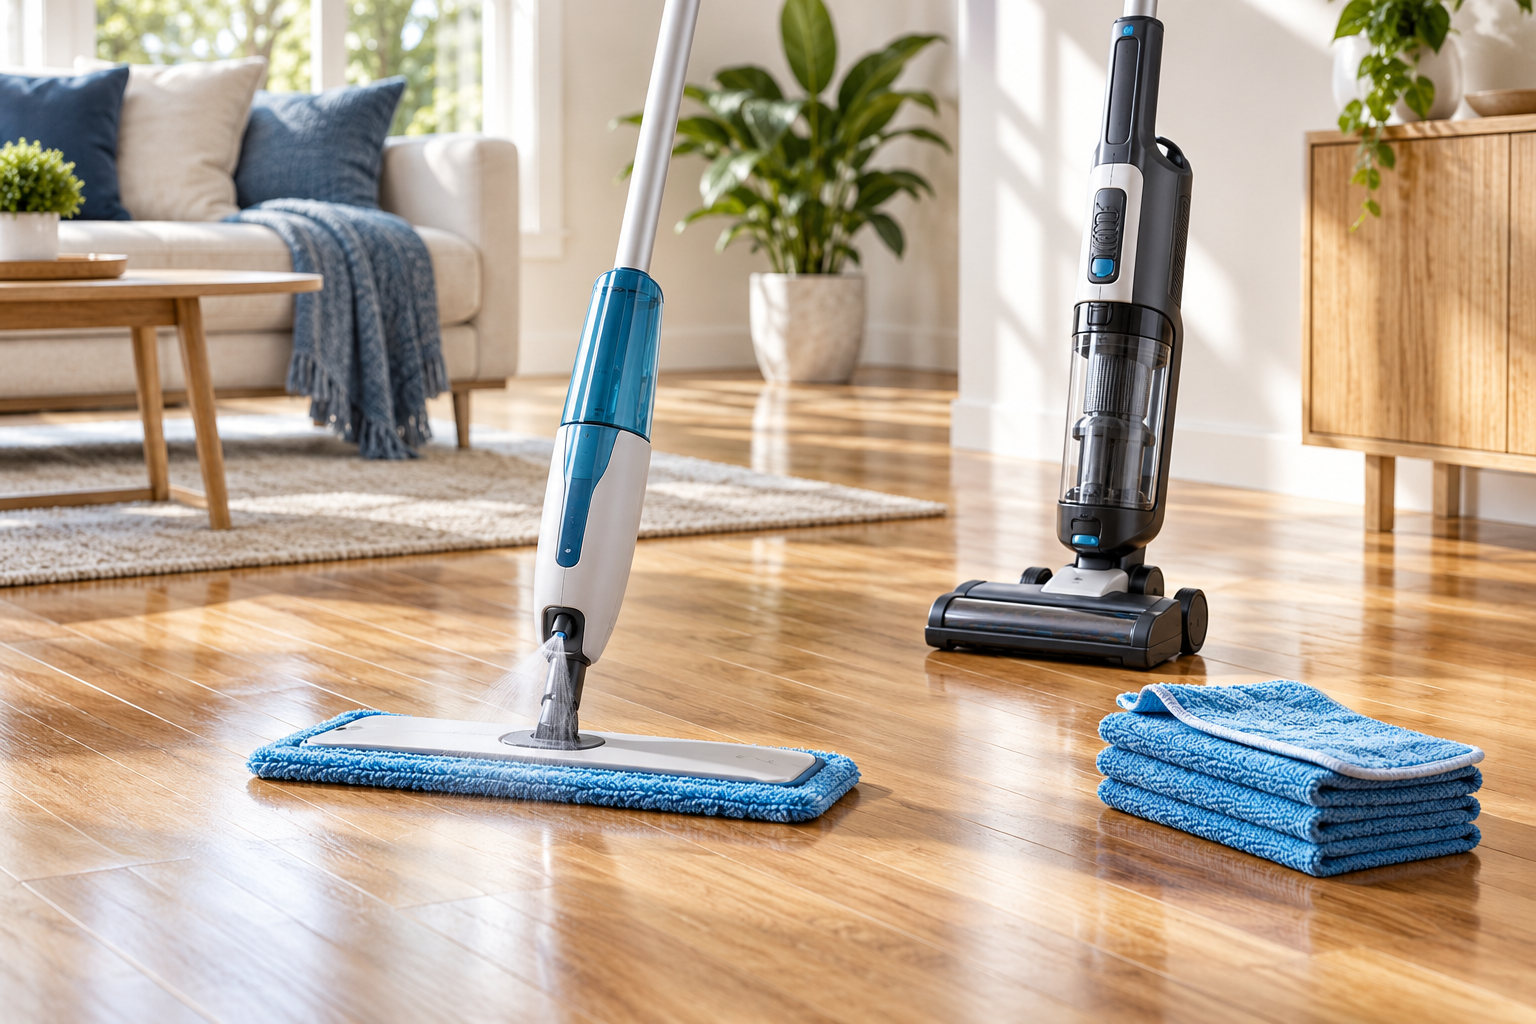
- A broom, dry mop, or vacuum with a floor-appropriate attachment
- A flat mop with several clean, absorbent pads, or another suitable wet-pickup tool
- A manageable amount of fresh rinse water, where the label requires rinsing
- Gloves and eye protection when the product instructions call for them
- A timer and something to keep people and pets away from the wet zone
Look for a narrow brush head that can follow your grout lines. A V-shaped bristle arrangement can help reach recessed joints, but the shape alone does not make a brush safe. Very stiff bristles may be unsuitable for a delicate finish or weak grout. Soft nylon brushes are among the tools MAPEI lists for maintaining its specified non-Portland-cement grout installations. MAPEI maintenance bulletin
Adjust the handle so you can work close to your body without reaching across several tiles. Check that its sections lock securely and the head stays controllable. Try a few dry movements before applying cleaner. You should be moving the brush along the joint rather than bending its handle with force.
You do not need a powered scrubber to begin. If you already own one, check both the tool instructions and your floor's care guidance, then test the least aggressive suitable attachment. Avoid wire brushes, improvised drill attachments, and scraping grout with sharp tools.
A slim brush may reach edges better than a wide deck brush. Awkward corners can wait for a separate detail session or help from someone else; they do not have to turn today's manageable patch into a floor-level marathon.
Clear and Dry-Clean a Small Zone
Choose one useful starting point, such as the traffic lane beside the kitchen sink or a small section near the entry. A patch roughly two or three feet across is a planning example, not a required size. Make it smaller if the cleaner dries quickly, the room is warm, or the area has many tiny grout lines.
If a short session suits your day, reserve a 15- to 20-minute work window for setup and a small trial patch, plus drying time. That is a planning allowance, not a guaranteed cleaning time. Let the product's required contact and rinsing steps determine whether you need a longer window.
Move light, easy-to-handle items out of the way. Leave heavy furniture and appliances for another plan rather than dragging them across the tile. Remove rugs and floor baskets, and protect nearby surfaces that the cleaner must not touch.
Sweep or vacuum thoroughly, paying attention to crumbs and grit along the joints. Use a vacuum attachment appropriate for the floor, with wheels and contact points in good condition. Loose debris becomes extra dirty liquid once the floor is wet, so this is a useful place to spend a few minutes.
Set up an exit route before starting. Begin on the far side of your chosen patch and work toward a dry place to stand. Keep a dry route to doorways and avoid blocking the household's only bathroom or an essential walkway. Tell everyone which patch is wet.
Prepare only the amount of solution the label allows and the small job needs. More concentrate is not a shortcut. Keep products in their original labeled containers, secure them from children and pets, and follow the ventilation and protective-equipment instructions.
Do not combine products or add vinegar, bleach, baking soda, or a fragranced cleaner to the bucket. Never mix bleach with another cleaner or disinfectant; CDC also emphasizes ventilation and label-directed precautions. This grout-cleaning routine makes no disinfecting claim. CDC cleaning-product safety
Have the pickup mop and clean pads ready before applying anything. The easiest stopping point is a small zone that has been cleaned, rinsed as required, and dried, so allow time for those finishing steps.

Clean Grout With a Long-Handled Brush
Work through one patch from start to finish. The first patch tells you how much effort the soil needs and how large the next zone should be.
1. Apply the compatible cleaner
Use the application method on the label. If mop application is permitted, a suitable mop can help spread the solution while you remain standing. Do not improvise a spray method for a product that is not meant to be sprayed, or pour a large puddle across the room.
Apply enough for the instructed treatment without flooding joints, walls, thresholds, or adjacent flooring. Keep the solution away from surfaces excluded on the label.
2. Let the label set the contact time
Some cleaners need time on the surface before agitation; others are intended for a different routine. Use your product's actual directions rather than copying a dwell time from a video about another cleaner.
Set a timer when a contact time is specified and stay nearby. Do not let a product dry on the floor if its directions prohibit that. Reduce the zone size if you cannot complete the required steps while the solution remains workable.
For example, Aqua Mix Heavy-Duty Tile & Grout Cleaner's technical sheet gives separate dilution and timing instructions, tells users not to let the solution dry, and requires dirty-solution removal followed by rinsing. It is a strong cleaner with surface and coating restrictions, not the default product for every floor. Aqua Mix product instructions
3. Follow the grout with short strokes
Place the brush bristles in one joint and make several short forward-and-back strokes. Move your feet along the line so the working area stays close. Use light, controlled pressure first; leaning harder is not the answer if the brush is skipping over the joint.
Work the parallel lines within your patch, then turn and cover the crossing lines. At intersections, use a few controlled strokes from each direction. This simple route makes it easier to see what you have done without repeatedly scrubbing the same section.
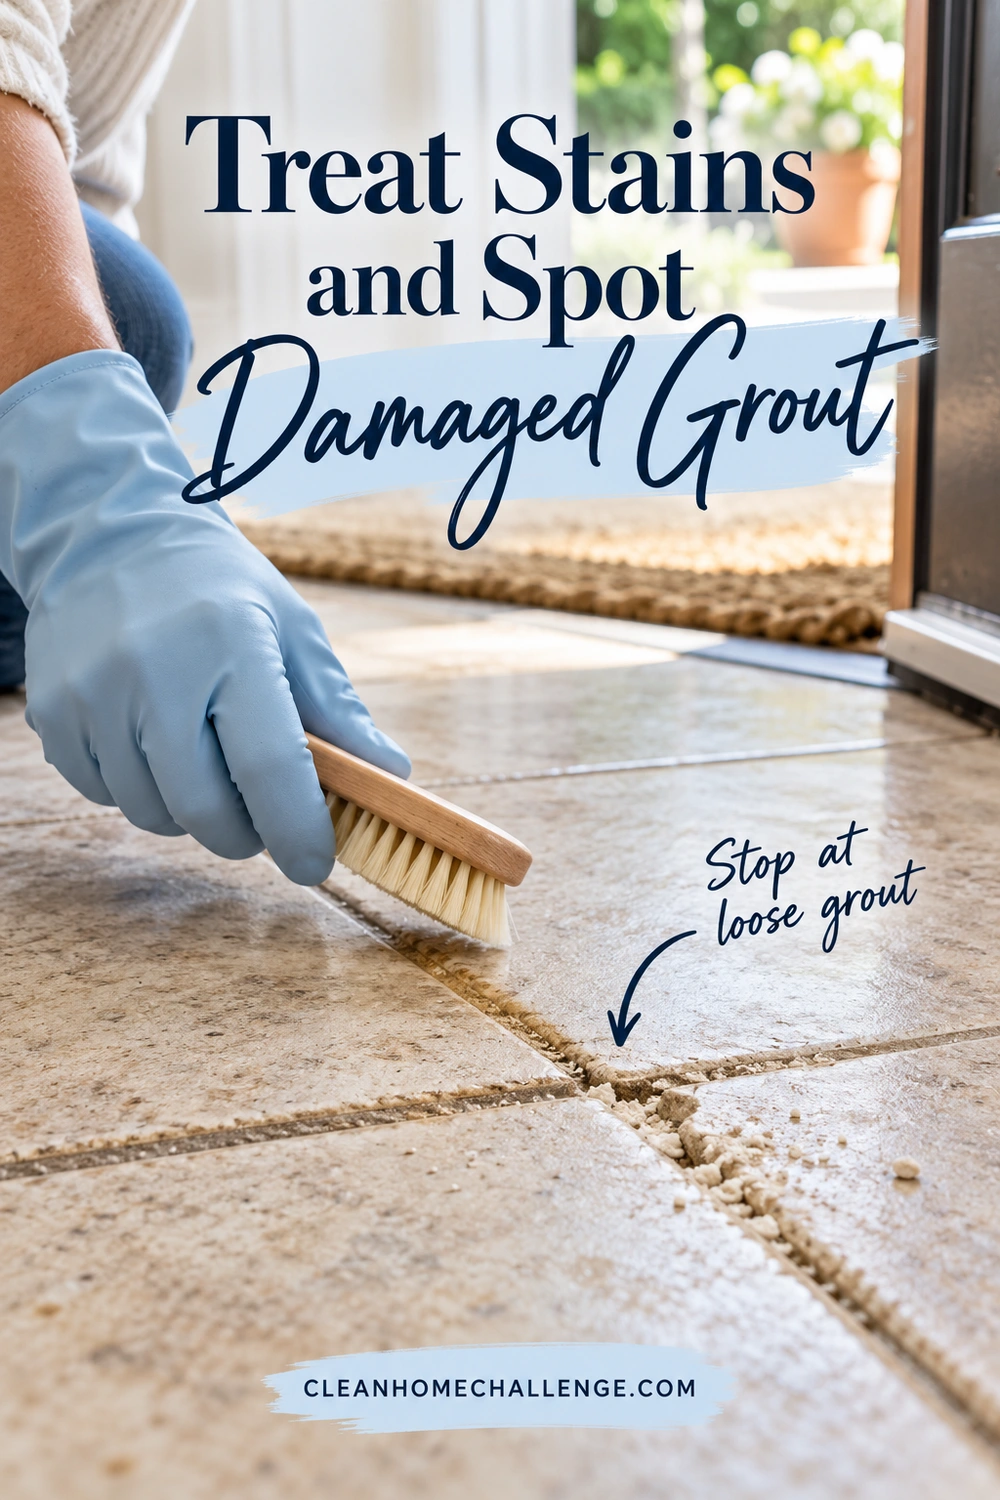
If the brush catches, inspect the area rather than forcing it through. Stop on cracked, loose, or crumbling grout. For very narrow joints, a better-fitting head may help more than extra pressure.
4. Pick up the dirty liquid
Remove the loosened soil while it is still suspended in the cleaning solution. Use an absorbent mop or another pickup method approved for the floor and product. With a flat mop, place a clean section of pad beyond the dirty liquid and pull it back toward you in short passes. Lift and reposition rather than pushing the same muddy pad all around the room.
Change or rinse the pad as it becomes dirty. If using a bucket system, keep the final rinse water separate from the dirty wash water. A vacuum must be specifically designed for wet pickup and suitable for the solution; an ordinary dry vacuum is not an alternative.
5. Finish the patch before extending it
Rinse as the cleaner directs, collect the rinse water, and remove remaining surface moisture. Let the patch dry before comparing it with untreated grout. Wet grout may look different from dry grout, so an instant color comparison can be misleading.
If the dry result is better and the finish is unchanged, repeat the process in another manageable patch. If it is unchanged, pause to identify the remaining mark before adding stronger cleaner. There is no benefit in chasing the same line for an hour without knowing whether the problem is dirt, staining, or damage.

Treat Stains and Spot Damaged Grout
A remaining mark is a reason to reassess the method. It does not automatically mean you need to scrub harder or buy the strongest bottle on the shelf.
Greasy or heavily soiled areas: A compatible deep cleaner may be appropriate when routine cleaning has not lifted kitchen buildup. Check the tile, grout, sealer, and any color coating before using one. Aqua Mix warns that its high-alkaline heavy-duty cleaner can affect colored grout coatings and that regular use reduces sealer life. Treat it as a label-led, occasional option rather than the weekly mop-bucket choice. Aqua Mix coating and sealer cautions
White, powdery residue: This may be efflorescence rather than ordinary dirt. LATICRETE explains that dissolved salts can move to the grout surface with moisture and remain after evaporation. Persistent deposits need the cause investigated; do not assume an acid wash is suitable for your floor. Ask the installer or grout manufacturer to identify the deposit and recommend the next step. LATICRETE cement-grout troubleshooting
Dark areas that keep returning: Check for recurring wetness, a nearby leak, or water collecting under a mat. Color alone does not identify mold. Persistent moisture, a musty smell, or visible growth deserves attention to the source and appropriate assessment, rather than repeated cosmetic scrubbing.
Cracks, gaps, or loose grains: Stop aggressive cleaning and arrange a repair assessment. Cleaning cannot refill a missing joint or resolve movement beneath the tile. Photograph the location and note whether tiles move or the crack returns. MAPEI's cracked-grout guidance treats this as a repair job involving the cause and proper removal of damaged grout. MAPEI cracked-grout guidance
Sound grout that stays discolored: Once the floor is clean and dry, ask whether a compatible grout colorant or professional restoration would be appropriate. Color treatments have preparation and aftercare requirements. Avoid applying one simply to hide an unresolved moisture problem or crumbling grout.
Steam is not an automatic next step. MAPEI cautions that prolonged high temperatures can damage some ready-to-use grouts and advises checking with the tile and grout manufacturers. Bleach is also unsuitable as universal routine grout advice. Use the method approved for the materials you actually have. MAPEI tile-and-grout care FAQ
Rinse, Dry, and Check Before Sealing
Do not let the finishing stage undo the cleaning. Dirty water and leftover cleaner need to leave the floor rather than drying back into the grout lines.
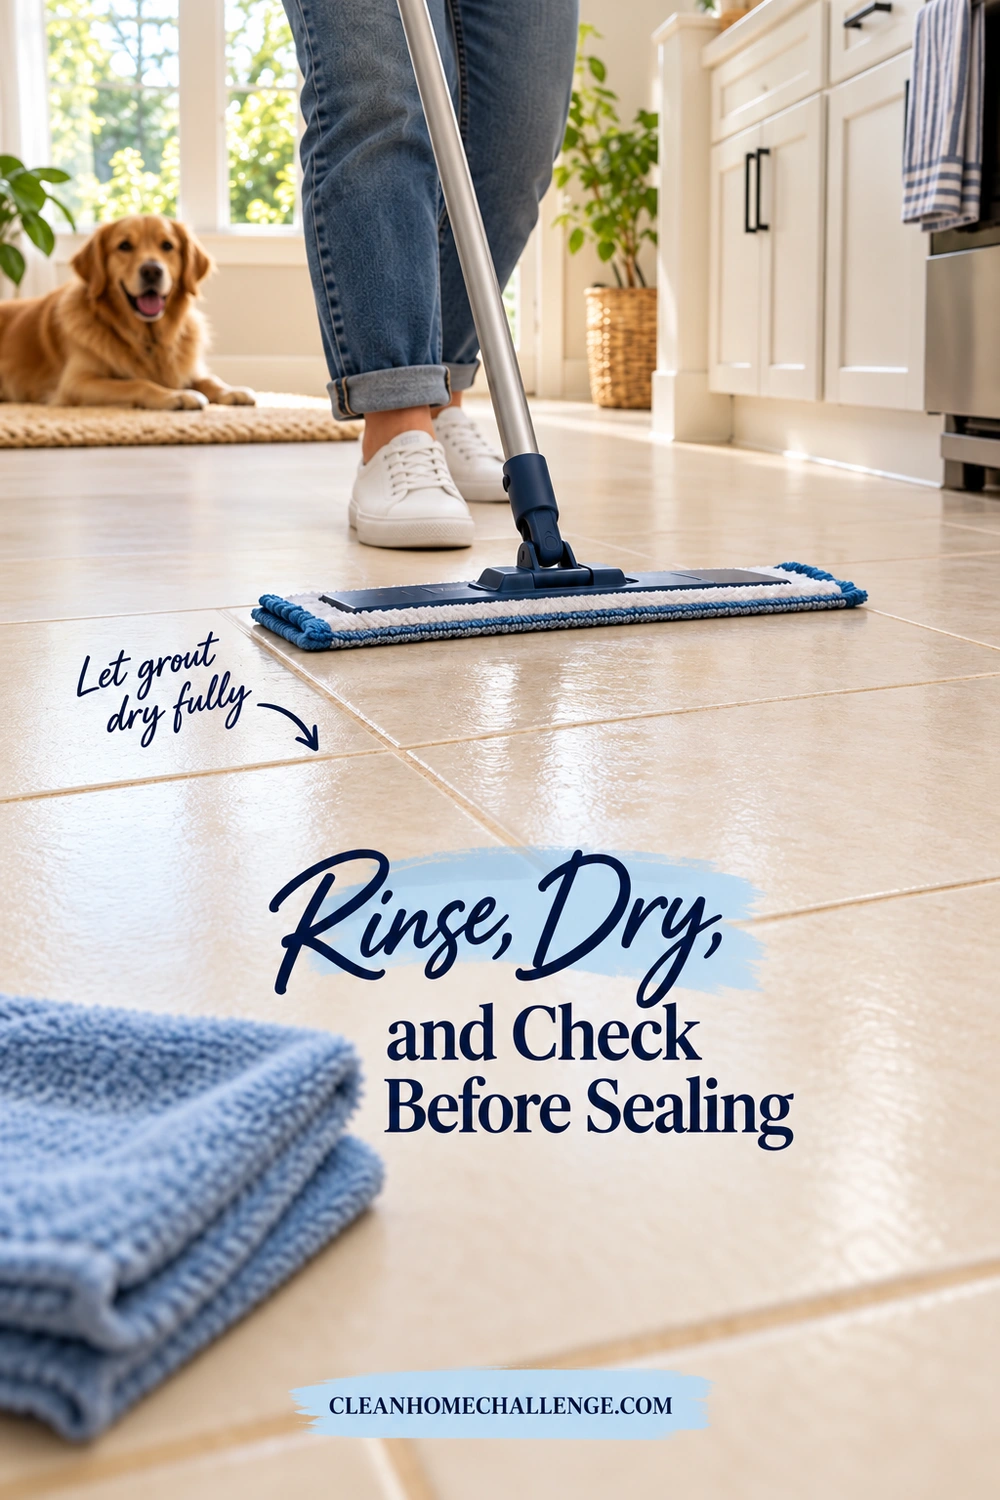
Follow the cleaner's rinse instructions using fresh water and a clean mop pad. Work over the treated patch, then pick up the rinse liquid. Change dirty pads or water promptly. Pay attention to edges and intersections where moisture collects, while avoiding unnecessary flooding.
A no-rinse product still needs to be used exactly as directed. That wording does not mean you should leave a puddle of visibly dirty liquid behind. When cleaning heavier soil than a product is designed for, choose a more appropriate approved method instead of guessing at extra concentration.
Remove remaining surface moisture with a clean, absorbent pad or suitable cloth held by the mop. Keep the area out of use until it is dry and safe to walk on, and do not put a rug back over damp grout. Drying time varies with the material, moisture, room conditions, and ventilation.
If a film remains after drying, check the cleaner directions and use the permitted rinse method again with clean equipment. Avoid trying to cancel one product with another. Persistent haze on a newly installed floor belongs with the installer because installation residue needs a different diagnosis.
Decide whether sealing is actually needed
Sealing is a separate care decision, not an automatic last step after every scrub. Some cement-based grouts benefit from a compatible penetrating sealer; epoxy and some ready-to-use grouts do not require one. Existing grout colorants may already provide a sealed coating. Confirm the exact product before adding anything.
Where sealing is recommended, follow this checklist:
- Confirm the sealer suits the grout, nearby tile, and any existing treatment.
- Finish the cleaning and resolve damage or persistent moisture first.
- Let the grout reach the dryness required by the sealer instructions.
- Test the sealer and apply it using the specified method.
- Remove excess from tile within the instructed time.
- Respect the stated cure time and restrictions on traffic and water.
A surface that feels dry to touch is not proof that it meets every sealer's requirements. Manufacturer instructions distinguish between application conditions, time before walking, and time before exposure to water. Follow the particular label instead of a universal “wait overnight” rule. Aqua Mix sealer instruction example
Keep the product name and application date with your floor-care information. Ask the supplier how to assess future resealing needs rather than automatically adding another coat every month. A sealer also does not remove the need for regular cleaning.
Keep Friday Floors Manageable
Grout care fits best into a routine that keeps loose dirt from building up and deals with the busiest patches as needed. In the Clean Home Challenge weekly rhythm, Friday is floor day. That gives you a useful reminder without making every Friday a whole-house grout project.
Use a simple three-level plan:
- Everyday moments: Pick up crumbs and grit where they collect, deal with spills promptly using the floor's approved method, and let wet areas dry before covering them.
- Friday floor care: Dry-clean the floor, mop with the correct product and dilution, and check one traffic lane or splash-prone area. Give grout extra attention only where it needs it.
- Occasional deeper attention: Use the long-handled method on a small zone when normal cleaning no longer lifts the buildup. Inspect for damage and review the grout's maintenance instructions.
If you have a large floor, make a short zone list: sink area, entry lane, dining area, then the remaining edges. Choose one zone when time allows. There is no need to deep-clean an already satisfactory section just to make the list look complete.
For a lower-energy day, finish the dry pickup and deal with one obvious spill or a few dirty joints. If you cannot also remove the cleaner, rinse as required, and leave the area safe, stop before applying a product. The next session will be easier with the loose dirt already gone.
You can share the work too. One person can move the light items and dry-clean, while another handles the wet cleaning and finishing. Keep the handoff clear so nobody starts spreading solution before pickup tools are ready.
End by rinsing the brush, cleaning mop pads according to their care instructions, and letting the equipment dry before storage. Note any patch that needs a repair or a different approved treatment.
Learning how to clean floor tile grout is much more useful when the method fits into family life. Start with a compatible cleaner, a controllable long handle, and one small finished zone. Cleaner grout can build from there, one Friday at a time.

CLEANERS CLUBHOUSE
Stay on Top of Floors Without Cleaning All Day
Give your floors a focused Friday reset instead of chasing every mark all week. The Cleaners Clubhouse helps you build a realistic routine with practical guidance, printables and monthly challenges.
