
THIS POST MAY CONTAIN AFFILIATE LINKS. PLEASE READ MY DISCLOSURE FOR MORE INFO.
A kitchen bin can smell even when the bag is new. A little liquid under the liner, food caught beneath the lid, or a dirty rim can keep the problem going. The useful fix is to find that residue, remove it, and let the bin dry before starting again.
If you are wondering how to clean kitchen bins, start with your bin’s care instructions, a mild detergent, and a dedicated cloth or brush. Clean the washable parts, remove detergent residue, dry thoroughly, and fit a fresh liner. Electronic lids and specialty finishes need gentler treatment.
This guide breaks the job into manageable steps, with options for a quick reset, a more thorough wash, and outdoor bins. You do not need a collection of scented products or an elaborate homemade mixture. You need a method that suits your bin and a routine you can actually repeat.
Disclosure: This post may contain affiliate links. As an Amazon Associate, Clean Home Challenge earns from qualifying purchases. If you make a purchase through these links, we may earn a small commission at no extra cost to you. This helps us keep creating practical cleaning tips, routines and resources for busy families! 🧽
Gather Your Bin-Cleaning Supplies
Set aside about 15–20 minutes of hands-on time for an ordinary indoor bin, plus whatever drying time it needs. This is a planning estimate, not a tested promise; dried spills, awkward lids, and large bins take longer. If disinfection is appropriate, allow extra time for the product’s full label directions.
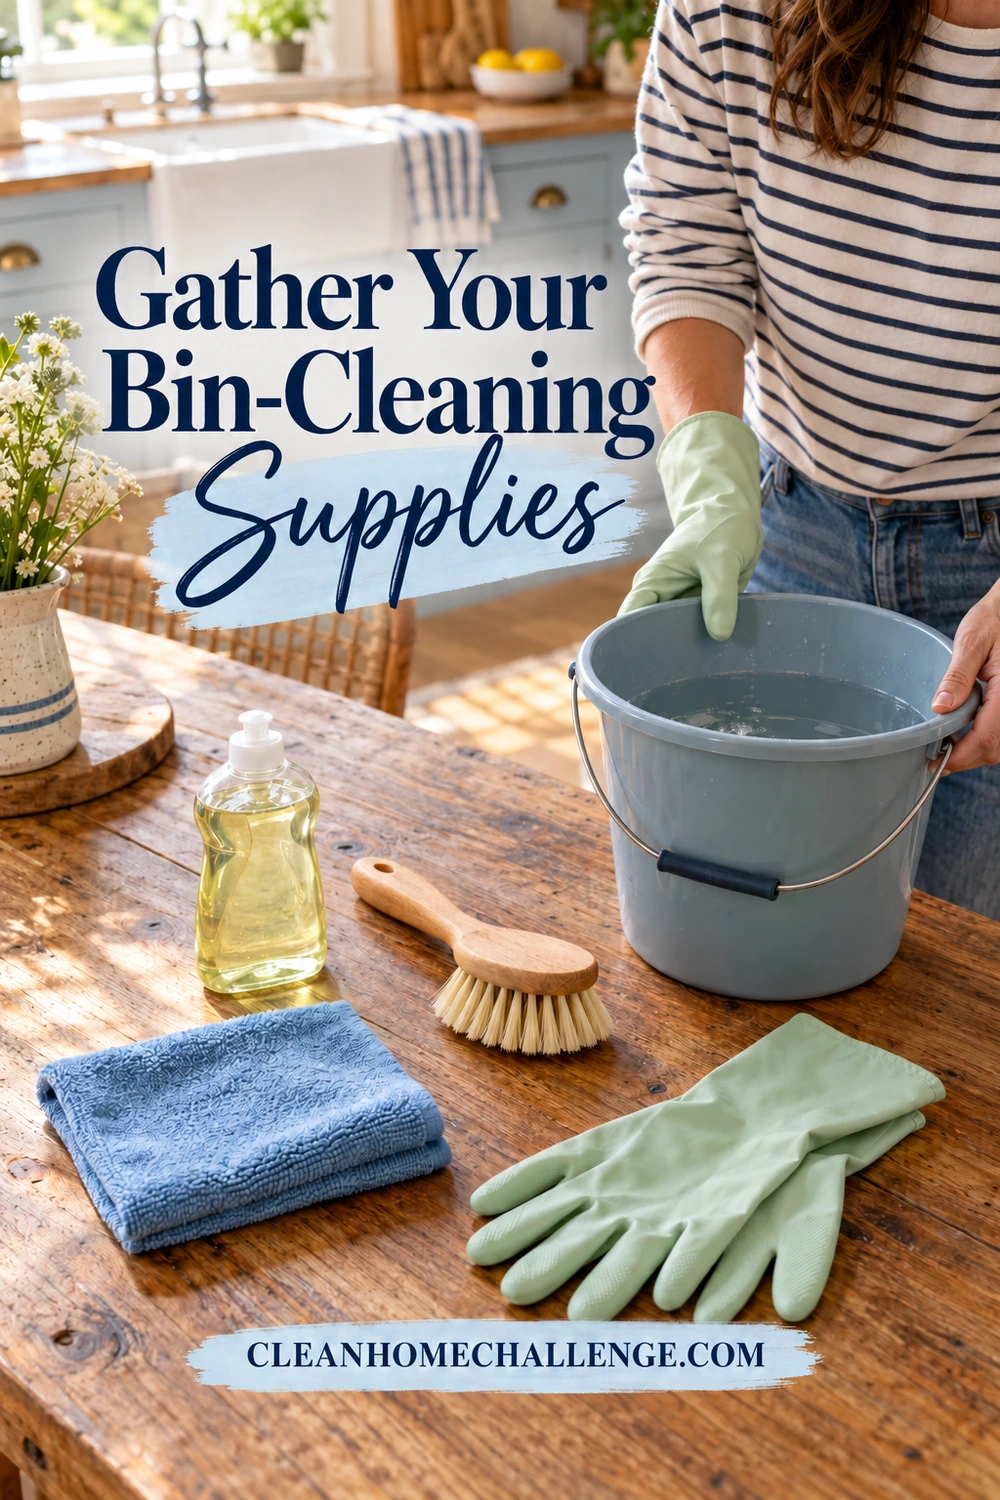
Have these items ready:
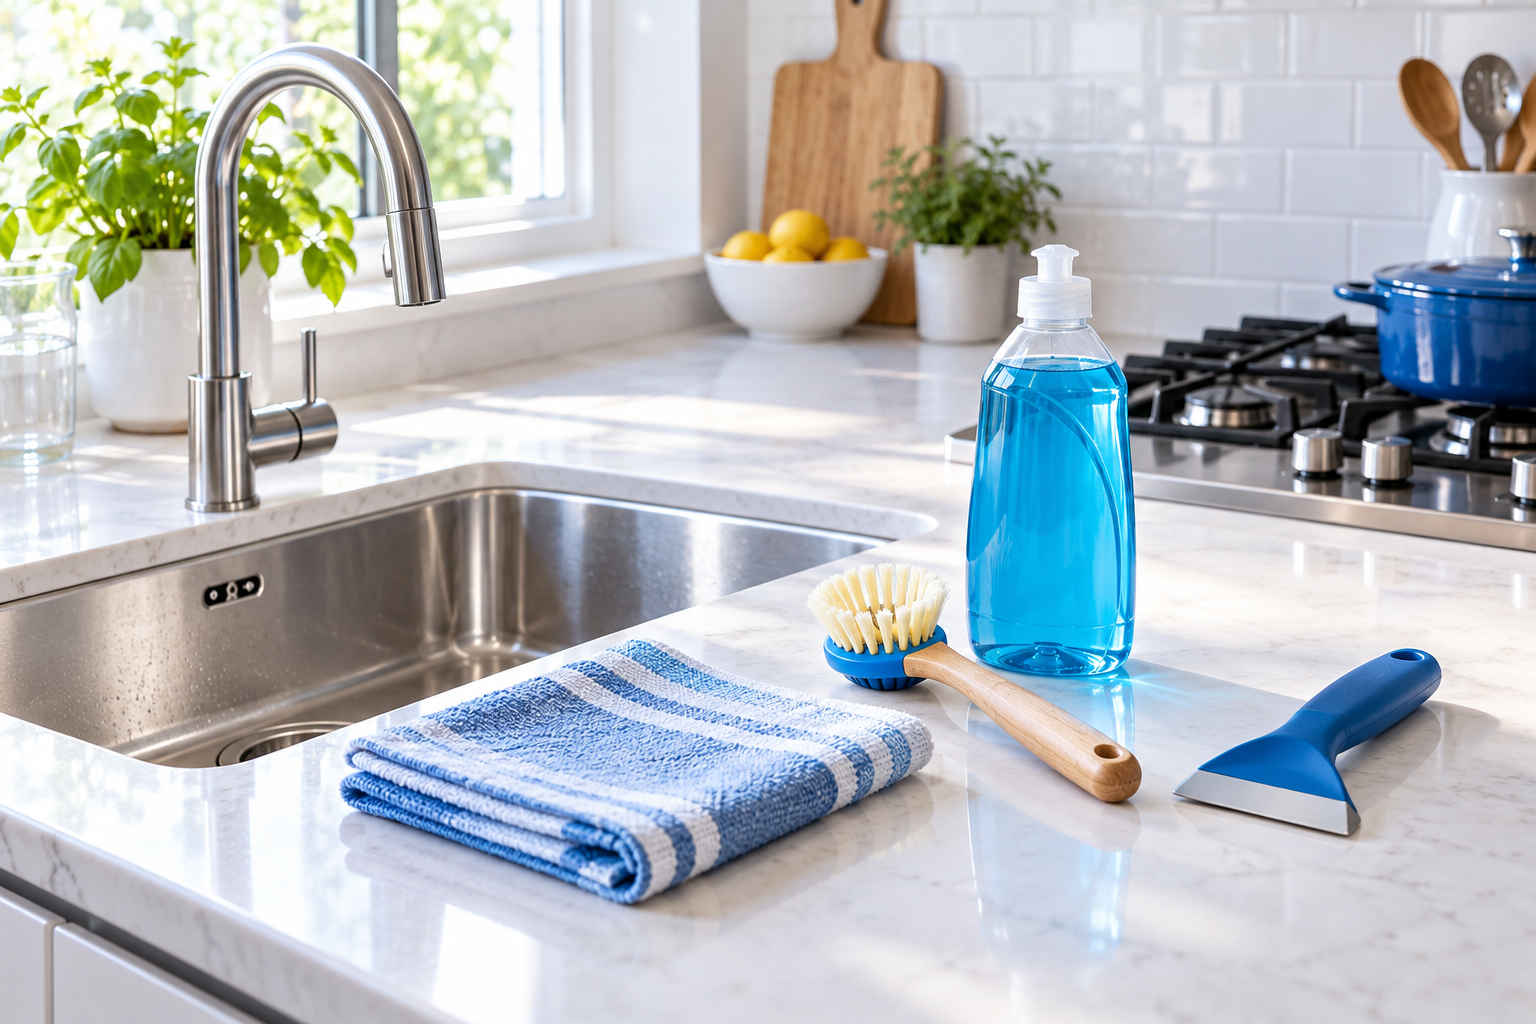
- Mild dish soap or the cleaner recommended for your particular bin
- Warm water, unless the product or bin instructions specify otherwise
- A soft cloth and a nonabrasive brush reserved for bin cleaning
- A separate clean cloth for rinsing and another for drying
- Gloves suitable for the job and any additional protection stated on the cleaner label
- Paper towels or another disposable absorbent for leaks
- A correctly sized fresh liner and a bag for loose debris
- A shallow wash basin or other way to contain dirty water
A long-handled brush can make a deep bucket easier to reach, but stiff bristles are not automatically better. Choose something that reaches the corners without scratching the surface. Keep these tools separate from brushes and cloths used for dishes or food preparation.
Before you fill anything with water, identify the removable bucket, outer shell, lid, pedal, and any electronic components. Look up the model’s instructions if you are unsure which parts are washable. An inner bucket may be removable without being suitable for soaking or a dishwasher.
Choose a stable workspace away from food. A utility sink can be convenient for a small washable bucket; clear the area first and clean the sink and surrounding surfaces afterward. If you work outdoors, decide how you will collect and dispose of the wash water before starting. A driveway beside a street drain is not a suitable runoff route.
Open a window when the cleaner label calls for ventilation, keep children and pets away from the work area, and put products away promptly afterward. Use one cleaning product at a time. CDC guidance specifically warns against mixing cleaners and disinfectants because dangerous vapors can result. Read CDC’s bleach safety guidance.
Empty the Bin and Find the Odor
Remove the bag carefully without pressing its contents down with your hands. If it is leaking, support it with another suitable bag rather than carrying a dripping liner through the house. Follow your local rules for separating general trash, food scraps, and recycling.
Put loose debris into the correct waste stream before introducing water. Use a brush or paper towel to pick up visible scraps; do not reach blindly around sharp packaging or broken glass. If the bin contains needles, unknown chemicals, or another hazardous item, stop and follow the relevant local disposal guidance instead of treating it as routine household cleaning.
Now check these five places:
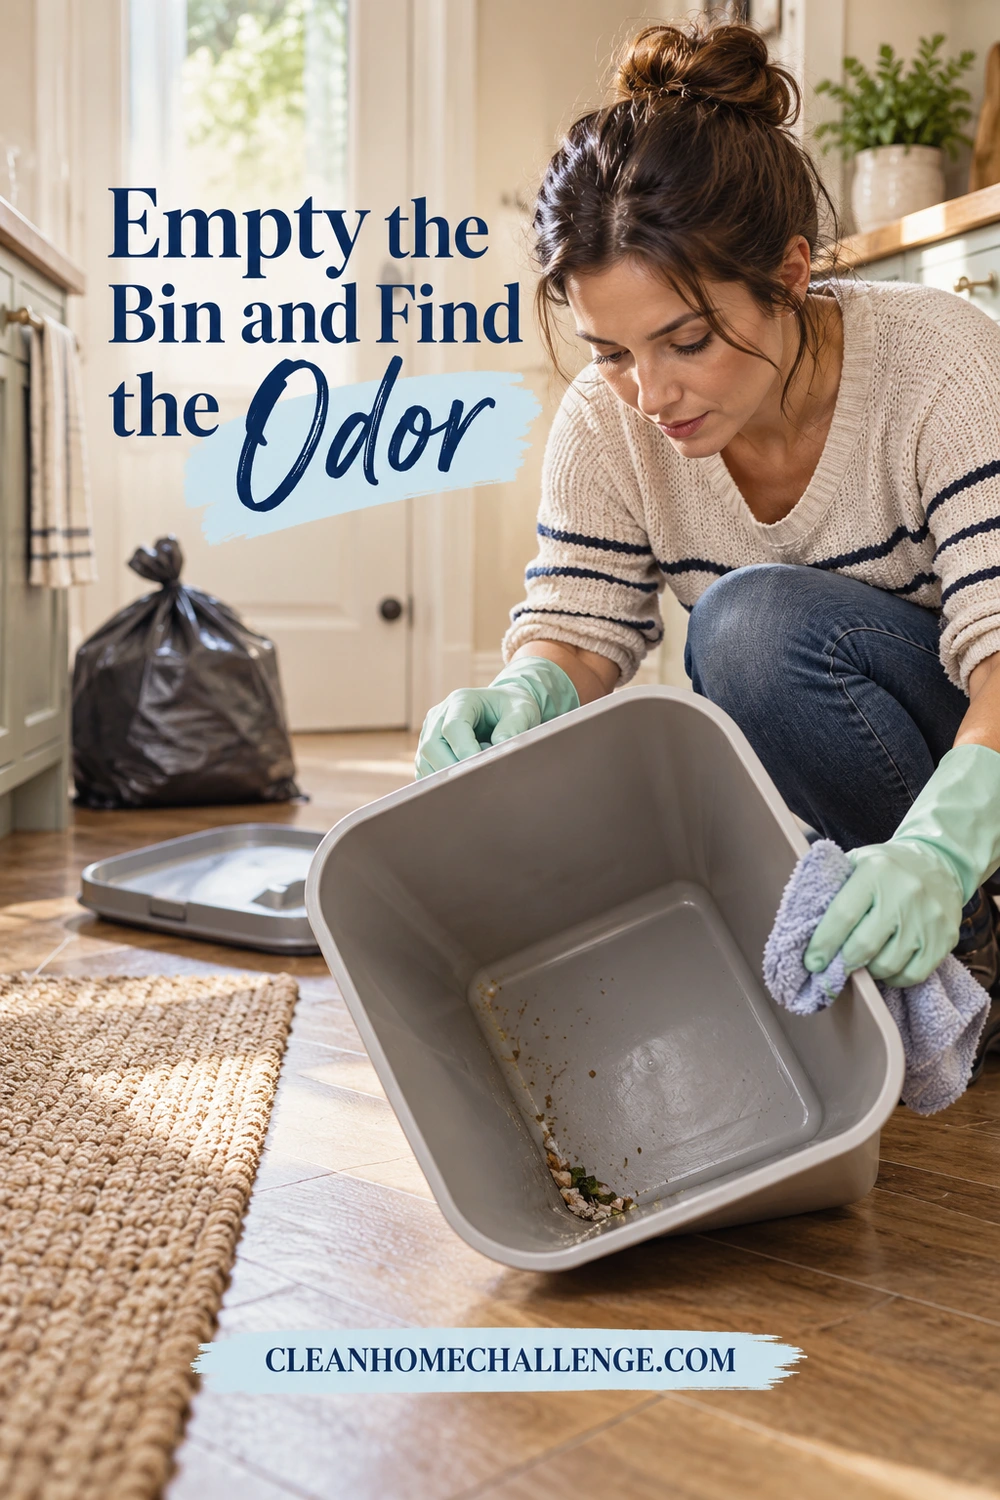
- Under the liner. Look for liquid, a sticky ring, or scraps that missed the bag.
- The bucket rim. A folded liner can hide dried food around its edge.
- The underside of the lid. Packaging may have brushed against it while the bin was full.
- The shell and pedal area. A leak can travel between the bucket and its outer housing.
- The floor or cabinet around the bin. The remaining smell may be beside the bin rather than inside it.
For visible liquid, absorb the small spill before washing. This makes the next step easier and reduces the amount of contaminated water you must handle. Replace a wet paper or cardboard liner underneath the bag if you use one; leaving it in place gives a clean bucket yesterday’s mess.
Do the empty-bin check before buying an odor absorber. A fragrance can make it harder to work out whether you removed the source. If a clean, fully dry bucket still smells, inspect the underside, removable trim, and any filter holder permitted by the manual. Do not force apart hinges or pry into sealed components.
Also check the bag fit. A slipping liner lets waste reach the bucket; an oversized fold can interfere with the lid. Brabantia specifically notes that a poorly fitted liner can hold a lid slightly open and allow more odor to escape. Fit the bag as the manufacturer intends, without blocking a designed vent or mechanism. See Brabantia’s odor troubleshooting.
If the bin itself passes the check, investigate nearby food caddies, recycling, cleaning cloths, or a leak under the sink separately. Do not keep adding stronger products to a bin that is no longer the source.
Wash, Rinse, and Dry the Bin
Use the following sequence for a bin or removable bucket whose manufacturer allows washing. For damp-wipe-only models, use the same top-to-bottom order with a lightly damp cloth and skip filling, soaking, or hosing.
1. Loosen the residue
Prepare warm water and mild detergent according to the relevant instructions. Start with a damp, soapy cloth on stuck-on marks. Allow the residue to soften while you clean another area rather than immediately reaching for an abrasive pad. Do not use boiling water, and do not fill a large bin with water you will struggle to lift or control.
2. Clean from the rim down
Wipe the rim and upper inside walls, then work toward the base. Use the dedicated soft brush for corners and molded grooves. Pay attention to the lip where the bag folds over and the seam around the bottom. Remove debris from the brush as you go so you are not simply spreading it around.
Clean the underside of an ordinary washable lid and its accessible edges. Hold it in a stable position rather than letting it swing against your hand. Wipe handles and the pedal separately. Keep water out of bearings, electronics, and enclosed mechanisms unless the manual explicitly permits the method.
3. Remove the detergent
Rinse permitted washable parts with clean water, using only as much as you can contain. For a damp-wipe surface, wipe repeatedly with a clean, lightly damp cloth, rinsing the cloth between passes. Check corners for suds and run a clean cloth around the rim. More detergent is not helpful if it leaves a film you must wash off again.
4. Dry before replacing the liner
Dry accessible surfaces with a clean cloth, then leave the lid open in a ventilated, secure place until remaining seams and recesses are dry. Check beneath the bucket handle and along the base. Do not depend on a fixed number of minutes: the material, airflow, and amount of trapped water change the drying time.
Set removable parts on a stable drying surface where air can reach them. Keep the bin out of the walkway. Do not leave a bin or bucket containing water where a child or pet could reach it, and do not use a heater to speed the process.
5. Reassemble and reset
Once everything is dry, return the bucket, fit the liner without stretching it over a sharp edge, and test that the lid closes normally. Clean the floor beneath the bin before putting it back. Wash the dedicated brush, clean or launder reusable cloths according to their care instructions, and dry the tools before storage.
Check the result with an ordinary glance and a gentle lid opening. There is no need to put your face inside the bin. A remaining mark does not automatically mean the surface needs harsher treatment; a persistent stain and removable residue are different problems.

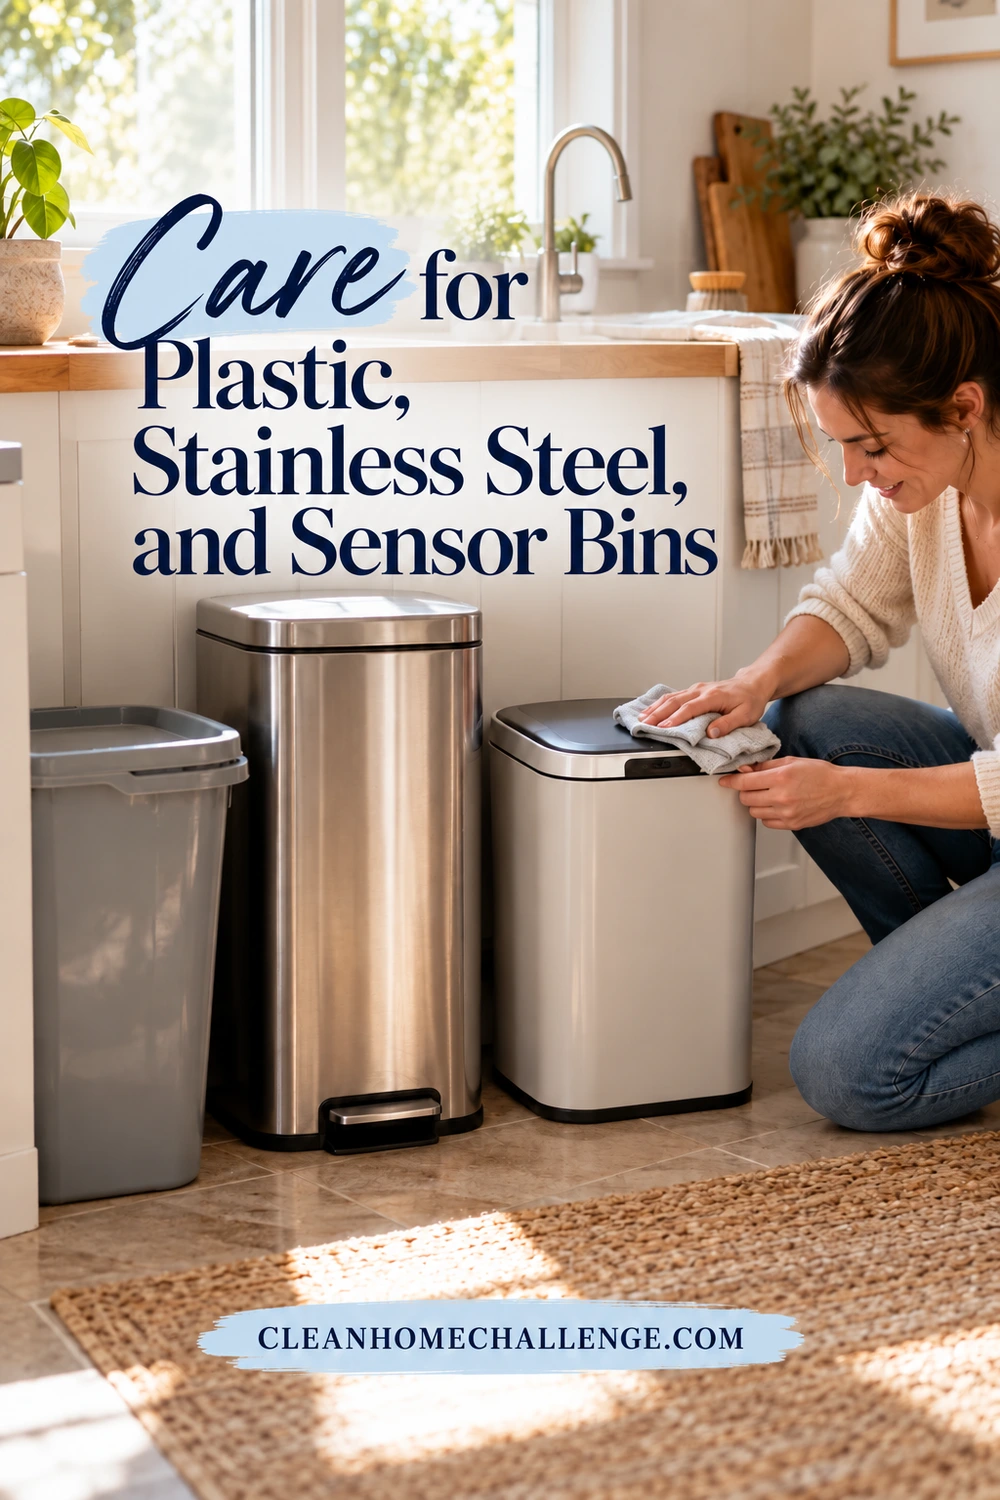
Care for Plastic, Stainless Steel, and Sensor Bins
The correct method follows the model and finish, not just the word “bin.” A stainless-steel shell may surround a plastic bucket, while an electronic lid can contain surfaces that must stay dry.
Plastic bins and removable buckets
Use a soft cloth or nonabrasive brush and the manufacturer’s approved cleaner. Avoid scraping stubborn marks with a knife or metal scouring pad. If a patch remains, repeat a gentle clean rather than escalating to an unverified solvent.
Do not assume a small plastic bin belongs in the dishwasher. Brabantia advises hand-washing its Sort & Go bins because dishwasher cleaning can deform them. Other models may have different instructions, so check the specific product rather than borrowing guidance from a similar-looking bin. Read the Sort & Go care advice.
Inspect a bucket that repeatedly leaks or retains inaccessible debris. A cracked base, damaged rim, or failing handle is a practical reason to ask the manufacturer about a replacement part. A cosmetic stain alone does not require a new bin.
Stainless-steel and coated exteriors
Begin with the mildest method the manufacturer allows. Simplehuman recommends a soft cloth, warm water, and mild detergent for the stainless-steel model cited here, and specifically advises against steel wool, bleach, acids, salts, and stainless-steel polisher. That last restriction is worth noticing: a bottle marketed for stainless steel is not automatically right for a fingerprint-resistant coating. See simplehuman’s care guidance.
Use light pressure, follow the finish direction where the manual recommends it, and dry away water marks with a clean soft cloth. Before trying an allowed new product, test a small inconspicuous area as directed. Do not improvise with vinegar, abrasive powders, or an oil treatment on a specialty finish.
Sensor lids and powered bins
Switch off the unit and follow its instructions for disconnecting power or removing batteries before cleaning. Do not hose, immerse, or pour cleaner over an electronic lid. EKO directs owners to use a dry cloth on its sensor lid’s buttons and lights, and a soft damp cloth on the body and inner bucket before wiping dry. This is a good example of why a removable bucket is not automatic permission to soak it. Read EKO’s cleaning instructions.
For the sensor itself, use only the method specified for your model. Simplehuman’s cited sensor-can support recommends turning the unit off and cleaning the sensor with a microfiber cloth. Reassemble and restore power only as directed, once the relevant parts are dry. See sensor-can support.
Disinfect Only When It Is Needed
Routine cleaning and disinfection are different jobs. Cleaning lifts away dirt and much of the contamination on a surface. Disinfection uses an appropriate product to act against the organisms listed on its label. A fresh scent does not prove either job has happened.
CDC advises that ordinary home cleaning is generally sufficient unless someone is sick or there is a particular reason for extra protection, such as a household member with a weakened immune system. Follow relevant health guidance for your situation rather than disinfecting the whole bin every time you change a bag. Read CDC’s home-cleaning guidance.
If disinfection is needed, check both the bin care instructions and the disinfectant label. In the United States, choose an EPA-registered product with directions for the intended surface and use. Outside the United States, use the equivalent locally authorized product. A disinfectant suitable for an uncoated plastic bucket may be unsuitable for the metal shell or powered lid.
Follow this order:
- Clean away visible soil first. Remove scraps, grease, and detergent residue as required.
- Read the complete directions. Check the surface, application method, dilution if any, protective equipment, ventilation, and disposal instructions.
- Apply exactly as directed. Do not make the product stronger or combine it with anything else.
- Keep the surface wet for the specified contact time. Set a timer if useful. A quick spray followed by an immediate wipe may not meet the label.
- Finish as directed. Complete any required rinsing and drying before the bin goes back into service.
EPA explains that the label’s contact time is the period the surface must remain visibly wet for the product to work as claimed. It varies by product and intended organism; there is no single “bin disinfecting time” to apply to every bottle. See EPA’s disinfectant-label guidance.
Keep cleaning chemicals away from children and pets, and wash your hands after the task. Never mix bleach with vinegar, ammonia, other cleaners, or another disinfectant. Do not layer products onto a wet surface in the hope of making them more effective. If the necessary treatment conflicts with your bin’s care instructions, ask the manufacturer about a compatible option instead of risking the finish or electronics.

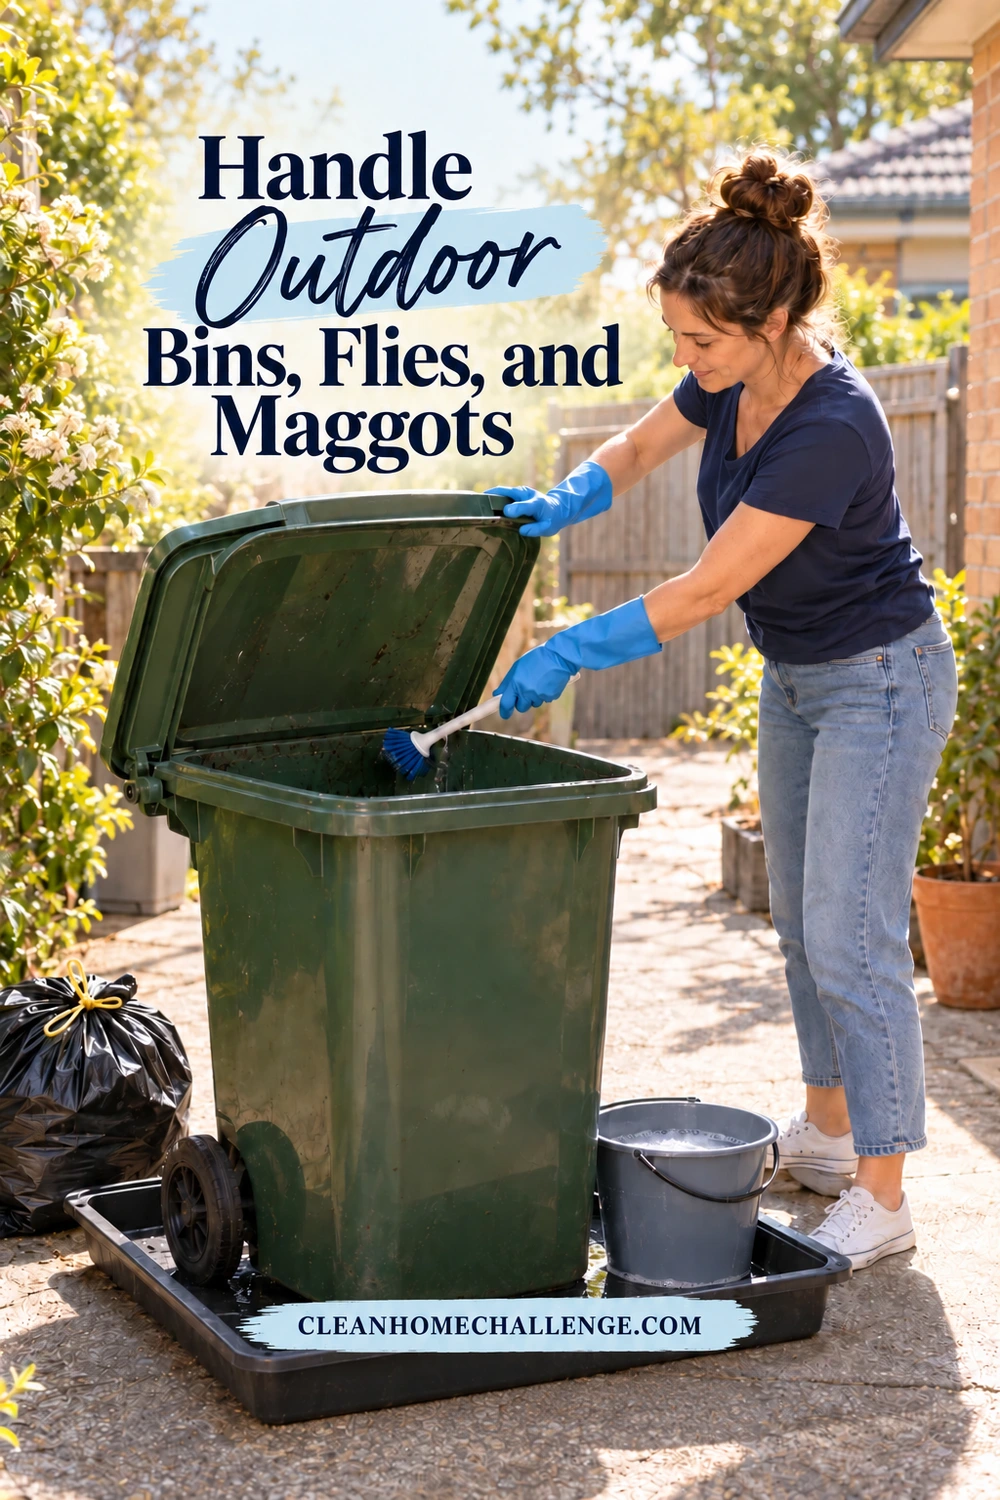
Handle Outdoor Bins, Flies, and Maggots
A wheeled outdoor trash cart needs the same basic attention to residue, but its size changes the job. Choose a time after collection, when it is empty. Wear suitable gloves and closed footwear, keep the bin stable, and avoid climbing inside or leaning so far into it that you could lose your balance.
Remove loose material first. Use a long-handled nonabrasive brush and the cart manufacturer’s permitted detergent method for reachable surfaces. A bucket and controlled wipe can be easier to manage than a hose. Never fill a large cart to make a heavy soaking bath, and do not use a pressure washer as a shortcut around hinges, labels, or nearby people.
Plan for wastewater. Keep dirty water, detergent, and loose trash out of the street and storm drains. EPA explains that storm drains commonly lead directly to natural waterways. Collect wash water where practical and ask your local wastewater provider how it should be disposed of; a sanitary drain, septic system, garden, and storm drain are not interchangeable destinations. Product-label disposal directions also apply. Read EPA’s storm-drain guidance.
If you cannot safely contain the water, lift the parts, or reach the base, a professional bin-cleaning service is a reasonable alternative. Ask how it collects and disposes of wastewater rather than assuming any service handles that step correctly.
If you find flies or maggots
Maggots are fly larvae. Focus first on removing access to waste and getting the bin emptied. Keep children and pets away while you deal with it. For ordinary general trash, carefully re-bag accessible affected waste and tie the bag securely; do not put plastic bags into a food-waste service that prohibits them. West Berkshire Council recommends secure re-bagging for affected general-waste bins. See its bin advice.
After emptying, remove remaining debris with dedicated tools, clean reachable surfaces using the permitted method, contain the wash water, and let the bin dry. This is a practical cleanup process, not a promise of pest eradication. Avoid pouring boiling water into the bin or adding pesticides as a routine home remedy. If larvae keep returning or you cannot clean the bin safely, contact your waste provider or a qualified pest professional.
For prevention, keep lids closed, secure general-waste bags, clean food residue from recyclables according to local rules, and keep outdoor bins out of direct sun where practical. Use only the liner types your food-waste service accepts. These access-and-storage measures align with North Warwickshire Council’s guidance. Read its maggot-prevention advice.
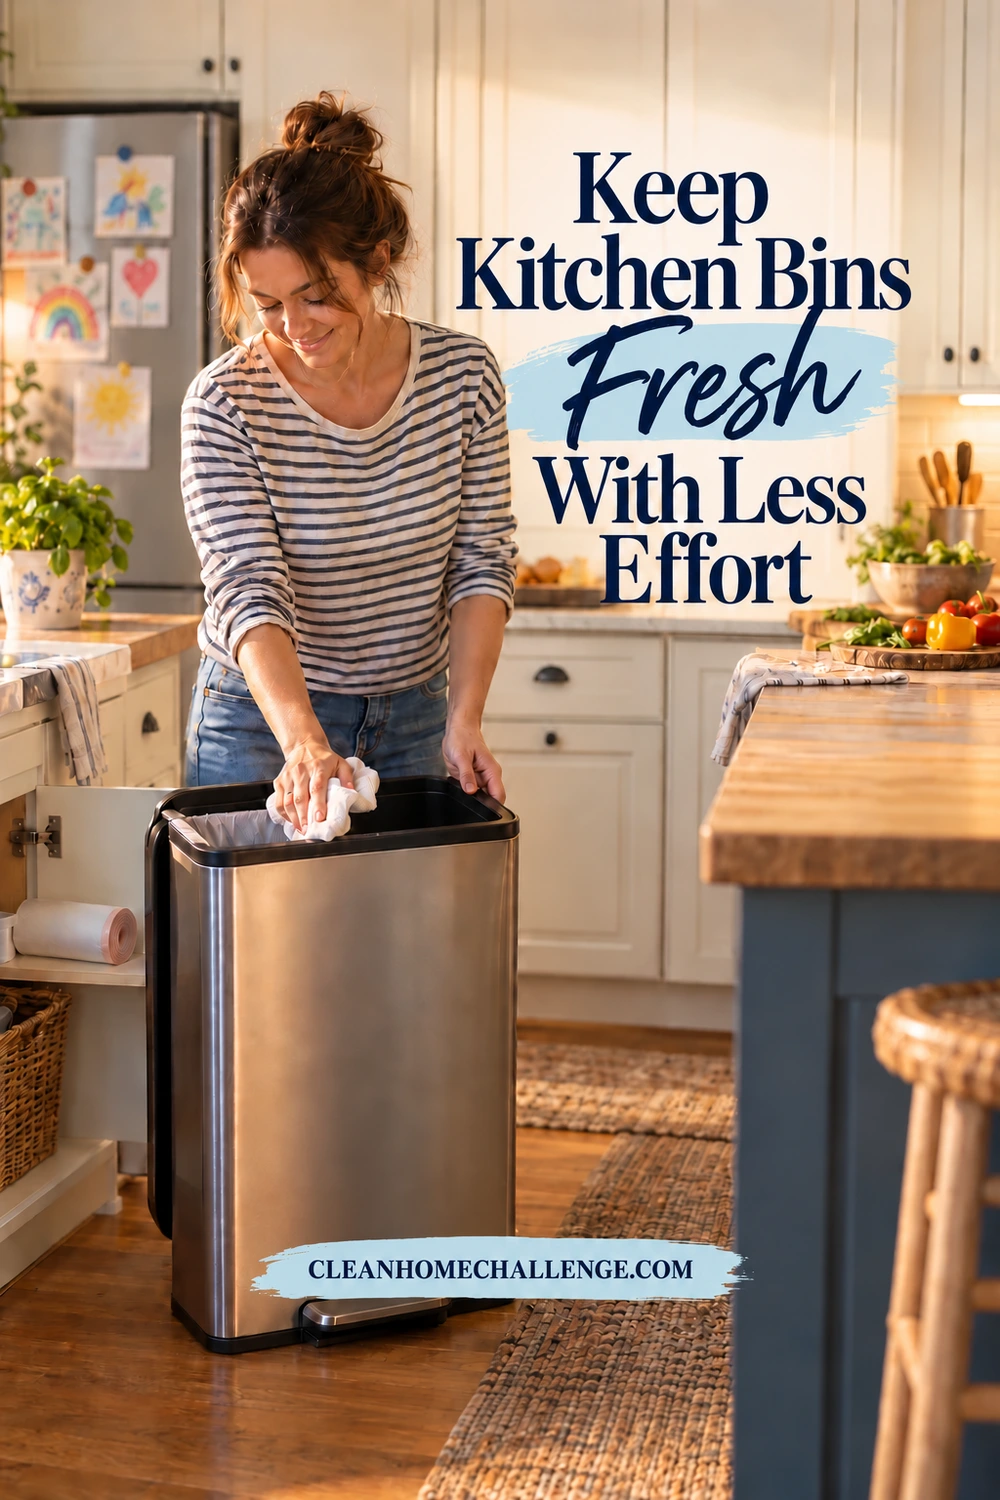
Keep Kitchen Bins Fresh With Less Effort
A useful bin routine is tied to something already happening: changing the bag, taking trash outside, or the Monday kitchen reset. Treat the schedule below as a starting point you can adjust, not a cleanliness test you must pass.
At each bag change: glance at the base and rim. Deal with a leak now rather than putting a new liner over it. Check that the replacement bag fits and the lid moves freely.
During the weekly kitchen reset: wipe the permitted touch points, inspect beneath the bucket, and check the nearby floor. Wash the bin when it is visibly dirty, sticky, or still smells after emptying. Busy homes and warm weather may need more frequent attention; a clean bin with dry waste may need less.
After a spill: remove the waste causing it, absorb the liquid, and clean the affected area promptly. If the spill involved raw-meat juices or another specific contamination concern, follow appropriate cleaning and disinfection guidance for the affected surfaces rather than relying on a fragrance.
Keep liquids out of the trash bag where your local disposal rules allow a better route. Empty food scraps often enough for your household and collection system, and avoid overfilling the bin until packaging props the lid open. Store spare liners close enough that replacing one does not turn into a separate errand.
An odor absorber is optional. If your bin has a manufacturer-designed filter or deodorizer holder, use the specified refill and replacement guidance. Do not tuck loose powders, scented pads, or oils around moving parts, electronics, or places children and pets can access. None of these additions removes food residue or repairs a leaking liner.
The low-energy version
On a difficult day, do three things: take out the waste, remove any visible leak, and wipe the rim with a bin-safe method. If the base needs a full wash, leave the bin safely out of use and use another suitable lined container until you can finish. Avoid relining a wet bucket just to call the job done.
Our one-page bin-cleaning checklist can sit with your kitchen routine so you do not need to remember every step. Start with the part causing today’s problem; the rest can become easier with the next bag change. A bin that is clean enough to use, dry inside, and manageable to maintain is a worthwhile result.
CLEANERS CLUBHOUSE
Make Kitchen Cleaning Feel More Manageable
Turn Monday into your kitchen reset day with a clear routine you can follow. The Cleaners Clubhouse gives you practical cleaning guidance, printable support and monthly challenges to help you stay consistent.
