

THIS POST MAY CONTAIN AFFILIATE LINKS. PLEASE READ MY DISCLOSURE FOR MORE INFO.
An annual home cleaning checklist gives the jobs you keep meaning to do a place on the calendar. The pantry shelves, sofa crevices, curtain care labels, and forgotten storage bins can each have a turn without taking over an entire weekend.
This guide gathers 50 jobs worth reviewing across the year, with practical starting points, approximate hands-on times, and clear limits for tasks that need a professional. Choose what fits your home, cross out what does not, and keep the list somewhere easy to find.
Important: “Annual” describes the planning check-in. It does not mean every item should wait 12 months. Clean spills, visible grime, food-contact surfaces, and high-touch areas as needed; follow appliance and filter schedules; and act promptly on leaks, burning smells, blocked vents, or other hazards.
Disclosure: This post may contain affiliate links. As an Amazon Associate, Clean Home Challenge earns from qualifying purchases. If you make a purchase through these links, we may earn a small commission at no extra cost to you. This helps us keep creating practical cleaning tips, routines and resources for busy families! 🧽
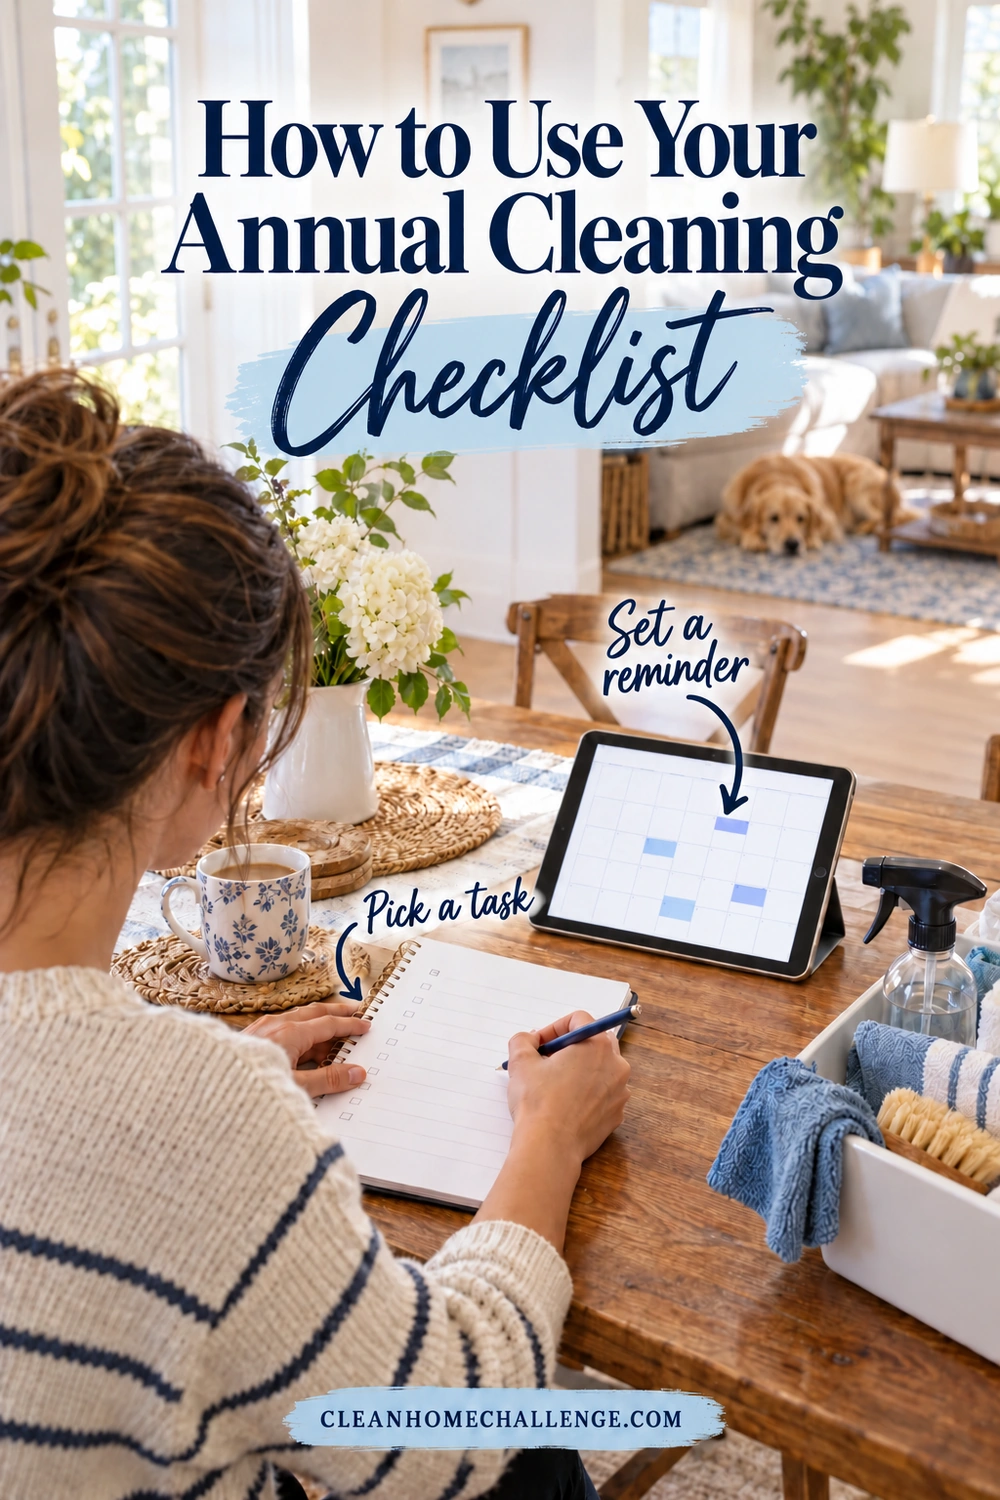
How to Use Your Annual Cleaning Checklist
Start with a 15-minute walk-through and mark each applicable job do now, schedule, or book help. Record the last completion date and the next check. Homes with pets, heavy cooking, frequent laundry, or more dust may need shorter intervals.
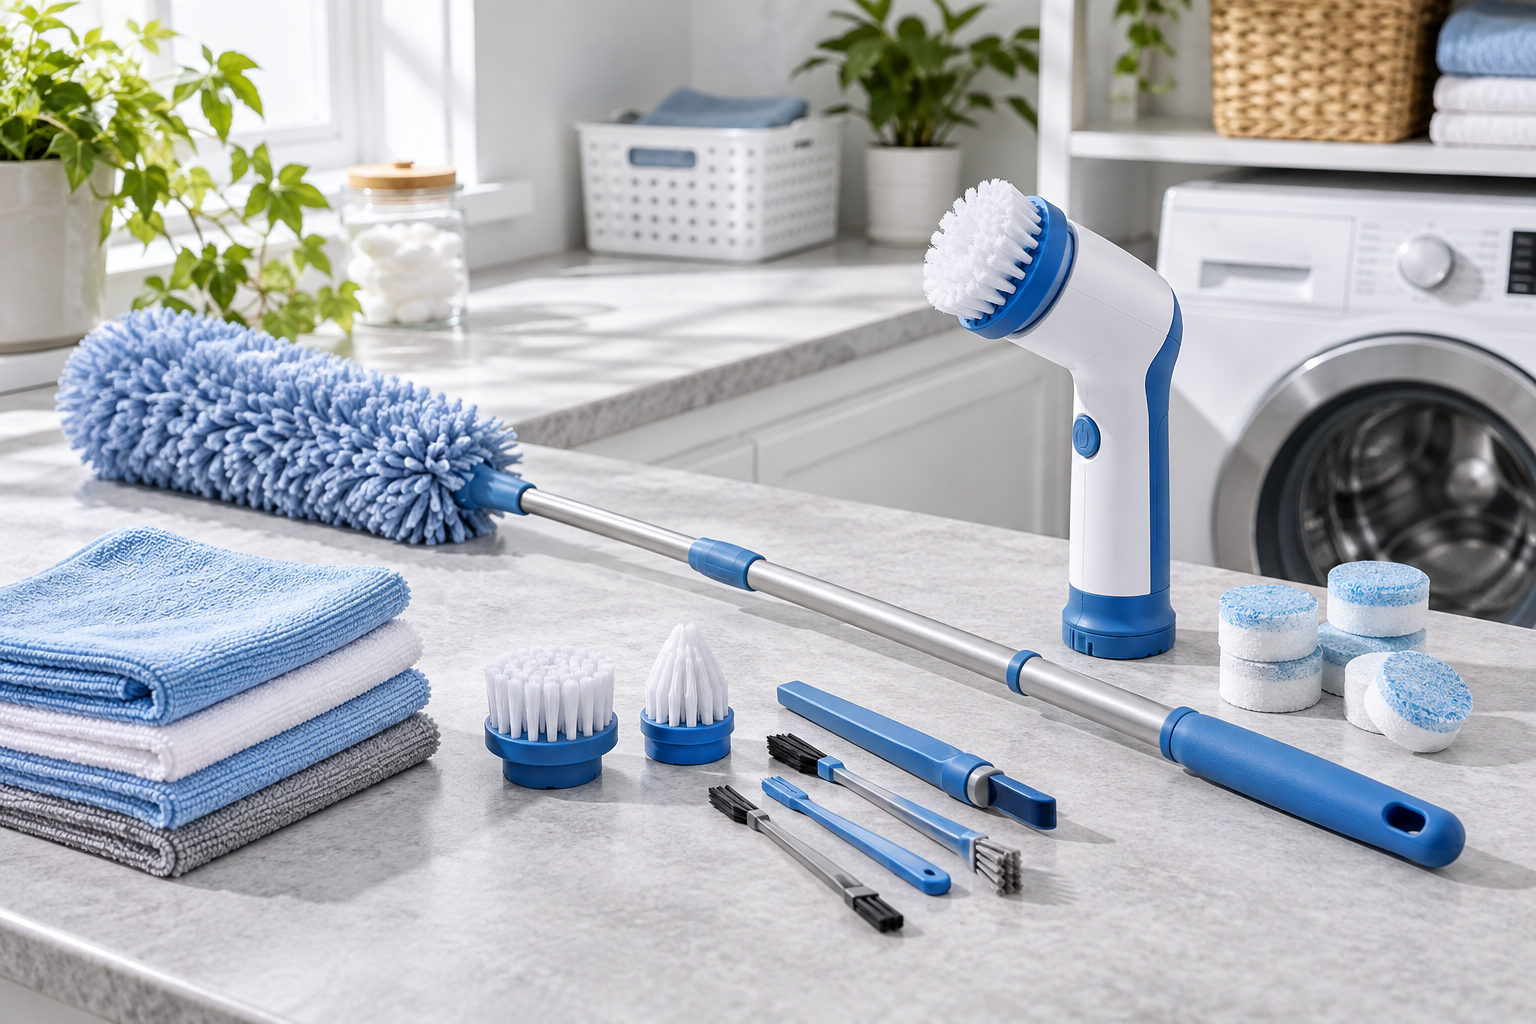
For this yearly deep clean, gather a vacuum with suitable attachments, clean microfiber cloths, a soft brush, a bucket, gloves when required, and cleaners approved for your surfaces. Check care labels before starting. Keep different cloths for kitchen and bathroom jobs, and test unfamiliar products in a hidden spot.
Work from higher accessible surfaces downward, remove loose dust before wiping, and leave floors until last. Use only tools and positions you can manage safely from the floor. Do not climb on furniture, move heavy appliances, open service panels, or disconnect gas, electrical, or water connections for this checklist.
Cleaning removes dirt and many germs; sanitizing and disinfecting are separate processes. The CDC’s home-cleaning guidance says ordinary cleaning is usually sufficient, with additional disinfection appropriate in situations such as illness. Follow product directions, including contact time when disinfecting. Never mix cleaners, ventilate as directed, and keep products away from children and pets.
Time estimates are planning aids: they cover a modest area and exclude machine cycles, soaking, drying, shopping, and professional visits. A five-minute start still counts. If you have limited energy, choose one shelf or one small surface and stop while the room remains usable.
Kitchen Jobs Worth Scheduling
Choose a day when the kitchen can be partly out of action. A shelf or drawer is a good short session; appliance work deserves its own space on the calendar.
1. Clean cabinet tops and upper-door edges
Allow 15–25 minutes. Lift loose dust with an extendable microfiber duster from the floor. Wipe reachable greasy edges with a cloth lightly dampened with a cabinet-safe cleaner, then dry. Skip inaccessible tops until you have help. Avoid soaking wood joints or scrubbing a painted finish with abrasive pads.
2. Empty and wipe pantry shelves
Allow 20–30 minutes per section. Work one shelf at a time so dinner supplies stay findable. Vacuum crumbs, wipe with a finish-safe cleaner, and let the shelf dry before returning food. Check damaged packaging and follow food-storage guidance rather than treating every best-by date as a safety cutoff. Put older usable items at the front.
3. Reset kitchen drawers and organizers
Allow 15–20 minutes. Remove the contents and lift out removable trays. Brush or vacuum corners, wash trays only if their material permits it, and dry everything before replacing utensils. Begin with the crumbiest drawer. A simple rearrangement that gives your everyday tools space is enough; new organizers are optional.
4. Clean refrigerator shelves, drawers, and seals
Allow 30–45 minutes. Keep perishables in a cooler at 40°F or below while you work in batches. Follow the manual for shelf removal and cleaning; let cold glass warm before washing. Dry parts and return food promptly. Clean spills sooner. For a fuller sequence, follow our fridge deep-clean guide. USDA food-safety guidance gives a two-hour limit out of refrigeration, or one hour above 90°F.
5. Review refrigerator grille and coil care
Allow 10 minutes to check the manual. Dust only accessible exterior surfaces using the model’s directions. Check whether condenser cleaning is actually required and who should do it. Whirlpool notes that some models need no coil cleaning and others require a certified technician. Do not pull out the refrigerator or remove panels to investigate.
6. Give the oven and racks the correct clean
Allow 20–40 minutes active work. Start with a cool oven and read its care guide. Use only the approved manual-cleaning method or cleaning cycle, with the required preparation. Avoid the door gasket and internal openings. Special rack coatings need special care. Manufacturer instructions take priority over viral oven-cleaning shortcuts; deal with spills once cool rather than saving them for next year.
7. Wash eligible range-hood grease filters
Allow 15–20 minutes active work. With the hood off and cool, follow the manual for safe access to a user-removable filter. Wash compatible metal filters with warm water and dishwashing liquid, rinse, and dry before refitting. Charcoal and metal filters need different care; do not wash a replace-only filter. Review the recommended interval, which is usually more frequent than annual.
8. Review dishwasher filter and door-edge care
Allow 15–20 minutes. Check your model’s manual before removing anything; filter designs vary. Clean an accessible user-serviceable filter as directed, refit it securely, and wipe the door edges without flooding controls. Use the approved cleaning cycle or product when due. Whirlpool’s dishwasher guidance includes monthly cleaning, so add the appropriate repeat reminder now.
9. Clean seldom-used small appliances
Allow 15–25 minutes. Unplug appliances and let them cool. Empty a removable crumb tray, clean detachable parts according to the manual, and wipe exterior surfaces with a lightly damp cloth. Keep motor housings, cords, plugs, and openings dry. Descale only when the appliance instructions call for it, using an approved product and method.
10. Wash trash and recycling containers
Allow 15–20 minutes. Empty each container and remove loose debris. Wash compatible surfaces with detergent and water, rinse as needed, and dry thoroughly before fitting a fresh liner. Clean the lid’s underside and pedal recess with a brush. Address leaks and odors when they happen; the annual review helps you remember hidden bases and surrounding floor edges.

Bathroom Jobs Beyond the Weekly Clean
Keep the regular bathroom clean going, then add one neglected detail. Start with dry storage before moving to wetter, messier areas.
11. Clear and clean the vanity cabinet
Allow 20–30 minutes. Take out one section of supplies and check the cabinet floor for drips or swelling. Wipe sound surfaces with a suitable cleaner and dry. Return only closed, usable products. Treat dampness or an active leak as a repair issue now; a tray can catch a small bottle spill but cannot fix plumbing.
12. Refresh bathroom linen storage
Allow 15–20 minutes. Remove towels and spare linens, dust shelves, and wipe as their finish allows. Let shelves dry before restacking fully dry fabric. Keep everyday towels within reach and separate the few spares you use. If a cupboard smells persistently musty, investigate moisture instead of masking the odor with fragrance.
13. Dust the bathroom exhaust grille safely
Allow 5–10 minutes. With the fan off, use a dry soft brush or vacuum attachment on the reachable exterior grille, following its manual. Do not spray liquid into the fan or remove electrical components. If the cover is too high or airflow seems poor, arrange appropriate service. Recurring condensation deserves attention before your next scheduled clean.
14. Check showerhead and faucet mineral buildup
Allow 10–15 minutes active work. Start with a soft cloth and the fixture maker’s approved cleaner. Use a permitted descaler only for its stated time, then rinse as directed. Avoid a blanket vinegar soak: finishes, seals, and nearby stone vary. If access requires dismantling unfamiliar parts, let a plumber handle it. Hard water may call for more frequent care.
15. Detail shower-door tracks and edges
Allow 15–20 minutes. Remove loose debris with a soft brush, then use a cleaner compatible with the glass, track, and surrounding surface. Work into corners with a small non-scratch brush; rinse and dry as directed. Keep intended drainage openings clear without poking tools into concealed channels. Never layer descaler over bleach-containing products.
16. Clean and inspect grout and caulk
Allow 15–25 minutes per area. Use a grout-safe cleaner and soft brush, then rinse and dry according to the label. Check for cracks, separation, recurring discoloration, or damp walls. Avoid acidic cleaners on acid-sensitive stone: the Natural Stone Institute recommends material-appropriate care. Failed caulk, leaks, and recurring mold need the underlying problem addressed rather than harder scrubbing.
17. Clean behind the toilet and around its base
Allow 10–15 minutes. Use a dedicated bathroom cloth or brush to reach the exterior back, floor edge, and accessible base. Apply cleaner to the cloth where practical and keep it off surfaces the label excludes. Do not loosen fittings or seals. This is detail work alongside regular toilet cleaning, not a reason to delay ordinary bathroom hygiene.
18. Wash bathroom accessories and shower liners
Allow 15–20 minutes active work. Wash compatible soap dishes, toothbrush-holder bases, trays, and wastebasket lids, then rinse and dry. Launder a removable shower liner only as its label permits, with safe access to its fasteners. Keep cloths away from toothbrush bristles. Put frequently soiled pieces on your regular bathroom routine rather than waiting for this review.

Bedrooms and Closets That Need a Reset
Pick a day with enough drying time for any washable fabric. You can finish a closet shelf while a separate bedding load runs, without emptying the whole room.
19. Vacuum the mattress surface and seams
Allow 15–20 minutes. Strip the bed and check the mattress care guide before using a gentle upholstery attachment. Work slowly across the approved surfaces and seams. Do not soak the mattress or assume every cover is removable. Follow model-specific spot-care advice and allow complete drying before making the bed. Rotate only if the manufacturer recommends it.
20. Plan a bulky-bedding wash
Allow 10–15 minutes active work per load. Read the comforter, pillow, and protector labels separately. Use the specified cleaning method and a machine large enough for the load to move properly. Arrange professional cleaning when required. Allow full drying, including the filling, before storage. Everyday sheets and soiled protectors belong on a much shorter routine.
21. Reach dust beneath and around the bed
Allow 15–25 minutes. Use an extension or low-profile vacuum attachment without crawling into a tight space or lifting heavy furniture. Clean reachable frame rails and headboard edges with a suitable cloth. Pull out only manageable storage containers, wipe them, and return them dry. Leave heavy moving to someone equipped to help. Our under-furniture cleaning guide offers more reachable-area options.
22. Reset closet shelves and rails
Allow 20–30 minutes per section. Choose one shelf, remove its contents, and vacuum loose dust. Wipe compatible shelves and rails with a lightly damp cloth, then dry. Return clothes with a little breathing room around them. If sorting everything would stall the clean, make a small separate decision pile and finish the surface first.
23. Clean seasonal clothing-storage containers
Allow 15–20 minutes. Empty bins or bags, vacuum corners, and follow the material’s cleaning instructions. Inspect for damage and dampness. Pack only clean, fully dry items, keeping heavier pieces low enough to lift comfortably. Label the season and contents. A musty garment needs appropriate cleaning and a moisture check before it goes back into storage.
24. Review curtain and drape care
Allow 15–20 minutes active work per window. Check whether fabric can be vacuumed, washed, or professionally cleaned. Use gentle suction where allowed and follow the label for washing and drying. Ask for help with heavy curtains or high fixings. Washing a dry-clean-only or lined curtain by guesswork can shrink the fabric or distort its lining.
25. Dust bedroom blinds and reachable trim
Allow 10–15 minutes per window. Close the blind, support delicate slats, and use a soft dry duster in the direction of the slats. Turn the slats to reach the other side. Follow manufacturer guidance before adding moisture, particularly for wood or fabric blinds. Keep cords secure and avoid pulling on fragile mechanisms.
26. Clean luggage and rarely used bags
Allow 15–20 minutes. Empty pockets, vacuum crumbs from seams, and wipe a hard shell or washable lining as its care instructions allow. Let the bag stay open until completely dry before storing it. Check wheels and handles for debris without dismantling them. This is an easy job to do after a trip rather than waiting for a calendar date.

Living Areas and Home Office Details
Gather the attachments and care labels before moving from one material to another. Save delicate fabrics and unfamiliar electronics for a separate, unhurried session.
27. Vacuum sofa crevices and under cushions
Allow 15–20 minutes. Remove only cushions designed to lift out. Use the upholstery and crevice attachments gently, checking for small objects first. Vacuum accessible frame edges and beneath the sofa without heavy lifting. Keep the care label handy; a removable cushion does not automatically mean its cover can go in the washer.
28. Choose the right upholstery deep clean
Allow 15 minutes to assess or book. Read the furniture’s cleaning code and manufacturer guidance. Use only an approved spot-cleaner, patch-test, and avoid soaking the filling. Water-based extraction is unsuitable for some fabrics. For delicate, unknown, or heavily soiled upholstery, book a qualified cleaner and ask about drying time before arranging the room around the visit.
29. Assess carpets and rugs for deeper cleaning
Allow 15–20 minutes to plan. Vacuum first and review the carpet or rug maker’s care and warranty requirements. Choose a compatible method or professional service; natural fibers and unstable dyes need particular care. Plan for complete drying and keep furniture off damp material as advised. Pets, spills, and heavy traffic may call for earlier attention.
30. Dust bookcases and display shelves
Allow 20–30 minutes per unit. Work from the highest safely reachable shelf down. Remove a manageable group of books or objects, dust with a soft cloth, and clean the shelf as its finish permits. Avoid spraying directly near books, photos, or artwork. Photograph a display first if putting everything back is the part you tend to postpone.
31. Clean lamp shades and accessible light exteriors
Allow 10–15 minutes. Switch off, unplug portable lamps, and allow bulbs to cool. Use a soft dry brush on compatible shades and wipe only exterior surfaces permitted by the maker. Keep liquid away from sockets and wiring. Leave ceiling fixtures that require climbing or removal to suitable help rather than balancing on furniture.
32. Dust safely reachable ceiling-fan blades
Allow 10–15 minutes. Turn the fan off and let it stop fully. If your tool reaches comfortably from the floor, gently collect dust without bending blades or wetting the motor housing. Protect the floor underneath and vacuum fallen dust afterward. If access is awkward, arrange help; checking off a cleaning task is never worth a fall.
33. Spot-clean walls, doors, and baseboards
Allow 20–30 minutes per room. Dry-dust first, then test a lightly damp cloth and finish-safe cleaner in an inconspicuous area. Work gently on fingerprints and scuffs without saturating paint, wallpaper, or wood trim. Dry where needed. Avoid abrasive sponges unless the finish maker allows them; they can dull paint or remove its sheen.
34. Clean interior window tracks and frames
Allow 15–20 minutes per window. With the window safely positioned, vacuum loose grit from accessible tracks using a soft brush. Wipe compatible frames with a lightly damp cloth, then dry. Clean the glass with a product suitable for any film or coating. Do not lean outside, force the sash, or block designed drainage openings. Use our window-cleaning checklist to plan a separate window session.
35. Detail screens and home-office electronics
Allow 10–15 minutes. Power down and unplug devices according to their instructions. Use a soft lint-free cloth and the specific manufacturer-approved method; apply permitted moisture to the cloth rather than spraying the device. Apple’s cleaning guidance, for example, distinguishes materials and products. Keep moisture out of openings and avoid ordinary window cleaner on an unapproved screen.
36. Clear desk drawers and accessible cable areas
Allow 20–25 minutes. Remove a small drawer’s contents, vacuum crumbs, and wipe its interior before returning essentials. Dust the reachable floor around cords with equipment powered down as appropriate. Leave connected cables undisturbed if you cannot identify them. Damaged cords or loose connections need proper attention; do not hide damage under a cable sleeve.

Laundry and Utility Spaces to Check
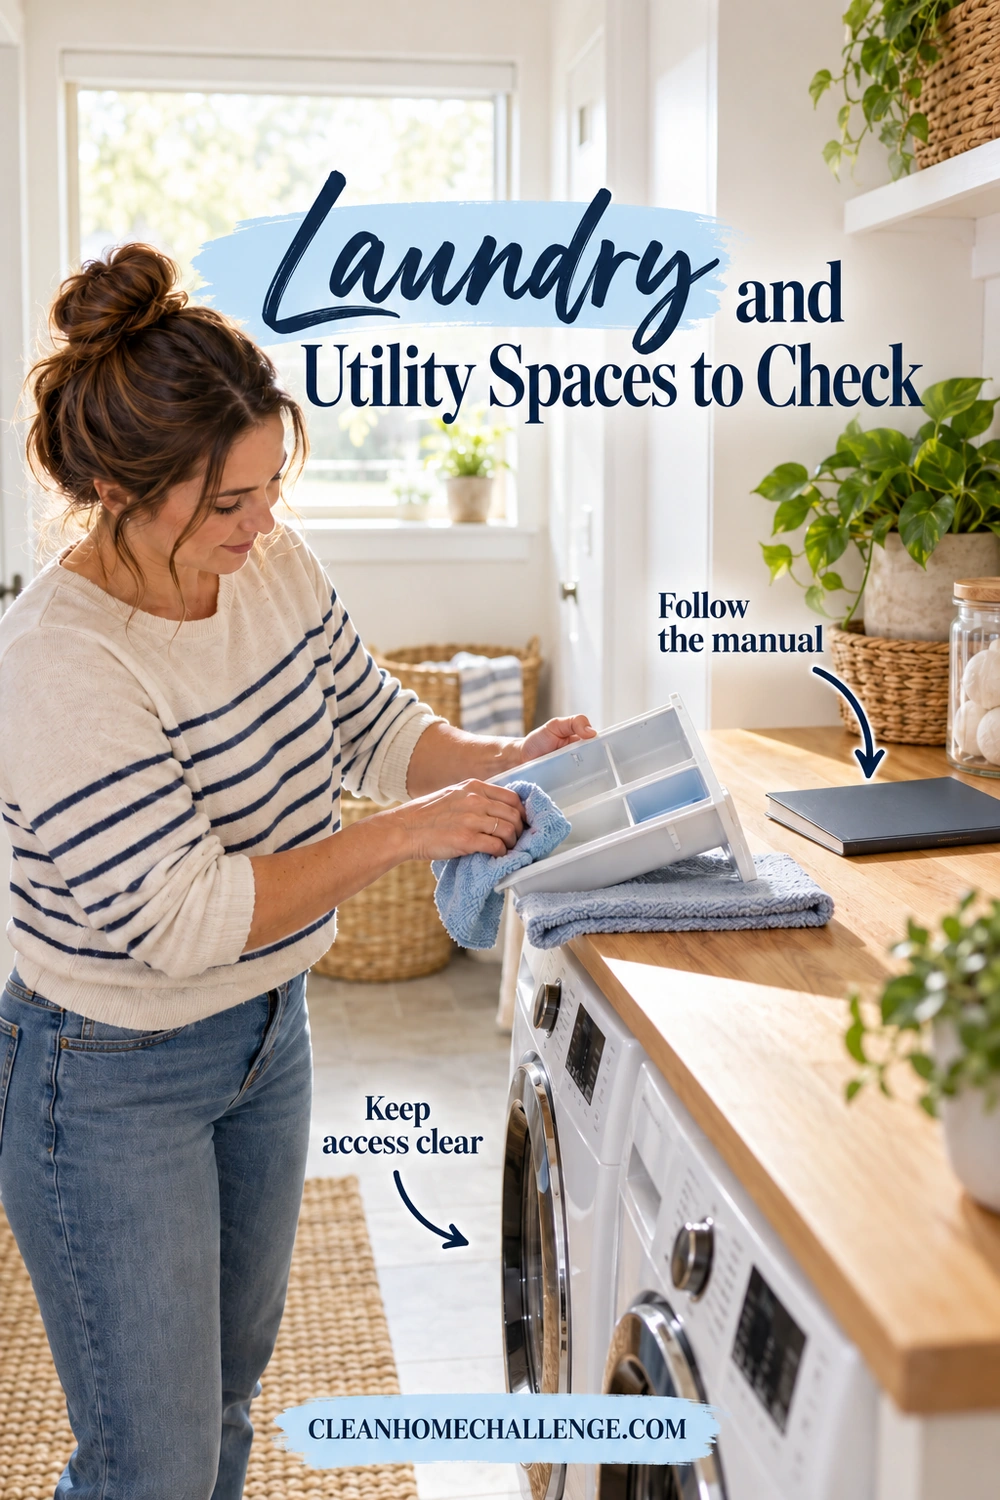
Use this annual review to check that more frequent maintenance is already happening. Laundry machines, filters, and dryer lint need their own recurring reminders.
37. Review the washing-machine cleaning routine
Allow 10–15 minutes plus cycle. Check the manual for the correct drum-cleaning program, cleaner, dispenser care, and accessible seal care. Run the routine when due and remove residue as directed. Whirlpool recommends monthly or 30-cycle cleaning for its general routine. Put your model’s interval in the calendar; annual cleaning alone is not enough for a regularly used washer.
38. Arrange dryer-vent care and check lint habits
Allow 10 minutes to review or book. Clean the lint filter before and after each cycle, and follow the dryer’s instructions for vent inspection and cleaning. The U.S. Fire Administration recommends professional servicing. Book help for inaccessible ductwork or appliance moving. Stop using a dryer with overheating, burning smells, or suspected blocked venting until it is assessed; do not disconnect gas or dismantle it.
39. Wash laundry baskets and hampers
Allow 15–20 minutes. Empty the basket, remove lint, and wash compatible hard surfaces with detergent and water. Launder removable liners only as labeled. Wipe handles and the underside, then dry fully before use. Handle damp loads promptly and clean visible spills sooner, especially in a hamper used for wet towels.
40. Clean the tools that clean your home
Allow 20–30 minutes. Empty the vacuum and check brush-roll and filter instructions with the machine unplugged. Wash only parts labeled washable and let them dry for the manufacturer’s full stated time. Launder mop pads and cloths as directed, separately from items they could contaminate. Never reinstall a damp filter or improvise cleaning inside a motor housing.
41. Reset the cleaning-supply cupboard
Allow 20–25 minutes. Keep products in original labeled containers and check for leaks, damaged packaging, and disposal instructions. Wipe the empty shelf with a compatible cleaner and dry. Store chemicals securely away from children and pets, keeping incompatible products apart as their labels direct. Never combine half-empty bottles to free up space.
42. Clean reachable laundry-room floor edges
Allow 15–20 minutes. Vacuum loose lint from open corners and accessible appliance sides without pulling machines out. Wipe the floor using its approved cleaner and dry any splashes. Keep storage from crowding appliance ventilation. Water under a machine or a damaged hose needs prompt assessment rather than being treated as another cleaning job.
43. Dust vent exteriors and update filter reminders
Allow 10–15 minutes. Gently vacuum reachable room-grille surfaces without pushing debris into ducts. Review the HVAC manual’s filter size, type, and change interval; arrange help if access is difficult. The EPA does not recommend routine whole-house duct cleaning as an automatic annual service. Persistent moisture or suspected contamination needs individual assessment.
44. Refresh utility and storage bins
Allow 20–30 minutes per shelf. Choose a manageable bin, sort its contents on a clean surface, and remove dust from the container and shelf. Wash compatible plastic and dry before repacking. Keep heavy items low. Leave chemicals, sharp tools, and unidentified materials alone until you can follow their specific storage or disposal instructions.
Entryway and Outdoor Cleaning Jobs
Choose comfortable, dry weather and keep the work at ground level. Outdoor tasks may move around the year depending on your climate, trees, and building.
45. Deep-clean entry mats
Allow 15–20 minutes active work. Shake or vacuum loose grit where appropriate, then follow the backing and fiber care instructions. Wash only machine-washable mats and dry fully before replacing them. Check that edges lie flat. Daily dirt may need frequent vacuuming; this reminder is for the deeper clean and a look at worn backing.
46. Detail the front door and threshold
Allow 15–20 minutes. Sweep grit away, wipe a compatible door finish with a lightly damp cloth, and dry the threshold. Use a soft brush around accessible grooves without damaging seals. Keep electronic locks, doorbell openings, and electrical fittings dry. Report damaged weatherstripping rather than trying to scrub a deteriorating seal clean.
47. Clean safely accessible window screens
Allow 20–30 minutes per group. Follow the window maker’s instructions and remove screens only when they are designed for easy, safe access. Use a gentle brush and a compatible washing method, rinse lightly if permitted, and dry before refitting. Do not lean out of windows or use high-pressure spray that could damage mesh or frames.
48. Wash outdoor furniture and cushion covers
Allow 20–30 minutes active work. Brush away loose dirt, then use the care method for the specific metal, wood, resin, or fabric. Rinse only where allowed and let frames and cushions dry completely before storage. Do not assume a zipper means the cover is machine-washable. Move this job to a dry-weather week in your local season.
49. Sweep and wash the porch or entry landing
Allow 20–30 minutes. Clear movable objects, sweep debris, and check the surface-care guidance before washing. Use a mild compatible method, keep runoff away from electrical items, and allow the walking surface to dry. Avoid turning pressure washing into the default; paint, mortar, wood, and seals can be damaged by the wrong technique.
50. Arrange gutter and high-exterior cleaning
Allow 10–15 minutes to review or book. Look from ground level for obvious overflow marks or debris, then arrange qualified help for gutters, high windows, or roof-level work. Ask the provider what frequency fits your trees, climate, and property. Heavy leaf fall or drainage trouble may require earlier visits. Do not climb a ladder or walk a roof for this checklist.

Turn 50 Jobs Into a Manageable Plan
The easiest list to maintain is one you can return to after a busy week. Pick two short sessions a month, or attach one extra job to your usual room day. Monday’s kitchen clean can include a drawer; Wednesday’s bedroom reset can include a closet shelf. Book longer or professional jobs separately.
A flexible 12-month starting plan
The months below spread all 50 jobs across the year. They are suggestions, not cleaning-frequency rules. Swap months to suit local weather, school schedules, travel, and the condition of your home. Anything already due goes ahead of the plan.
If you prefer one focus project each month, use our printable 12-month home cleaning calendar alongside this detailed job list. Choose the approach that makes your next step clearest.
- January: Kitchen cabinets, pantry, drawers, and containers: jobs 1–3 and 10.
- February: Refrigerator review, oven care, hood filters, dishwasher, and small appliances: jobs 4–9.
- March: Vanity, linen storage, exhaust grille, and fixture buildup: jobs 11–14.
- April: Shower tracks, grout check, toilet details, and bathroom accessories: jobs 15–18.
- May: Mattress, bulky bedding, bed frame, and closet shelves: jobs 19–22.
- June: Seasonal storage, curtains, blinds, and luggage: jobs 23–26.
- July: Sofa details, upholstery planning, rugs, and bookcases: jobs 27–30.
- August: Lamps, fan blades, walls, and window tracks: jobs 31–34.
- September: Electronics, desk areas, washer routine, and dryer care: jobs 35–38.
- October: Hampers, cleaning tools, supplies, and laundry floor edges: jobs 39–42.
- November: Vent exteriors, utility bins, entry mats, and threshold: jobs 43–46.
- December: Screens, outdoor furniture, porch, and gutter-service review: jobs 47–50. Move these to a suitable weather window if needed.
Make the checklist work for your household
Use four simple columns in a notebook or printed copy: job number, person responsible, completion date, next check. Cross out nonapplicable jobs. When one runs long, finish a safe stopping point and schedule the rest instead of adding it to tomorrow’s full list.
For a low-energy month, pick a small reset such as a desk drawer, luggage pocket, or vanity tray. Keep essential hygiene and safety maintenance going, and move lower-priority detail work. Sharing the list also makes it easier to give another household member a clear, manageable job.
Most importantly, these are candidates for your annual review, not a universal list of once a year cleaning tasks. Your care labels, manufacturer schedules, and what you can see in your home decide the actual timing. A useful plan makes forgotten cleaning jobs easier to remember while leaving room for everyday life.

CLEANERS CLUBHOUSE
Need Help Getting Through a Proper Deep Clean?
Follow the 7-Day Deep Clean Bootcamp when your home needs more than a quick tidy. The Cleaners Clubhouse breaks the work into achievable steps with printable support and seasonal cleaning guidance.
