THIS POST MAY CONTAIN AFFILIATE LINKS. PLEASE READ MY DISCLOSURE FOR MORE INFO.
A soap dispenser can make the kitchen sink look tidier while hiding a sticky ring underneath. Then the pump starts hesitating, the lid feels slippery, and the next refill spills across the threads. It is a small job, but doing it in the right order makes a difference.
To clean a dish soap dispenser, check the bottle and pump instructions separately, empty the reservoir when it needs cleaning, wash compatible removable parts, rinse away residue, and let the cleaned pieces dry before adding the correct soap. The pump may need a different method from the bottle. An automatic dispenser should never be treated like an empty glass jar.
Plan for roughly 10–15 minutes of hands-on attention for an uncomplicated manual bottle, plus whatever drying time it needs. This is a planning estimate, not a required soaking time. You can also do a quick exterior wipe today and save the internal wash for the next refill.
Disclosure: This post may contain affiliate links. As an Amazon Associate, Clean Home Challenge earns from qualifying purchases. If you make a purchase through these links, we may earn a small commission at no extra cost to you. This helps us keep creating practical cleaning tips, routines and resources for busy families! 🧽
Check the Bottle and Pump Before You Start
Identify what you are actually cleaning
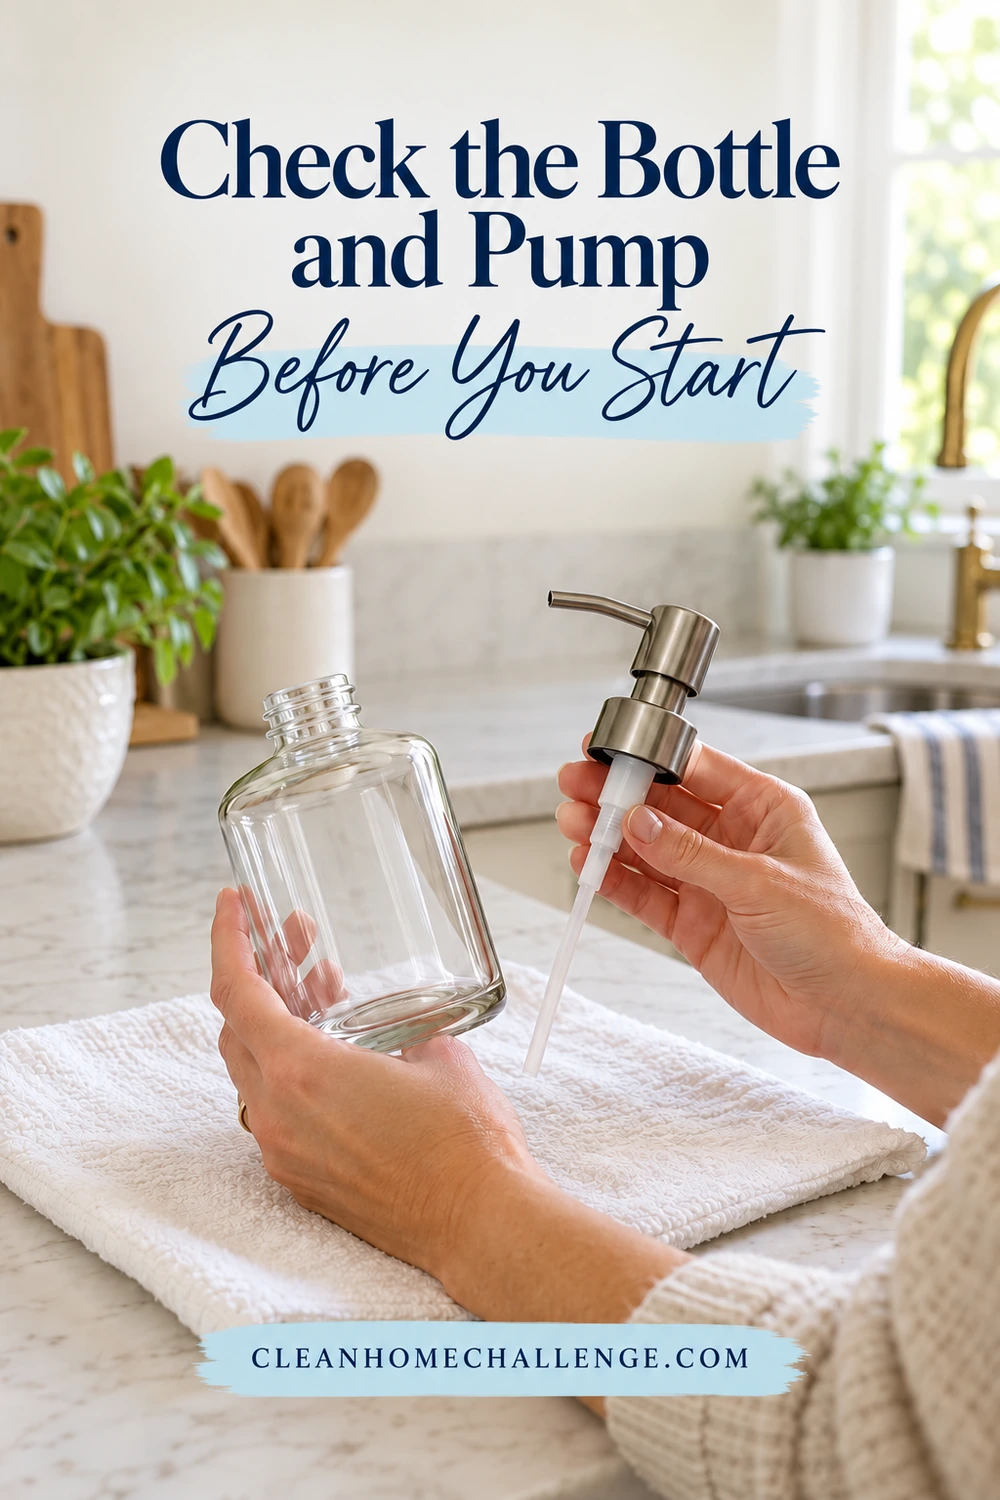
Look underneath the dispenser for its maker, material and care symbols. Find the exact model instructions if possible. A glass reservoir with a metal-looking pump can contain several different materials, including coated plastic, a spring and rubber seals. Permission to wash the bottle does not automatically cover its lid or pump.
This guide primarily covers a freestanding, manually operated refillable dish-soap bottle. Built-in sink dispensers, foaming pumps, sensor models and sealed cartridge systems need their own instructions. Do not remove an under-sink bottle or disconnect tubing unless its manual tells you how; support it securely and protect the cabinet from drips.
For a powered model, switch it off and disconnect power as directed before cleaning. Keep charging ports, battery compartments and the motor housing dry. Water resistance is not blanket permission to submerge the unit. For example, the Kohler K-5487T manual specifies precautions for protecting its electrical components. Its instructions belong to that model, rather than every automatic pump.
Gather a small, gentle cleaning kit
For a washable manual bottle, you will usually need comfortable warm water, a clean soft cloth, a clean towel or drying rack, and a soft bottle brush that fits the opening without being forced. Use only a cleaner allowed for the material. A little mild dishwashing liquid may be suitable for an ordinary washable reservoir, but the dispenser’s care instructions take priority.
Set a tray or towel on a stable surface away from the counter edge. Glass becomes slippery when soapy. Keep loose parts and cleaning products away from children and pets, and use gloves if the product label or your skin requires them. There is no need to bring bleach, drain cleaner or an abrasive powder to this everyday task.
Choose a sensible refill moment
If the soap is still usable and the inside looks normal, you can wipe the exterior without emptying the bottle. When an internal clean is due, let normal use bring the level down first. Avoid pouring old soap back into the original refill container, where it would mix with the remaining supply. Deal with unwanted product according to its label and local disposal guidance.
If you have found an unfamiliar substance, damaged reservoir or persistent unusual odor, stop using that dispenser until you have checked the manufacturer’s advice. Adding fresh soap will not resolve damaged or inaccessible parts. Keep a clearly labeled alternative available for dishes while the cleaned dispenser dries.
Wash the Bottle, Threads and Removable Parts
Take apart only the pieces intended to come off
Remove the pump or lid using the normal refill movement. Some heads unscrew; others lift out or have a release. Do not twist harder because a different bottle opened that way. If dried soap has stuck the outside seam, wipe that accessible area with a damp cloth first, protecting any water-sensitive parts.
Place the pump on the clean tray. Keep track of any seal that is explicitly removable, but leave sealed valves, springs and decorative collars alone. A photograph of the original assembly can help with reassembly. Do not dismantle the mechanism to make it look cleaner inside.
Clean the reservoir from the inside out
For a reservoir approved for hand washing:
- Empty it, then rinse out accessible leftover soap with water at the temperature its instructions allow.
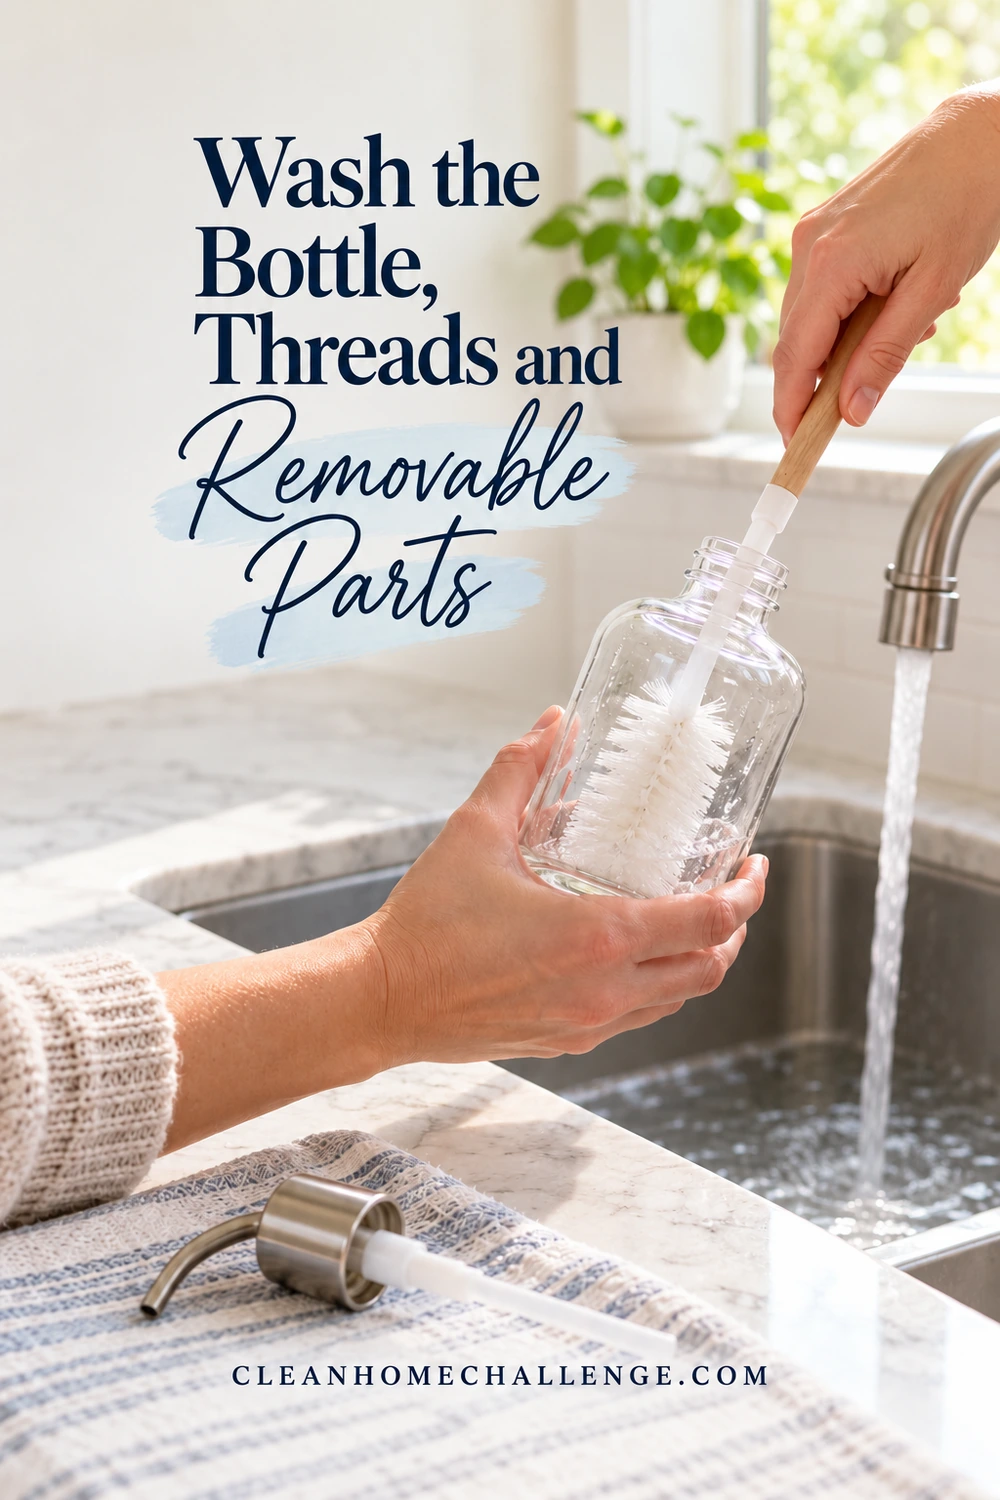
- Wash the inside gently with the compatible cleaner. Use the soft bottle brush only if it fits and the material allows brushing. Work around the shoulder and bottom without banging a glass bottle against the sink.
- Clean the outside, including the base where spills collect. A separate clean part of the cloth helps avoid spreading a sticky ring back over the bottle.
- Rinse thoroughly, turning the bottle so water reaches the shoulder and neck. Continue until visible residue is gone; do not treat bubbles alone as a precise cleanliness test.
- Set it somewhere secure to drain and dry, following the maker’s instructions.
Do not put a bottle or pump in the dishwasher unless the exact component is marked dishwasher safe. Avoid boiling water, sudden temperature changes for glass, and prolonged soaking of coated or mixed-material pieces. A clear-looking bottle is not necessarily glass, and a ceramic exterior may hide parts that should remain dry.
Give the screw threads and lid some attention
The thread is often where refill spills dry into a tacky crust. Use a damp soft cloth to work along the accessible grooves. If the manufacturer permits a soft brush, use light pressure rather than scraping. Clean the matching lid edge, remove residue with a clean damp cloth, and dry the surfaces.
Do not chase every mark with vinegar, alcohol or a scouring pad. Those products may affect decorative finishes or seals. Never mix cleaners with leftover dispenser contents. If a chalky deposit remains after the approved wash, ask the maker about a compatible treatment rather than assuming a descaler is safe.
Clear Soap Buildup Without Forcing the Pump
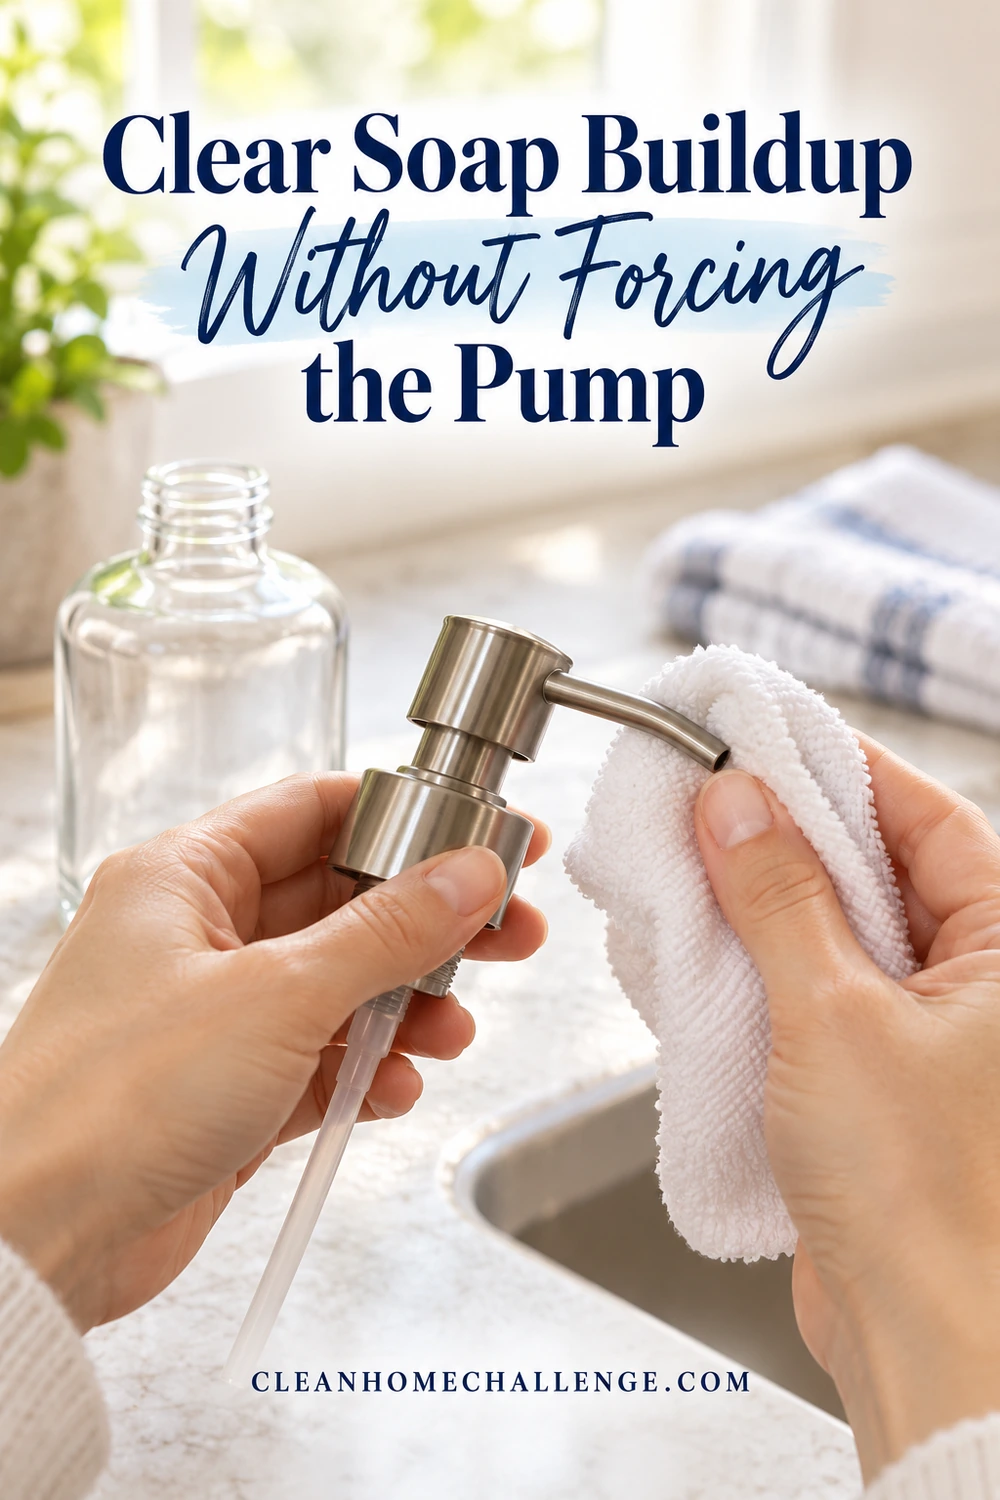
Start with the visible nozzle
A dried bead at the outlet does not mean the whole mechanism needs soaking. With a manual pump, gently wipe the accessible nozzle using a soft damp cloth, then remove loosened residue. Keep the water where the instructions allow it. Do not push needles, toothpicks or wire inside: a small opening can contain a valve that is easy to damage.
If the pump head is stuck, do not repeatedly press harder or twist an unfamiliar locking collar. Check whether it is locked for transport, whether the bottle is empty, and whether the intake tube is attached as the manual shows. A cracked tube or failed seal needs a repair or replacement part, rather than stronger cleaner.
Flush only when the manufacturer allows it
Some manual pumps are designed to draw clean water through their mechanism during troubleshooting; others are not. Check the model’s method before putting the intake in water or filling its reservoir for a flush. Follow its specified temperature, number of strokes and drying or draining procedure. Stop if the mechanism resists.
For a concrete example, Simplehuman’s 16 oz. pulse pump support gives a nozzle-wiping and water-pumping sequence for that particular manual model. That is evidence for following the pump’s own directions, not a universal recipe for decorative bottles or sensor units. Do not copy its hot-water instruction onto a dispenser whose instructions permit only warm water.
If the manual does not explain internal cleaning, contact the maker or replace the pump with a compatible part. You can still clean the approved exterior surfaces and reservoir while leaving the sealed mechanism alone. Never improvise a solvent flush, use boiling water to force a blockage, or run a powered pump dry to test it.
Check the soap as well as the hardware
The refill must suit the dispenser. A standard liquid pump and a foaming pump are different systems. OXO’s Easy Press dispenser page, for example, identifies compatible uses for that product; it does not authorize the same liquids in every pump.
Do not thin ordinary dish soap with water simply to make it pump more easily, or combine several leftover formulas. Use the soap and dispenser instructions together. If a purpose-built foaming system specifies a particular refill or mixing method, follow that exact system rather than a ratio found online. This article does not provide a homemade dilution formula.
Replace a leaking, cracked or persistently sticking pump when the maker recommends replacement. If the bottle has chips, sharp edges, crazing that makes cleaning uncertain, or a damaged seal, take it out of service. Repeated cleaning cannot repair physical damage.
Dry, Refill and Keep the Sink Area Manageable
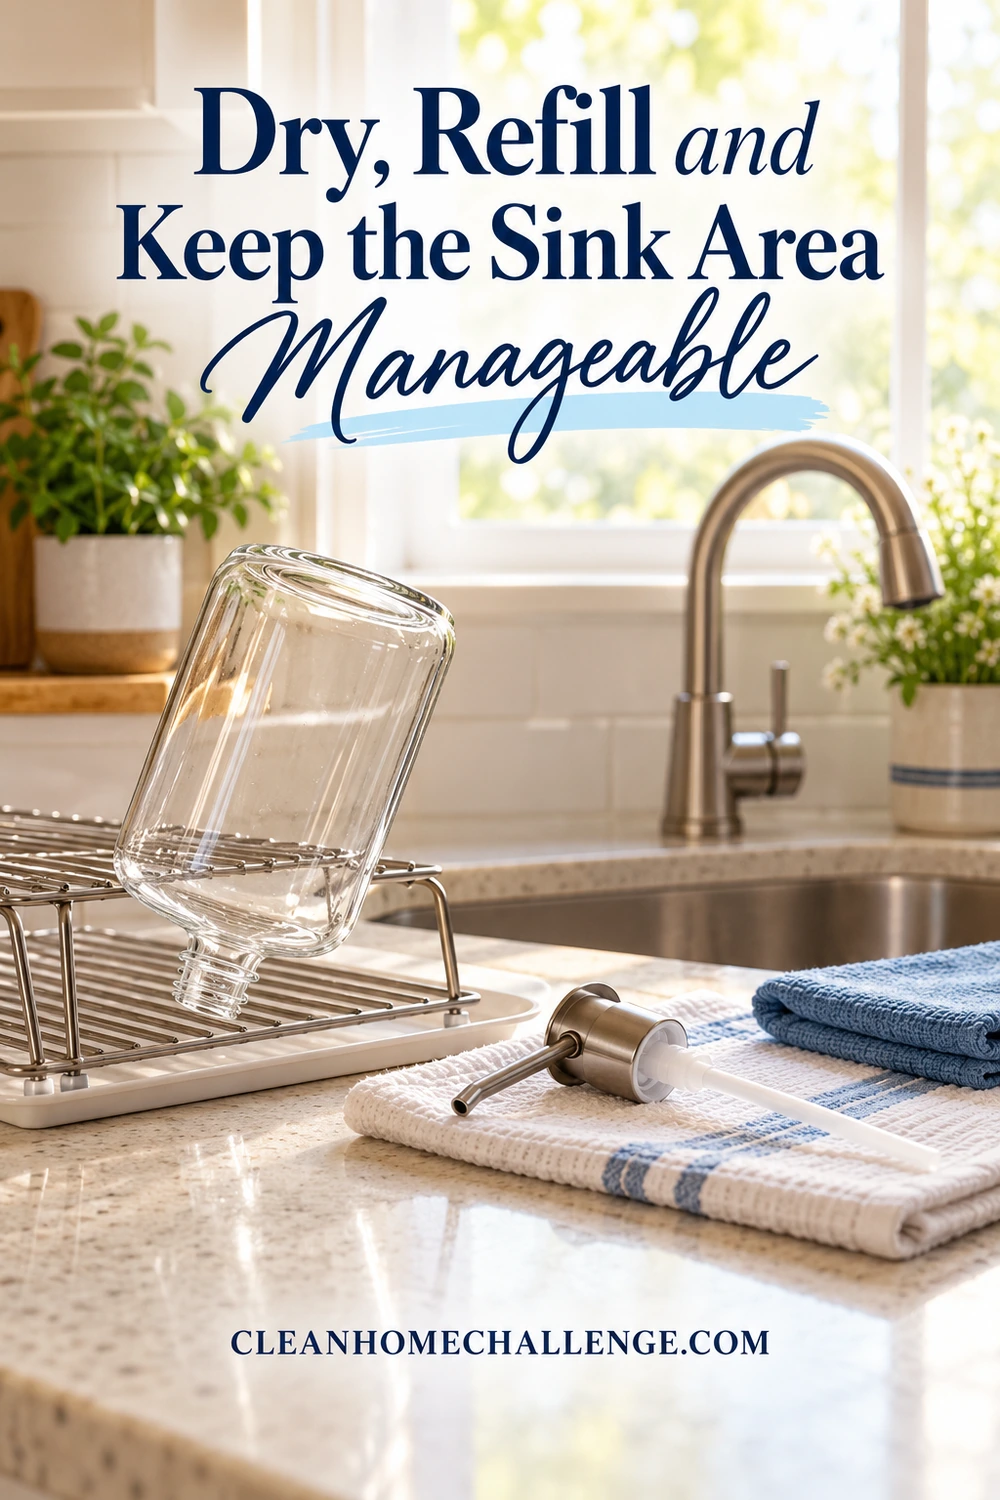
Finish the clean before you add more soap
Allow washed parts to dry in a clean, ventilated place, with openings positioned so water can drain without trapping it against the towel. Do not push a cloth deep inside a narrow neck or use a hair dryer to hurry things along. If the manufacturer has a specific drain-and-prime process for the pump, use it. Do not claim a sealed pump is dry inside when you cannot inspect it.
Once the cleaned reservoir is dry and ready under its care instructions, refill with the compatible product. Respect the fill line or leave the space the manufacturer requires for the pump assembly. A bottle filled to its rim can overflow when the stem goes back in. Wipe the refill container’s spout and close it, then wipe any spills from the dispenser threads before reassembly.
Fit the pump without cross-threading or overtightening it. Prime it as the instructions describe, check for leaks, and clean the outside again if needed. Label the dispenser clearly enough that family members know it contains dish soap, and keep the original product packaging and instructions available.
Make exterior care part of the kitchen reset
During your usual sink wipe, lift the dispenser rather than wiping around it. Clean and dry the counter beneath, wipe the bottle’s base and any drips from its neck, then return it to a dry spot. Use a surface-compatible method on the counter too, especially for natural stone, wood or a coated sink.
On Monday’s kitchen reset, check the nozzle and lid for fresh buildup. Plan the internal wash around refills and the manufacturer’s maintenance directions, rather than inventing a universal weekly deep-clean rule. A busy sink may need exterior attention more often. The useful habit is to notice residue while it is still easy to remove.
If you only have two minutes, wipe the outside and underneath, put the refill away safely, and note any pump issue for later. Save the full clean for a time when you can finish rinsing and leave the pieces securely to dry. You do not need to empty a working bottle every time you wipe the sink.
Keep the refill instructions handy
Download the free dish-soap dispenser care card (PDF).
The free dish-soap dispenser care card gives you space to record the model, permitted bottle and pump methods, compatible refill and last clean. That small note saves you looking up the same instructions at every refill. It also helps someone else in the family finish the job without guessing.
For the wider sink area, our kitchen sink smell guide is a separate next step if the problem is coming from the sink rather than the bottle. Cleaning a dispenser is not a treatment for a drain blockage or a persistent plumbing odor.
If a repeatable kitchen routine would help, you can explore Cleaners Clubhouse for practical cleaning guidance and printable support. Start with this one manageable sink-side job, then fit the rest around your family’s day.
CLEANERS CLUBHOUSE
Make Kitchen Cleaning Feel More Manageable
Turn Monday into your kitchen reset day with a clear routine you can follow. The Cleaners Clubhouse gives you practical cleaning guidance, printable support and monthly challenges to help you stay consistent.