
THIS POST MAY CONTAIN AFFILIATE LINKS. PLEASE READ MY DISCLOSURE FOR MORE INFO.
The bathroom trash can is easy to empty and easy to forget. Then a few hairs collect beside the pedal, the lid starts catching on the bag, or a spill dries beneath the removable bucket. You do not need to dismantle the whole can to put it right.
To clean a bathroom pedal trash can, remove the bag and any bucket designed to lift out, clean each part using its manufacturer’s method, wipe accessible pedal and lid edges without flooding the mechanism, and let everything dry before reassembly. Keep fingers away from moving joints and stop if a part needs force.
This guide is for ordinary household foot-operated cans. Electronic lids, rechargeable models, unusual coatings, and damaged mechanisms need their own instructions. Set aside roughly 10–15 minutes of hands-on time for a small can, with extra drying time. That is a planning estimate rather than a tested completion time.
Disclosure: This post may contain affiliate links. As an Amazon Associate, Clean Home Challenge earns from qualifying purchases. If you make a purchase through these links, we may earn a small commission at no extra cost to you. This helps us keep creating practical cleaning tips, routines and resources for busy families! 🧽
Check the Parts Before You Start
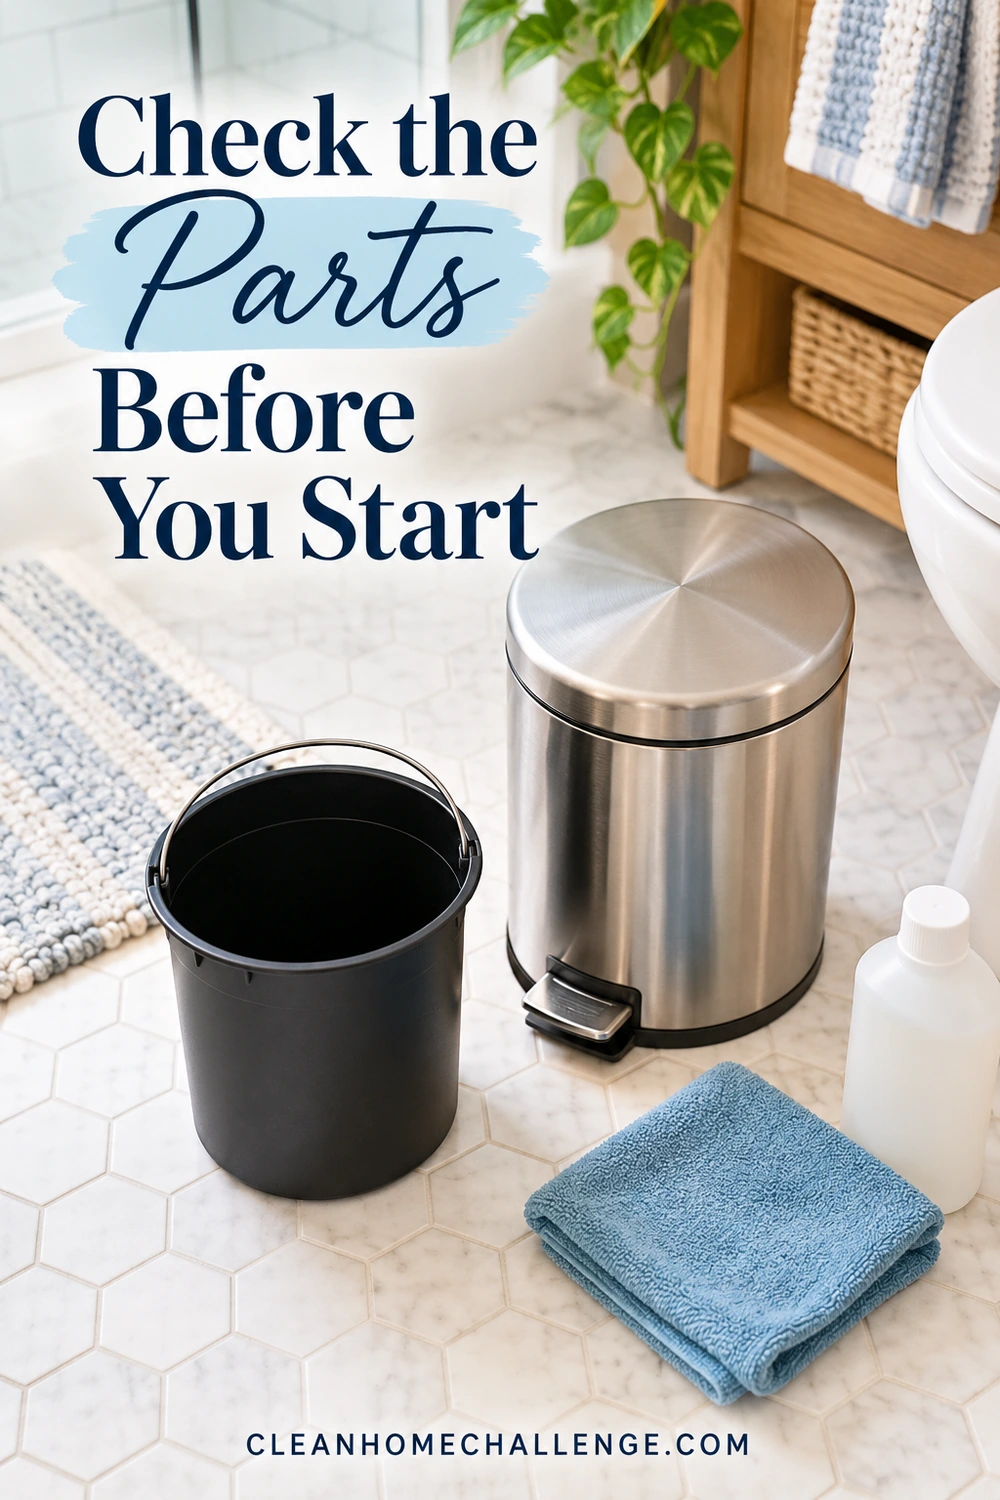
Find the bucket, shell, pedal, and lid joint
Start by looking at how your can is put together. The removable inner bucket holds the bag; the outer shell supports it. The pedal operates a linkage that raises the lid, sometimes through a soft-close damper. A removable bucket does not mean the shell, hinge, or damper can be submerged.
Check the model’s care page or manual before choosing a cleaner or taking parts off. Some buckets lift straight out; others have a handle, retaining rim, or liner pocket. Remove only parts described as user-removable. Take a quick reference photo if the bag-retaining arrangement is easy to forget, without photographing personal waste.
For example, simplehuman’s 5L slim step-can support separates inner-bucket care from stainless-steel exterior care and provides model-specific pedal troubleshooting. That distinction matters: advice for one part is not permission to apply the same treatment everywhere.
Gather a small, dedicated cleaning kit
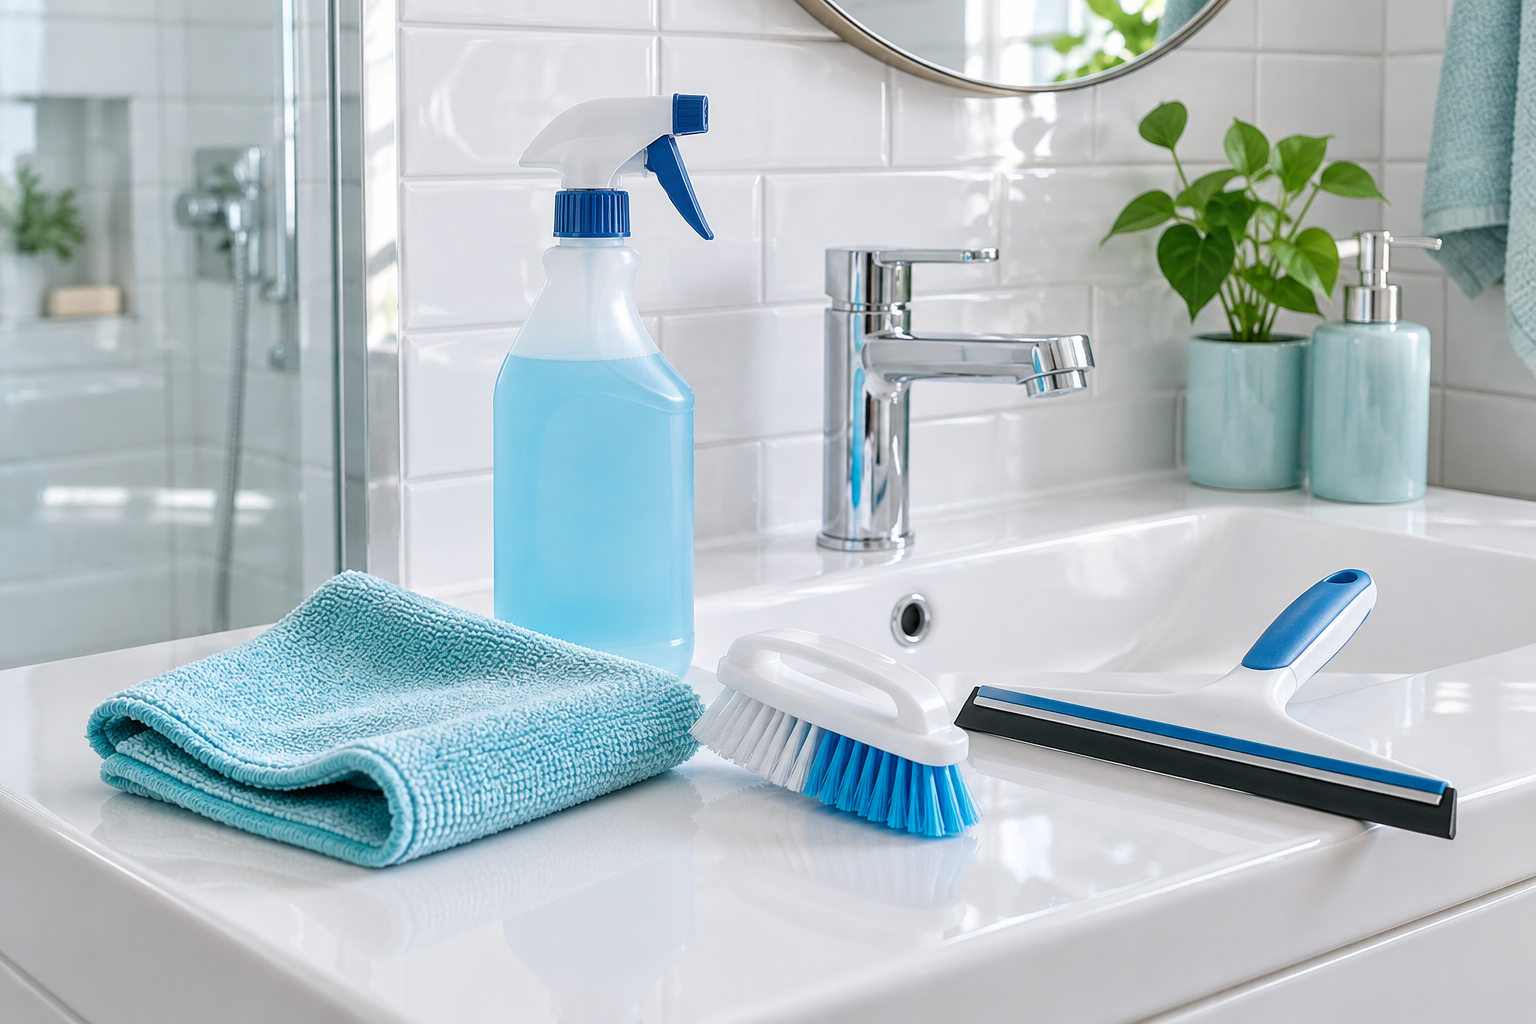
- Gloves suitable for the task and cleaner instructions.
- A soft cloth for washing, a separate rinsing cloth, and a dry cloth.
- Mild detergent approved for the can’s material or the manufacturer-recommended cleaner.
- A soft, small brush reserved for trash-can cleaning.
- A shallow wash basin, absorbent towel, and correctly sized replacement bag.
Keep these tools separate from toothbrushes, washcloths, kitchen sponges, and anything used for food. Choose a stable work area away from toiletries and food. Put down an absorbent towel to catch drips, then clean the work surface afterward. Do not balance the can on a narrow vanity or place dirty parts beside open toothbrushes.
For stainless steel, the cited simplehuman model calls for a soft cloth, warm water, and mild detergent. Its care restrictions exclude abrasive metal pads, bleach, acids, salts, and stainless-steel polish. Other finishes can differ. A product labeled “stainless steel cleaner” is not automatically suitable for a coated trash can. Test an allowed unfamiliar product discreetly as directed.
Use one cleaning product at a time, follow its label, and keep children and pets away from the work area. If your bin combines a pedal with powered components, follow its specific power-disconnection and cleaning instructions instead of treating it as a fully mechanical can.
Clean the Bucket and Outer Shell
Empty without pushing the contents down
Lift out and tie the bag without compressing its contents with your hands. Bathroom waste can hide sharp packaging, broken glass, or discarded razors. Do not feel around blindly for loose items. Stop if you find needles or unidentified hazardous material and follow the appropriate local disposal advice.
Lift the bucket using its intended handle or grip. If it catches, check for an overhanging bag or a retaining part before pulling harder. Put loose hair and debris into the waste bag using a dedicated brush or disposable material, rather than washing everything toward a drain.
Inspect beneath the bucket. A split liner can leave a small leak inside a can that looks clean from above. Absorb it before adding water. Also check the bucket rim, underside of its handle, bag-retaining edge, and the floor beneath the shell. Work from the cleaner outside surfaces toward the dirtier interior, changing or rinsing your cloth as needed.
Wash only the parts approved for washing
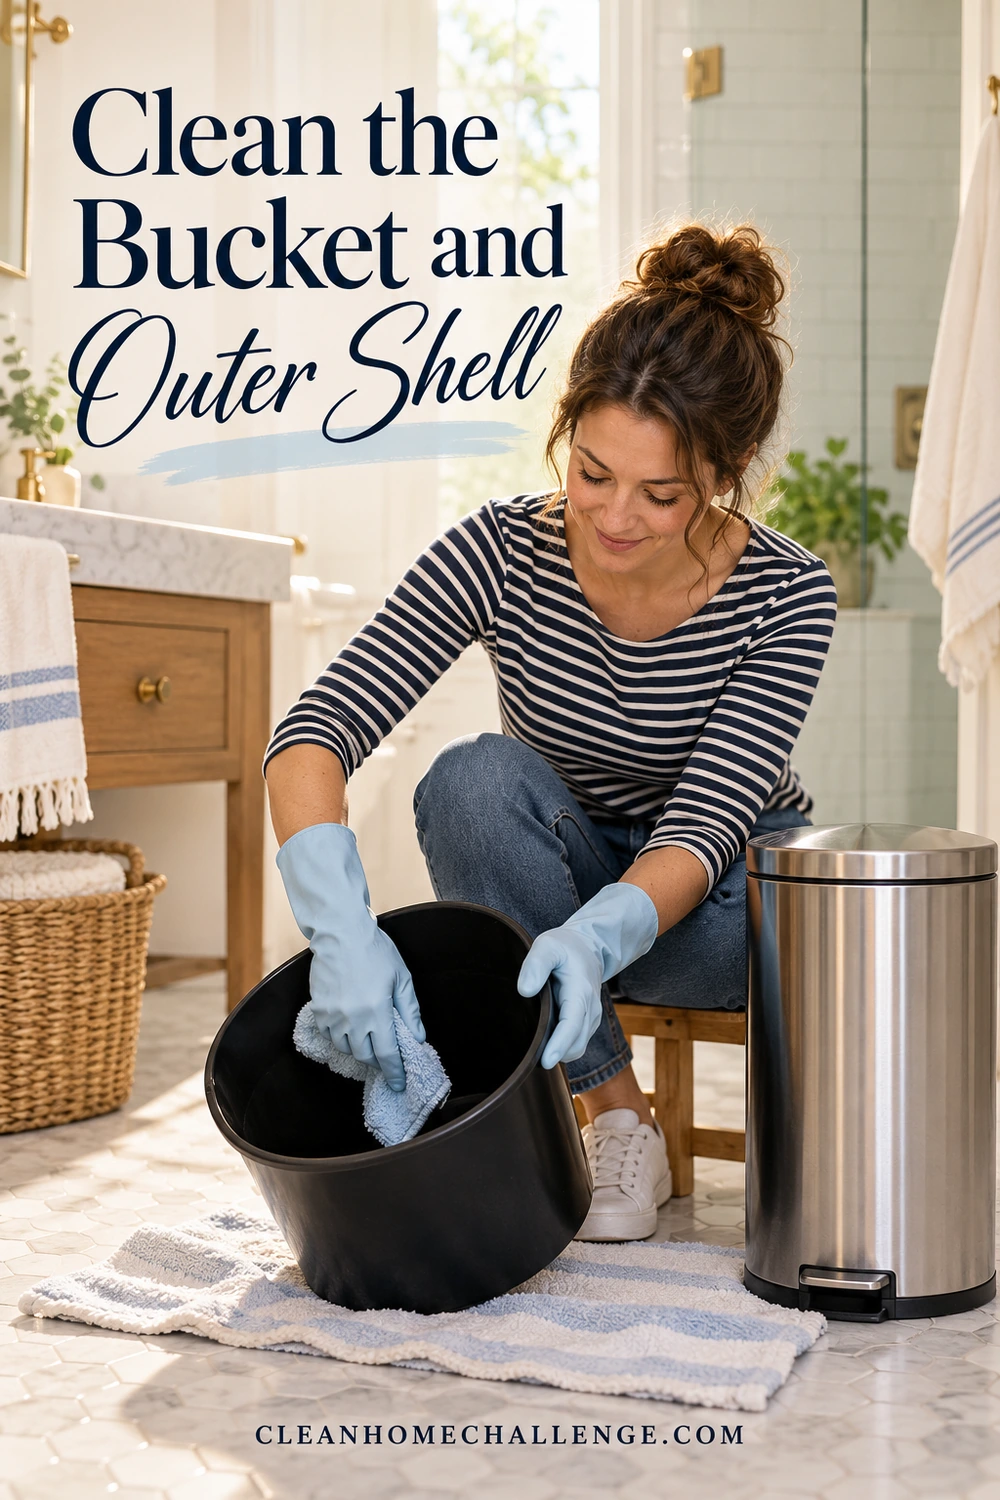
If the manual permits washing the inner bucket, use its recommended mild cleaning method and a soft cloth or nonabrasive brush. Work around the upper rim, down the walls, into the corners, and across the base. Gently loosen dried residue rather than scraping with a blade. A cloth held briefly against an ordinary water-tolerant mark can help soften it; do not assume soaking is allowed.
If the manual specifies damp wiping, stick to damp wiping even though the bucket lifts out. Avoid filling it with water, putting it in the dishwasher, or applying boiling water without specific permission. A removable plastic part can still warp or contain fittings that dislike prolonged wetting.
Remove detergent with clean water using the method allowed for that part. For wipe-only surfaces, make several passes with a clean, lightly damp cloth, rinsing the cloth between passes. Check the corners for suds or slippery film. Extra soap creates more rinsing work rather than a better result.
Wipe the shell without flooding the base
Keep the shell upright on a stable surface. Apply the permitted cleaner to the cloth rather than spraying toward seams, hinge openings, or the underside. Wipe the outside, carrying handle, exposed upper rim, and accessible inside surfaces. Use a fresh section of cloth frequently.
Avoid pouring water into the outer shell or hosing the assembled can. Water can reach hidden parts even if the outside is metal and the bucket is plastic. For an accessible interior spill, lift it with absorbent material, then wipe, rinse by cloth, and dry. Do not remove bottom plates or seals to chase dirt you cannot safely reach.
Give the base and nearby floor their own wipe, using a cleaner suitable for the flooring. Bathroom floor cleaners and trash-can finishes may require different products. Keep the can out of the way until the floor is dry so it does not sit in a wet patch or become a slipping obstacle.
Wipe the Pedal and Lid Joint Gently
Clear visible debris before using a damp cloth
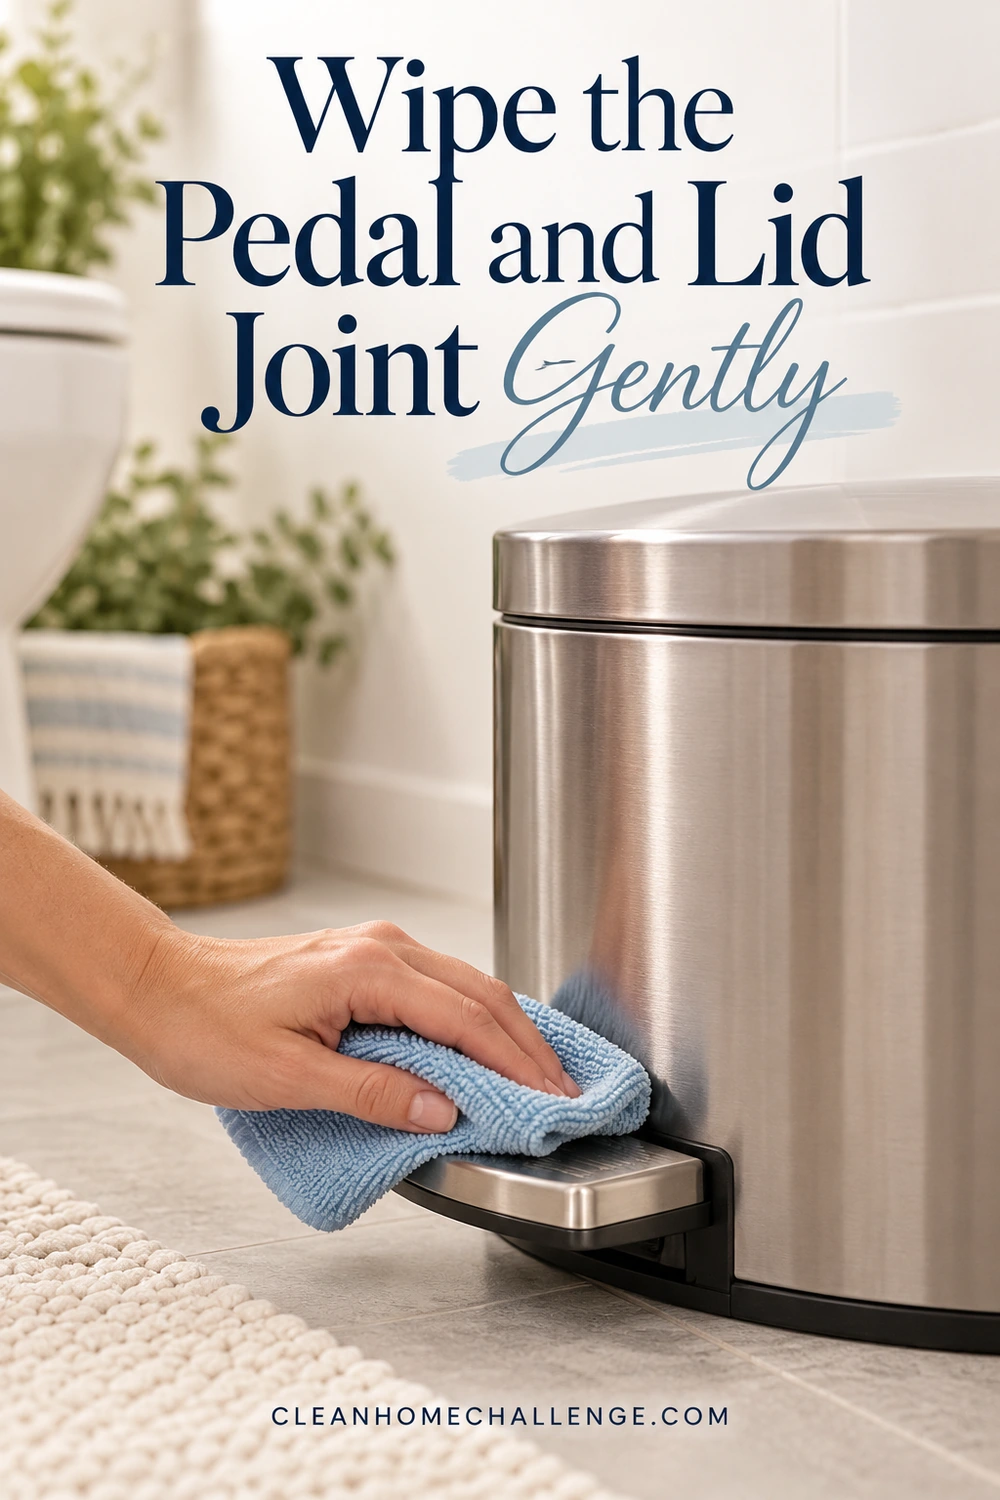
The foot pedal collects shoe dust, hair, and residue along its edges. With the can standing securely and the lid closed, brush away visible loose debris from the pedal surface and its user-accessible edges. Keep your fingers out of the gap beneath the pedal and away from the lid’s moving joint.
Wipe the tread with a well-wrung cloth and the approved mild cleaner. A soft brush can help with shallow grooves if the finish permits it. Follow with a clean damp cloth to remove detergent, then dry the surface. The pedal should not be left wet or slippery.
Clean only the linkage surfaces the manual identifies as accessible. Do not push cotton swabs, wire, screwdrivers, or brush handles into a hidden mechanism. Do not spray lubricant, degreaser, disinfectant, or water into it. Cleaning is not a reason to unclip a rod or open a soft-close damper.
Support the lid using the intended method
Some cans have a designed stay-open feature; others do not. Use it only as the instructions describe. Do not wedge the lid open, bend it backward, or hold the pedal down while putting your other hand inside the hinge area.
Wipe the accessible lid underside and lip with a lightly damp cloth, avoiding moving pinch points. Lift hair or residue from the exposed edge of the joint only while it is safely stationary. Use the cloth rather than pouring cleaner over the hinge. Dry the lid edge and exposed joint with a soft cloth.
If you cannot reach a spot without forcing the lid or putting fingers between moving parts, leave it and consult the manufacturer. Brabantia’s hinge guidance is explicitly collection-specific; it is a useful reminder that one pedal can’s repair procedure should not be copied to another.
Separate cleaning problems from mechanical problems
After cleaning and drying, a lid that still does not work smoothly may need a model-specific repair. Check the simple causes first: an inner bucket sitting too high, a bag caught over the back rim, trash above the fill level, or the can positioned against a wall. Correct the fit without bending components.
Stop using a cracked pedal, loose lid, bent linkage, or damaged damper until you have checked the manufacturer’s repair or replacement options. More pressure is not a cleaning technique. Avoid oiling a squeak unless the maker specifies the exact product and location; an unsuitable lubricant can affect materials or collect dirt.
Dry, Reassemble, and Add a Small Routine
Make dryness the finishing check
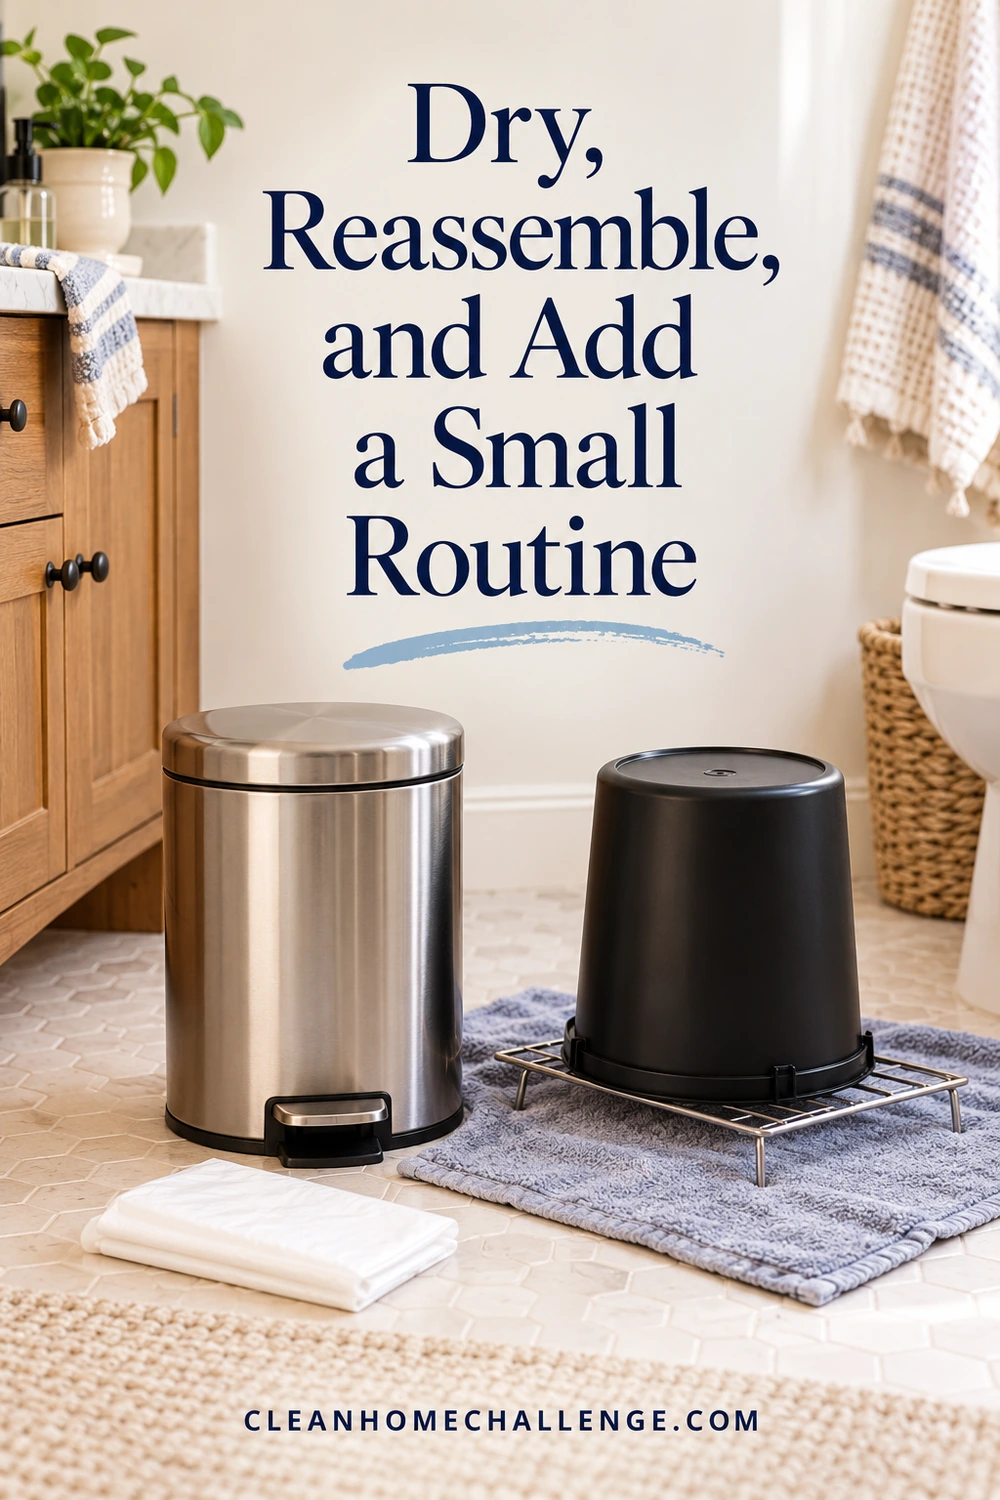
Dry permitted surfaces with a clean soft cloth, then allow remaining moisture to evaporate in a secure, ventilated place. Check the bucket’s base, rim, handle recesses, shell interior, pedal grooves, and exposed lid edge. Do not use a hair dryer or heater on the mechanism to hurry things along.
There is no universal drying time. The useful test is whether the parts and their accessible recesses are dry, rather than whether a timer has finished. Keep wet parts and cleaning solutions out of children’s and pets’ reach while you wait. Do not leave a water-filled bucket unattended.
Once dry, return the bucket in its intended orientation and fit the correct liner. Keep loose bag folds away from the rear joint and pedal linkage. The bag should not pull the bucket upward or stretch across the lid’s closing path. Remove gloves appropriately and wash your hands after handling waste and cleaning supplies.
Test the empty can with your foot while your hands are clear. Check that the lid rises and closes normally, the bucket stays seated, and the pedal returns without catching. A lid that stays ajar deserves a bag-fit and obstruction check before any attempt at adjustment.
Decide whether disinfection is needed
Ordinary cleaning and disinfection serve different purposes. CDC home-cleaning guidance says regular cleaning is generally sufficient in most situations; illness or a household member with a weakened immune system can call for disinfection as well.
When it is needed, clean first. Choose a disinfectant labeled for the intended use and compatible with the particular can surface. Follow its protection, ventilation, wet contact-time, rinsing, and drying directions. Never combine products. If the can’s finish or mechanism cannot tolerate the required treatment, ask the manufacturer about a compatible approach rather than improvising a stronger mixture.
You do not need to disinfect an entire pedal mechanism at every bag change. This guide also does not replace advice for a specific illness or an unusual spill. Follow the relevant health guidance where it applies, and keep the product label and can-care instructions together.
Use an easy reminder instead of another big job
At each bag change, look for leaks, hair around the pedal, and a bag edge caught beneath the lid. Deal with visible dirt promptly. On your bathroom reset day, give the pedal, lid edge, and surrounding floor a quick check, and clean what needs it. A more thorough bucket clean can follow actual buildup and the maker’s guidance rather than an arbitrary rule that every family must follow.
For a low-energy reset, remove the waste, wipe a dirty pedal and exposed lid edge safely, and check that the bag is fitted correctly. If a leak or sticky residue is present, give that area the proper clean rather than covering it with another liner. You can leave cosmetic polishing for another day.
Download the free Bathroom Pedal Trash Can Care Card (PDF) and use it to record your model, permitted cleaner, drying checks, and any part that needs manufacturer advice. Keep it with your cleaning notes so you do not have to remember which surfaces can be washed next time.
For the broader household job, our kitchen trash-can cleaning guide covers larger-bin washing and odor troubleshooting. For help fitting small jobs into a manageable weekly rhythm, you can explore Cleaners Clubhouse below. A clean bin, a working pedal, and a bag that fits are a perfectly useful finish.
CLEANERS CLUBHOUSE
Take the Guesswork Out of Bathroom Cleaning
Use Tuesday as your bathroom reset day and work through the job in a sensible order. Inside the Cleaners Clubhouse, you’ll find practical routines, printable support and challenges that make deeper cleaning easier to manage.