THIS POST MAY CONTAIN AFFILIATE LINKS. PLEASE READ MY DISCLOSURE FOR MORE INFO.
A silicone baking mat can make the cookie tray easier to clean, then become the awkward part of the washing-up itself. It slips around the sink, drapes over your hands, and never seems to fit neatly on the drying rack. The answer is usually a gentler, better-supported wash rather than stronger cleaner.
To clean a silicone baking mat, let it cool, check its condition and care instructions, wash both sides with a soft sponge and the mild soapy-water method its maker allows, then rinse and dry completely. Keep reinforced mats flat or loosely rolled; avoid sharp creases and sharp tools. Dishwasher permission depends on the exact product.
This guide is for routine care of intact, food-use silicone baking mats, including mats with an internal fiberglass mesh. It is not a restoration treatment for gummy silicone molds or a promise to remove every brown mark. The aim is a mat that is ready for its next use without damaging it in pursuit of a brand-new appearance.
Disclosure: This post may contain affiliate links. As an Amazon Associate, Clean Home Challenge earns from qualifying purchases. If you make a purchase through these links, we may earn a small commission at no extra cost to you. This helps us keep creating practical cleaning tips, routines and resources for busy families! 🧽
Check the Mat Before You Wash
Start with the exact product
Put the baking sheet somewhere heat-safe and let the mat cool before handling it. Find the brand and product name on the border, packaging, receipt, or saved care instructions. A pastry work mat, a reinforced oven liner, and a silicone muffin mold can look related while having different instructions. Use the care directions for the item you actually own.
Read the washing method, permitted tools, drying advice, and storage guidance together. If you cannot identify the product, do not guess that a dishwasher, boiling-water treatment, or oven-cleaning trick is allowed. Try to locate the instructions before choosing a method beyond gentle hand-washing.
Manufacturer advice does vary. Fat Daddio’s care page permits hand-washing its mats with warm soapy water and allows its top-rack dishwasher route. The Silpat care sheet describes a soft sponge, rinsing, air drying, and a weak soap solution if needed. Neither example gives blanket permission for an unidentified mat.
Look around the edges as well as the middle
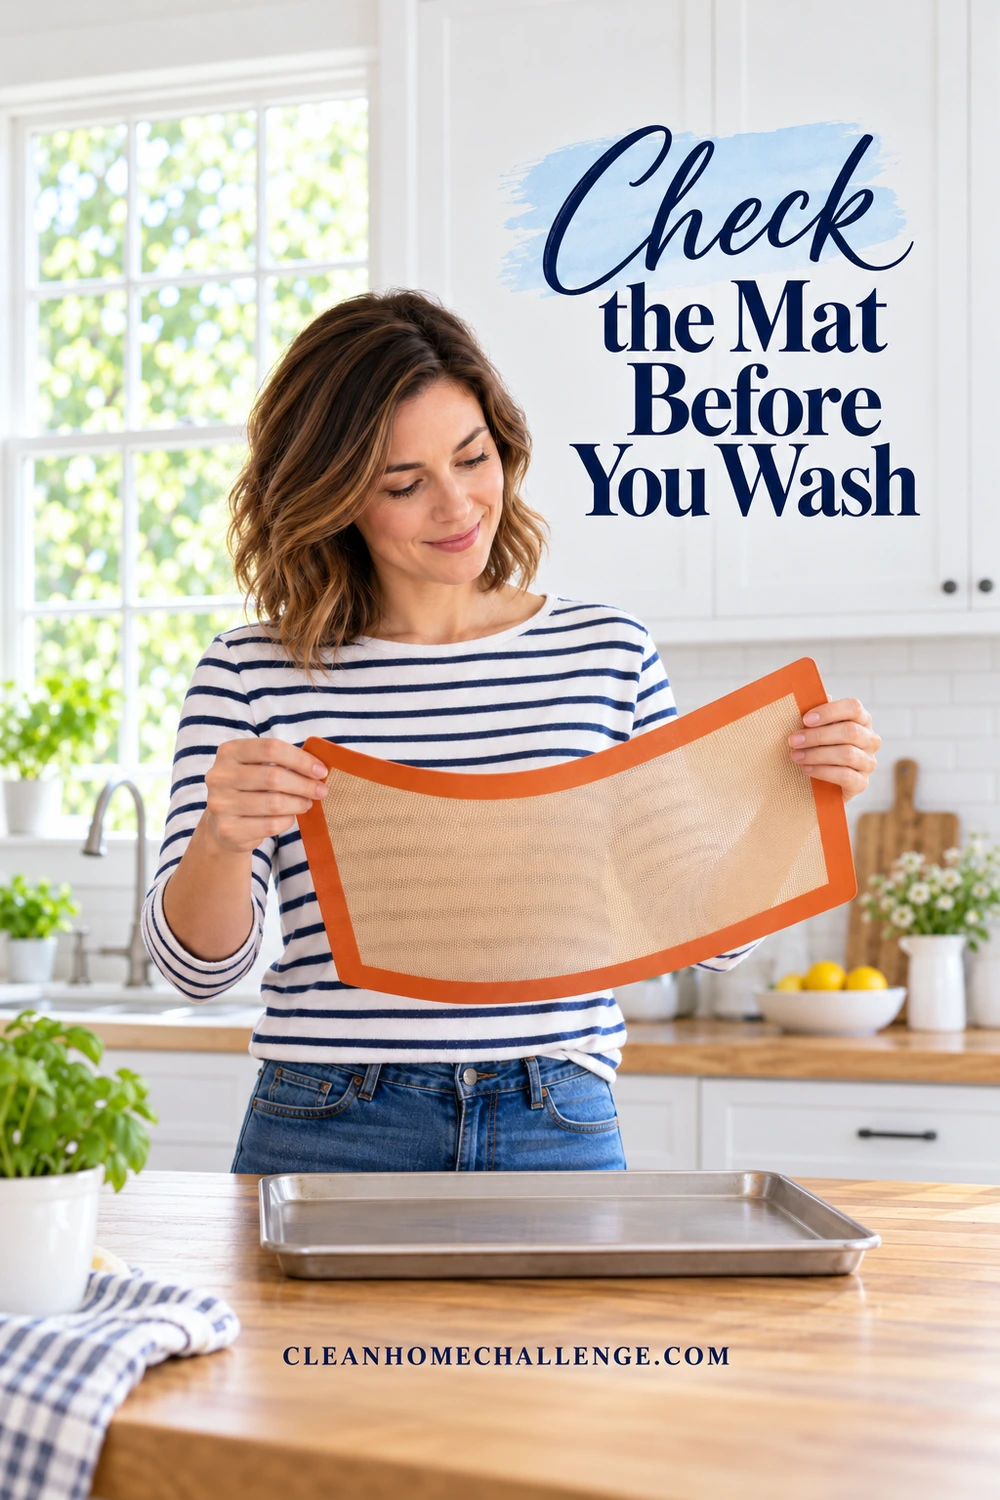
Lay the cool mat on a clean, well-lit surface. Look along its border and across both faces. Check for cuts, splits, lifting layers, or exposed internal mesh. Do not pick at a damaged spot or try to trim the edge. Set a damaged reinforced mat aside and follow its maker’s replacement advice before it touches food again.
This check is especially useful if someone has used a knife, pizza cutter, or cookie cutter on the mat. A mat that is suitable for baking is not automatically a cutting board. Keep sharp utensils away from the washing area so a helper does not reach for one to lift a stubborn crumb.
Gather a small washing kit
You will usually need only:
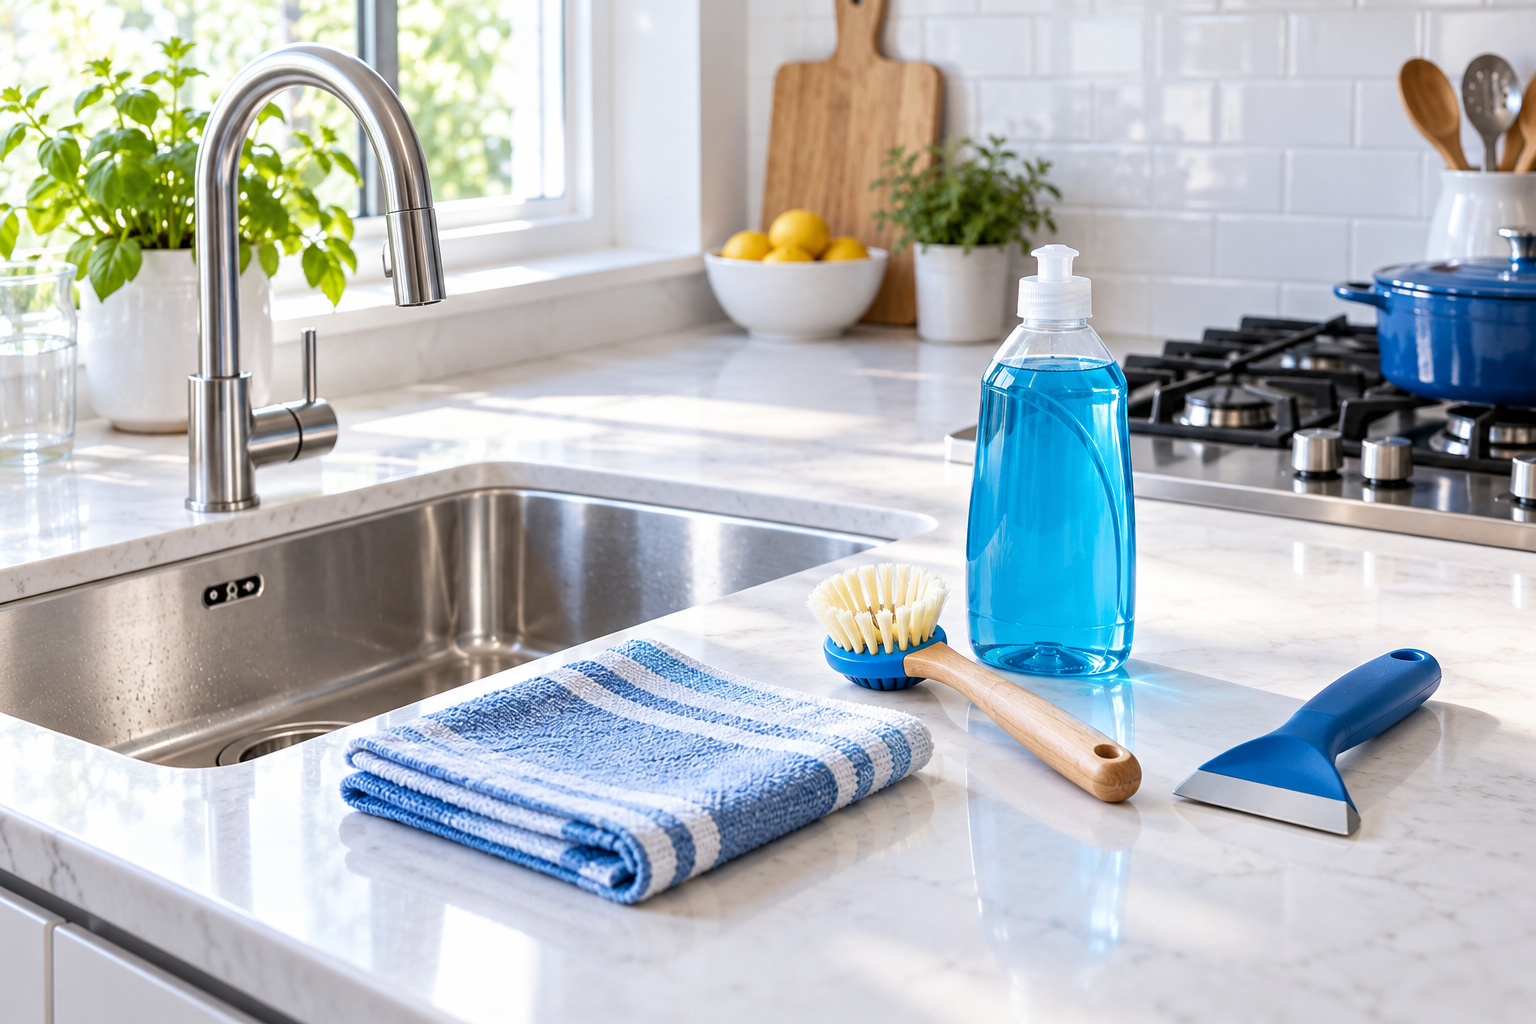
- The mild dish soap permitted by the mat’s care instructions.
- Warm water at a comfortable handling temperature.
- A clean, soft, nonabrasive sponge or cloth.
- A clean support surface large enough to prevent the mat bunching up.
- A clean drying area with room to keep the mat open.
A small amount of washing-up equipment is plenty. Skip scouring pads, metal scrapers, stiff abrasive brushes, oven cleaner, and improvised chemical mixtures. If your usual sponge has an abrasive side, use a separate soft cloth so there is no accidental scrubbing with the wrong face.
Plan a few hands-on minutes, with additional time for cooling and drying. That is a practical planning allowance, not a verified cleaning or drying time for every mat. A quick cookie cleanup and a mat covered in sticky food will not take exactly the same amount of effort.
Wash Both Sides With Gentle Support
Make the sink work for the mat
Clear the sink of knives, loose cutlery, and rough cookware. Use a clean basin or a clean sheet pan beside the sink if it gives you a broad surface to support the mat. Do not wash it against a pan that still has baked-on grit underneath it.
For a mat larger than the sink, work across it in sections while supporting the remaining length. A broad curve is easier to manage than a tight fold. You do not need to force the whole mat into a small bowl or grip it in a crumpled bundle.
If standing at the sink is tiring, set the equipment within comfortable reach first and ask someone to handle rinsing or moving the support tray. Choose a safe working height and keep water off the floor. The useful adjustment is making the task easier to control, not working faster with a slippery mat in one hand.
Follow a simple hand-washing order
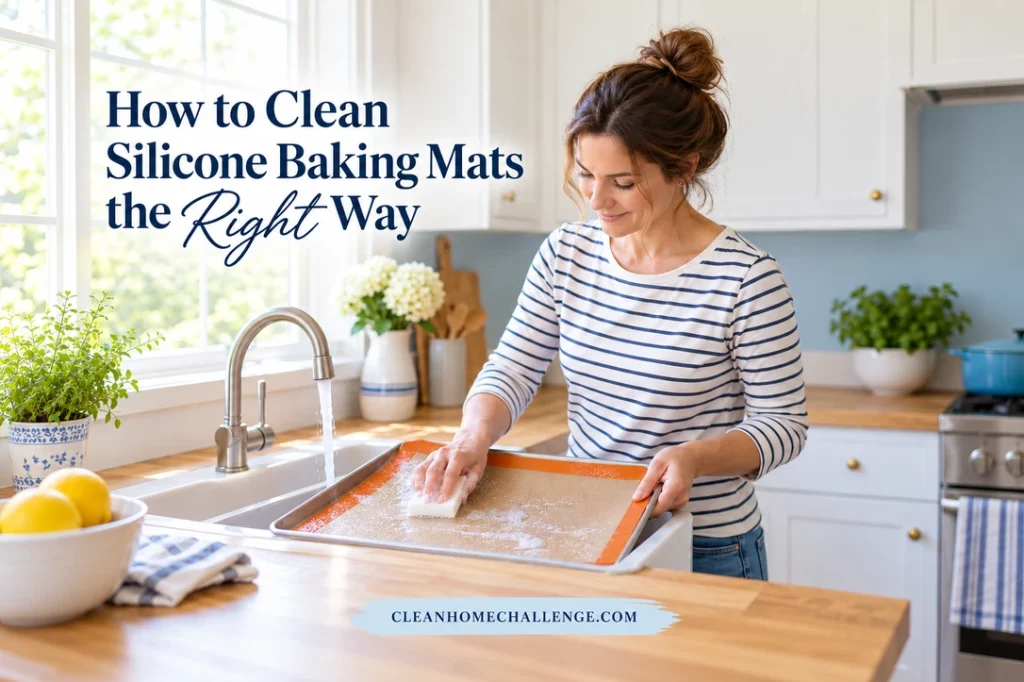
- Remove loose crumbs gently. Tip them into the trash or wipe them away with the soft cloth. Do not scrape stuck pieces with a blade.
- Prepare the allowed soapy water. Follow the dish-soap directions and the mat’s instructions. More detergent is not a substitute for covering the whole surface.
- Support the first face. Wipe gently across the mat, including the corners and border. Lift the sponge to release crumbs rather than dragging gritty particles repeatedly across one patch.
- Turn the mat over with both hands. Support it broadly instead of pulling on a corner. Clean the underside too; being against a baking sheet does not make that side exempt from washing.
- Check the perimeter. Wipe around the edge without digging under it, stretching it, or trying to separate its layers.
Use your eyes and the care instructions to decide whether a spot needs another gentle pass. Avoid turning ordinary washing into an endurance scrub. If a piece of food will not release, stop adding pressure and look for the maker’s instructions for that particular residue. Do not automatically escalate to abrasives or heat treatments.
Keep dishwasher advice product-specific
The dishwasher question is worth settling once and recording on your care card. Write down whether your exact mat is allowed in, which rack is specified, and any loading restrictions in the manual. Do not borrow instructions from a different brand simply because both products are described as silicone.
If its dishwasher loading instructions cannot be followed without folding, crowding, or allowing the mat to obstruct moving parts, use the permitted hand-washing route instead. Never wedge it around knives or force it under other dishes just to make it fit.
For example, if the manual says top rack, record “top rack” rather than only “dishwasher safe.” That small detail makes family help more reliable. It also means you will not need to search online every time the baking supplies come out.

Rinse, Dry, and Store Without Creases
Rinse the whole surface
Rinse both faces and the border with clean water, following the product’s directions. Move across the mat systematically instead of rinsing only the side you can see. If the mat is supported on a tray, make sure soapy water is not simply collecting underneath it.
Use clean hands when checking for leftover food or soap. A soapy sponge or detergent on your fingers can confuse the check. If you find a visible food smear, return to that spot with the allowed gentle wash, then rinse again. Do not stack the mat away while deciding to deal with it later.
Separate discoloration from damage
A brown patch does not automatically mean the mat needs stronger treatment. Appearance, removable food, and physical damage are different questions. Look for actual residue, inspect the surface, and compare what you find with the product’s care guidance.
Silpat’s care sheet notes that discoloration and an oily feel can be normal for its product. That is not permission to leave visible food on any mat, and it is not a rule that all tackiness is harmless. If the surface changes, food stops releasing as expected, or an odor remains after correct washing and drying, ask the maker how to assess the item.
If the problem is persistent sticky buildup rather than an ordinary after-baking wash, the guide to silicone bakeware that feels sticky covers that separate problem. Keep your exact mat’s instructions in charge of any optional treatment. A cut, torn edge, or exposed reinforcement calls for a condition decision, not a cleaning experiment.
Leave room for complete drying
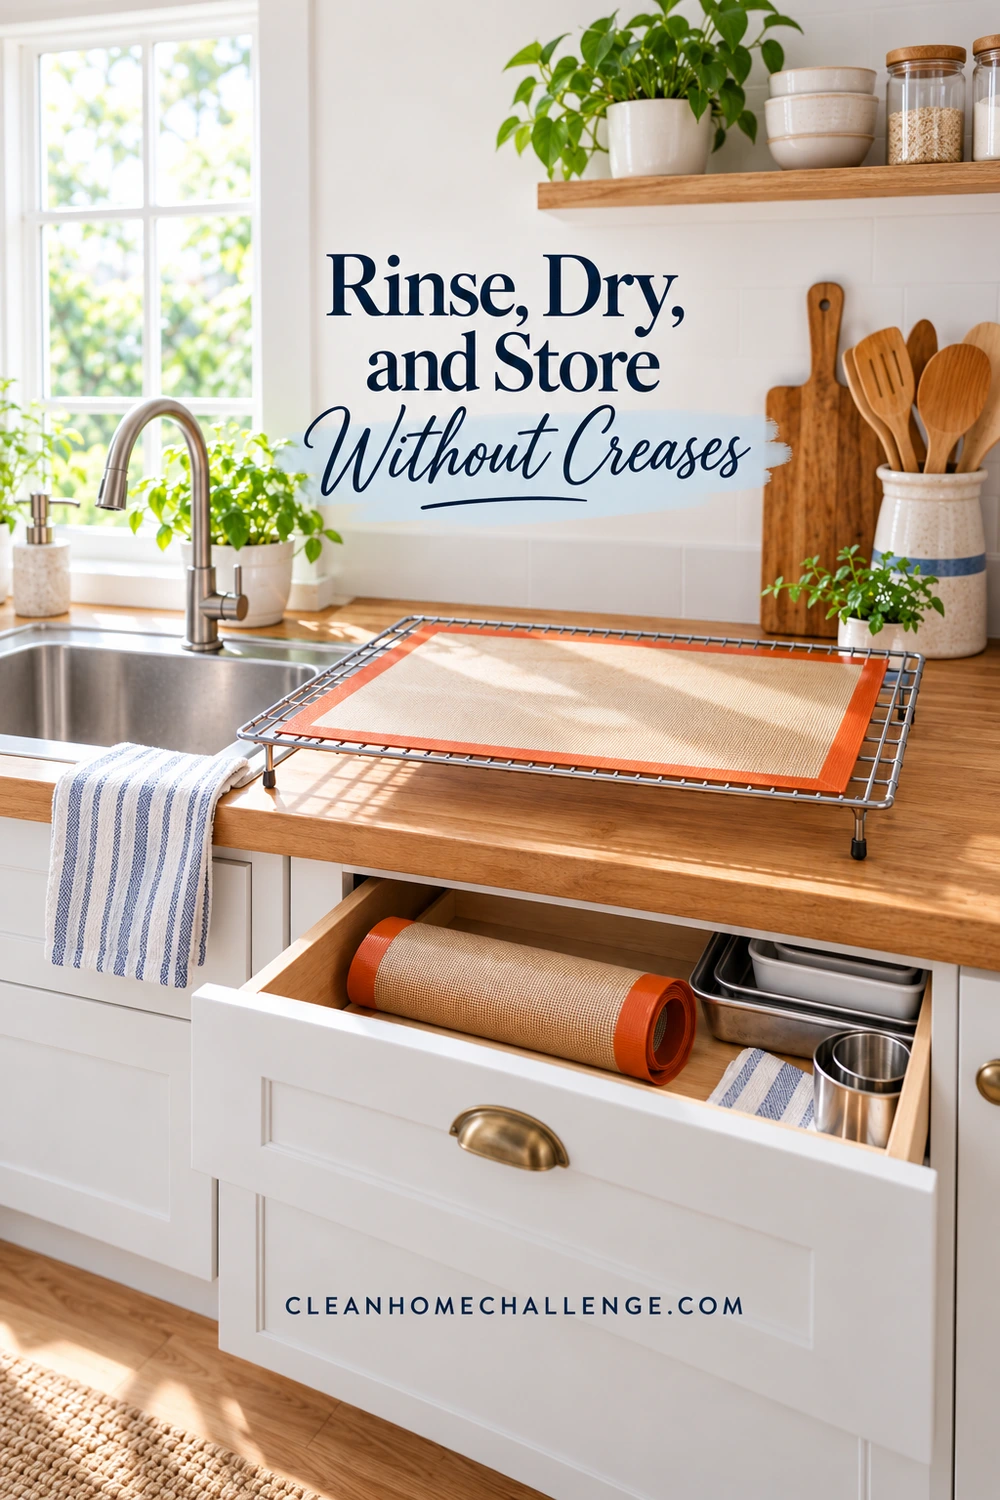
Set the rinsed mat in a clean area where it can remain flat and open. Do not put another wet mat or baking sheet over it. Check the underside and border before storing; a dry-looking top does not tell you what is trapped beneath.
If the maker permits towel drying, use a clean cloth and gentle contact. Otherwise follow its air-drying directions. Do not wring or twist the mat to hurry it along. Avoid using a hot oven as an improvised drying cabinet when that method is not in the product instructions.
Flat storage is a simple option if a drawer or tray space can accommodate it. Where the maker allows rolling, make a loose roll rather than a tight coil, and avoid fastening it with a tight band. Keep knives, heavy pan edges, and other sharp objects away from the stored mat.
Choose one home for it so the next person does not fold it into a tiny cupboard gap. You could store it flat with a suitable tray, provided it is clean, fully dry, and protected from sharp or crushing objects. The best location is the one your household can use without forcing the mat to fit.
Make Mat Care Part of Your Baking Reset
Use the same four-part finish each time
After baking, make the finish predictable: cool and inspect, wash both sides, rinse and dry, then store without creases. Keep the soft cloth and care instructions easy to find. You are removing decisions from cleanup rather than adding a new complicated routine.
If you have several mats, label their storage spots or keep separate cards when their care instructions differ. “The large pastry mat” is more useful than “the silicone thing.” Record the actual brand and model too, so a future replacement does not accidentally inherit instructions from the old one.
For a lower-energy reset, clear a safe cooling spot and gather the washing kit first. Once the mat has cooled, do the gentle wash and leave it open to dry while you finish the rest of the kitchen. Ask a helper to put it away only after checking both sides are dry. Avoid hiding a damp mat in a stack to make the counter look finished.
Download your baking mat care card
Download the free silicone baking mat care card (PDF).
The free two-page care card gives you a repeatable checklist and space to record the mat’s exact washing instructions, dishwasher permission, storage method, and condition notes. Fill it in from the manufacturer’s information rather than guessing. Keep it with the baking supplies so anyone helping can follow the same routine.
There is also space to note a concern and the next action. If you find a split edge, write “set aside; contact maker” instead of leaving a vague reminder to “deep-clean.” Clear notes help keep a damaged item out of the next baking session.
If a steadier kitchen routine would help, you can explore Cleaners Clubhouse for the practical cleaning guidance and printable support described below. The free care card is available directly from this article.
CLEANERS CLUBHOUSE
Make Kitchen Cleaning Feel More Manageable
Turn Monday into your kitchen reset day with a clear routine you can follow. The Cleaners Clubhouse gives you practical cleaning guidance, printable support and monthly challenges to help you stay consistent.
Keep the next bake easy to start
A ready-to-use baking mat does not have to look unused. It needs the right care for its construction, no unresolved damage, and a storage spot that does not bend it sharply. Those are useful checks you can repeat without turning every wash into a deep-cleaning project.
Put the mat away when it is fully dry, leave the care card where a helper can see it, and call that part of the kitchen reset done. Consistent gentle care is a much more manageable goal than chasing every mark with another internet cleaning hack.
Sources and scope
- Silpat Technical Manual — professional-use technical guidance supporting gentle handling, rinsing, and storage; not a substitute for domestic product instructions.
- Silpat product warranty care exclusions — damage from sharp utensils, folding, heavy storage, and unsuitable cleaning.
- Fat Daddio’s: Silicone Bakeware Care — manufacturer guidance for its mats, including routine washing, storage, and condition concerns.
- Silpat Care Instructions — manufacturer care sheet hosted by a catering supplier, covering gentle cleaning, rinsing, drying, and normal appearance.
Sources checked November 1, 2026. Product examples do not replace the instructions for your exact mat. The household setup, care-card prompts, and reset sequence are practical editorial suggestions; no hands-on product test or measured cleaning-time trial is claimed.