THIS POST MAY CONTAIN AFFILIATE LINKS. PLEASE READ MY DISCLOSURE FOR MORE INFO.
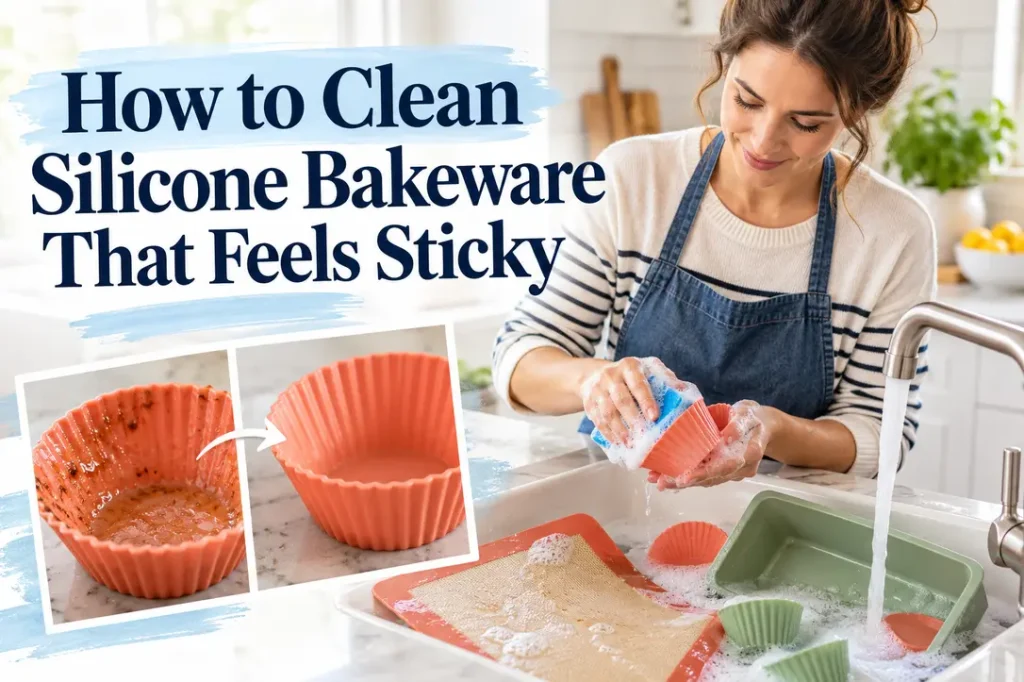
Silicone bakeware is supposed to release food easily, so it is frustrating when a baking mat, muffin pan or loaf mold feels tacky even after washing. That sticky film is usually not the silicone “melting.” More often, a very thin layer of cooking fat, spray oil, detergent or baked-on food has remained on the surface and collected in the tiny textures and corners that make silicone so flexible.
The good news is that most pieces can be reset with hot water, grease-cutting dish soap, time and a soft cleaning tool. The safest approach is gradual: start with the maker’s ordinary care directions, repeat the wash if needed and stop before an aggressive shortcut damages the surface. This guide walks you through that process for silicone baking mats, muffin cups, cake molds and utensils.
Disclosure: This post may contain affiliate links. As an Amazon Associate, Clean Home Challenge earns from qualifying purchases. If you make a purchase through these links, we may earn a small commission at no extra cost to you. This helps us keep creating practical cleaning tips, routines and resources for busy families! 🧽
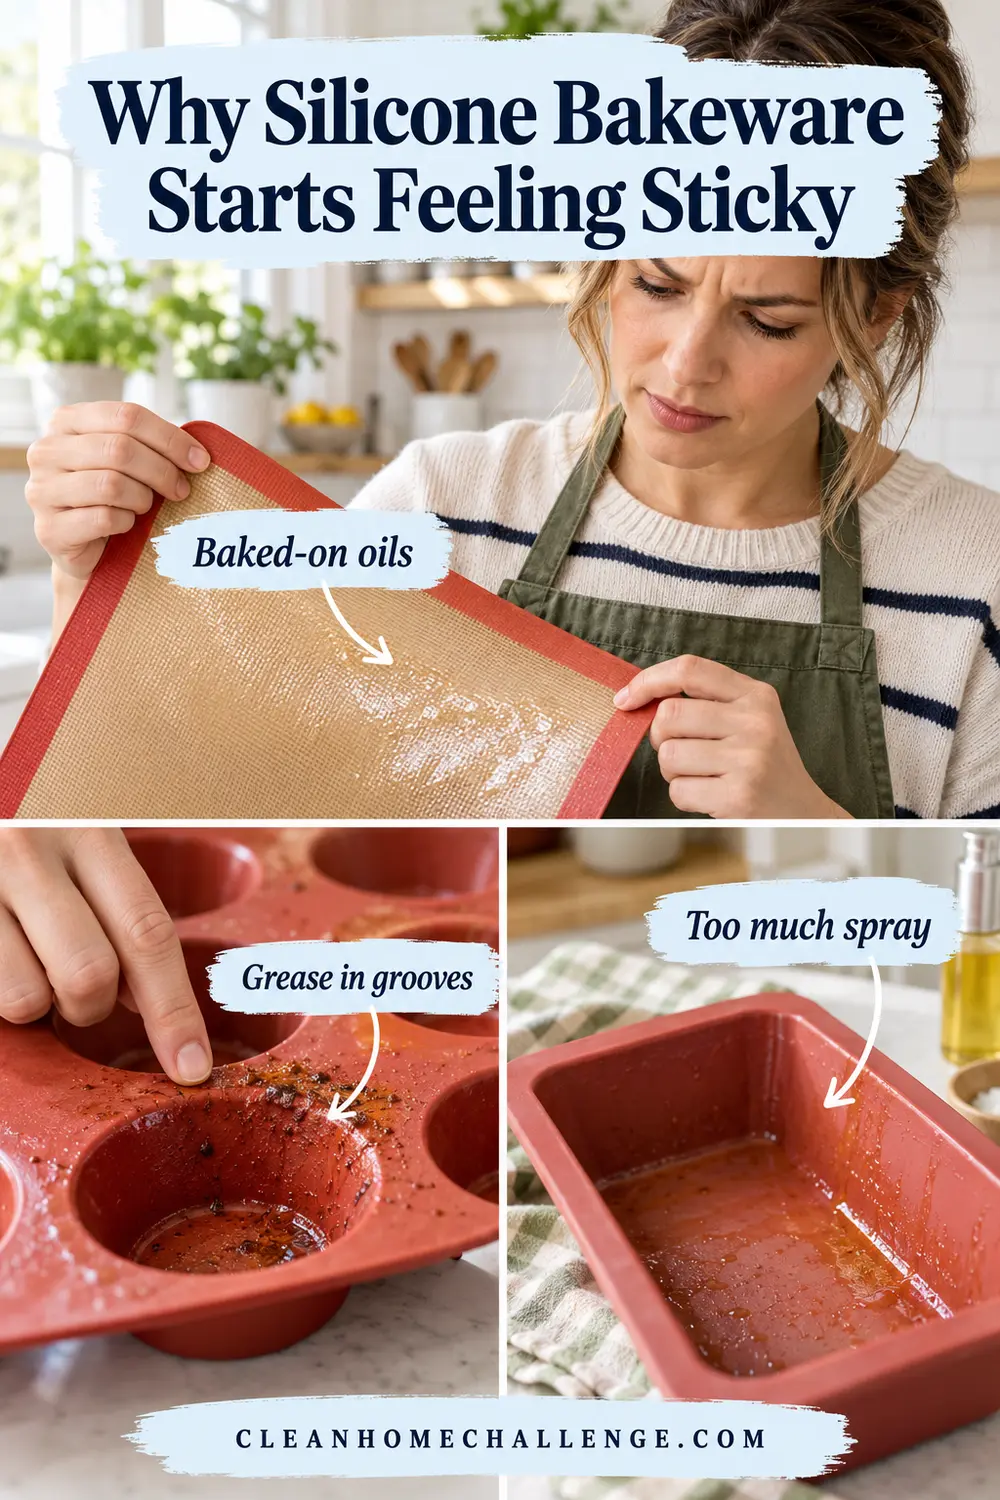
Why Silicone Bakeware Starts Feeling Sticky
Silicone itself has a slightly different hand-feel from glass or metal, but a greasy or gummy coating is a sign that something is sitting on the surface. The most common cause is a film of oil that has been heated repeatedly. A light coating left after baking can become harder to remove during the next oven cycle, especially around the ridges of muffin cups and decorative molds.
Cooking spray can speed up that buildup. Silicone is naturally nonstick, so many recipes do not need much added grease. If a recipe or manufacturer tells you to grease the mold, use only the amount required. A heavy spray can settle along the rim and in corners, where a quick rinse will not reach it.
Detergent can also leave a slippery film when too much soap is used or the item is not rinsed thoroughly. Hard-water minerals may contribute a cloudy look, although cloudiness is not always the same as oily stickiness. Food residue, especially from butter-rich batters or roasted foods, can add its own odor and color. Identifying what you see and feel helps you choose the gentlest useful method.
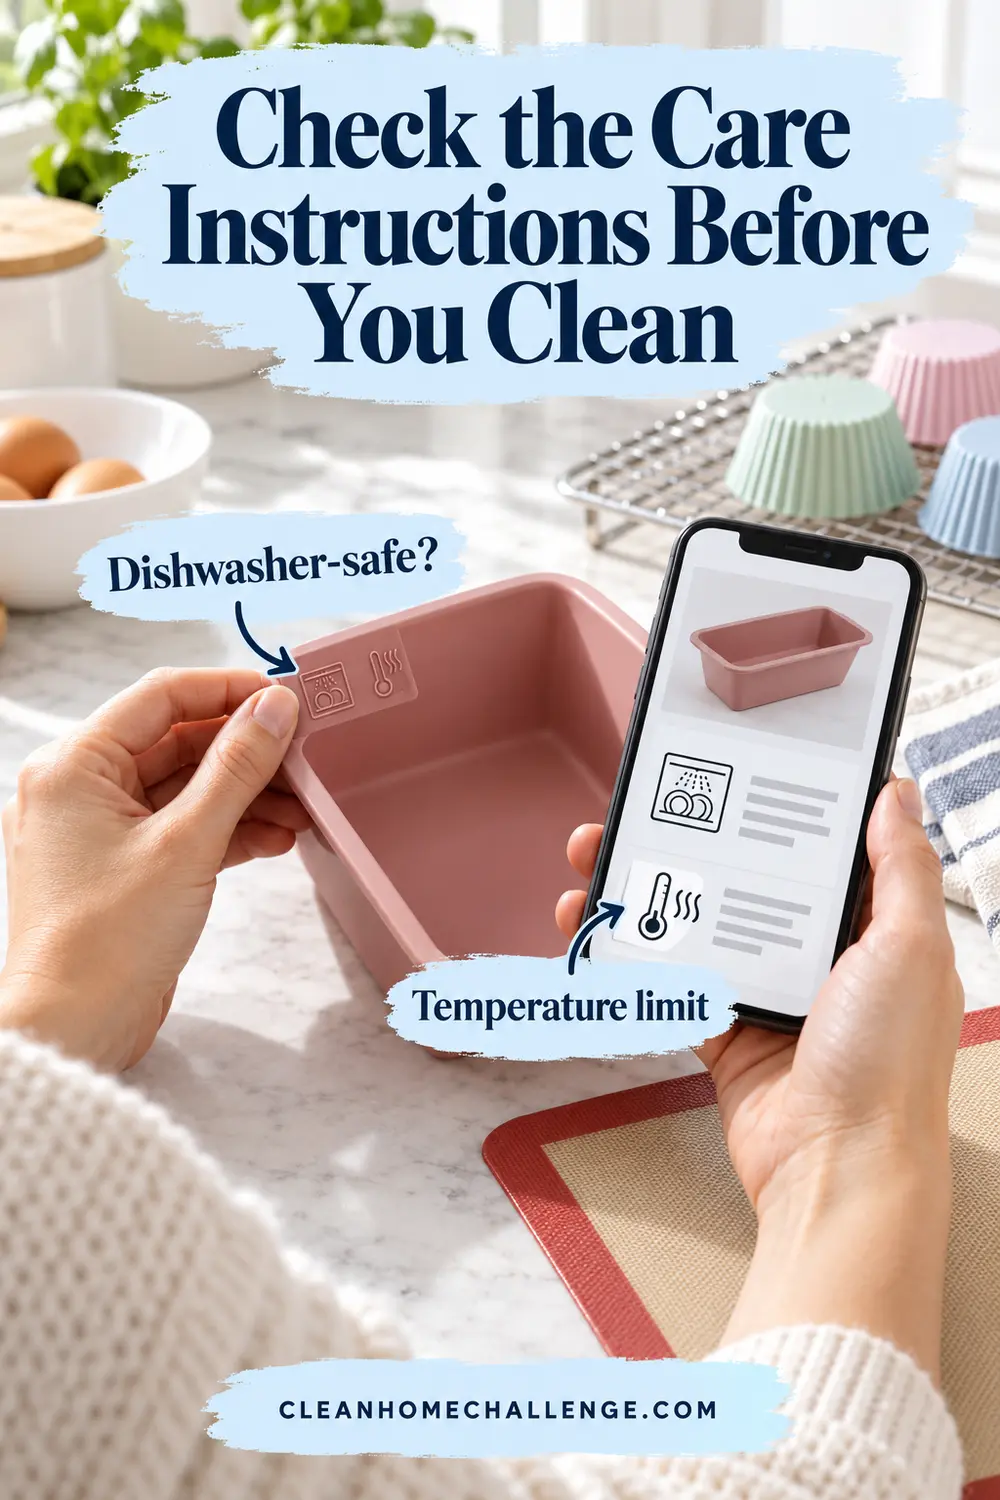
Check the Care Instructions Before You Clean
Before deep-cleaning, find the packaging, embossed care symbols or the manufacturer’s online directions. Silicone products are not all constructed the same way. A flexible mold made entirely of silicone may have different care guidance from a baking mat reinforced with fiberglass. Some items are dishwasher-safe; others are best hand-washed with warm or hot soapy water.
Follow the stated temperature limit and cleaning instructions for your exact product. Never assume that “oven-safe” means “safe to boil,” place under a broiler or heat empty. Do not cut or scrape a reinforced baking mat, because damaging its surface can expose the inner structure. If the item has a torn edge, deep cut, flaking surface or permanently rough patch, replacement is safer than trying to scrub it smooth.
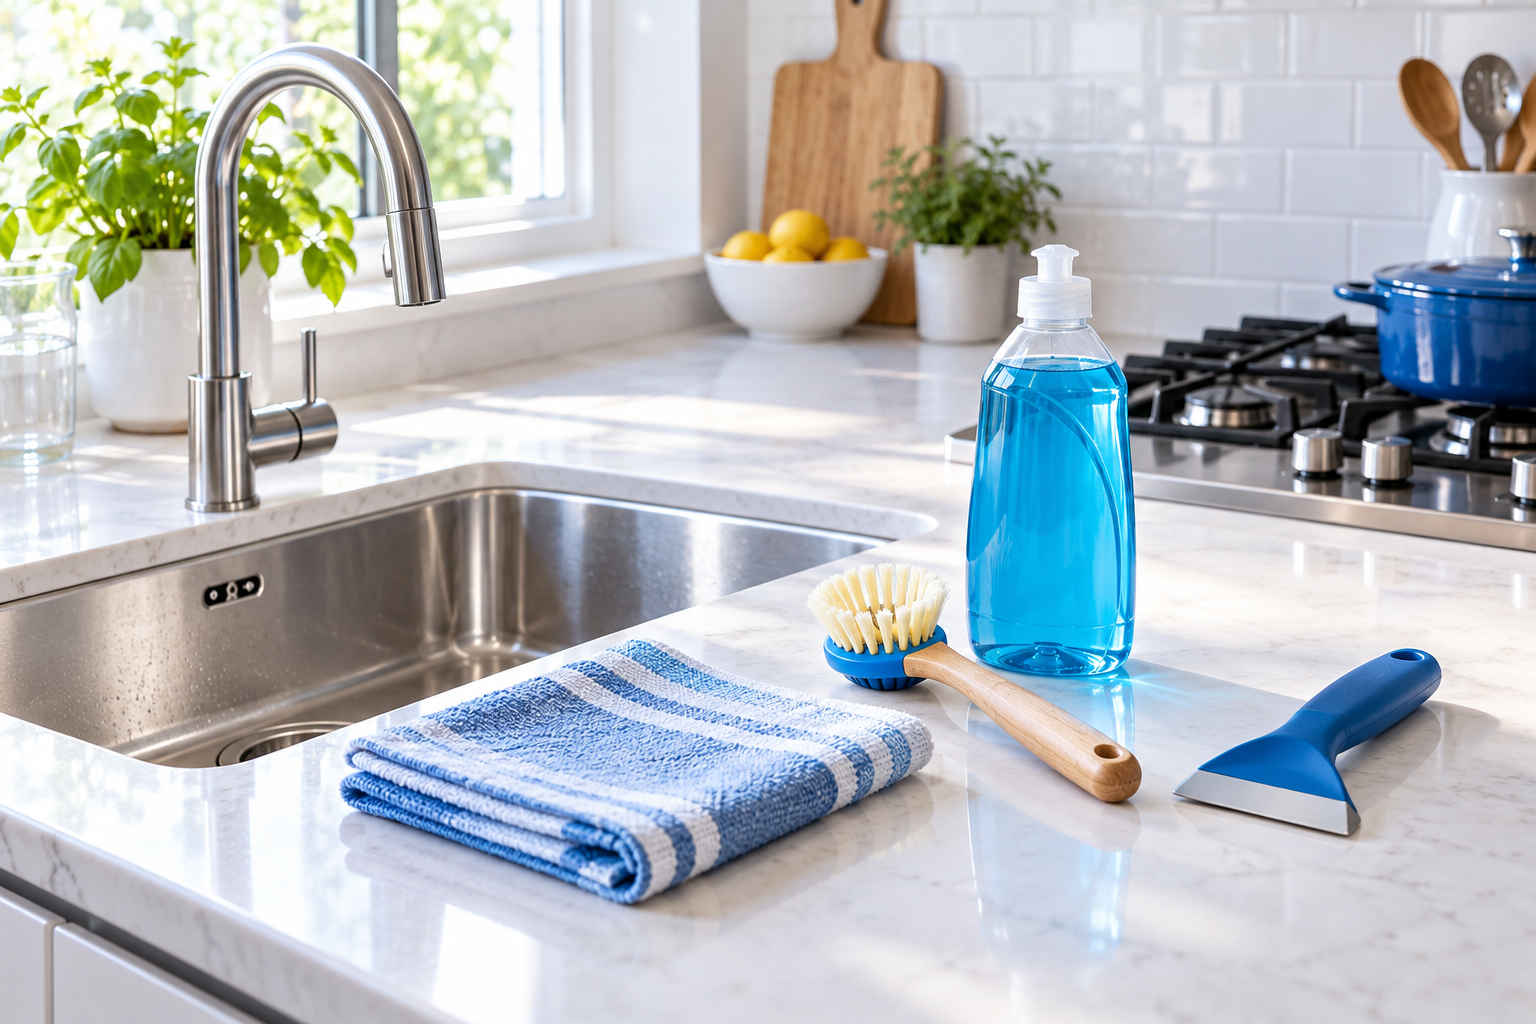
For the routine below, gather grease-cutting dish soap, the hottest tap water that is comfortable to handle, a nonabrasive sponge or soft dish brush, a clean towel and a drying rack. Avoid steel wool, scouring powder, metal scrapers and sharp utensils.
Wash Away Fresh Grease First
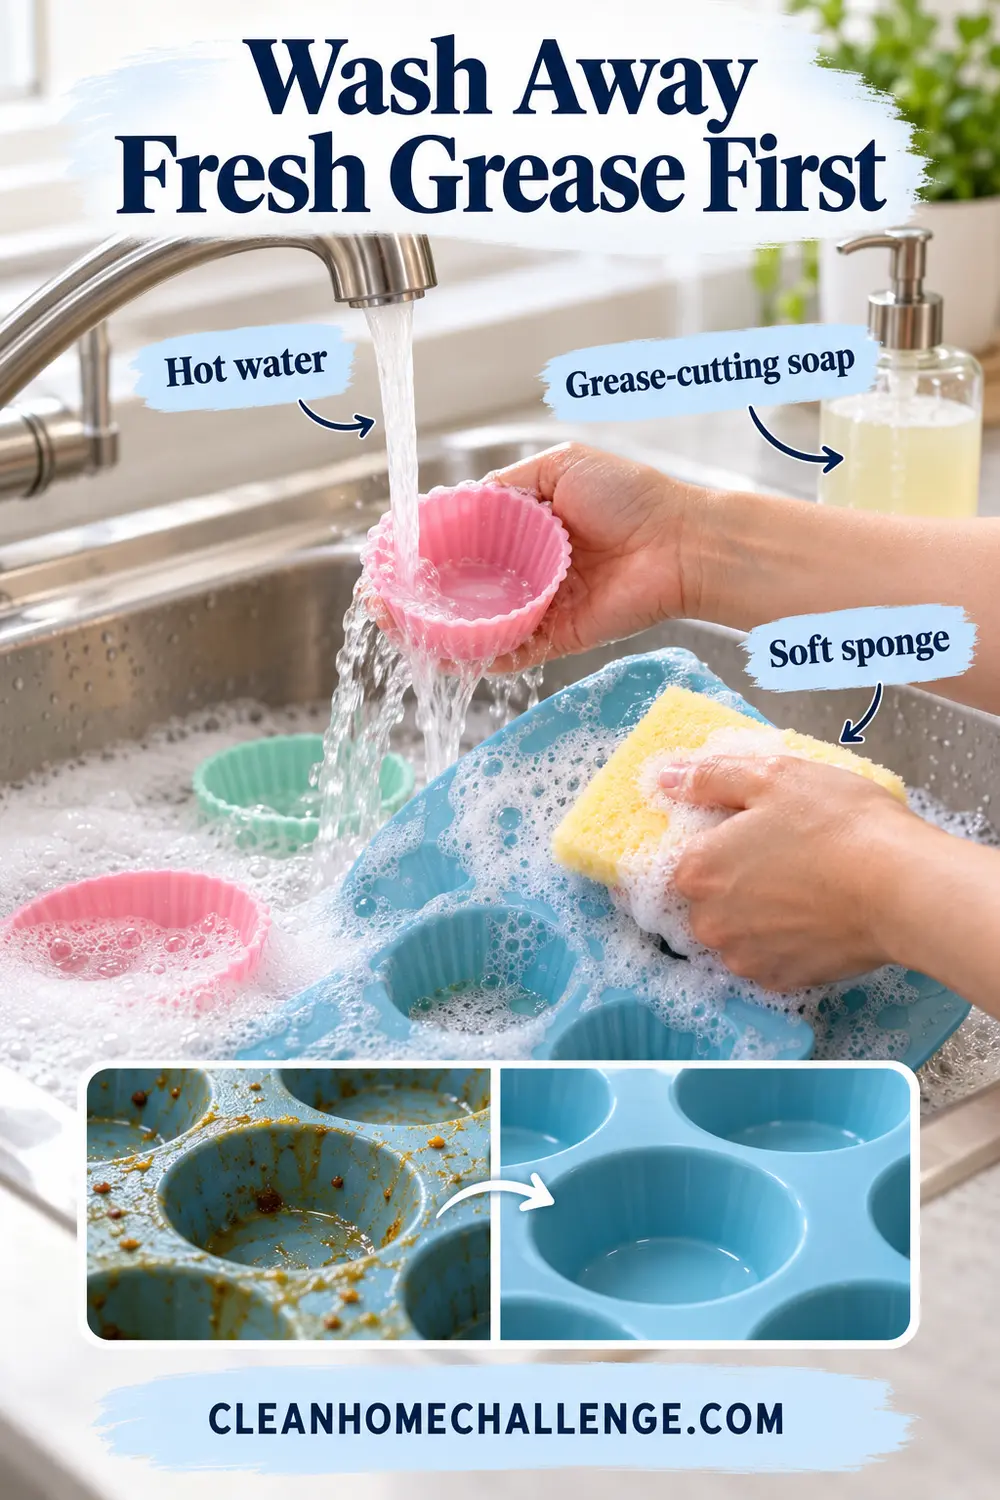
Cleaning promptly is the easiest way to prevent tackiness. Let the bakeware cool completely, remove crumbs with a soft cloth or silicone spatula, then wash it before the oils have time to sit.
- Fill the sink or a basin with hot tap water and a small amount of grease-cutting dish soap.
- Submerge the piece when its shape allows. For a large mat, wash it flat rather than folding or sharply creasing it.
- Wipe every surface with a soft sponge. Pay extra attention to rims, handles, corners and any textured details.
- Flex soft molds gently so the sponge or water reaches into the grooves. Do not pull hard enough to stretch or tear them.
- Rinse under clean running water until the surface no longer feels soapy.
Test the item only after rinsing your own hands. Soap left on your fingertips can make a clean piece seem slippery. If the surface still feels greasy, repeat the same wash once before moving to a longer soak.
Loosen Baked-On Residue Without Scratching
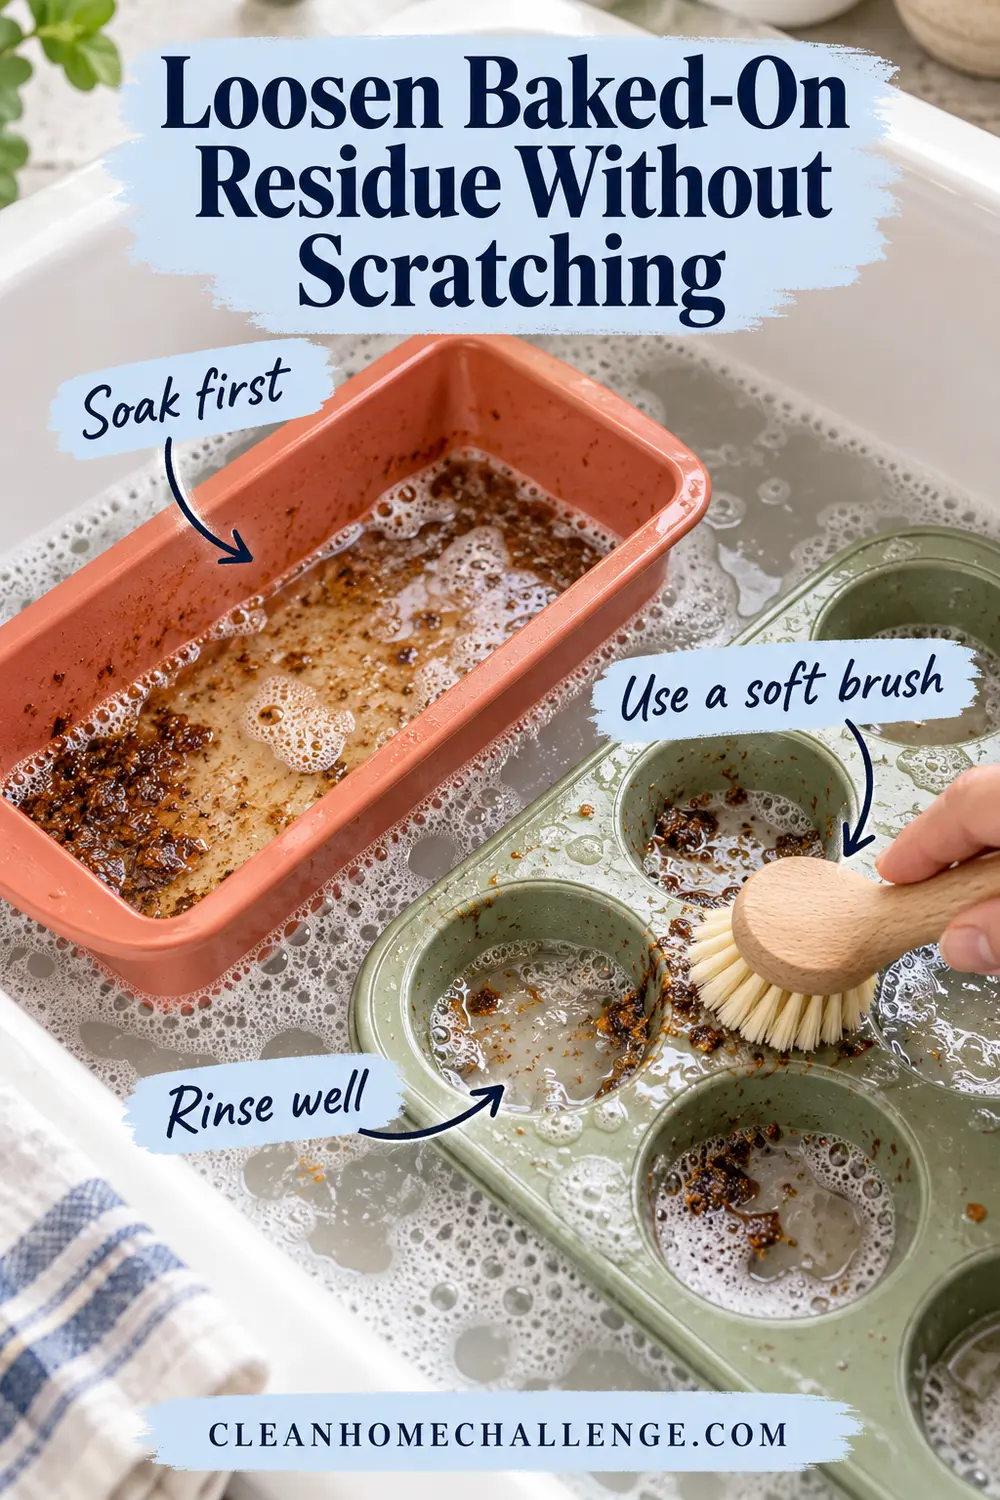
When ordinary washing leaves a stubborn film, time is usually more useful than force. Refill the basin with fresh hot tap water and dish soap, then let the silicone soak for 15 to 30 minutes. Keep a baking mat flat or loosely curved so its reinforced core is not creased.
After soaking, use a soft dish brush to work around ridges and corners. Use short, light strokes and support the mold from underneath. For a baking mat, scrub in gentle circles without digging at the mesh texture. Rinse, then repeat the soak if the film is lifting but not gone.
Some cleaning advice recommends baking soda, vinegar, boiling water or heating an empty mat to loosen oil. These methods are not universal. Only use an optional deep-cleaning method when the product maker specifically allows it. Do not combine cleaning products, and never mix chlorine bleach with acids or ammonia. The conservative fallback is repeated hot-soapy washing with a soft tool.
Resist the temptation to scrape one stubborn patch with a fingernail, knife or metal spatula. A scratch may be tiny, but it creates a rough spot where future grease can lodge. Likewise, a stronger detergent is not automatically a better choice: if it leaves fragrance or surfactant behind, you have exchanged an oily film for a soapy one. Fresh water, a clean brush and another short soak are safer than adding more products.
If residue remains after several careful washes, consider how the item is used. A darkened stain may be cosmetic, while a sticky layer that transfers odor or color to food indicates the piece is not clean enough for use. A damaged or deteriorating surface should be replaced rather than treated with harsher chemicals.
Clean Silicone Baking Mats and Detailed Molds
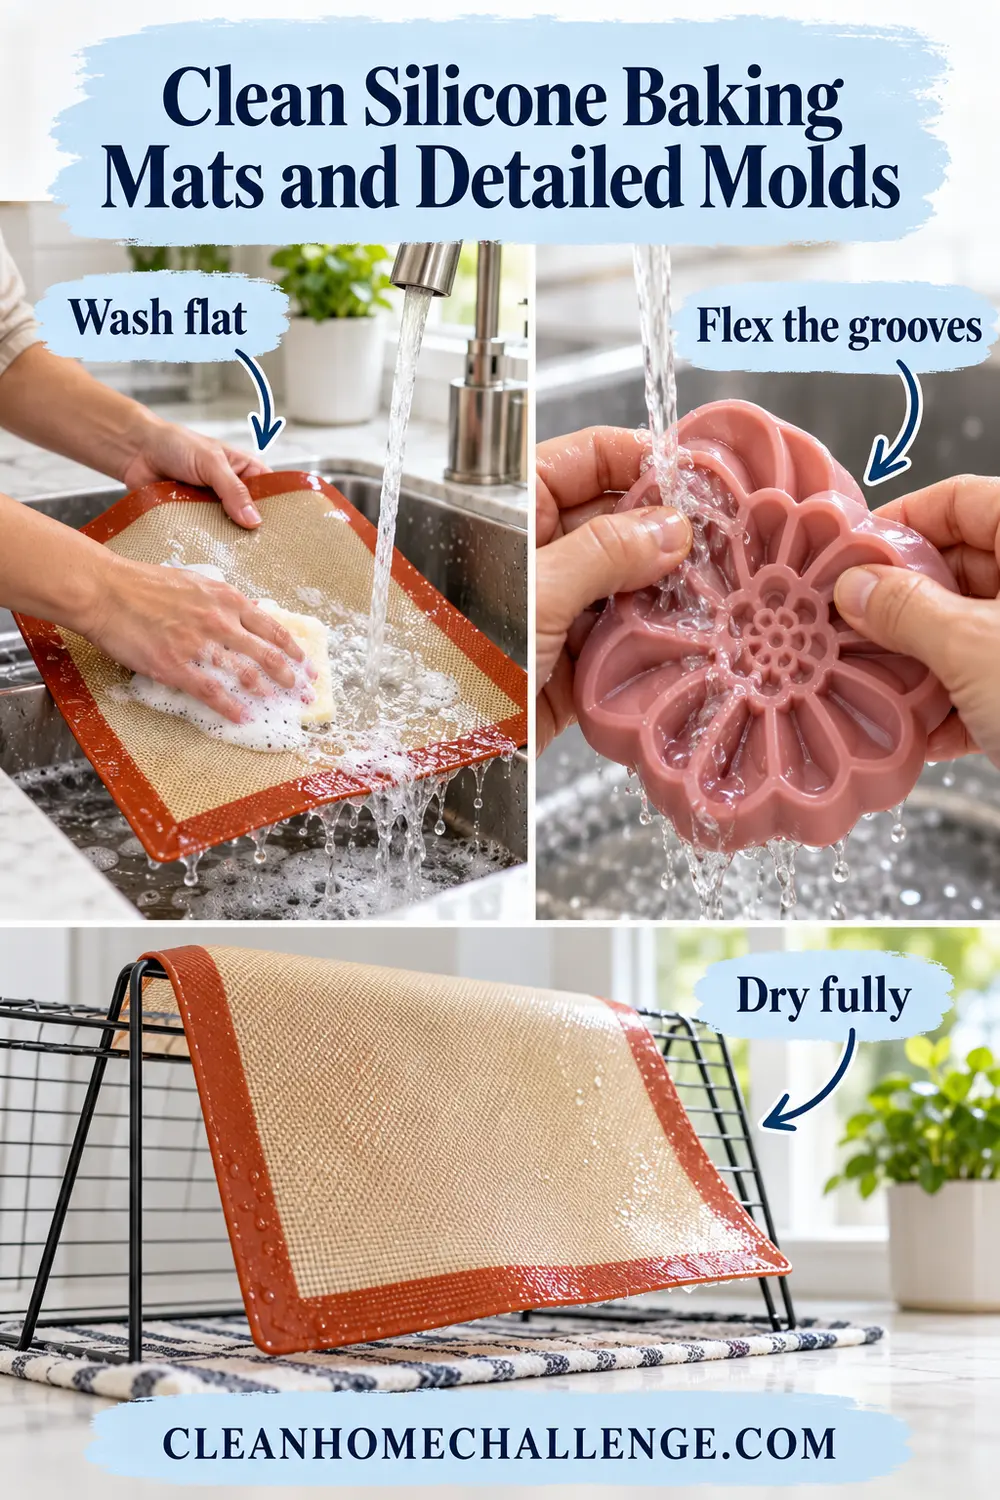
Large baking mats are easier to control when they are supported. Lay the mat flat in a clean sink or across a sheet pan beside the sink. Wash one section at a time with a soft sponge, turn it over and repeat. Rinse both sides well. Do not wring, fold or scrub the edges with anything sharp.
For muffin pans, mini-cake molds and intricate shapes, residue hides where the flexible walls meet. Submerge the mold, then gently invert or flex one cavity at a time while washing. A soft bottle brush or small dish brush can reach narrow details without gouging them. Check the underside too; oil from a sheet pan or oven rack can transfer there.
Separate silicone muffin liners should be removed from the metal pan before cleaning. Wash the inside, outside and fluted edge of each liner. If several are nested while damp or greasy, the film can spread from one cup to the next.
For very floppy pans, set the mold on a clean sheet pan while carrying it to the sink, then remove the support before washing. This prevents greasy water from sloshing onto the floor and makes it easier to keep the mold from twisting. After rinsing, hold the piece against the light. Shiny streaks or beaded water around the corners can reveal a spot that needs one more pass with the sponge.
Remove Odors and Cloudy Film Carefully
Odor often means a thin film of fat or strongly flavored food remains. Start with a second wash in fresh hot soapy water, using a clean sponge rather than one that is already oily. Rinse thoroughly and let the piece air-dry before checking again. Smelling a warm, wet item can be misleading, so assess it only when it is cool and dry.
A cloudy appearance may be mineral residue, detergent or ordinary staining. If the piece feels clean, does not smell and performs normally, discoloration may be cosmetic. Do not chase every stain with aggressive scrubbing. If your manufacturer permits a specific treatment for mineral film or odors, follow its exact concentration and timing instead of improvising.
Avoid perfumed cleaners that can leave their own scent. Do not use oven cleaner, solvent, scouring powder or a melamine eraser unless the manufacturer explicitly approves it for that product. Silicone is durable in normal kitchen use, but repeated abrasion can roughen a surface and make future residue harder to remove.

Dry, Store and Inspect Silicone Properly
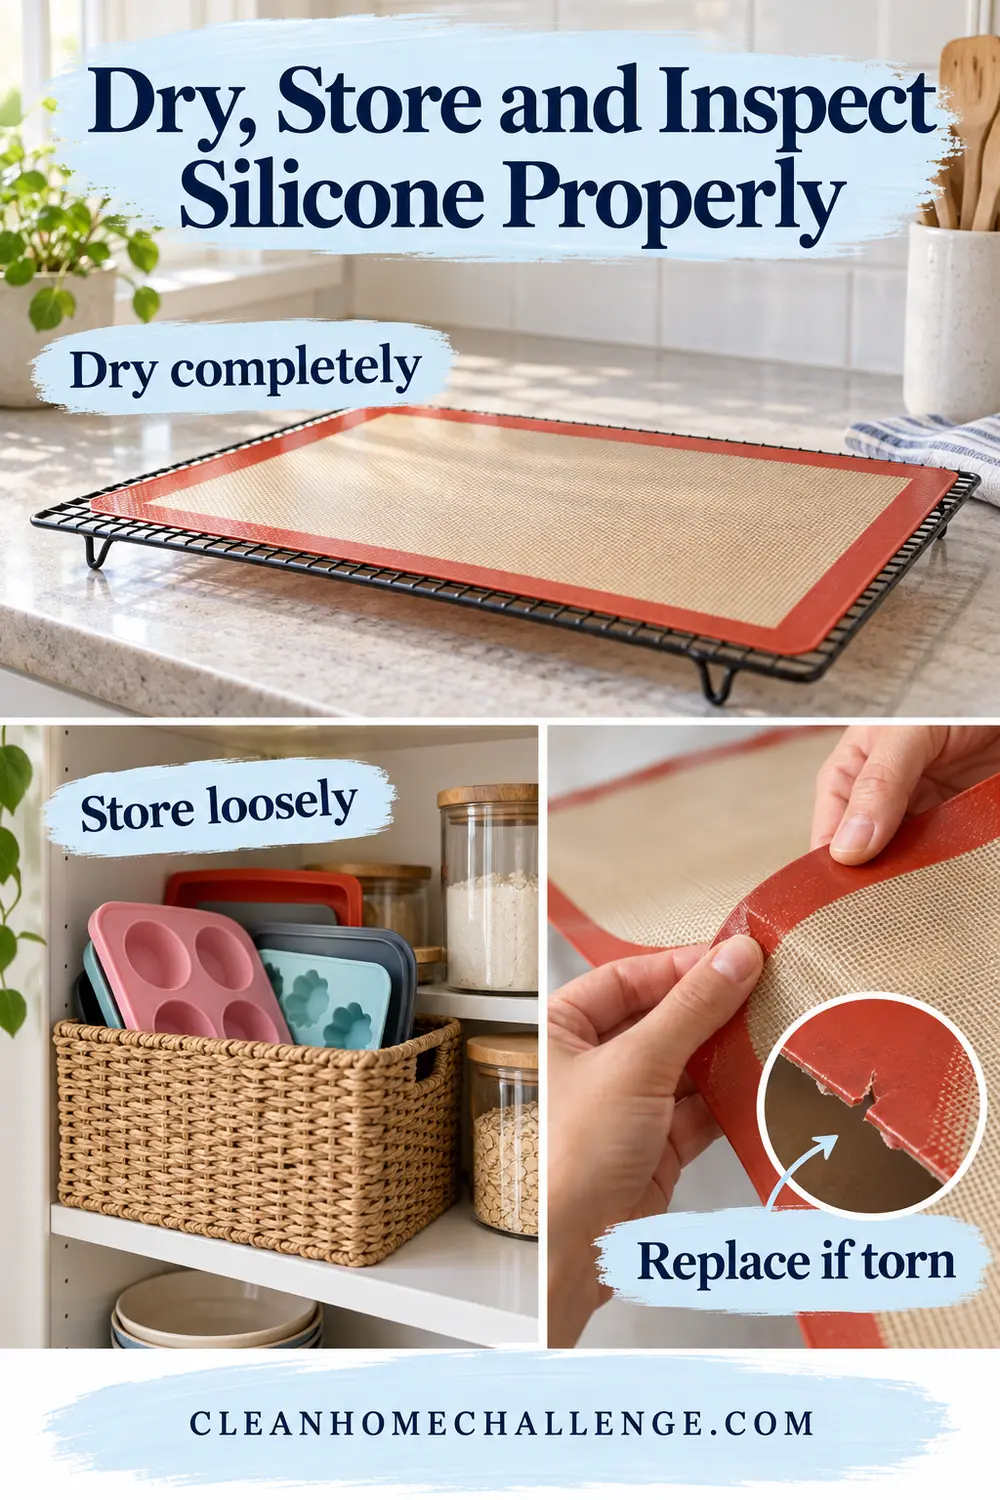
Shake off excess water, then place molds upside down on a clean drying rack so air reaches the cavities. Dry baking mats flat or loosely draped over a wide rack. Do not fold a reinforced mat or trap it under a heavy pan while it is damp.
Before storing, check that grooves, rolled rims and underside edges are completely dry. Store molds loosely rather than crushing them into a tight stack. If you nest pieces, place a clean towel or sheet of parchment between them so they do not seal together.
Inspect high-use pieces every few months. Replace silicone that is torn, split, deeply cut, peeling, permanently tacky after proper washing or holding an odor that transfers to food. A reinforced mat with exposed fibers or a damaged edge should not go back into service.
Create a simple storage rule for the household: clean and dry silicone belongs in one breathable basket or upright divider. That keeps flexible pieces from disappearing under heavy pans and makes damage easy to notice. If children help put dishes away, show them that baking mats are rolled loosely or stored flat rather than folded into a small square.
CLEANERS CLUBHOUSE
Make Kitchen Cleaning Feel More Manageable
Turn Monday into your kitchen reset day with a clear routine you can follow. The Cleaners Clubhouse gives you practical cleaning guidance, printable support and monthly challenges to help you stay consistent.
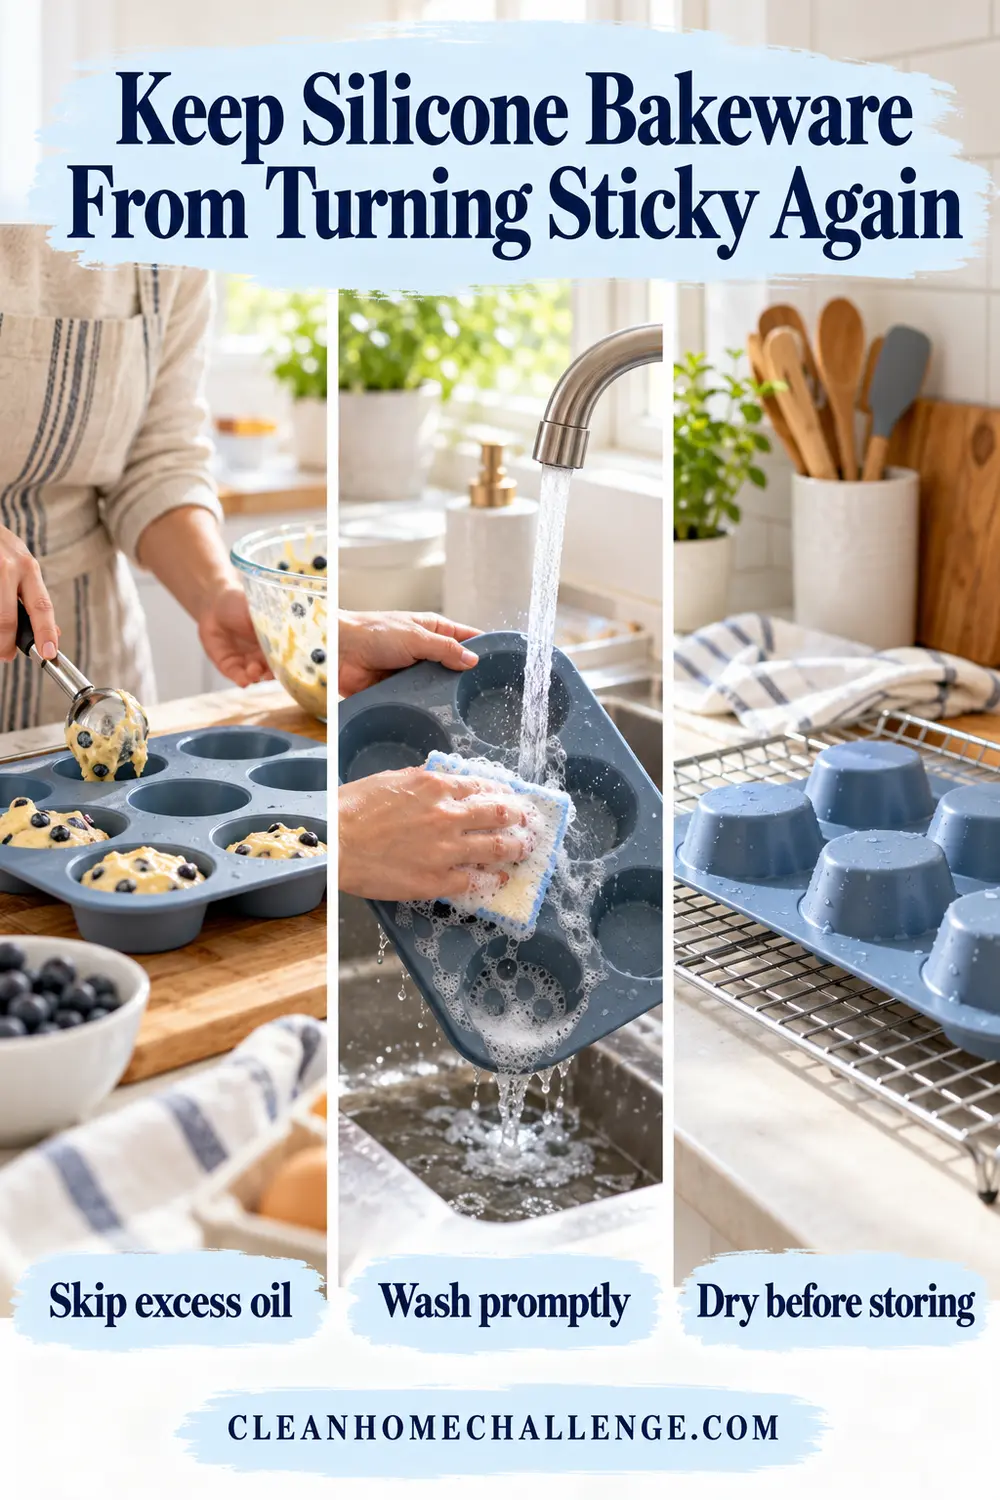
Keep Silicone Bakeware From Turning Sticky Again
Prevention is pleasantly simple. Use only the amount of oil the recipe or manufacturer recommends, and avoid routine aerosol spray when the piece does not need it. Wash soon after the bakeware has cooled instead of leaving oily crumbs on it overnight. Use a clean, grease-free sponge and rinse longer than you think you need to.
Keep silicone away from direct flames, broilers and temperatures beyond its stated limit. Set floppy molds on a rigid sheet pan when the maker recommends support, and remove baked food with silicone, wood or other nonsharp utensils. Dry every surface before storing.
For a realistic family routine, add silicone pieces to the sink while you reset the kitchen after baking. A two-minute wash now is far easier than a deep clean after several rounds of heat. If a pan starts to feel different, deal with it early: hot soapy water, a short soak and a soft brush are usually all the intervention you need.
Trusted Sources
- Williams Sonoma: Silpat Silicone Baking Mat care guidance
- Silpat: Official baking mats and molds
- Southern Living: Why silicone baking mats can feel greasy