

THIS POST MAY CONTAIN AFFILIATE LINKS. PLEASE READ MY DISCLOSURE FOR MORE INFO.
Grease on kitchen cabinets rarely arrives all at once. A little cooking mist lands near the range, hands touch the door pulls, and dust sticks to the film. By the time a cabinet feels tacky, a quick dry wipe often just moves the grime around. The good news is that most washable cabinet fronts respond to a gentle, controlled clean. You do not need to soak the doors or attack the finish with a harsh scrubber.
The safest method starts with the cabinet maker’s care instructions. Cabinet finishes vary, even within one kitchen. Work on a small area first, use a soft cloth and the mildest cleaner that works, then remove any soap and dry the surface. MasterBrand’s cabinet care guidance recommends warm water first and a mild dishwashing-liquid solution for extra grease, followed by a damp wipe and thorough drying. KraftMaid’s care advice likewise stresses gentle cleaning and attention to grease and moisture near cooking areas.
Disclosure: This post may contain affiliate links. As an Amazon Associate, Clean Home Challenge earns from qualifying purchases. If you make a purchase through these links, we may earn a small commission at no extra cost to you. This helps us keep creating practical cleaning tips, routines and resources for busy families! 🧽
Check the Finish Before You Start
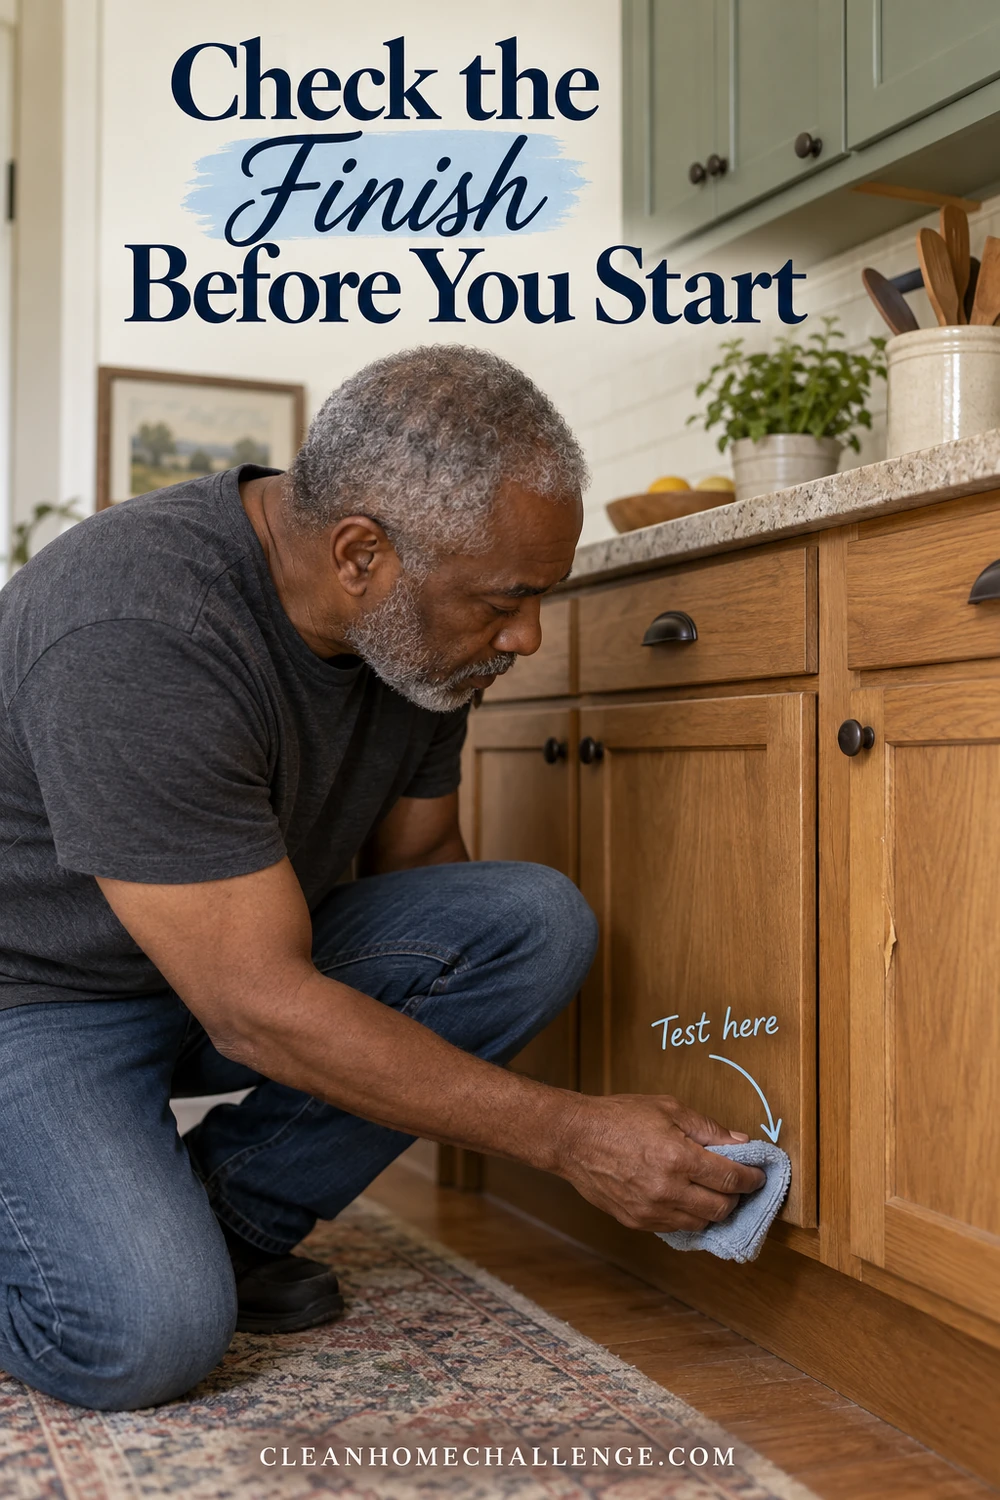
Look at the door, frame, and edges in good light. Is the surface painted wood, stained and sealed wood, laminate, thermofoil, or a high-gloss front? Do you know the manufacturer? If so, check its care page or installation paperwork before choosing a cleaner. A surface that looks like painted wood may actually be a film or laminate, and exposed edges may react differently from the face.
Inspect the sticky spot, too. A soft, amber film near the range usually points to cooking grease mixed with dust. A white or cloudy patch, peeling edge, bubbling film, or flaking paint may be finish damage. Cleaning can remove soil; it cannot repair a failing finish. Stop if a test wipe lifts color, dulls the sheen, swells an edge, or leaves the surface tackier.
Choose a hidden patch at the bottom of a door or inside a frame. Wipe it with a barely damp cloth, dry it, and check it again after it has fully dried. That short test is especially useful on older paint, unknown finishes, and cabinets that have already been treated with polish or wax.
Mix a Mild Grease-Cutting Wash
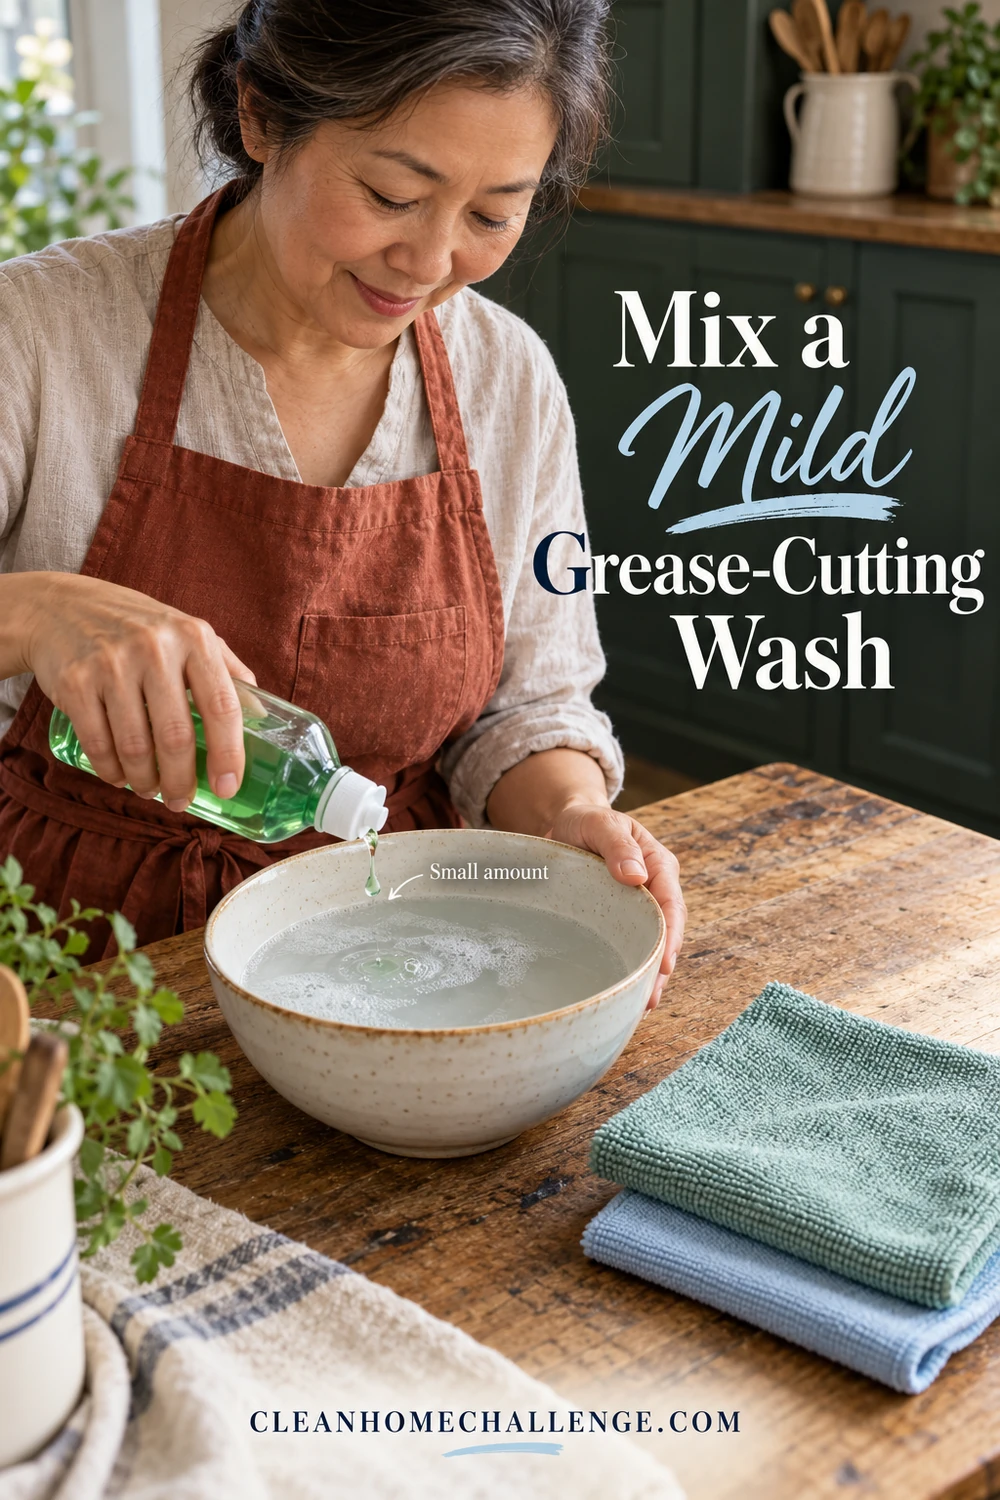
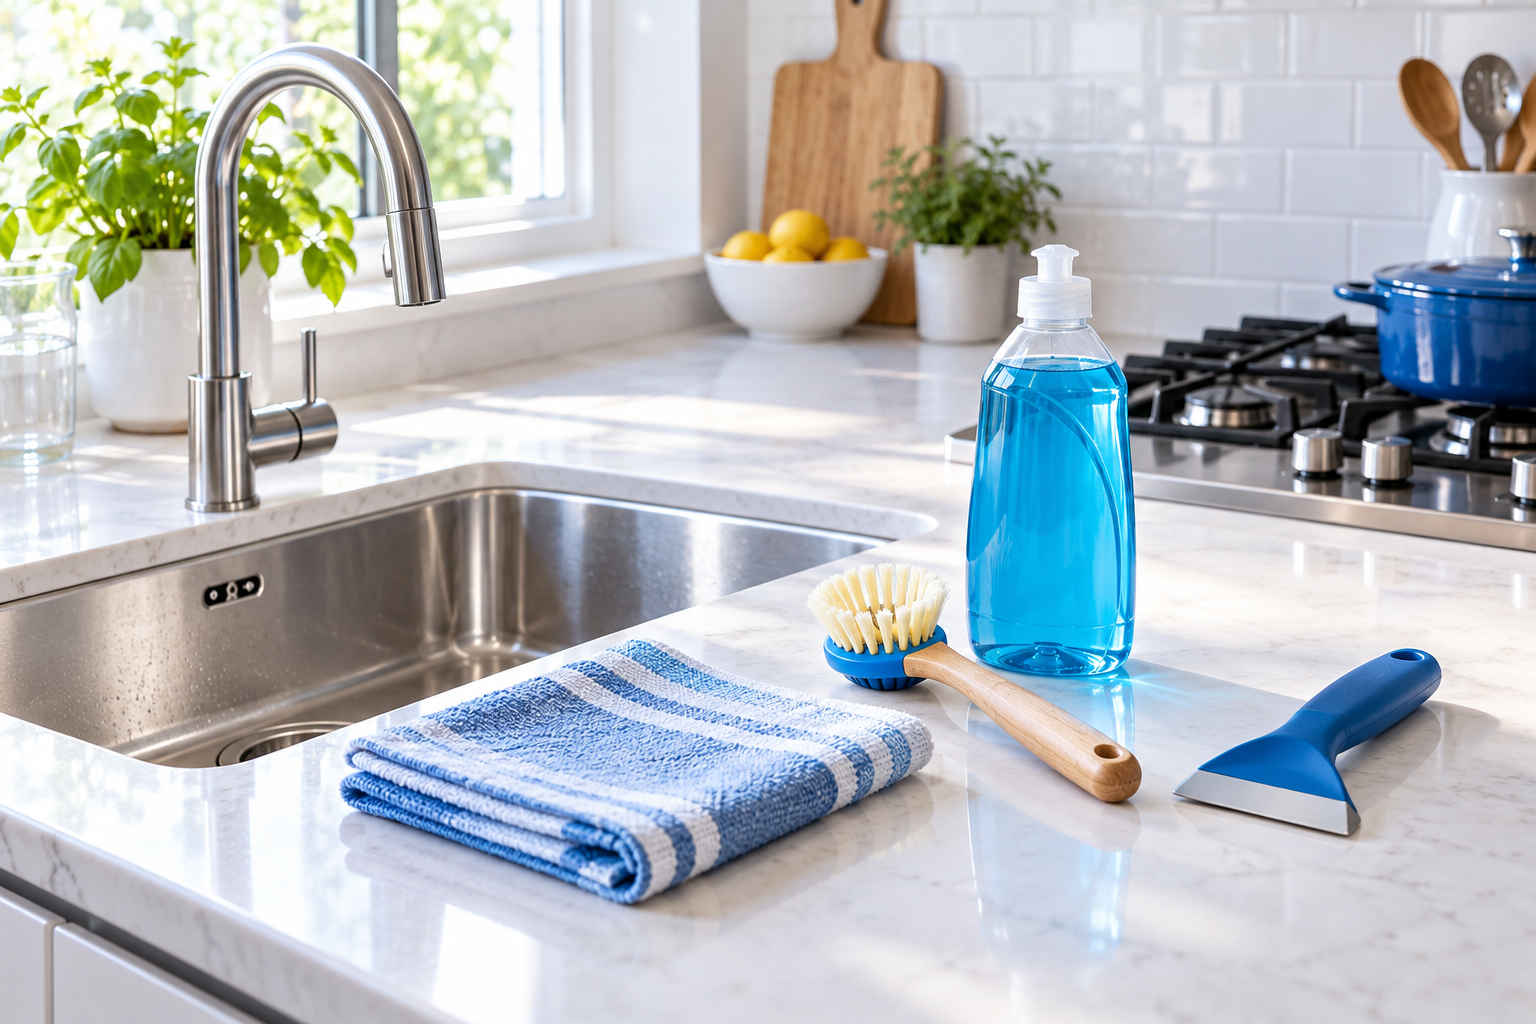
You need two or three clean microfiber or soft lint-free cloths, warm water, a small bowl, mild hand dishwashing liquid if the manufacturer permits it, and a dry towel. An old soft toothbrush can help at a metal handle after you remove it, but keep bristles away from fragile paint or open wood grain. Put a towel on the counter beneath upper cabinets to catch drips.
Start with a cloth dampened in plain warm water. For persistent grease, mix a small amount of mild hand dishwashing liquid into fresh warm water. Use the cabinet maker’s dilution if one is available. For example, MasterBrand gives a 5% dishwashing-liquid to 95% water ratio for its cabinetry; that is a brand-specific instruction, not a universal recipe. Do not substitute automatic dishwasher detergent, which is a different product.
Dip the cloth, wring it until it is damp rather than dripping, and work from the cloth rather than spraying the cabinet. Direct spray can run into seams, hinges, and unfinished edges. Keep a second cloth dampened with clean water ready to remove the wash, and a third cloth dry for the final pass. Change the wash water when it becomes cloudy or greasy.
Wipe Cabinet Doors Without Spreading Grease
Begin at the top of a door and work downward in small sections. Wipe with light, even pressure, following the grain on stained wood. Fold the cloth to expose a clean side as soon as it feels greasy. A dirty cloth can redeposit the film you just lifted.
Give the cleaner a moment of contact as you make a few gentle passes, but do not leave wet solution sitting on the door. There is no need to invent a long soak time. If the grease does not release, repeat the wipe with a fresh cloth rather than scrubbing harder. Keep the cloth nearly dry at joints, molding, and cabinet bottoms.
After each section, wipe with the clean-water cloth and immediately dry it. Check the surface with the back of your fingers once it is dry. If it still feels tacky, repeat a short cleaning pass. If it feels slick or soapy, rinse again. This three-cloth rhythm—wash, clear-water wipe, dry—is more reliable than one overloaded sponge for a whole kitchen.
For a low-energy option, clean just the stove-side doors and the pulls you touch most today. You can do the remaining fronts on another day without losing the benefit of the first pass.

Clean Handles, Edges, and Stove-Side Spots
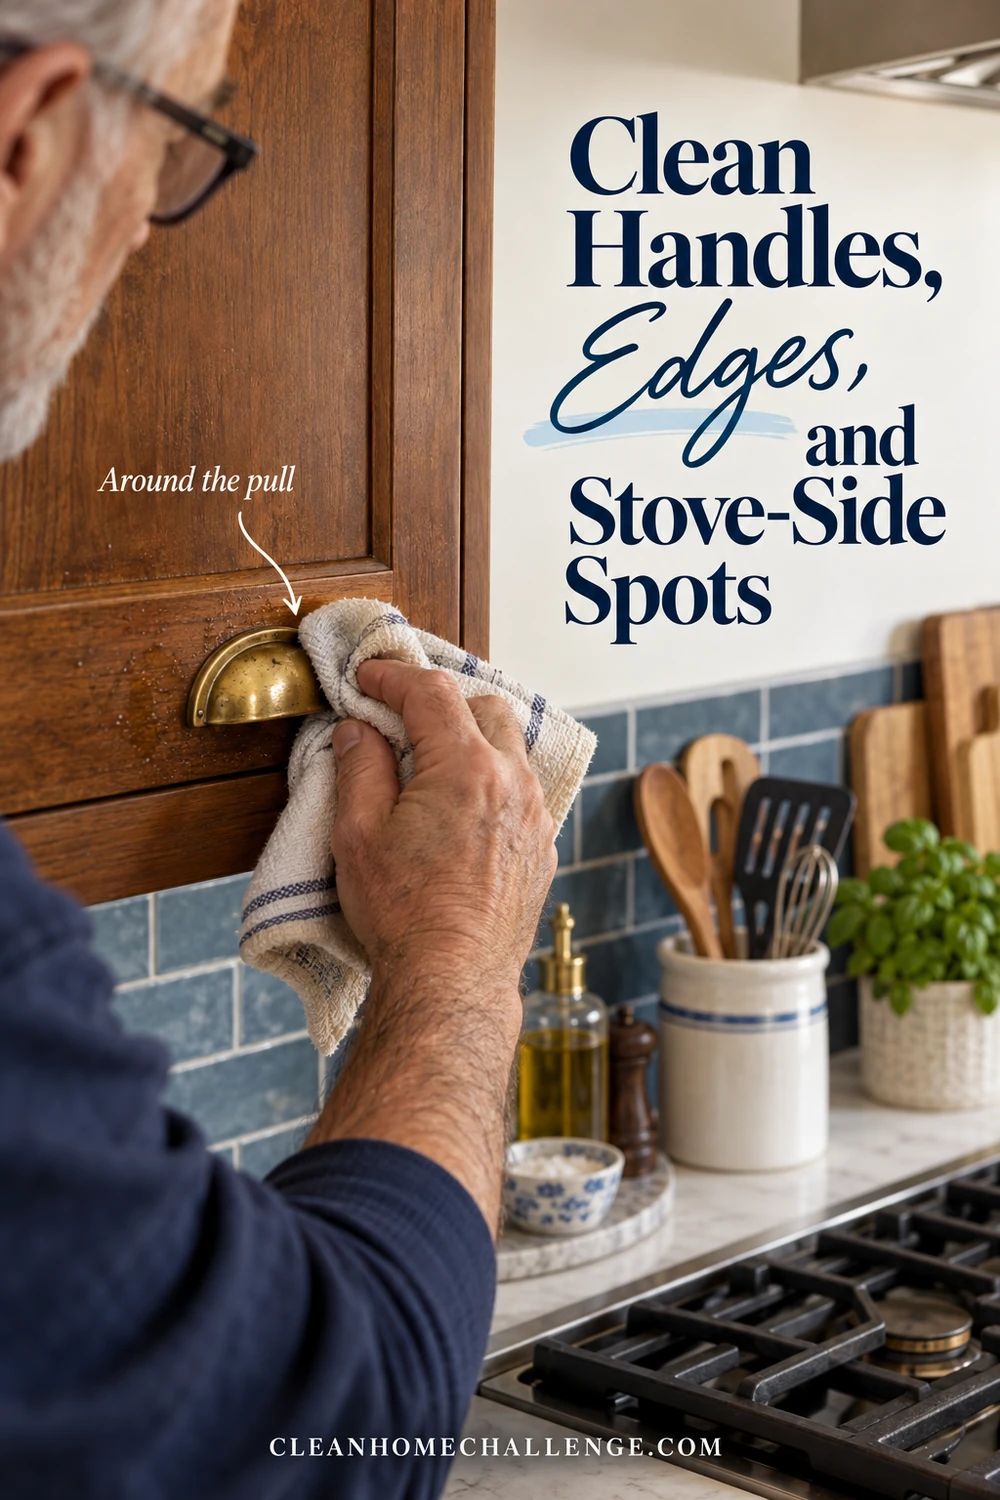
Grease gathers around pulls, on the door above the cooktop, and along the upper edge of lower cabinets. Wrap a damp cloth around a fingertip to reach the recess around a handle. Wipe the metal pull with a product suitable for that metal, then dry it so moisture does not sit against the door.
If the handle can be removed safely and the maker allows it, clean it separately. Keep screws organized and avoid getting water inside the door holes. For grooves or trim, use a cloth-wrapped finger or a soft brush on a test area. Never flood an edge to chase a narrow grease line.
Cabinets directly beside a range may need two or three gentle passes. If the film remains, check the cabinet maker’s approved products before moving to a dedicated degreaser. Read its label for finish compatibility, dilution, ventilation, gloves, and rinse instructions; test in a hidden spot. Do not assume a product safe for a range hood is also safe for painted cabinet doors.
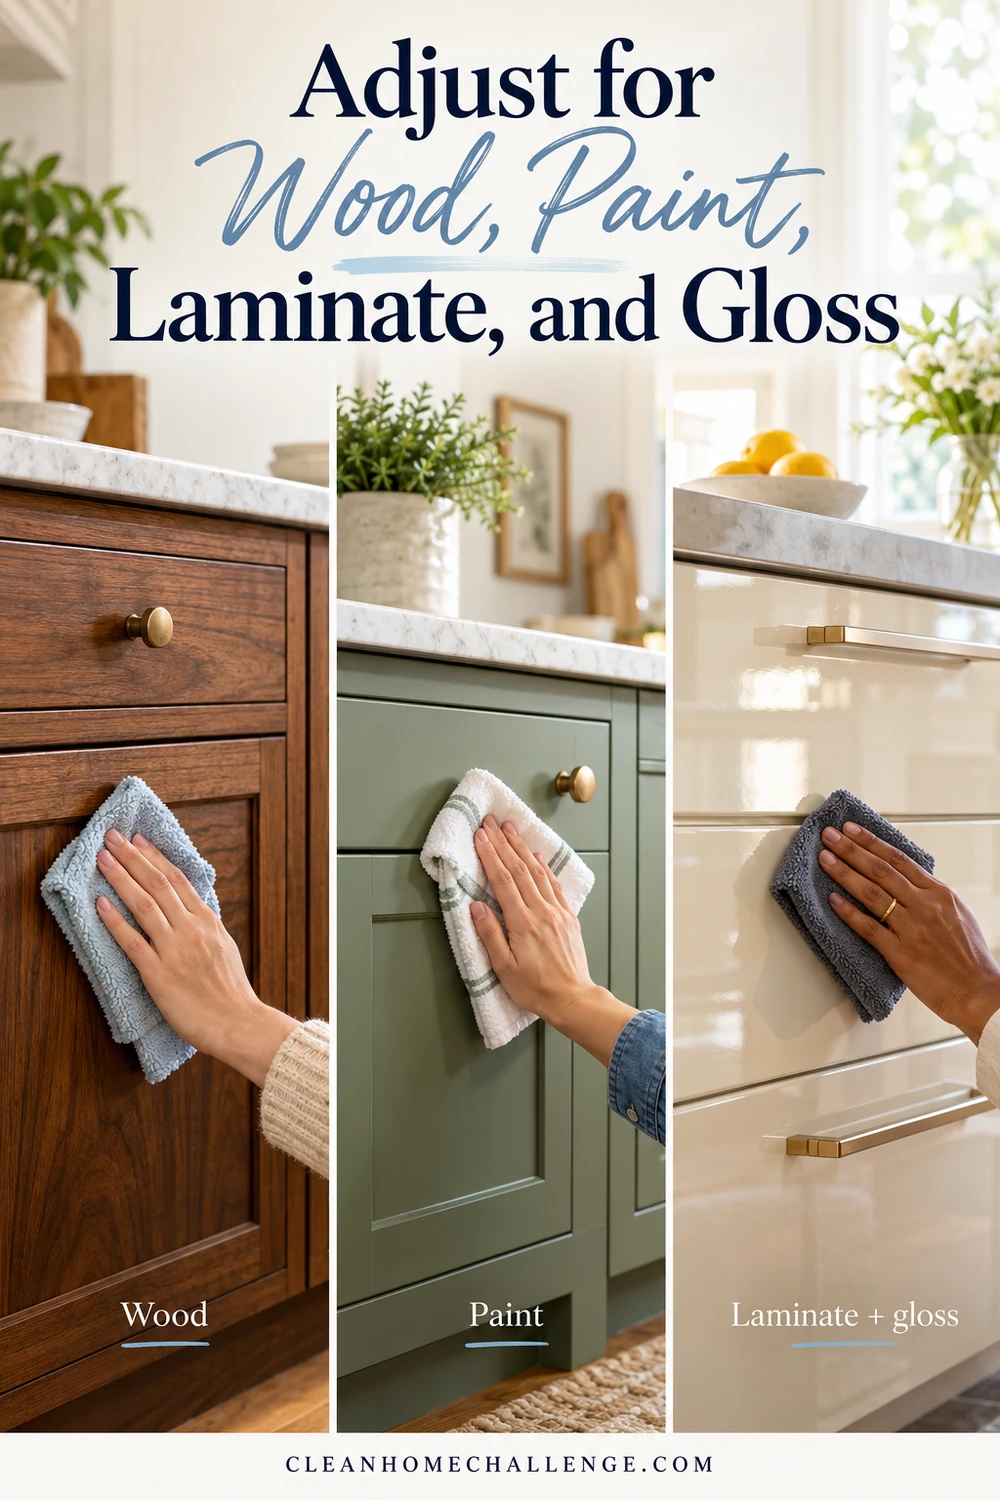
Adjust for Wood, Paint, Laminate, and Gloss
On sealed stained wood, use minimal moisture, wipe with the grain, and dry immediately. Avoid letting liquid pool at panel joints or damaged varnish. On painted cabinets, use a soft cloth and very light pressure; aggressive rubbing can polish one patch to a different sheen or lift weak paint. Stop if the test area changes appearance.
Laminate and high-gloss fronts generally need a clean microfiber cloth and careful drying to avoid haze and scratches. IKEA’s care directions for its VEDDINGE door permit a soft water-dampened cloth and mild nonabrasive dish detergent when needed; other fronts have their own directions. MasterBrand specifically calls for microfiber drying on laminate and high-gloss materials. Treat these as examples of why the exact product matters, not permission to use the same method on every cabinet.
Thermofoil or wrapped fronts require particular care at seams and edges. If a film is lifting near the oven or dishwasher, do not heat, soak, or scrape it in an attempt to clean underneath. Refer to the manufacturer or an appropriate repair professional. For glass inserts, put a compatible cleaner on the cloth rather than spraying the glass, so liquid does not seep behind trim.
Rinse and Dry Every Surface
Soap left behind can feel sticky and attract new dirt. After the grease releases, make one careful pass with a fresh cloth dampened in plain water. Do not soak the door to “rinse” it. Follow immediately with a soft dry cloth, including around handles, along the bottom edge, and where the frame meets the door.
Leave doors ajar briefly if there is safe room for airflow, especially around a damp handle, but keep children and pets clear of open doors. Inspect again once the finish is dry. A uniformly clean surface should feel smooth, without greasy drag or detergent slip. If only one patch is still sticky, revisit that patch rather than wetting every cabinet a second time.
If the surface is no longer dirty but remains gummy, consider whether a previous wax, polish, oil-based treatment, or deteriorating finish is responsible. MasterBrand advises against waxing or polishing its cabinetry because buildup can become hazy or yellowed. Follow your own cabinet maker’s guidance before trying to strip such a layer.

Troubleshoot Stubborn Sticky Patches
The cloth keeps turning brown. Change to clean cloth faces more often, refresh the wash water, and tackle smaller sections. Brown transfer may be grime, but if the cabinet’s color is coming off, stop and reassess the finish.
Grease remains near the stove. Repeat a gentle wash after the area dries. Check whether the cabinet maker allows a stronger cleaner. Follow the product label exactly and patch-test first. Stronger is not automatically better on paint or veneer.
The door looks streaky. The wash may be too concentrated, the rinse cloth may be dirty, or the surface may have dried unevenly. Use a clean barely damp cloth, then buff dry with another clean cloth.
A tacky spot will not change. It may be degraded coating rather than removable grease. Stop before scraping or using a solvent. Seek the cabinet maker’s repair advice, especially for peeling film, cloudy patches, or swollen edges.
Skip abrasive pads, steel wool, magic erasers on delicate finishes, steam cleaners, and unapproved solvents. Do not mix cleaners. A tempting online shortcut can turn a small greasy area into permanent dulling or swelling.

Prevent the Next Greasy Buildup
After cooking, let surfaces cool, then wipe fresh splatters from the nearby cabinets with a suitable damp cloth and dry them. Keep the range hood and its filters maintained according to the appliance instructions so airborne grease has less opportunity to settle. Wipe frequently touched pulls during your regular kitchen reset, and give the stove-side fronts a closer look during your weekly kitchen clean.
You do not need to wash every door on a fixed calendar. A quick check for drag, fingerprints, and splatters tells you where attention is useful. Keeping the task to a few high-use spots makes it easier to stay ahead of buildup without turning it into a long project. The goal is a kitchen that feels pleasant to use, with cabinet finishes protected for the long run.

CLEANERS CLUBHOUSE
Make Kitchen Cleaning Feel More Manageable
Turn Monday into your kitchen reset day with a clear routine you can follow. The Cleaners Clubhouse gives you practical cleaning guidance, printable support and monthly challenges to help you stay consistent.
Sources
- MasterBrand, The Homeowner’s Guide to Care and Cleaning
- KraftMaid, Dos and Don’ts of Kitchen Cabinet Cleaning and Care
- IKEA, VEDDINGE door care instructions
Research checked September 26, 2026. Always follow the care instructions for your own cabinet finish and cleaning product.
