

THIS POST MAY CONTAIN AFFILIATE LINKS. PLEASE READ MY DISCLOSURE FOR MORE INFO.
The most useful wooden-board routine is also the least complicated: remove food, wash with mild dish soap and warm water, rinse, then dry the board with air reaching both sides. Save extra treatments for a specific problem rather than adding them automatically after every sandwich.
If you are wondering how to clean wooden chopping boards without leaving them waterlogged, stained, or smelling like last night’s garlic, start with the board you actually own. Its construction and finish matter. A chunky oiled hardwood board, a coated serving board, and a wood-fiber composite board may need different care.
This guide separates everyday washing from food-contact sanitizing, explains when a board needs replacing, and helps you fit the work into a busy kitchen. Allow a few minutes for the hands-on wash, plus whatever time the board needs to dry completely. Sanitizing and oiling have their own label-directed waiting times; neither is a shortcut for washing.
Disclosure: This post may contain affiliate links. As an Amazon Associate, Clean Home Challenge earns from qualifying purchases. If you make a purchase through these links, we may earn a small commission at no extra cost to you. This helps us keep creating practical cleaning tips, routines and resources for busy families! 🧽
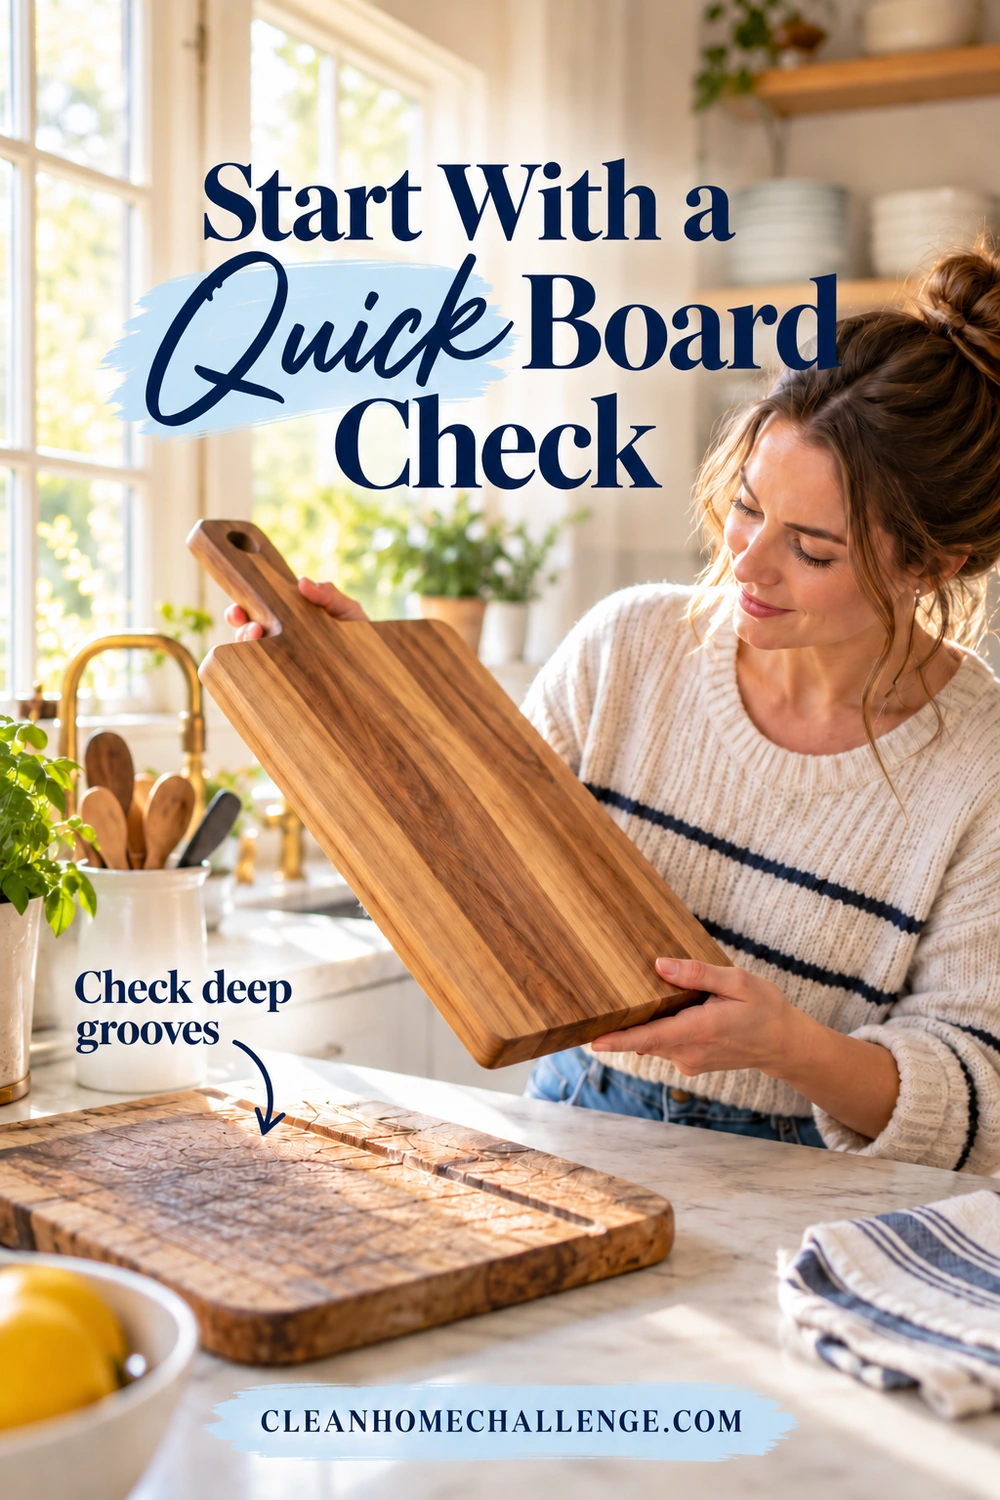
Start With a Quick Board Check
Before you turn on the faucet, clear away food and look at the board in good light. Check both faces, the edges, the handle, and any juice groove. You are deciding whether it needs a normal wash, a compatible extra treatment, or time out of food preparation.
Look for damage that cleaning cannot fix
Light knife marks are part of using a board. Deep channels that hold food, opening glue joints, splinters, and cracks are different. The USDA’s cutting-board guidance recommends replacing excessively worn boards and those with grooves that are difficult to clean. Stop using a board that rocks during cutting or has a loose piece. Oil will not close a split or make an unstable cutting surface dependable.
Do not assume a dark patch is mold, or that a pale patch is dirt. Food pigments and natural grain can change a board’s appearance. But if you see fuzzy growth, find recurring mustiness, or cannot clean the affected area, take the board out of service and ask its maker whether it is salvageable. Do not keep preparing food on it while experimenting with stronger cleaners.
Identify the material and finish
Look underneath for a brand or model and check its care page. If the instructions are missing, begin with hand-washing rather than a dishwasher experiment. JK Adams, for example, instructs owners to hand-wash its wood products and avoid soaking, dishwashers, and microwaves.
Painted details, resin sections, feet, glued joints, or a surface coating can change what is appropriate. A decorative serving board is not automatically a chopping board. For an heirloom or handmade piece with an unknown finish, ask the maker or a qualified restorer before sanding, bleaching, or oiling it.
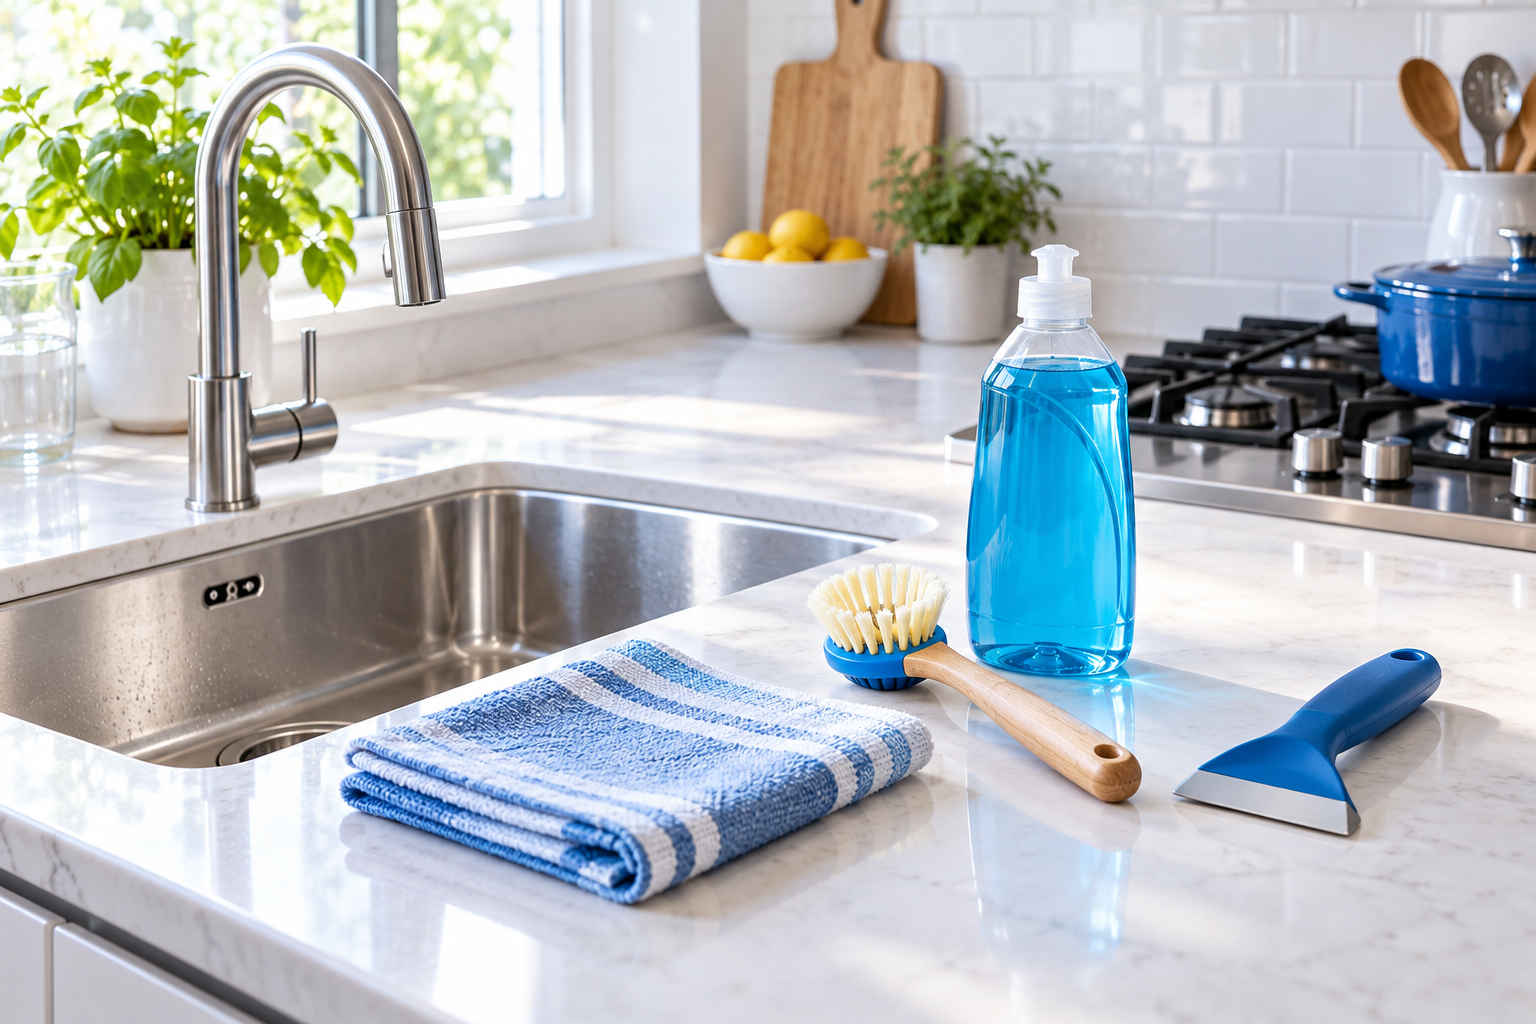
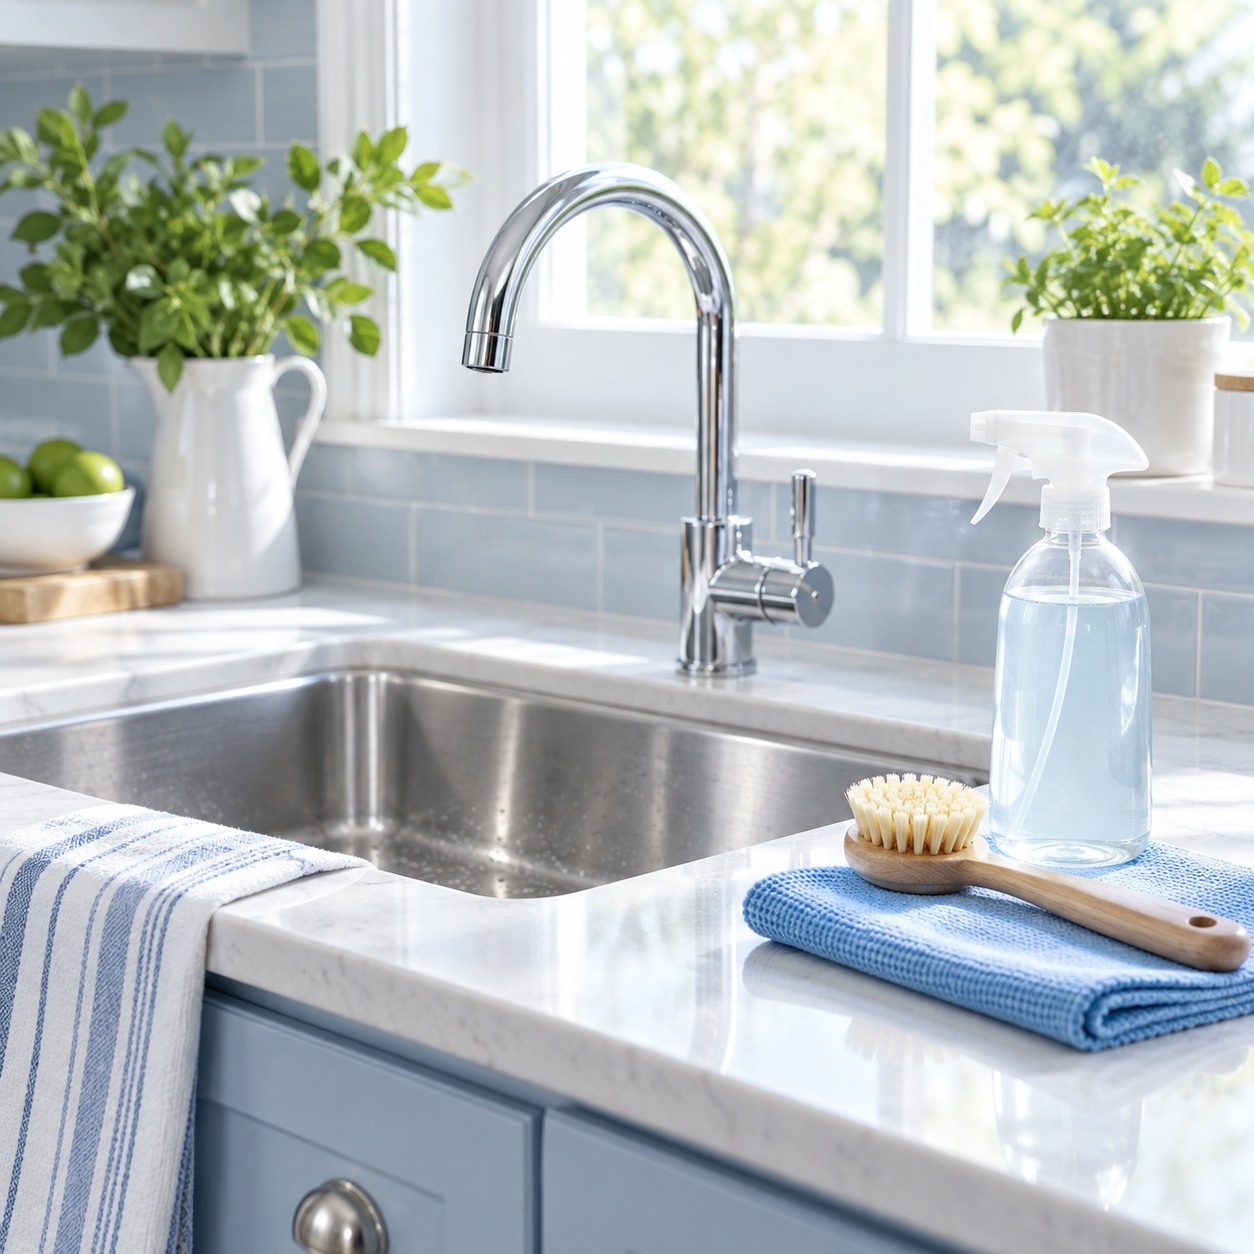
For everyday care, keep mild dish soap, a clean soft brush or nonabrasive sponge, and clean drying materials within reach. Add a stable drying rack. You do not need a collection of homemade cleaners beside the sink.
Wash Both Sides After Every Use
Wash a wooden board after use, even when it only held toast or sliced fruit. Crumbs are easy to see; food residue on the handle, underside, and edges is easier to miss. Cleaning the complete board is a more reliable habit than deciding which patch looks dirty enough.
The USDA’s cross-contamination advice also calls for washing between food-preparation tasks. Keep a separate board for raw meat, poultry, and seafood where possible. Turning a used board over does not create a reliably clean station for salad or cooked food.
A practical sink-side method
- Move the food and knife first. Put leftovers away appropriately, scrape loose scraps into the trash or compost, and set the knife safely aside. Do not hide a blade under a board in dishwater.
- Support the board securely. Hold a manageable board over the sink or use a stable position that lets water drain. Avoid balancing a heavy block on a slippery edge.
- Wash with soap and warm water. Use a small amount of mild dish detergent and your clean brush or sponge. Work over the used face, paying attention to the juice groove and handle recesses. Use comfortably warm water; boiling water is unnecessary for this wash.
- Turn it over and wash the rest. Clean the other face and all edges, including areas your hands held. Do not merely splash the underside.
- Rinse away the loosened food and soap. Check the groove for trapped bits. If a patch still feels greasy, wash that area again with clean equipment.
- Remove surface water and start air-drying. Use a clean towel or paper towels, then stand the board safely so neither broad face rests against a wet surface.
These steps suit ordinary washable wood boards; follow any more specific instructions supplied with yours. For a block too heavy to lift safely, use its manufacturer’s in-place cleaning directions rather than trying to wrestle it into the sink.
Skip the soak and check before using a dishwasher
Dried-on food is a reason to work patiently with the damp, soapy brush, not to leave the whole board underwater. Revisit a stubborn spot while washing, without digging at it with a knife or harsh scouring pad.
Most traditional wooden boards should stay out of the dishwasher. John Boos explicitly excludes dishwashers for its wooden boards. Some wood-fiber products are different: Epicurean’s commercial composite boards are described as dishwasher safe. Check the exact product, not just whether it looks like wood.
Sanitize Only When the Job Calls for It
Cleaning removes food, grease, and other soil. Sanitizing is a separate, controlled treatment for reducing microbes on a food-contact surface. A board can look clean and still need sanitizing after a contamination event. Equally, an attractive sheen or fresh lemon smell does not prove that it has been sanitized.
Raw meat, poultry, or seafood juices are a clear reason to clean and then use a suitable sanitizing method before the surface returns to food preparation. The USDA’s clean-then-sanitize guidance emphasizes removing soil first and choosing products intended for cutting boards or utensils that touch food. Do not reach for a bathroom spray or assume any disinfecting wipe is appropriate.
Read two sets of instructions
You need agreement between the board’s care directions and the sanitizer label. Check these points before opening the product:
- Does the sanitizer specifically permit this food-contact use and the board’s surface type? A label limited to hard, nonporous surfaces is not automatic permission for unfinished wood.
- Does the board maker allow that chemical and method?
- Is the product ready to use, or does it require an exact dilution?
- How long must the surface remain wet, and must it be rinsed afterward?
- What ventilation, gloves, or other precautions are required?
If these answers do not line up, do not improvise. Contact the board or product manufacturer for a compatible method. In the meantime, use a different board with clear cleaning and sanitizing instructions for raw proteins.
Why there is no universal bleach recipe here
A ratio copied from one page is not interchangeable with another product’s label. Concentration, intended use, contact time, and rinse instructions belong together. For example, Clorox’s cutting-board directions specify a method for named products; those details should not be transferred to an unidentified bleach bottle. Meanwhile, TeakHaus warns against bleach on its teak boards. A general food-safety method does not cancel a material restriction.
Once you have a compatible product, wash and rinse the board first. Prepare and apply the sanitizer exactly as its label directs. Set a timer for the stated wet-contact time and complete any required potable-water rinse. Air-dry as instructed. Do not substitute an overnight soak for the correct surface treatment.
Never mix bleach with vinegar, lemon juice, ammonia, alcohol, dish soap, or other cleaners. The CDC’s bleach-safety guidance warns against mixing bleach with other cleaning products and advises ventilation and label-directed protective equipment. Keep products away from children and pets and wash your hands afterward.
If contamination involves an illness cleanup, floodwater, or another unusual hazard, ordinary board care may be insufficient. Follow the relevant public-health guidance rather than extending this kitchen routine to a different situation.

Lift Odors and Stains Gently
Garlic, onion, beets, and berries can leave reminders even after dinner is finished. Begin with a thorough ordinary wash and complete drying. Check that the smell is coming from the board rather than a sour dishcloth or the drying mat underneath it.
Before treating a mark, decide what you are trying to change. A surface stain is an appearance issue; trapped food needs cleaning; persistent mustiness needs investigation. These are not all solved by scrubbing harder. A board does not have to look brand-new to be useful, but it does have to remain sound and cleanable.
Use the least aggressive compatible treatment
For a lingering food odor, wash again with fresh soap and a clean soft brush, rinse, and let both faces dry in moving room air. Inspect the groove and handle opening, where a small piece of food can be overlooked. Avoid fragranced sprays that cover a smell without addressing its cause.
If ordinary washing leaves a food stain, consult the manufacturer’s stain-care directions. John Boos describes lemon and salt for stains and odors on its boards. That is an optional, board-specific appearance treatment, not a universal method or a substitute for food-contact sanitizing. Test a permitted treatment on an inconspicuous area first and stop if the surface changes unexpectedly.
Do not combine several remedies because the first attempt was disappointing. Baking soda, vinegar, peroxide, and abrasive powders are not interchangeable, and an internet recipe does not establish compatibility with your finish. Avoid steel wool, aggressive scrubbing, or scraping the face with a knife.
If a stain is clean, dry, and stable, it may be reasonable to accept it. If the board remains unpleasant after correct cleaning and drying, or an area is soft, split, or impossible to clean, stop using it and seek manufacturer advice. Sanding can be appropriate for some solid wood boards, but it is not a casual fix for an unknown coating or a structural problem.

Dry Completely Before You Put It Away
Drying is part of the job, not just the pause before storage. A washed board laid flat on a damp counter may look dry on top while its underside remains wet. A crowded rack can create the same problem when two boards are pressed together.
After the rinse, remove visible water from the faces, edges, handle, and groove. Choose a stable position with air around the board. John Boos recommends upright air-drying and dry, ventilated storage; a rack that holds the board securely is easier to manage than leaning it where it can slide into the sink.
Leave space between boards. Empty pooled water from the drying tray, and move a wet towel out from underneath. If the lower edge is sitting in a puddle, reposition the board on a clean, dry support. Keep it away from raw-food preparation and splashes while it dries.
There is no useful universal drying countdown: thickness, room humidity, and airflow all matter. Check the underside and groove before putting it in a cupboard or applying oil. If you need to prepare another meal before it is dry, use your clean spare board rather than stacking the damp one out of sight.
Do not speed things up in an oven or microwave, beside a heater, or with prolonged direct sun. TeakHaus’s care guide warns against these heat-related shortcuts for its boards. A dry-looking surface is not worth a warped board. Plan for drying space before you wash, especially if your kitchen has a small draining area.

Oil the Board When It Looks Dry
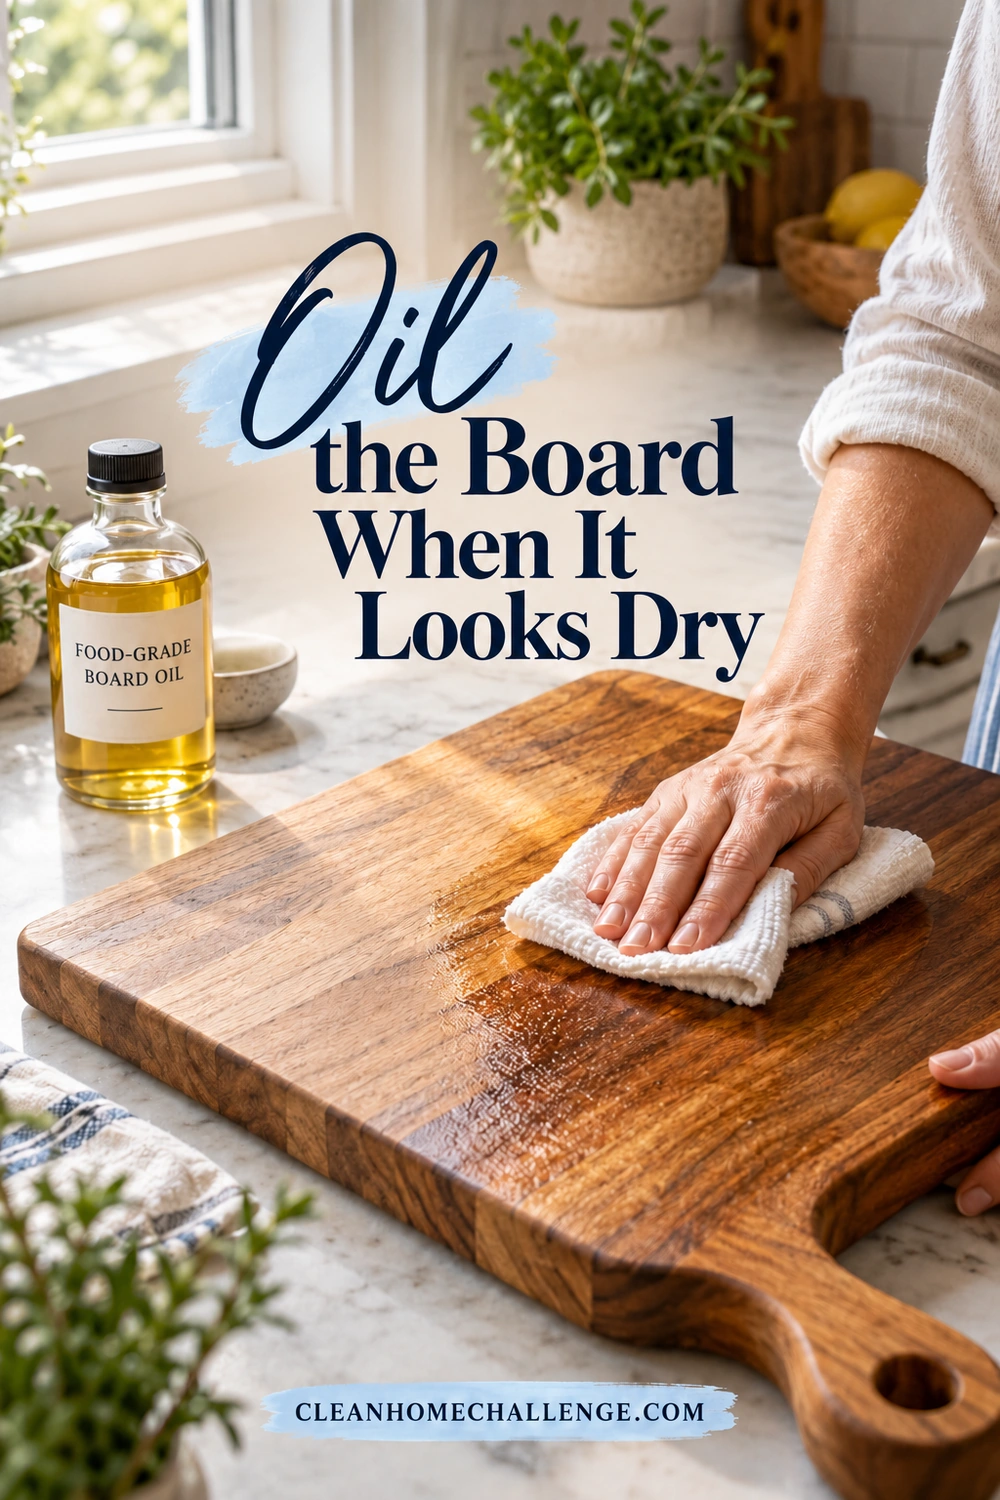
Oiling is maintenance for a compatible wood surface. It does not wash away food, sanitize the board, or repair cracks. Check the maker’s instructions before treating a new board, especially one with a factory coating or an unfamiliar finish. Do not automatically oil a composite or resin-decorated product.
For a board whose instructions call for oil, inspect it when it is clean and fully dry. A faded, dry-looking surface or a change in feel can prompt a care check. The right interval depends on use, washing, climate, and the finish. JK Adams recommends conditioning when its boards feel dry and more frequently while establishing the finish. Use a weekly inspection as a reminder, rather than pouring oil on every board every week.
A simple oiling session
- Choose the correct product. Use the maker’s recommended food-contact board oil or conditioner. Food-grade mineral oil is a common choice where approved; furniture polish and general woodworking finishes are not substitutes.
- Start with a washed, thoroughly dry board. If you washed it tonight and it is still damp, postpone oiling.
- Apply with a clean, lint-free cloth. Follow the product’s amount and method, covering the permitted faces, edges, and groove. Spread it evenly instead of leaving a large puddle in the center.
- Allow the stated absorption time. Leave the board somewhere protected where it will not be mistaken for a ready-to-use food-prep surface.
- Wipe away the excess. Follow the conditioner instructions before returning the board to use. The finished surface should not transfer a greasy coating to food or the cupboard.
TeakHaus’s oiling instructions call for several hours of absorption and wiping off remaining oil, illustrating why this is better scheduled between uses. They also advise against cooking oils such as olive or canola oil because those can become rancid. A special board-care oil is different from grabbing whichever oil is beside the stove.
If the surface remains sticky or sheds material, stop adding products. Ask the maker how to correct it before preparing food on it again.
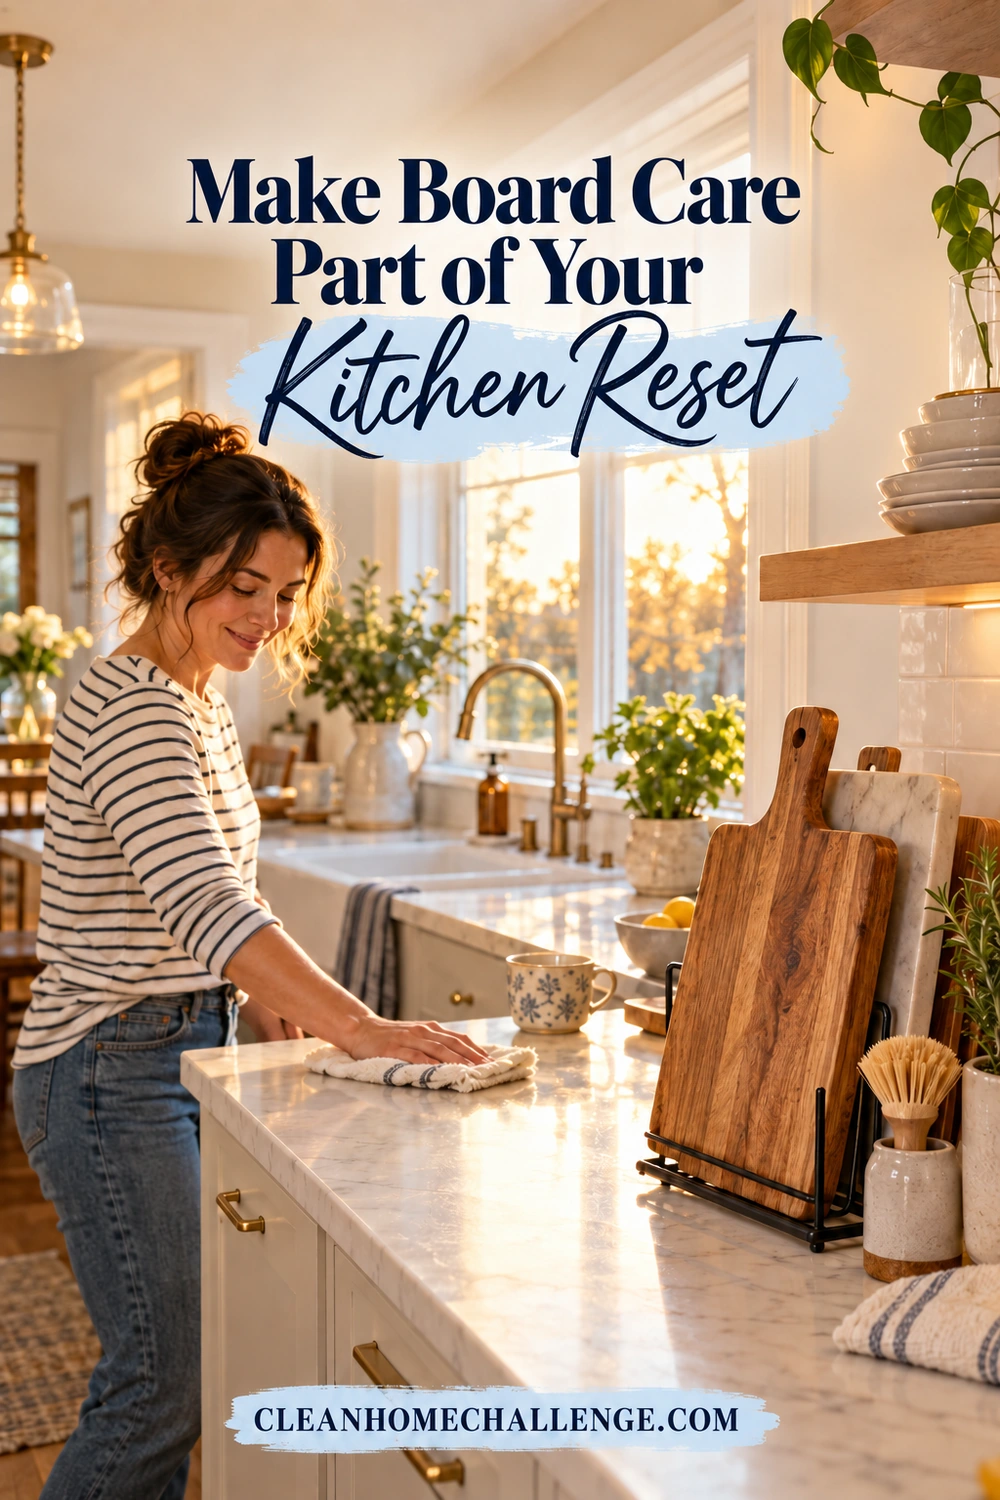
Make Board Care Part of Your Kitchen Reset
A good routine should make the next meal easier. You do not need to add an elaborate deep-cleaning project to every evening; you need a clear place for the used board, a quick wash, and enough drying space.
After food preparation
Put the food away, wash the board and knife safely, and deal with any raw-food contamination before moving on to ready-to-eat ingredients. On a busy evening, finishing this small job before sitting down can prevent a crusted-on cleanup later. Do not leave the board soaking as a promise to return to it.
Before bed
Check the drying area while you wipe the counter. Is the board upright and stable? Is the lower edge out of standing water? Is a dirty towel touching the clean surface? Correcting the setup takes less effort than rewashing a board that has been left in a puddle.
During Monday’s kitchen reset
Give the dry board a closer look. Check joints, deep grooves, and the finish; inspect the brush and drying rack too. If the board needs an approved oil treatment, choose a window when you can leave it undisturbed for the full care-label time. If it needs replacing, put that on your shopping list and use a sound spare.
Make the system easy for everyone who cooks. Store the produce board and raw-protein board in consistent places, and explain that flipping one over is not the same as washing it. Keep board oil clearly separate from everyday cooking oils, with cleaning products stored securely.
The dependable sequence is simple: check, wash, rinse, dry, and maintain when needed. Add compatible sanitizing when the food-safety situation calls for it. That is a manageable kitchen habit, even when the rest of the evening is busy.
CLEANERS CLUBHOUSE
Make Kitchen Cleaning Feel More Manageable
Turn Monday into your kitchen reset day with a clear routine you can follow. The Cleaners Clubhouse gives you practical cleaning guidance, printable support and monthly challenges to help you stay consistent.
