

THIS POST MAY CONTAIN AFFILIATE LINKS. PLEASE READ MY DISCLOSURE FOR MORE INFO.
A garage can hold a little of everything: bikes, gardening tools, last season’s decorations, unfinished projects, and the boxes nobody quite knows what to do with. Looking at all of it at once makes even getting started feel like a weekend-sized commitment.
You do not have to empty the entire garage onto the driveway. A useful garage cleaning checklist begins with a safe walking route, one small section, and enough time to put that section back together. Work from higher surfaces to the floor, check what needs specialist handling, and stop before you run out of energy for the reset.
This guide is for ordinary household garage cleaning. Unknown chemical spills, extensive pest contamination, flood damage, and unsafe structures need a different plan. The aim is a garage you can move through and use comfortably, with less dirt and fewer things in the way. Some old stains may remain, and that is fine.
Disclosure: This post may contain affiliate links. As an Amazon Associate, Clean Home Challenge earns from qualifying purchases. If you make a purchase through these links, we may earn a small commission at no extra cost to you. This helps us keep creating practical cleaning tips, routines and resources for busy families! 🧽
Start With a Safe, Small Garage Zone
Choose what “finished” means today
Pick an area you can point to: one shelf, the space beside the side door, or the corner holding sports equipment. “Clear the garage” is hard to finish. “Clean this shelf and return only the garden supplies we use” has an obvious stopping point.
For a first session, allow about 20–30 minutes for one lightly cluttered zone, including putting things away. A larger section may take an hour or more. These are planning estimates, not promises; decision-making, mobility, heavy items, and drying time all change the pace. A heavily packed garage may need several short visits before deep cleaning begins.
Do a safety walk before moving anything
Open the garage door if it is working safely, provide ventilation as product labels require, and keep children and pets out of the work area. Move the vehicle outside if you can do so safely, and turn its engine off. Keep the door into the house closed while cleaning.
Look for blocked exits, unstable stacks, broken glass, exposed wiring, leaking containers, pest waste, and damp or crumbling materials. Stop rather than reaching beneath a leaning pile. Do not move heavy equipment alone. Preserve access to electrical panels and the clearance required around appliances; do not use those spaces for temporary storage.
Wear closed-toe shoes. Choose gloves and eye protection to match the task and cleaner label. Never mix cleaning products, including bleach with other cleaners. CDC’s cleaning guidance explains why label directions, ventilation, and appropriate protection matter.
Most of this checklist is cleaning: removing dust, dirt, and residue. Disinfecting is a separate process that requires an appropriate product and its label directions, including contact time. Routine garage cleaning does not mean spraying disinfectant over every surface.
Gather a small working kit
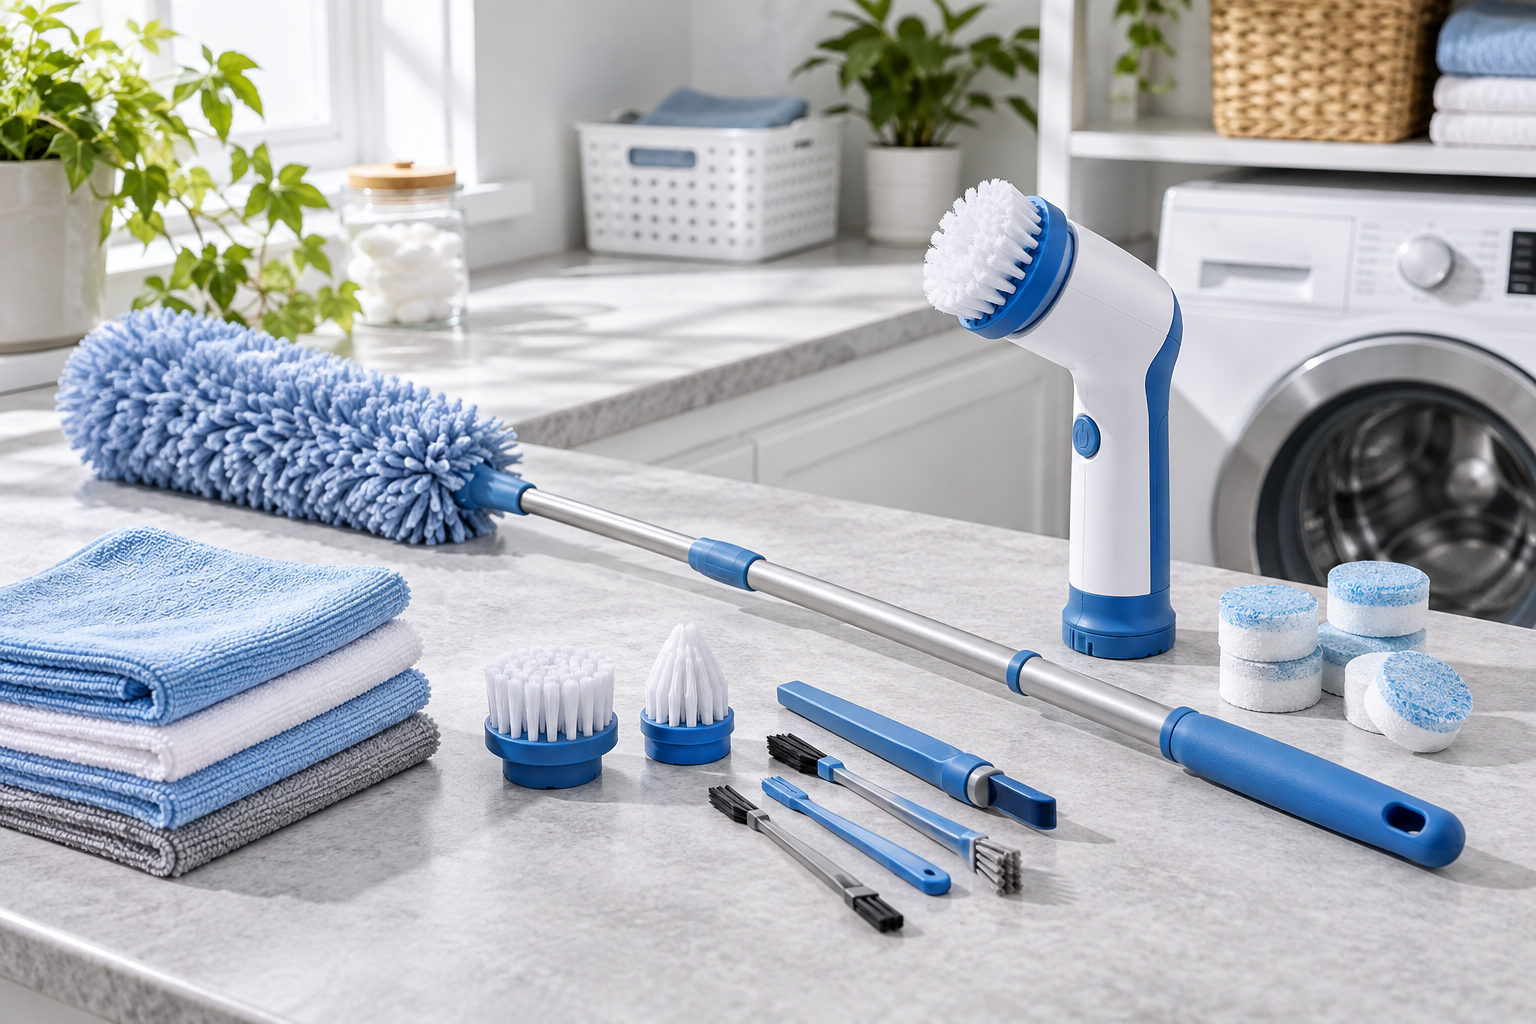
- A broom suited to the floor and a dustpan for ordinary grit
- Microfiber cloths, a soft brush, and a bucket
- A floor-compatible cleaner and a suitable mop or scrub brush
- Bags for ordinary trash and containers for sorting
- Labels, a marker, and a timer
- A sturdy step stool only if you can use it safely on a clear, level surface
A heavy-duty broom can help on rough concrete, but stiff bristles are not right for every coating or tile. Start with the tools you own. Buy storage after you know what is staying and have measured the space.

Sort One Section Without Making New Piles
Take out only what you can put back
Set up three small destinations: keep here, relocate, and donate. Ordinary trash can go straight into a bag. Keep hazardous items out of these categories until you have checked their handling instructions. Use containers rather than spreading possessions across your walking route.
Empty one shelf or a manageable part of a workbench. Leave neighboring sections alone. If the weather is uncertain or you cannot leave belongings unattended, sort inside the cleared zone instead of moving everything outdoors.
Make a quick decision about each item:
- Do we use this, or have a realistic plan to use it?
- Is it complete and in usable condition?
- Does it belong in the garage, considering heat, cold, and moisture?
- Where will it fit without blocking something important?
You do not need a perfect answer for every sentimental or shared possession. Give undecided items one small container and a specific review date. Ask the owner about their belongings rather than discarding them on their behalf.
For more help containing a sorting session, see how to declutter without making a bigger mess.
Give donations and repairs a destination
A donation box helps only if it leaves. Check what the recipient accepts, then choose a drop-off day. Keep the box light enough to carry, and do not let it become a permanent obstacle. If you put it in the car, secure it appropriately and keep the driver’s view clear.
For repairs, write down the part, cost, or person needed. If you cannot name a plausible next step, reconsider whether the item deserves scarce shelf space. Recycle batteries and electronic equipment through the appropriate local program rather than dropping them into mixed trash.
Use a smaller version when energy is low
Try five minutes on one container. Remove obvious ordinary trash, return two misplaced items, and identify the next decision. Do not pull apart a heavy stack just to satisfy a timer.
Finish by emptying the temporary sorting area and leaving the route clear. A partially organized garage with a completed shelf is easier to resume than a driveway full of mixed belongings. Taking a quick reference photo of the finished zone can also help everyone remember where things belong.

Handle Chemicals, Spills, and Pest Waste Safely
Check containers before cleaning around them
Paint, fuel, pesticides, pool chemicals, solvents, and automotive products need individual handling. Keep products in their original, labeled containers. Do not combine leftovers, pour them into drink bottles, or treat a locked cupboard as suitable for every chemical. Follow each product’s storage conditions and separation requirements.
For unwanted products, check your local household hazardous waste program before transporting them. Do not pour leftovers onto the ground or into a storm drain. Corroded or leaking containers need advice from your local hazardous materials authority or fire department; do not improvise a transfer. EPA’s household hazardous waste guidance explains these precautions and where to ask about disposal.
For everyday household storage decisions, keep our guide to storing cleaning products safely in a family home handy.
Know when a spill is beyond routine cleaning
An unidentified liquid, strong unexplained fumes, fuel leak, reacting chemicals, or damaged battery is a reason to stop. Keep people away, leave the affected area, and contact the appropriate local emergency service if there is immediate danger. Do not add water, another chemical, or absorbent material to an unknown spill.
A small, known motor-oil drip on a compatible floor is a different task. Follow the product label and local waste advice for suitable absorbent material and disposal, then treat the remaining mark with a cleaner approved for that floor. Never wash oily residue toward the street. EPA recommends checking local collection and recycling options in its used-oil guidance.
Never sweep or vacuum rodent waste
If you find suspected mouse or rat droppings, urine, or nesting material, stop ordinary sweeping. CDC recommends ventilating the space for 30 minutes before cleanup and leaving during that time. For a small cleanup, wear rubber or plastic gloves, thoroughly wet the waste with an EPA-registered disinfectant, and allow five minutes or the label’s stated time before wiping it up with paper towels. Disinfect the affected hard surfaces, dispose of waste as directed, and wash gloved hands before removal, then bare hands afterward. Follow the full CDC rodent-cleanup instructions, including separate directions for nests, dead rodents, and contaminated belongings. Heavy infestations need additional precautions and professional advice.
Pause for mold and water damage
A musty smell needs investigation, not fragrance. Find and address moisture. EPA says small mold areas may be manageable in some circumstances, but areas over about 10 square feet, significant water damage, contaminated water, or HVAC involvement need further guidance. Health concerns are another reason to seek advice. Do not scrub unknown growth from crumbling materials. Use EPA’s mold cleanup guidance to decide what is appropriate before continuing.

Clean Shelves, Walls, and the Garage Door
Work down through your cleared zone
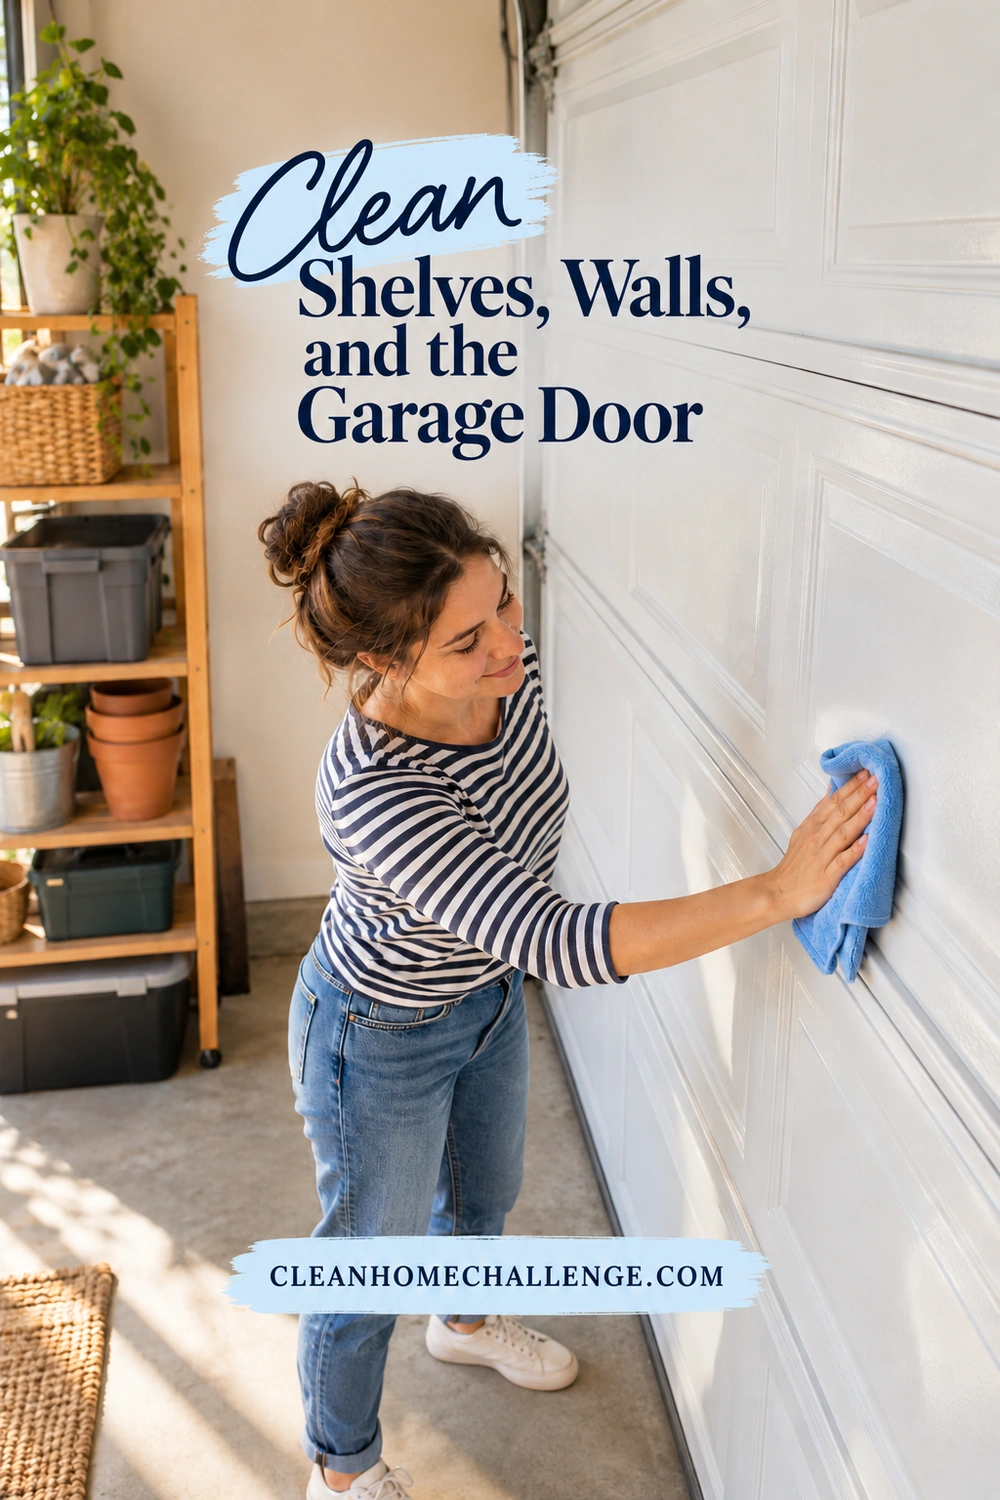
Once hazards have been ruled out or properly addressed, remove ordinary cobwebs and loose dust from accessible higher surfaces using a soft brush or extension duster. Keep your feet on a stable surface. Do not climb shelving, stretch over a vehicle, or poke tools around wiring.
Wipe one empty shelf at a time. First remove loose debris; then use a well-wrung cloth and a cleaner appropriate for the material. A painted metal shelf, unfinished wood shelf, and laminated cabinet do not necessarily tolerate the same moisture or chemical exposure. Test an inconspicuous spot and let it dry before treating more.
Use fresh cloth surfaces as they become dirty. Clean front edges, handles, and the corners where grit collects. Remove cleaner residue if the label requires it, then leave the shelf dry before returning boxes. Washing an entire shelving unit at once creates more wet storage than you may be able to manage.
Clean walls selectively
Spot-clean washable painted walls instead of soaking everything. Apply a suitable diluted cleaner to the cloth rather than spraying toward switches or outlets. Avoid saturating drywall, unfinished wood, insulation, or seams. If paint transfers, the surface softens, or the finish changes, stop and check its care instructions.
Cleaning is not a reason to disturb damaged paint, suspect building materials, electrical fittings, or water-damaged walls. Leave electrical faults to a qualified electrician. Cleaning accessible surfaces and arranging a repair are two different jobs.
Treat the garage door as a moving system
Use the door manufacturer’s instructions for the specific material and finish. For example, Clopay recommends gentle washing methods for its doors and warns against scouring powders and solvents. Plastic windows can require different care from glass. See its garage door cleaning guidance before choosing a method.
Keep the door stationary and follow its manual for preventing unexpected operation while you work. Do not place fingers between panels or reach into mechanisms. Do not adjust springs, cables, bottom brackets, or opener wiring. High-tension components can cause serious injury; Clopay’s safety checklist identifies parts that need a garage-door professional.
For a short session, clean the handle and one accessible panel, then return to shelving. Washing the entire door can be a separate task.
Clean the Garage Floor for Its Finish
Identify the surface first
A gray garage floor might be bare concrete, sealed concrete, painted concrete, epoxy, or another coating. It could also have rubber mats or interlocking tiles. If you do not know, check installation records, ask the installer, or start with dry removal of ordinary loose grit while you investigate. Do not assume vinegar, bleach, a strong degreaser, or a stiff wire brush is safe.
On a sound, uncontaminated floor, collect loose debris before wet cleaning. Sweep ordinary dirt gently toward a dustpan rather than stirring up a cloud. A vacuum is an option only when the material and machine are suitable; never vacuum rodent waste, unknown powders, liquids in a dry-only machine, or flammable material.
Match the method to the floor
- Bare concrete: Choose a cleaner labeled for the soil and concrete. Use the stated dilution and a compatible brush. Remove dirty liquid and rinse as instructed without sending contaminated runoff outside. Concrete can retain discoloration even after loose dirt and oily residue are removed.
- Sealed, painted, or resin-coated concrete: Follow the coating’s maintenance guide. Use a compatible nonabrasive tool and cleaner, test a hidden patch, and avoid harsh solvents or aggressive scraping. Sherwin-Williams emphasizes that the flooring system and type of soil determine the cleaner and cleaning process in its resin-floor maintenance guide.
- Interlocking tiles or mats: Read the product instructions before lifting, scrubbing, or washing. Dirt may collect beneath open tiles. For example, Swisstrax advises against bleach and wire or hard-bristle scrubbing brushes for its modular flooring in its cleaning guidance. Other brands may differ.
Wash a small test area, then work toward the exit
Prepare only the amount of solution you need. Apply it as directed, allow the specified working time, gently agitate if appropriate, and remove the dirty liquid. Do not let a cleaner dry on the surface unless its instructions specifically call for that. Change dirty water instead of spreading it into the next section.
Use a second pass to remove residue if required. Keep water away from outlets, appliances, wall bases, and stored items. Leave a dry exit route, and keep people and vehicles off the cleaned area until it is dry and any label restrictions are met. Drying may outlast the cleaning session.
Skip pressure washing as the default
For most manageable household sessions, controlled wiping, scrubbing, and mopping are easier to contain. Do not pressure wash a closed garage or one where water cannot be safely controlled. Never operate a gasoline-powered pressure washer inside a garage, even with the door open. High-pressure equipment also creates injection-injury and electrical hazards; see CDC’s pressure washer safety guidance. A compatible floor alone does not make the whole garage suitable for pressure washing.

Put Back Less in Practical Storage Zones
Store for how your household actually uses the garage
Group the items that remain by activity: sports, gardening, basic tools, and seasonal storage. Keep frequently used things easy to reach without moving three other containers first. A ball bin near the usual entrance may be more useful than an elaborate system at the back.
Keep children’s accessible equipment separate from chemicals, sharp tools, and machinery. A low bin can work for suitable sports gear; hazardous products need storage that follows their labels and prevents unauthorized access. Do not put incompatible chemicals together simply because they share a category name.
Use a few clear labels that describe contents rather than vague words such as “miscellaneous.” Leave enough space to return an item with one hand when practical. If every shelf is packed tightly, the first new purchase will probably land on the floor.
Choose storage by load and access
Measure before buying garage shelving. Check the manufacturer’s load limits, assembly directions, and anchoring requirements. Put heavier belongings on appropriate lower shelves, and avoid storing heavy containers above head height. Wall hooks and racks need suitable fixings and a structure that can carry the load; ask for help if you cannot verify it.
Keep items off the floor where practical without creating unstable stacks. Allow access for cleaning underneath, but prioritize stability over a particular shelf height. Store long-handled tools securely so they cannot fall into the walking route. Keep door tracks, sensors, and the door’s travel area clear.
Let the remaining space set a limit
If the garden shelf cannot hold the garden supplies safely, pause before adding another shelf. Look for duplicates, broken items, and things stored for a project you no longer plan to do. Sometimes the useful purchase is one correctly sized bin; sometimes the useful decision is to keep less.
Leave the cleared aisle visible. You do not need color-matched containers or concealed storage for every object. A system that everyone can use and maintain is the better finish.

Use a Realistic Garage Cleaning Checklist
Choose the version that fits today. The times below are suggested session budgets for ordinary clutter and dirt, not deadlines or estimates for hazardous cleanup. Pause for breaks and stop when you cannot finish safely.
The 20-minute starting session
- First five minutes: Check for hazards and choose one small zone. Clear its access route without shifting heavy stacks.
- Next eight minutes: Sort a shelf or one small container. Set aside only ordinary donations, relocations, and trash.
- Next four minutes: Wipe the cleared, compatible surface or collect ordinary grit from that zone.
- Final three minutes: Return keepers, remove the temporary sorting containers, and write the next small task.
If the zone needs more work, make it smaller. This session is a start, not a promise to deep clean the entire garage in 20 minutes.
The longer deep-clean sequence
Split this sequence across several days if necessary. One visit might cover sorting and shelves; another can cover the floor after donations have left. Avoid booking wet cleaning immediately before you need to park the car inside.
Before calling a session finished
Check that no open product, wet patch, loose tool, or donation box creates a new hazard. Confirm the garage can close safely and the household can still reach what it needs. Write one concrete next step, such as “take accepted donations on Saturday” or “ask the installer which floor cleaner is compatible.” That is more useful than leaving yourself “finish garage.”

Keep Your Garage Manageable in Ten Minutes
A ten-minute reset is for ordinary put-away and light cleaning. It does not replace a spill response, pest cleanup, or needed repair. Choose a repeatable moment, such as after the weekend’s outdoor activities.
Try this simple reset
- Two minutes: Return the items left in the walking route.
- Three minutes: Put sports gear, garden supplies, and tools back in their zones.
- Two minutes: Remove ordinary trash and move accepted donations toward their planned departure.
- Three minutes: Collect ordinary entrance grit or wipe one suitable work surface, then put the cleaning tools away.
If something unfamiliar is leaking, damp, or contaminated, stop the timer and investigate appropriately. Routine speed is never more important than safety.
Once a month, look at the spots that keep filling up. An overflowing bin may need fewer contents or a more convenient position. Before spring gardening or fall storage, review seasonal equipment and schedule a deeper clean around your household’s actual needs.
The next time the garage feels overwhelming, come back to the smallest useful action: clear one path, finish one shelf, or return one tool. A garage that works for your family is built through those repeatable decisions, with room to pause and start again.


CLEANERS CLUBHOUSE
Follow a Simple Room-by-Room Cleaning Plan
Break the house into manageable spaces and know exactly where to focus next. The Cleaners Clubhouse gives you a follow-along 12-month calendar, printable worksheets and motivating monthly challenges.
