

THIS POST MAY CONTAIN AFFILIATE LINKS. PLEASE READ MY DISCLOSURE FOR MORE INFO.
You pull a clean shirt from the washer and find little hairs still clinging to the sleeves. It is frustrating, especially when that shirt is the one you need for tomorrow.
To remove pet hair from clothes, start by lifting loose fur while the fabric is dry. Then wash a loosely loaded, properly sorted batch with the right detergent dose. Finish with the drying method on the care label and a quick check for stray hairs. A brief no-heat tumble before washing can also help, but only for clothes that are safe to tumble dry.
You do not need to make every garment completely hair-free before starting. The aim is to remove the obvious layer, give your machines a manageable load, and avoid spreading fur to the next basket. Both Maytag’s pet-hair advice and GE Appliances’ guidance support taking hair off before the wash.
Gather a clothing-safe lint roller or brush, your usual compatible detergent, a soft cleaning cloth, and a clean basket. Allow a few minutes for preparation, plus your normal wash and drying time. Particularly hairy clothes may need more hands-on attention.
Disclosure: This post may contain affiliate links. As an Amazon Associate, Clean Home Challenge earns from qualifying purchases. If you make a purchase through these links, we may earn a small commission at no extra cost to you. This helps us keep creating practical cleaning tips, routines and resources for busy families! 🧽
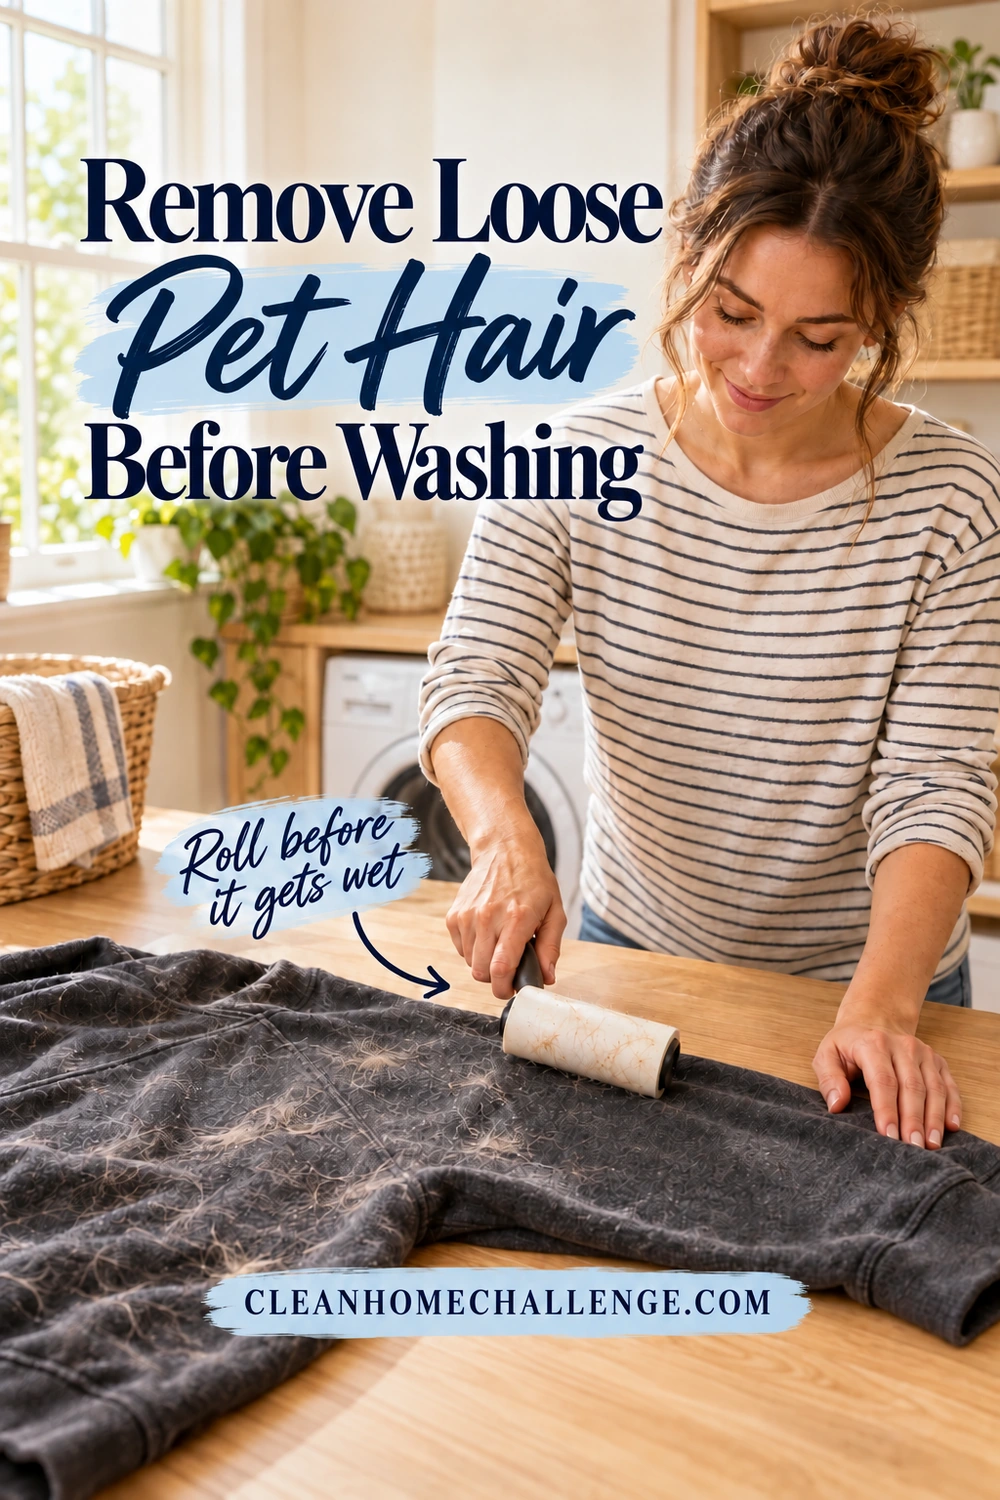
Remove Loose Pet Hair Before Washing
Start with the clothes that look the furriest. Put pet blankets and washable pet-bed covers in a separate pile rather than mixing them with work clothes or the family’s everyday shirts.
Next, check each garment’s care label. Set aside dry-clean-only pieces and anything that needs hand washing or special handling. Sort the remaining clothes by color, fabric, and washing instructions. The American Cleaning Institute’s laundry basics recommends this approach before choosing settings.
Work through one garment at a time:
- Spread it on a clean surface. A shirt laid flat is easier to inspect than a scrunched-up bundle.
- Pick off loose clumps. Put them straight into the trash so they do not land on another garment.
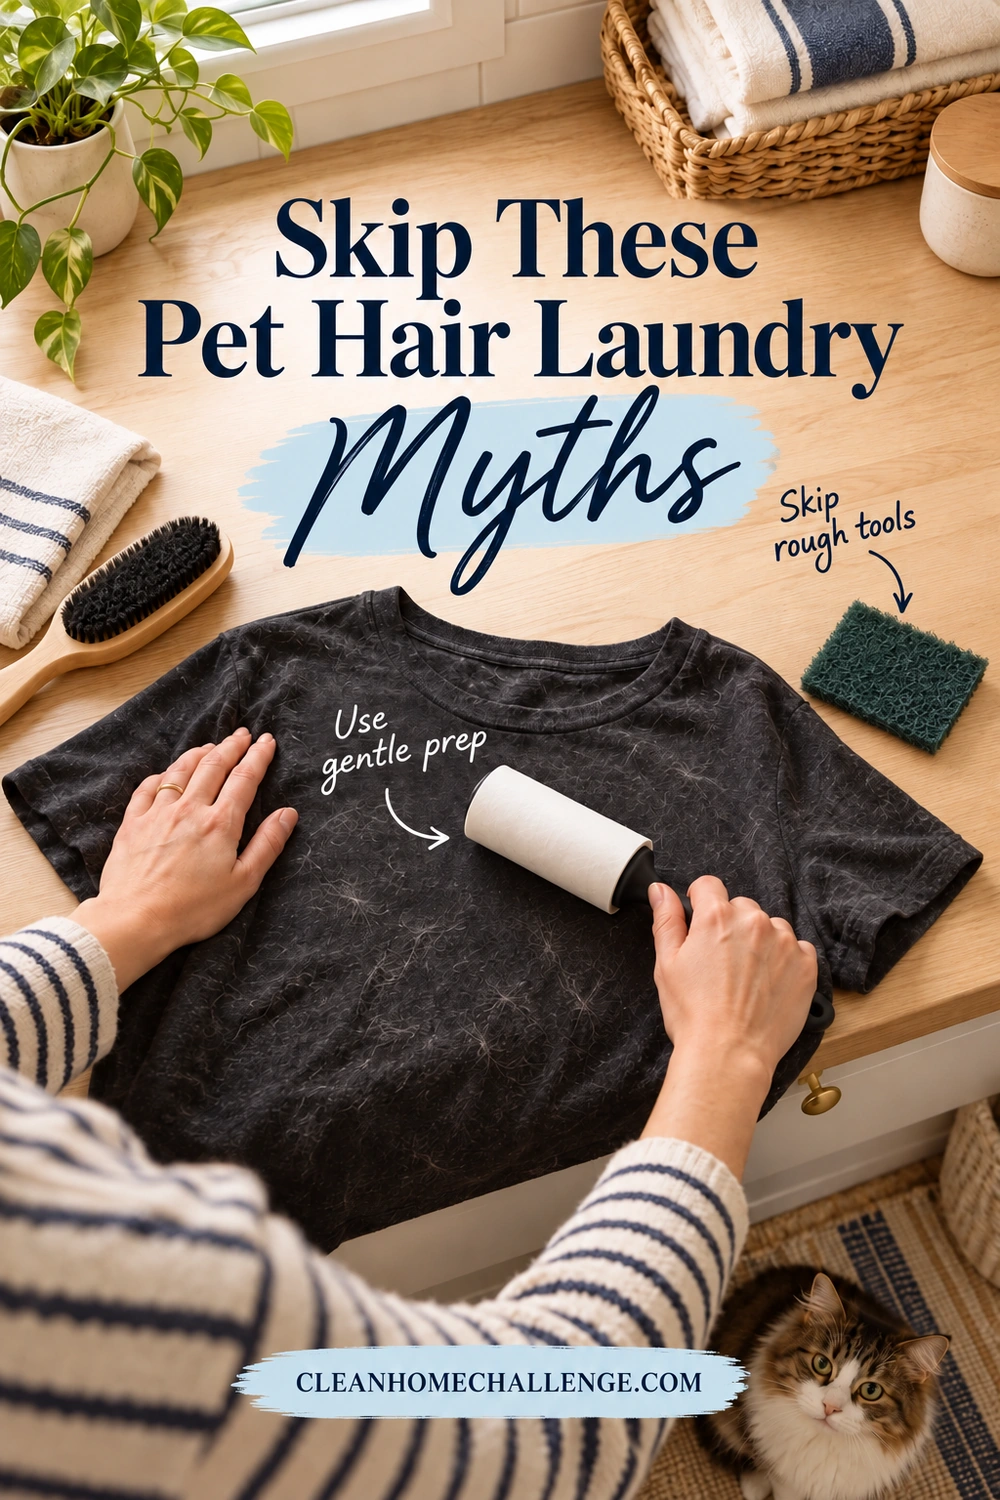
- Use a clothing-safe lint roller or brush. Follow the tool’s directions, use gentle pressure, and refresh a sticky sheet when it is covered. Test an inconspicuous spot on unfamiliar or delicate fabric.
- Turn the garment over. Check the back, cuffs, seams, and inside folds, then look inside pockets for tissues and loose debris.
Lint rollers are designed to collect surface hair from clothing; 3M’s pet-hair roller information describes that use. You do not need an aggressive scraping tool to make a start. If a brush catches threads, stretches the fabric, or roughens the surface, stop using it on that item.
For a heavily covered hoodie, do one pass, unfold the sleeves and hood, and do a second targeted pass. For a lightly hairy T-shirt, a quick roll may be enough. Keep the freshly brushed items in the clean basket rather than dropping them back onto the pet’s favorite chair.
If you are short on energy, prioritize the clothes needed soonest. Removing the obvious fur from a small, useful load is a perfectly worthwhile laundry win.
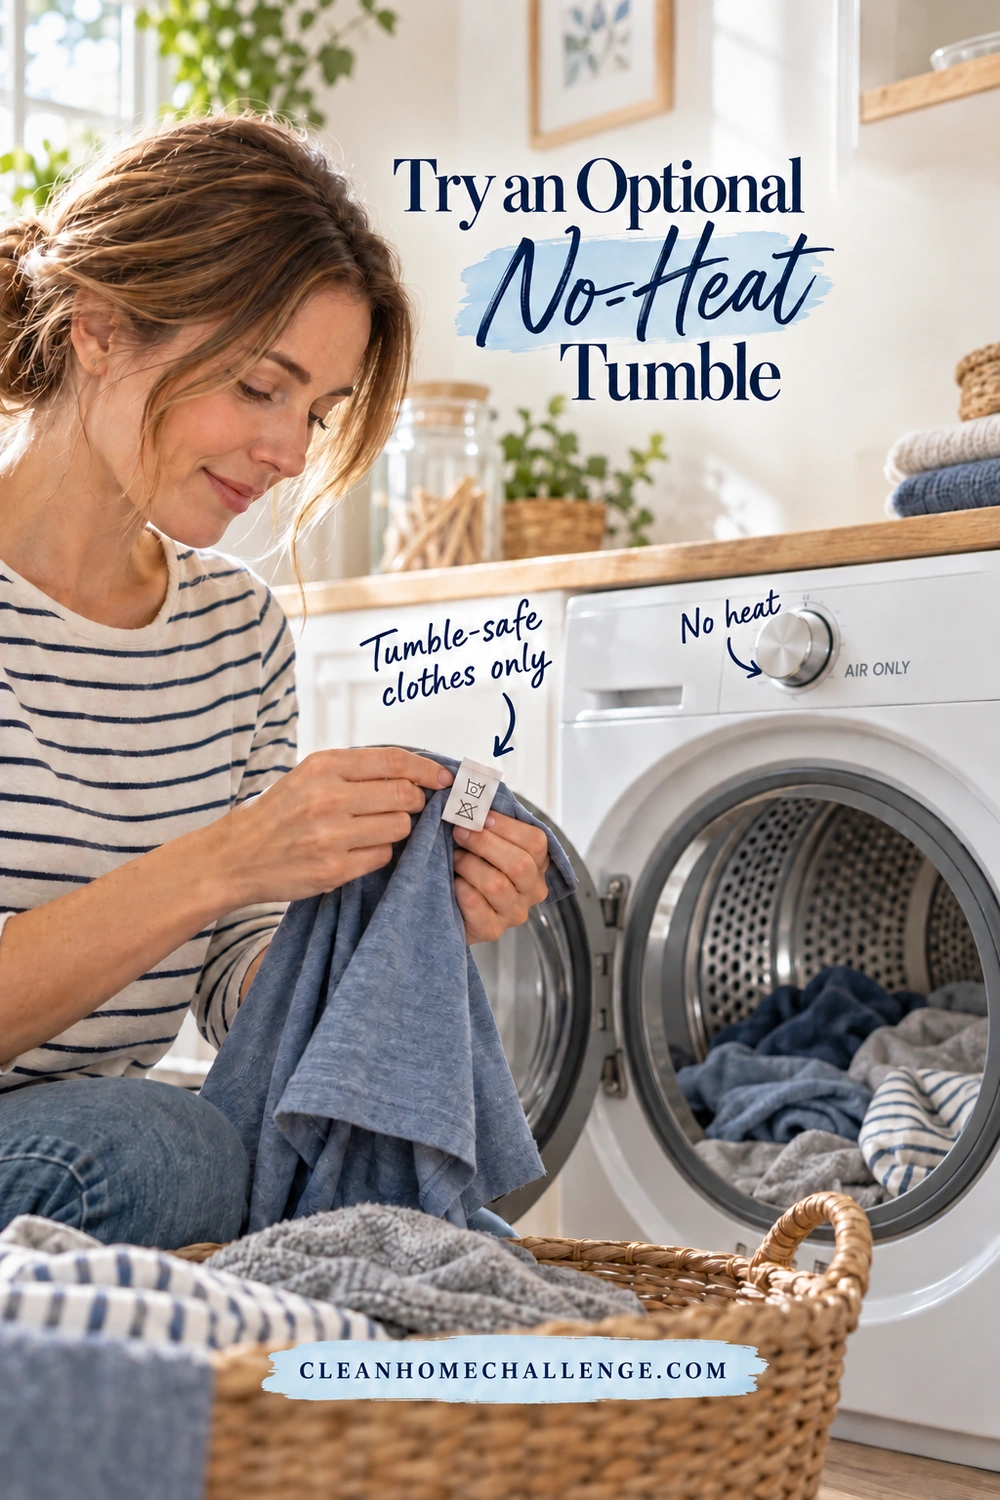
Try an Optional No-Heat Tumble
For tumble-safe clothing, a short dryer visit before washing can loosen more hair. GE Appliances suggests a 10-minute no-heat Air Fluff cycle as a pet-hair removal step.
Check two things first: the clothing must permit tumble drying, and your machine must actually have a no-heat setting. A low-heat cycle is different from an air-only cycle. Likewise, a garment marked “do not tumble dry” should stay out even when the heat is off. The American Cleaning Institute’s fabric-care symbol guide distinguishes no-heat tumbling from no tumble drying.
Use this simple sequence:
- Remove the largest clumps by hand or with your lint tool.
- Check that the lint screen is clean and properly fitted.
- Add a modest load of compatible, already-dry clothing with room to tumble.
- Select the machine’s verified Air Fluff, Air Only, or equivalent no-heat option.
- Check after about 10 minutes. Remove the clothes, clean the lint screen, and move on to washing.
Treat ten minutes as a starting point, not a promise that every hair will come away. Inspecting the clothes is more useful than repeatedly extending the cycle while hoping for a perfect result.
This preparation step is for ordinary dry, fur-covered laundry. Keep clothing contaminated with flammable solvents or oils out of this routine and follow the appliance’s safety instructions. No-heat tumbling does not override a dryer’s restrictions on what can go inside.
Skip this step if you do not own a dryer, cannot confirm the setting, or are washing an item that must air-dry. The manual preparation and washing steps still give you a practical route forward.
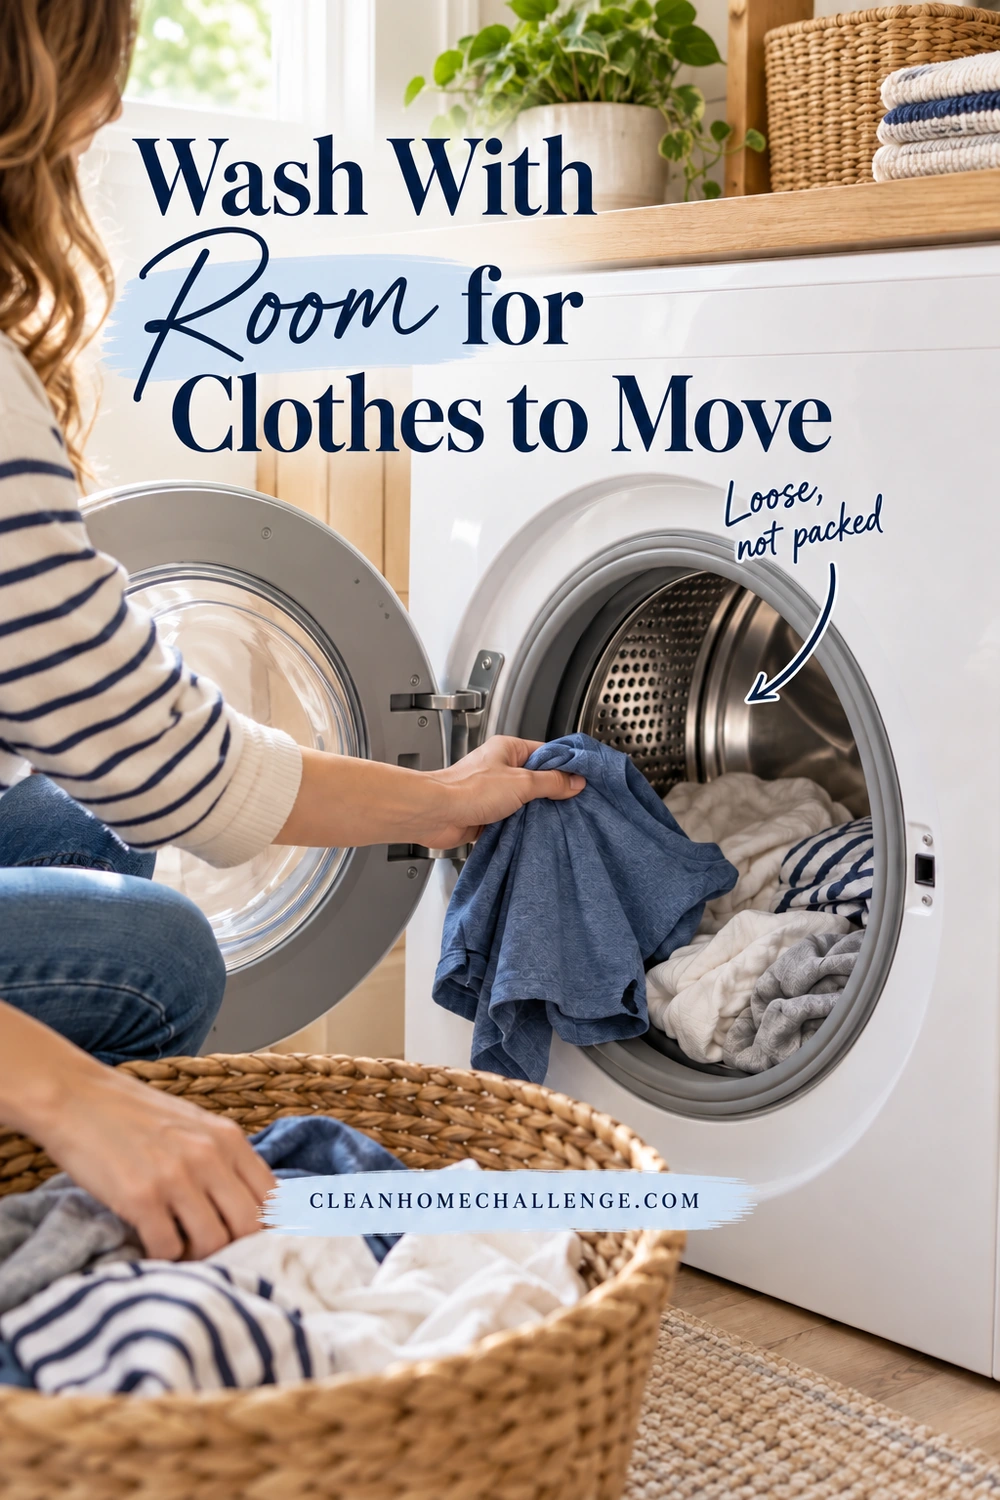
Wash With Room for Clothes to Move
Once the loose hair is reduced, wash the clothes according to their labels. Resist squeezing the last few items into an already-full drum. A bulky pile needs space to move, even if you can physically close the door.
Sort for both fur and lint
Keep very hairy pet textiles separate from clothing. Also separate lint-shedding towels from fabrics that readily collect lint. Whirlpool’s lint-prevention guidance recommends separating lint producers and lint takers and warns against overloading.
Pet hair and towel lint are different problems, but mixing them can leave you with more visible debris to remove afterward. Check pockets now, too. A forgotten tissue can turn one small task into a whole load of extra work.
Measure detergent for the actual load
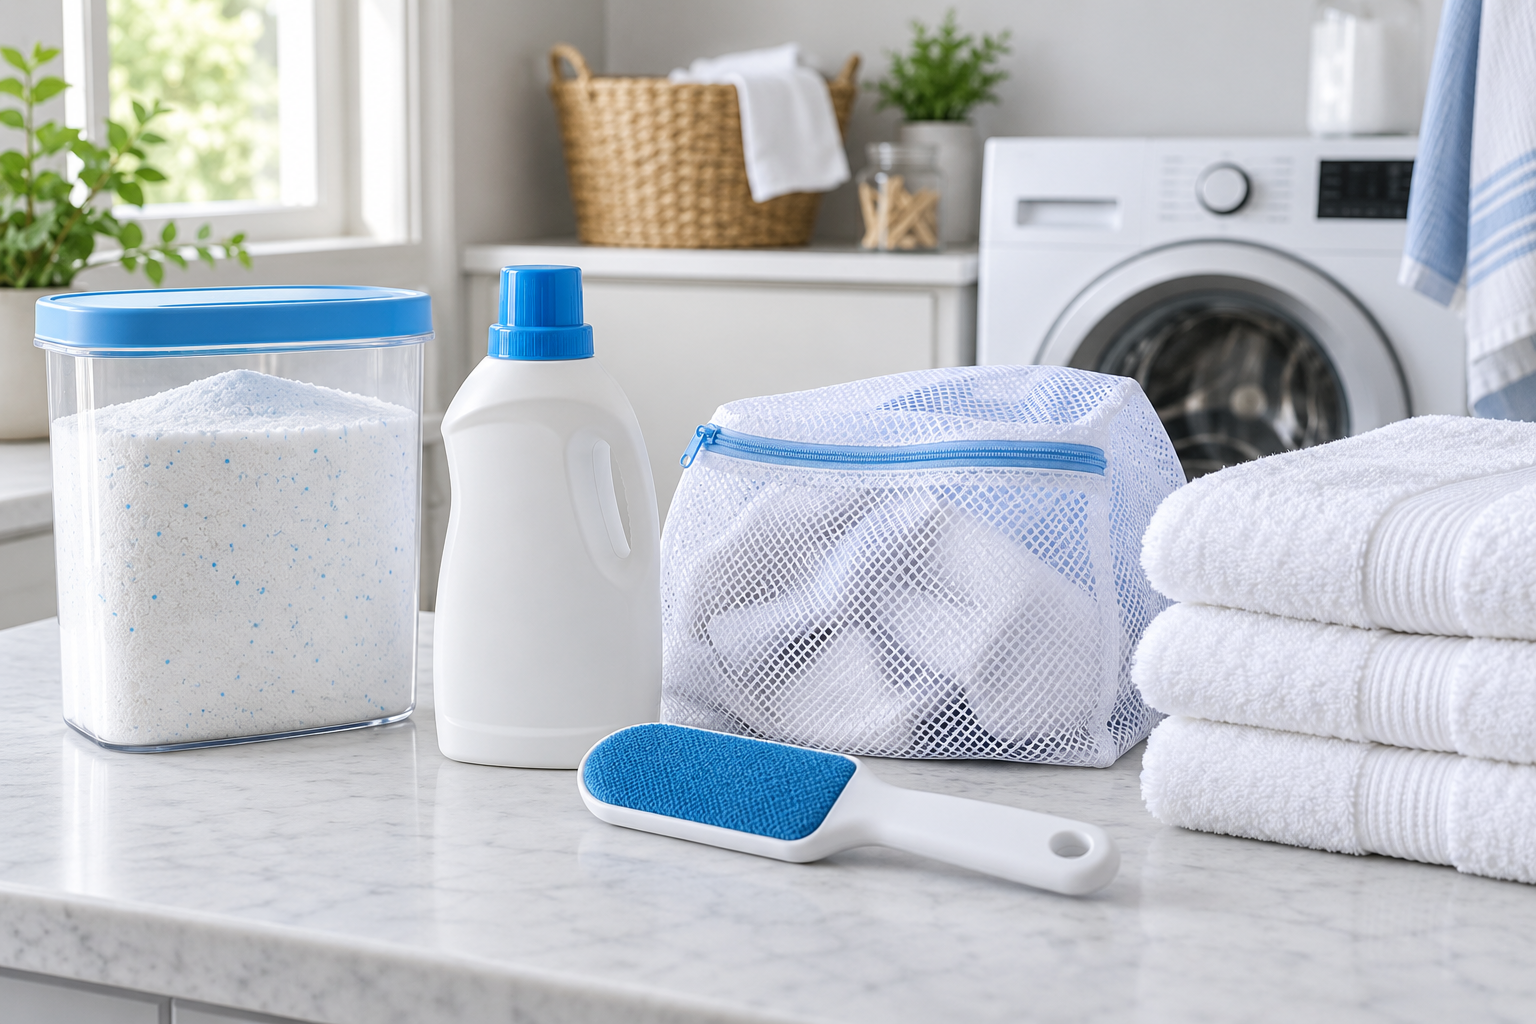
Use a detergent suited to the fabric and washer, including HE detergent when your machine requires it. Measure using the product’s directions for load size, soil level, and any water-hardness guidance. Avoid adding an extra splash simply because the clothes are furry.
Whirlpool explains that too much detergent can leave residue, while too little may not clean adequately. A universal “one spoonful for every load” rule is not useful across different concentrations and machines. If you use an automatic dispenser, check that it is configured for your detergent rather than adding a second dose on top.
Choose fabric-safe settings
Follow the garment’s washing temperature and cycle instructions. Do not switch everything to the hottest or longest program just because you can see fur. A delicate blouse, fleece jacket, and cotton work shirt may need different care.
If your washer has a pet-hair option, use the manual to confirm compatible loads and any filter-cleaning requirements. A setting with that name can work differently across models; it does not replace checking the clothing label.
Add a rinse when it is useful
An extra rinse may help with remaining loose debris or detergent residue when your washer offers it. Whirlpool’s washing guidance specifically notes that pet hair and other residues may need additional rinsing. It is an option to try, not a necessary addition to every load or a guarantee for embedded hairs.
Avoid manually pouring extra water into a sensing washer. Follow its supported settings instead; Whirlpool’s water-level guide directs owners to model-specific load and fill instructions.
When unloading, pause for a quick look. Lift off accessible clumps, check the drum, and choose the appropriate drying route below.
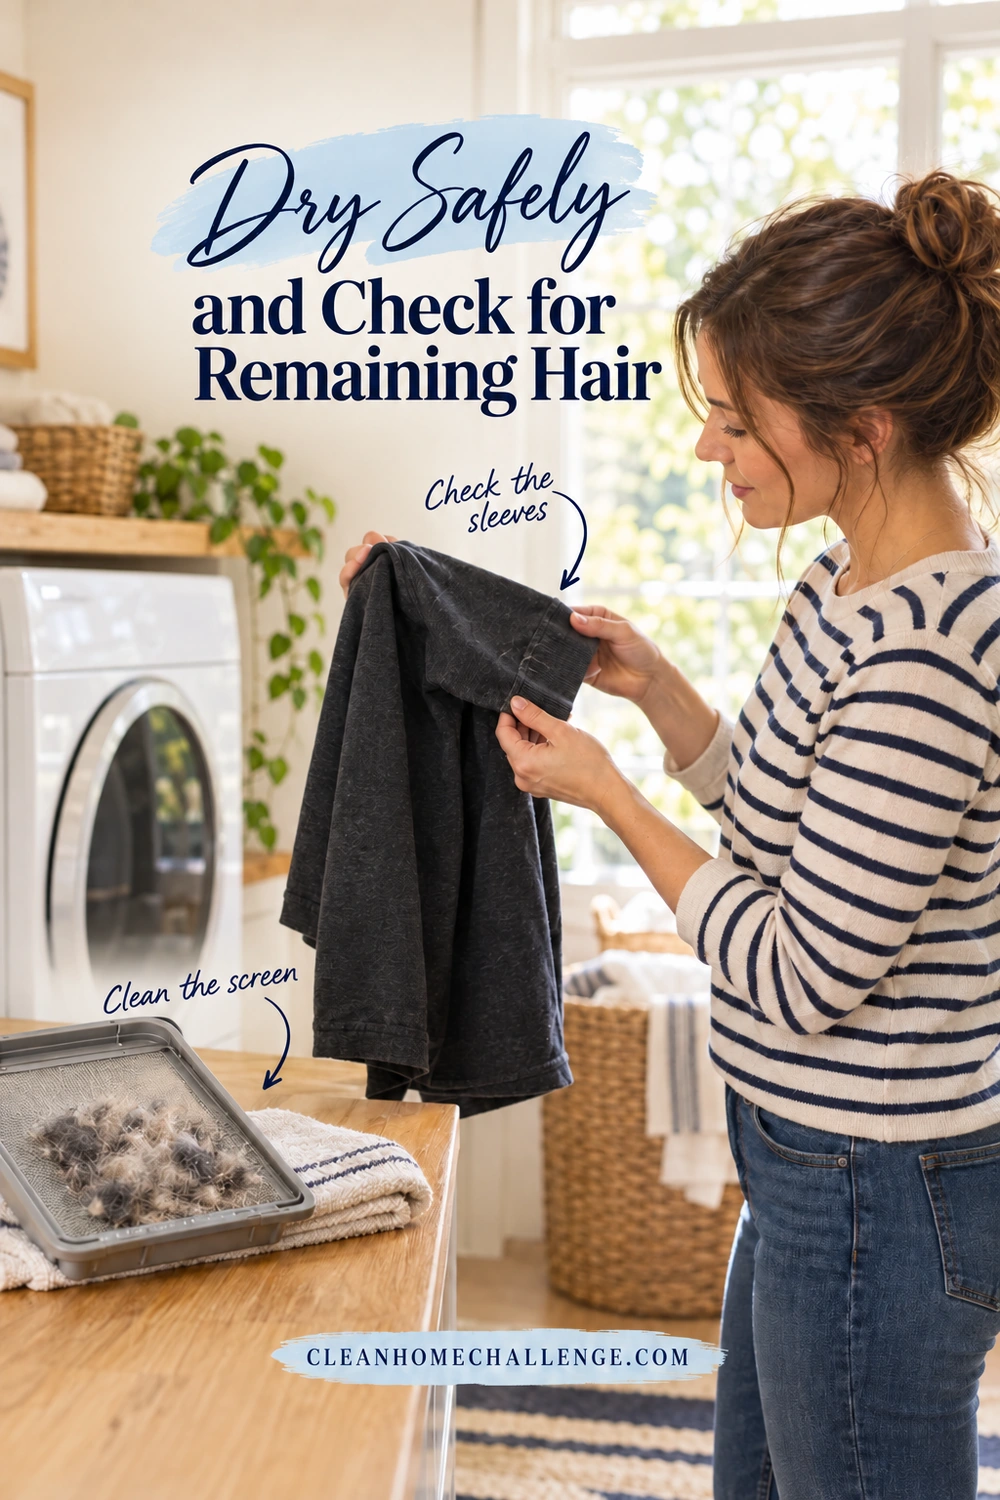
Dry Safely and Check for Remaining Hair
For clothes that permit tumble drying, choose the care-label temperature and a suitable cycle. Leave enough room for items to separate rather than drying a tightly packed bundle. Whirlpool explains that overloading interferes with airflow between garments.
The lint screen needs attention every time, including after any prewash air-only cycle. The U.S. Fire Administration recommends cleaning it before and after each cycle and never operating a dryer without its filter. Put collected hair and lint in the trash, then reinstall the screen correctly.
Dryer sheets are optional. They may help with static on compatible loads, but check the clothing and appliance instructions before using them. Some technical fabrics have restrictions: Patagonia advises against fabric softeners and dryer sheets for its products because residues can interfere with fabric performance. You can do this routine without either product.
Once the load is dry, check a few visible areas before folding: dark sleeves, trouser legs, hoodie fronts, and anything your pet had been sleeping on. Use your clothing-safe roller or brush for scattered remaining hairs. A clean shirt with a few stubborn strands does not automatically need another complete wash.
Fold on a clean surface and put clothes away once fully dry. This is also a good moment to check the laundry basket; a furry basket can undo some of your work.
Keep dryer maintenance in the routine, too. The National Fire Protection Association’s dryer-safety advice recommends turning the dryer off when leaving home or going to bed and keeping exhaust venting clear. If drying suddenly takes much longer, investigate rather than repeatedly extending the cycle.
Remove Pet Hair Without a Dryer
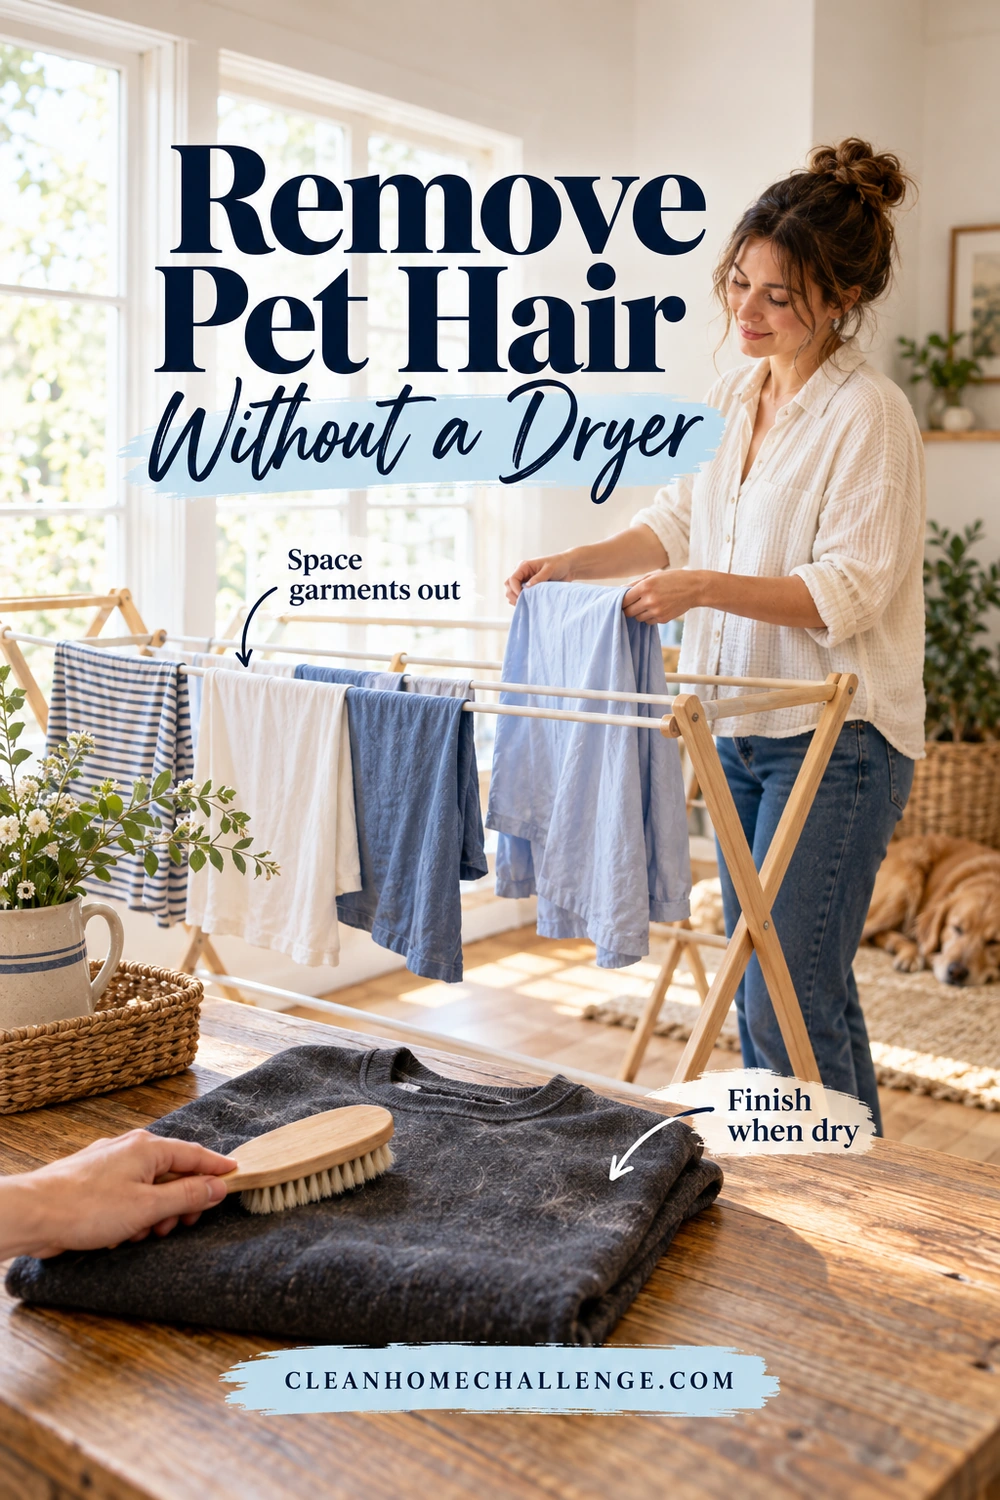
You can still tackle pet hair when you line-dry everything or have clothes that cannot tumble. Put a little more attention into the dry preparation and the final check.
Try this no-dryer sequence:
- Brush or roll before washing. Work over the whole garment, paying extra attention to the hairiest patches.
- Wash a manageable load. Use the same sorting, detergent, and care-label rules above.
- Check while unloading. Lift off obvious loose clumps without pulling at wet fabric.
- Dry as directed. Hang, line-dry, or lay the item flat according to its label.
- Check again once completely dry. Finish remaining surface hairs with the clothing-safe lint tool.
For drying, give garments their own space rather than folding several wet items together over one rail. Use a clean rack or line and keep laundry away from places where your pet settles. A drying rack beside the dog’s bed makes it harder to protect your progress.
Take flat-dry instructions seriously. The American Cleaning Institute’s drying guidance explains that hanging and flat drying are distinct methods. Lay flat-dry garments on an appropriate clean surface instead of hanging them by the shoulders and hoping for the best.
For example, a washable sweater labeled to dry flat can be gently de-haired before its recommended wash, reshaped and dried flat, then checked when dry. You do not need to borrow a dryer or disregard the label to complete the process.
If a garment is already clean and the only problem is a little surface fur, start with manual removal rather than washing it again solely for that reason. Save the full routine for clothes that also need laundering.
Clean Hair Out of Your Laundry Machines
After a furry load, check the empty washer before adding the next one. Look around the drum opening and, on a front loader, the accessible folds of the door seal. Collect visible hair with a soft cloth and dispose of it.
Bosch recommends a damp, soft cloth for its washer’s rubber parts and cautions against aggressive cleaners. Use your own appliance’s instructions for any further cleaning. Avoid reaching into inaccessible spaces or prying the seal away from its fittings.
Check whether your washer has a user-cleanable filter
Filter layouts vary. Some machines have an accessible drain-pump filter, some have dedicated pet-hair filters, and others do not offer a filter for routine owner cleaning.
LG’s drain-pump filter instructions show why model-specific directions matter: water must be drained and collected before the filter is removed. Do not simply unscrew a filter cap on a full machine.
Before maintenance, switch off and isolate power as your manual directs, let hot water cool, and prepare the recommended shallow container and towels. Remove only owner-serviceable parts. Refit the filter and drain plug securely before using the washer again. If the manual does not describe the procedure, ask the manufacturer rather than dismantling the machine.
Keep the cleaning cycle on your calendar
Run the machine’s recommended tub-clean cycle at the interval in its manual, using only the specified type and amount of cleaner. For example, LG includes routine drum, dispenser, door, and gasket maintenance in its front-load guidance. Follow the schedule for your machine rather than copying another model’s recipe.
For a ventless or all-in-one machine, check its particular lint-filter and condenser-care instructions, too. Do not assume the care routine is identical to a conventional vented dryer.
If drainage stays slow, water remains in the drum, or an error returns after the permitted checks, stop running repeat loads and arrange manufacturer support or qualified service. More detergent will not clear a mechanical blockage.

Skip These Pet Hair Laundry Myths
There are plenty of tempting shortcuts. Keep the ones that suit your fabric and machine, and leave the rest out of your laundry basket.
“Vinegar dissolves all the hair”
It does not. Maytag’s washer-cleaning article distinguishes loosening hair from dissolving it. Adding vinegar will not make a thick layer of fur disappear.
Vinegar is also not a universal washer recommendation. Bosch advises against using it to clean its washing machines because of potential damage to rubber parts. Check your appliance and garment guidance before any additive; this routine does not require vinegar.
Never combine vinegar with chlorine bleach or improvise mixtures of cleaning products. CDC’s bleach-safety guidance warns that mixing cleaners can release dangerous vapors. Keep laundry products in their original containers, secured away from children and pets.
“Extra detergent or extra heat will fix it”
Neither replaces lifting off loose hair. Use the correct detergent amount and the temperatures the fabric allows. Changing three things at once also makes it harder to tell what improved the result. Start with preparation and load size before adding more steps.
“Any rough object makes a good hair catcher”
Skip improvised Velcro hair rollers, abrasive pads, and other objects that were not made or approved for your laundry. The risk is especially unhelpful when you are trying to protect knits, delicate clothes, or performance fabrics.
A purpose-made laundry hair catcher is optional. Check its instructions for your washer, dryer, and fabrics, and judge it by the result in your own load. Do not assume a gadget can replace sorting, manual removal, or filter cleaning, and avoid any promise that one product removes every hair.
Build a Simple Pet Hair Laundry Routine
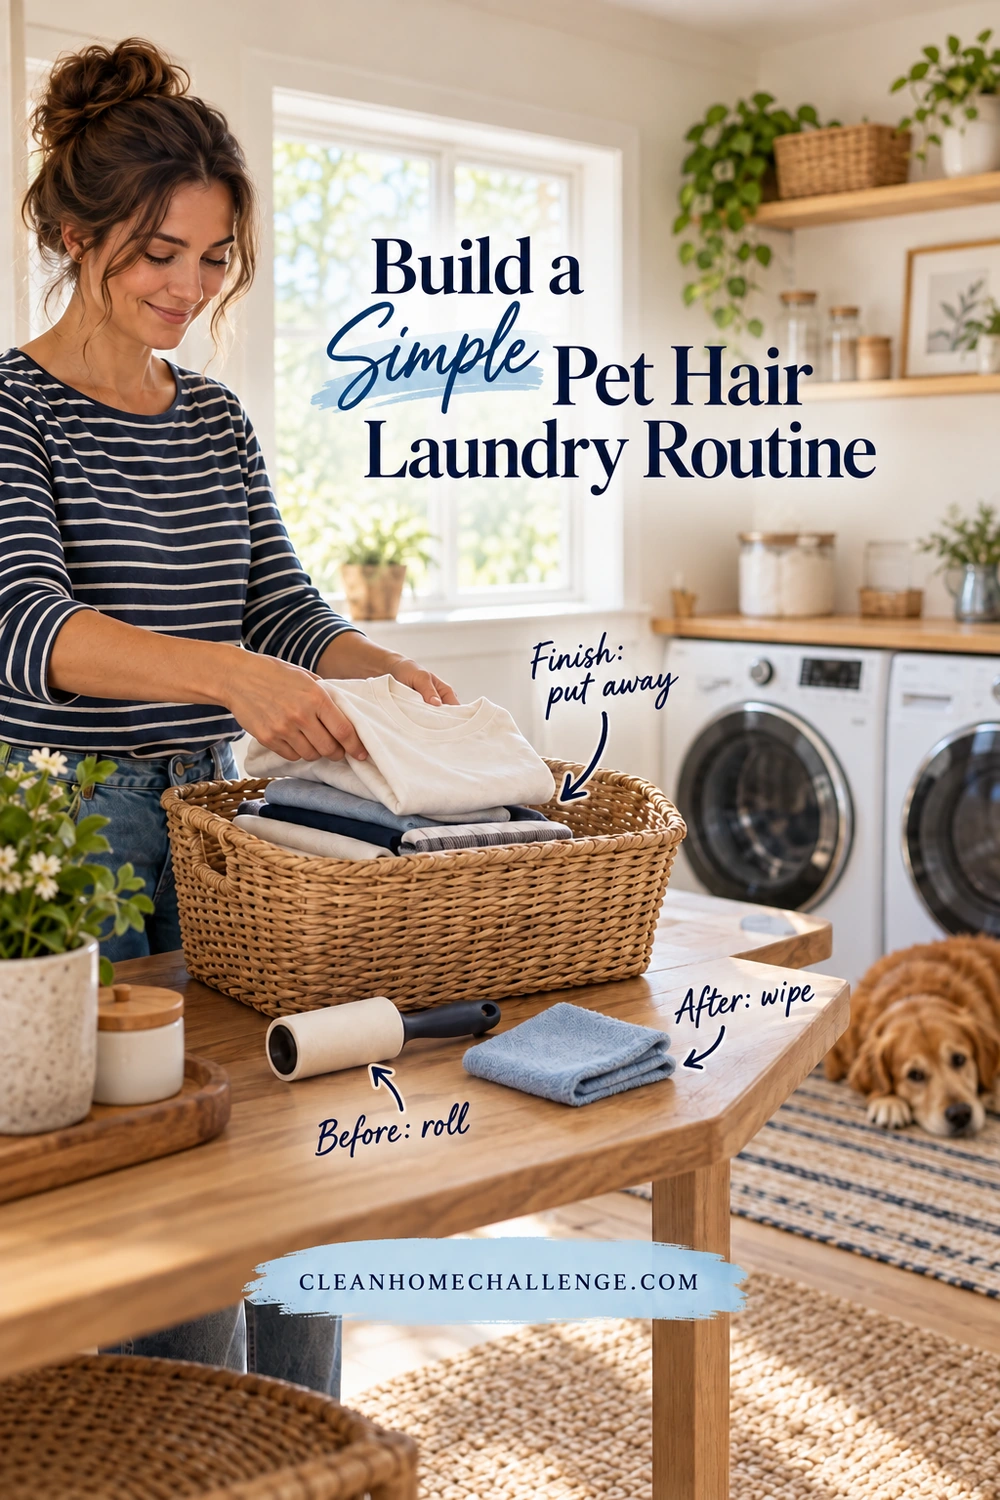
The easiest routine is one you can repeat on an ordinary busy day. Set up a small laundry kit with a clothing-safe lint tool, a soft machine-cleaning cloth, and a nearby trash bin. Keep detergent separately in secure storage.
Use three checkpoints:
- Before the wash: Remove visible clumps, give the furry patches a quick roll, check the labels, and separate heavily hairy items.
- After the load: Check for remaining hair, clean the dryer screen if used, and wipe accessible hair from the washer.
- Before putting clothes away: Use a clean folding surface and basket, then store dry clothes where pets cannot curl up on them.
Choose one household habit to support the routine. You might keep a washable throw over the pet’s favorite seat, vacuum that seat before folding nearby, or add the pet blankets to Saturday’s laundry catch-up. Maytag’s wider pet-hair guidance includes regular brushing, vacuuming, and keeping excess hair out of appliances.
For a low-energy day, make the goal one useful load. Start with the clothing your family needs next and leave a lint roller beside the clean basket for a final pass. There is no need to turn shedding season into a whole-house cleaning marathon.
To remove pet hair from clothes more consistently, focus on that small sequence: lift off what you can, wash with space, dry safely, and collect the hair that comes away. A few repeatable steps make laundry easier to manage while still leaving plenty of room for pets and real family life.
CLEANERS CLUBHOUSE
Make Laundry Catch-Up Feel More Manageable
Use Saturday to catch up without letting laundry take over the whole weekend. Inside the Cleaners Clubhouse, practical routines and printable support help you keep washing, folding and household jobs moving.
