
THIS POST MAY CONTAIN AFFILIATE LINKS. PLEASE READ MY DISCLOSURE FOR MORE INFO.
Learning how to vacuum stairs is mostly about a manageable setup and a repeatable sequence. Clear the steps, choose an attachment that suits the surface, clean the reachable edges and tread, and move only when you can see where you are stepping. A few deliberate passes usually make better use of your time than rushing a large floor head across awkward corners.
This guide focuses on removing dry grit, crumbs, dust, and hair. For banisters, spindles, and suitable damp-cleaning methods, use our broader guide to cleaning stairs, banisters, and railings.
Allow roughly 10–20 minutes for an ordinary, regularly maintained flight, including setup and putting the vacuum away. That is a planning estimate, not a target to beat. Narrow stairs, heavy shedding, several landings, or a setup that needs extra care can take longer. You can also do one safely reachable section and return to the rest later.
Disclosure: This post may contain affiliate links. As an Amazon Associate, Clean Home Challenge earns from qualifying purchases. If you make a purchase through these links, we may earn a small commission at no extra cost to you. This helps us keep creating practical cleaning tips, routines and resources for busy families! 🧽
Set Up the Stairs Before You Switch On
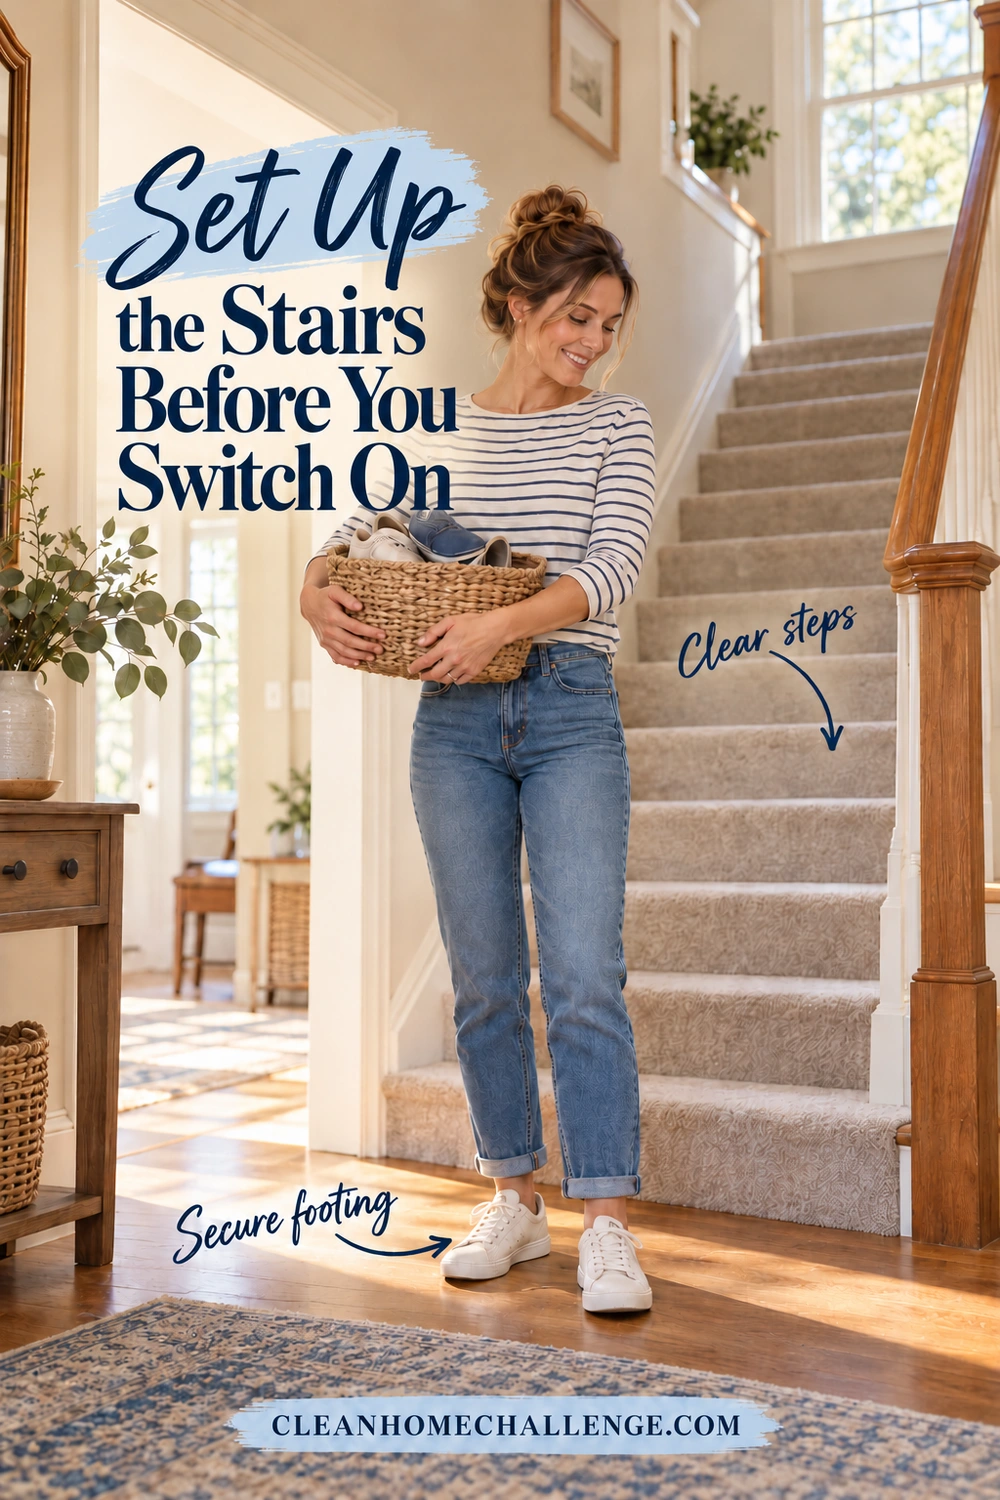
Carry shoes, toys, laundry, and bags completely off the staircase. Clear the landings too, including the place where you will put the vacuum and spare attachments. Leaving a basket on the top step creates another obstacle.
Turn on enough light to see every tread edge. Check for loose carpet, lifting runner edges, damaged steps, and a handrail that moves. Repair unsafe conditions before cleaning. The Agency for Healthcare Research and Quality’s home-safety checklist highlights clear stairs, secure coverings, good lighting, and sound handrails.
Wear secure footwear with dry soles. Let the household know you are working, and keep children and pets away without blocking an exit. The steps must be dry before using an ordinary dry vacuum; leave a wet spill or freshly treated carpet for its appropriate cleaning method.
Choose your setup before plugging in:
- Upright or canister with a hose: Follow the manual’s stair instructions. Keep the main appliance on a stable, level floor or landing below your working position. Do not balance it on a tread or place it above you.
- Approved handheld configuration: Use a compact tool and carry only equipment you can control comfortably. A detachable unit is useful only if its weight and hose arrangement work for you.
- Insufficient reach: Stop at the comfortable limit. Do not stretch the hose, tug the machine toward an edge, or improvise a perch. Use a suitable alternative or get help for the remaining steps.
The Dyson DC47 operating manual, for example, specifically prohibits working with the machine above you on stairs. Your model’s manual takes priority over a general cleaning sequence.
Route any cord away from your feet and the household’s walking path. Switch off before repositioning the equipment; unplug when the manual requires it. Keep access to the handrail. If carrying the unit and using the attachment prevents you from maintaining balance, change the setup rather than trying to manage one more step.
Choose the Right Stair Vacuum Attachments
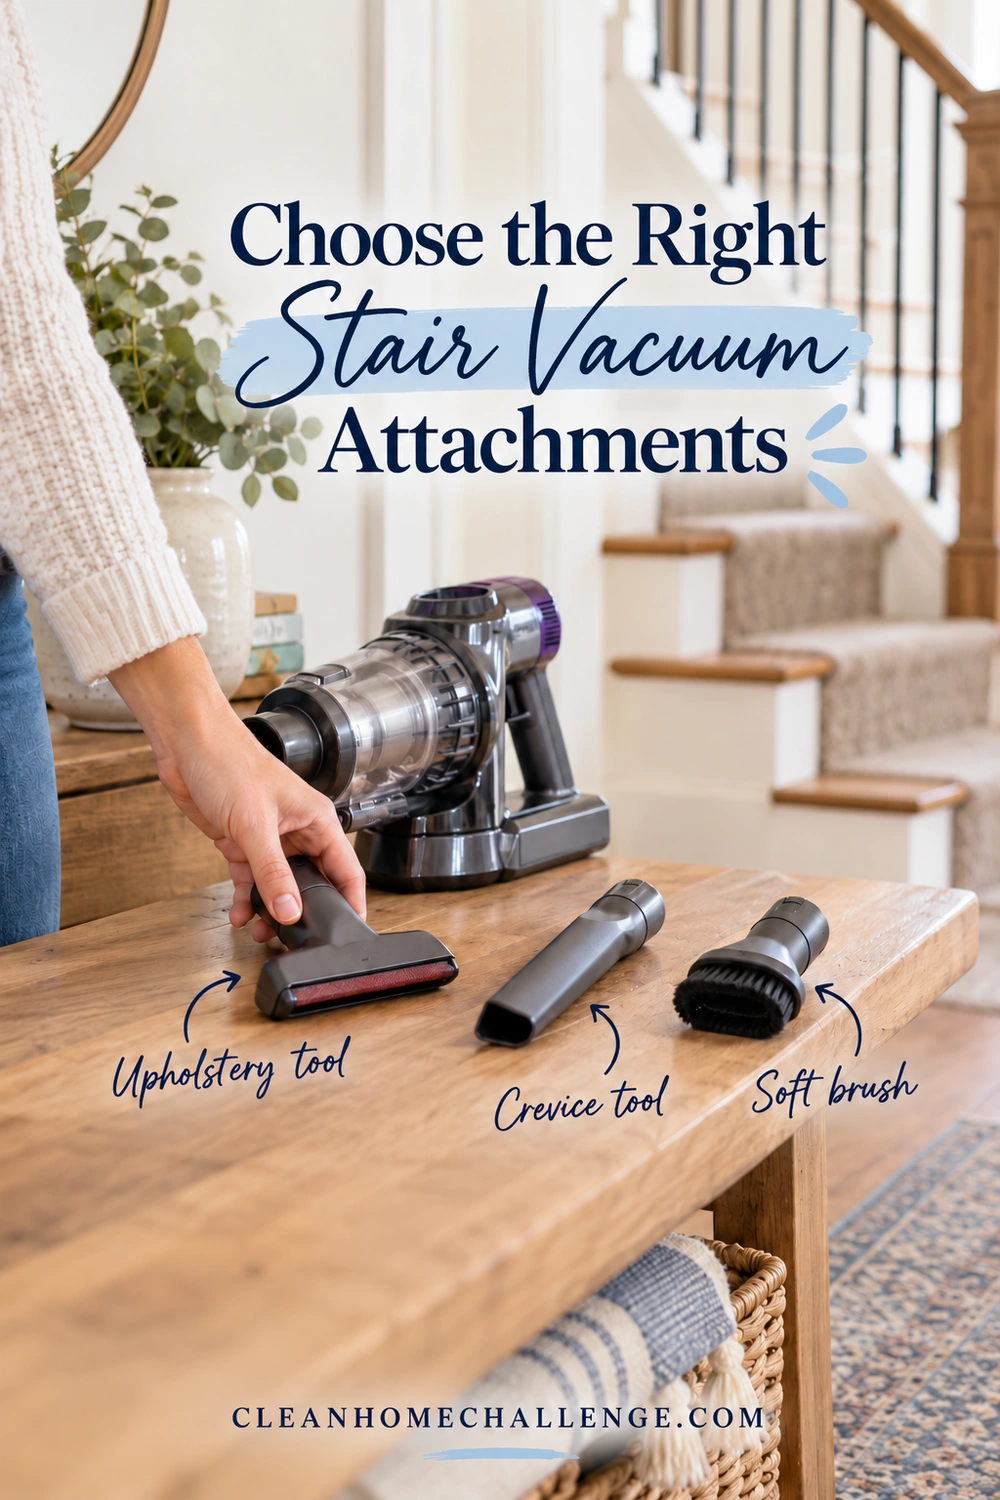
The best stair vacuum attachment depends on the carpet or finish, the shape of the step, and your vacuum’s approved accessories. You may already have what you need in the attachment drawer.
A compact stair or upholstery tool covers the main tread without the bulk of a full-size floor head. A suction-only version can be useful where brushing is unsuitable, but check its underside and the material-care instructions. An upholstery label alone does not guarantee that every strip, bristle, or edge is safe for your runner.
A crevice tool reaches the narrow line beside the wall and the junction between tread and riser. Use it gently. Pressing a hard plastic edge into the carpet or dragging it across painted trim does not improve pickup.
A mini motorized or air-driven brush can help with hair on compatible carpet. These are different mechanisms: an electric tool needs the correct powered connection, while an air-driven tool uses airflow. Miele’s Turbo Mini information illustrates the air-driven type. Check your exact vacuum model, attachment compatibility, and carpet instructions before buying or fitting either kind.
A soft bare-floor attachment suits compatible hard treads. Make sure its contact surfaces are clean and undamaged, with no trapped grit that could mark the finish.
Do not assume every stair carpet needs an active brush roll. Shaw’s carpet-vacuuming guidance warns that some thick-loop, wool, and wool-blend constructions can fuzz with agitation. The Carpet and Rug Institute recommends suction-only vacuuming for wool. Follow the specific carpet maker’s directions rather than treating “carpet mode” as universal permission.
For a cordless vacuum for stairs, check the charge and try the approved handheld configuration on a low step first. Can you hold it steadily, reach the controls, and place the tool flat without twisting your wrist? Cord-free operation removes one thing to manage, but does not automatically make a heavy or awkward unit suitable.
Switch off before changing tools. Follow the manual’s unplugging or battery-removal instructions, particularly for powered attachments.
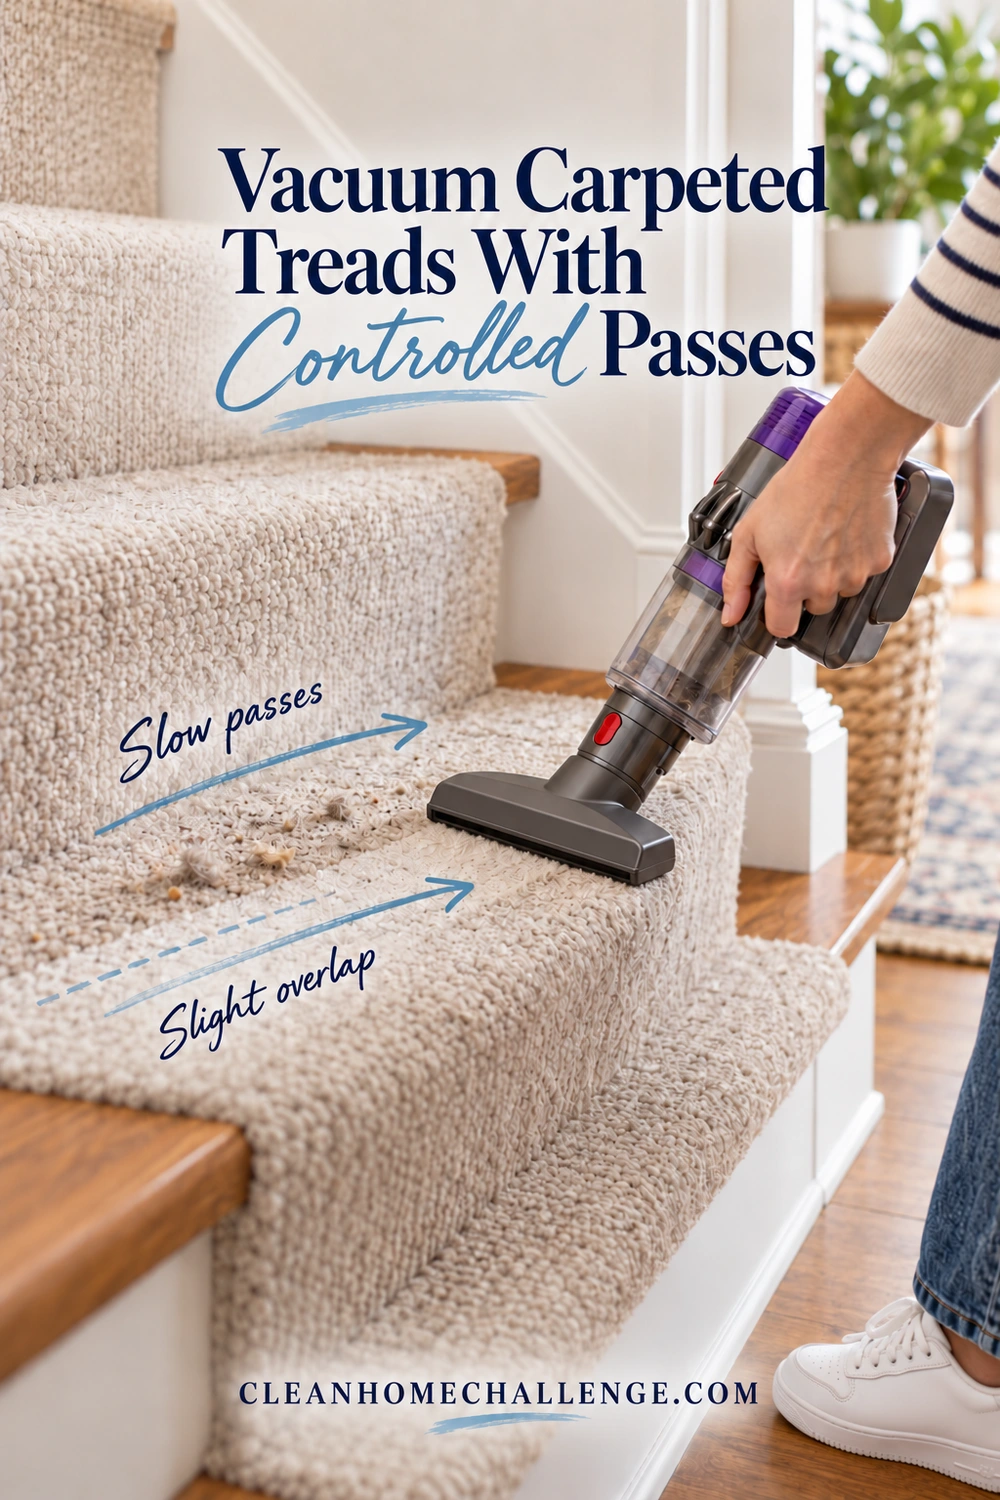
Vacuum Carpeted Treads With Controlled Passes
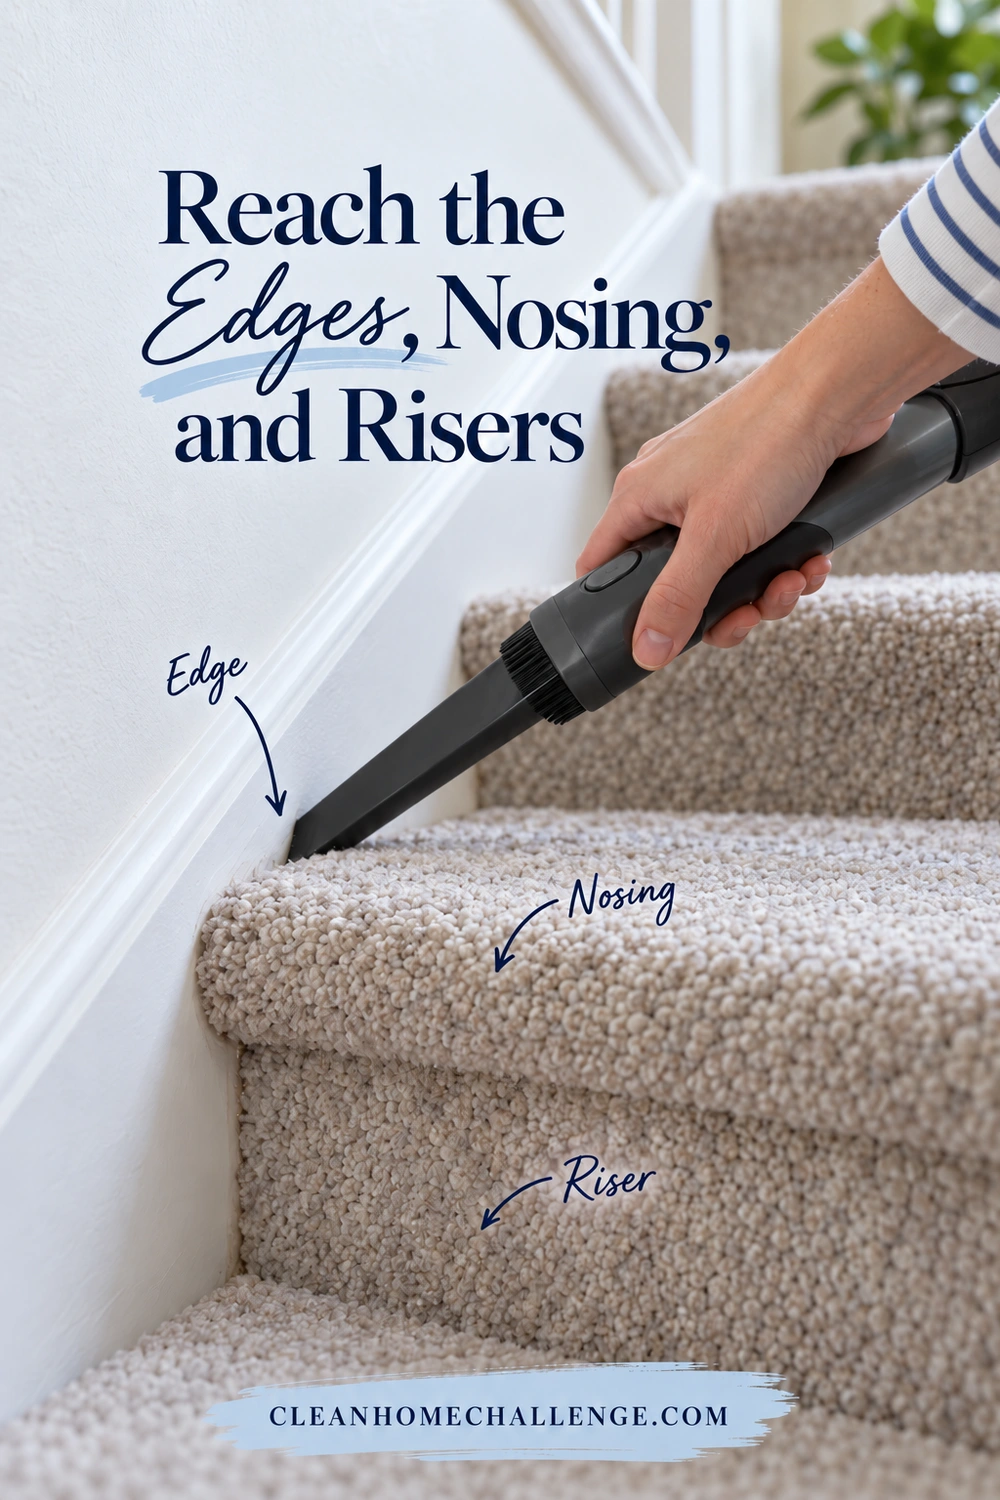
The tread is the horizontal part you stand on. The riser is the vertical face, and the nosing is the front lip. Thinking of these as separate surfaces helps you clean carpeted stairs without repeatedly missing the same strip.
Start with a reachable step while the vacuum remains safely positioned. Keep both feet securely supported and the tool close enough that you are not leaning beyond your balance. Clean only the area available from that position, then stop and reposition deliberately.
Use this sequence:
- Remove unsuitable debris first. Pick up safe-to-handle objects such as coins and toy pieces. Keep sharp fragments and anything prohibited by your vacuum’s manual out of the machine.
- Trace the accessible edges. Use the appropriate narrow tool along the wall-side seam and back corner. The next section explains these detail areas.
- Cover the tread. With the compatible stair tool resting properly on the carpet, make controlled, overlapping passes across the surface. Allow the suction to work instead of flicking the nozzle quickly back and forth.
- Check the walking strip. Give visibly dirty areas another measured pass if needed. There is no fixed number that suits every carpet, tool, or amount of dirt.
- Inspect before moving. Check for remaining crumbs and hair, then switch off as needed and look at your route to the next position.
BISSELL’s stair-carpet guide describes slow, overlapping strokes and separate tools for open carpet and corners. Its top-down sequence should not override your own appliance’s positioning restrictions.
Should you vacuum stairs from the top or bottom? Choose the direction that your equipment and footing allow. A safely controlled handheld setup may let you work downward; a hose setup with its body below you may suit upward progress. Never walk backward down the flight while watching the nozzle. If dirt falls onto an already-cleaned step, collect it on a final check. Repeating a small patch is preferable to an unstable setup.
Reach the Edges, Nosing, and Risers
The center of each step can look clean while a line of grit remains beside the wall. Give these small areas their own method instead of trying to force a wide attachment into them.
For the back junction, hold the crevice tool at an angle that lets its opening collect debris without digging into the carpet. Move along the join in short sections. If a nearby riser sheds dust onto the tread, finish by picking up that loose material.
For wall-side edges, follow the seam with light pressure. Keep the nozzle away from loose fibers and lifted binding. On painted trim, use a compatible soft brush or a dry cloth for reachable dust rather than scraping the finish with the crevice tool. A dark line that does not lift may need separate assessment; endless hard rubbing can damage the area.
For the nosing, use a small approved tool that can follow the curve. Work across the lip without hooking underneath loose carpet. Do not pull a strand to remove it. Stop if the covering shifts or a loop catches, and address the carpet repair separately.
For a carpeted riser, a compact tool is easier to place against the vertical face. Clean from a steady position and use only the pressure needed to keep the attachment in contact. Keep fingers, clothing, and hair away from moving brushes. Miele’s handheld turbobrush instructions specifically warn against touching a rotating roller.
Around a turn or narrow winder step, do not reach across the staircase to avoid moving. Stop the vacuum, check your footing, and work from another stable position. A difficult outer corner can wait if cleaning it would require leaning through or over the railing.
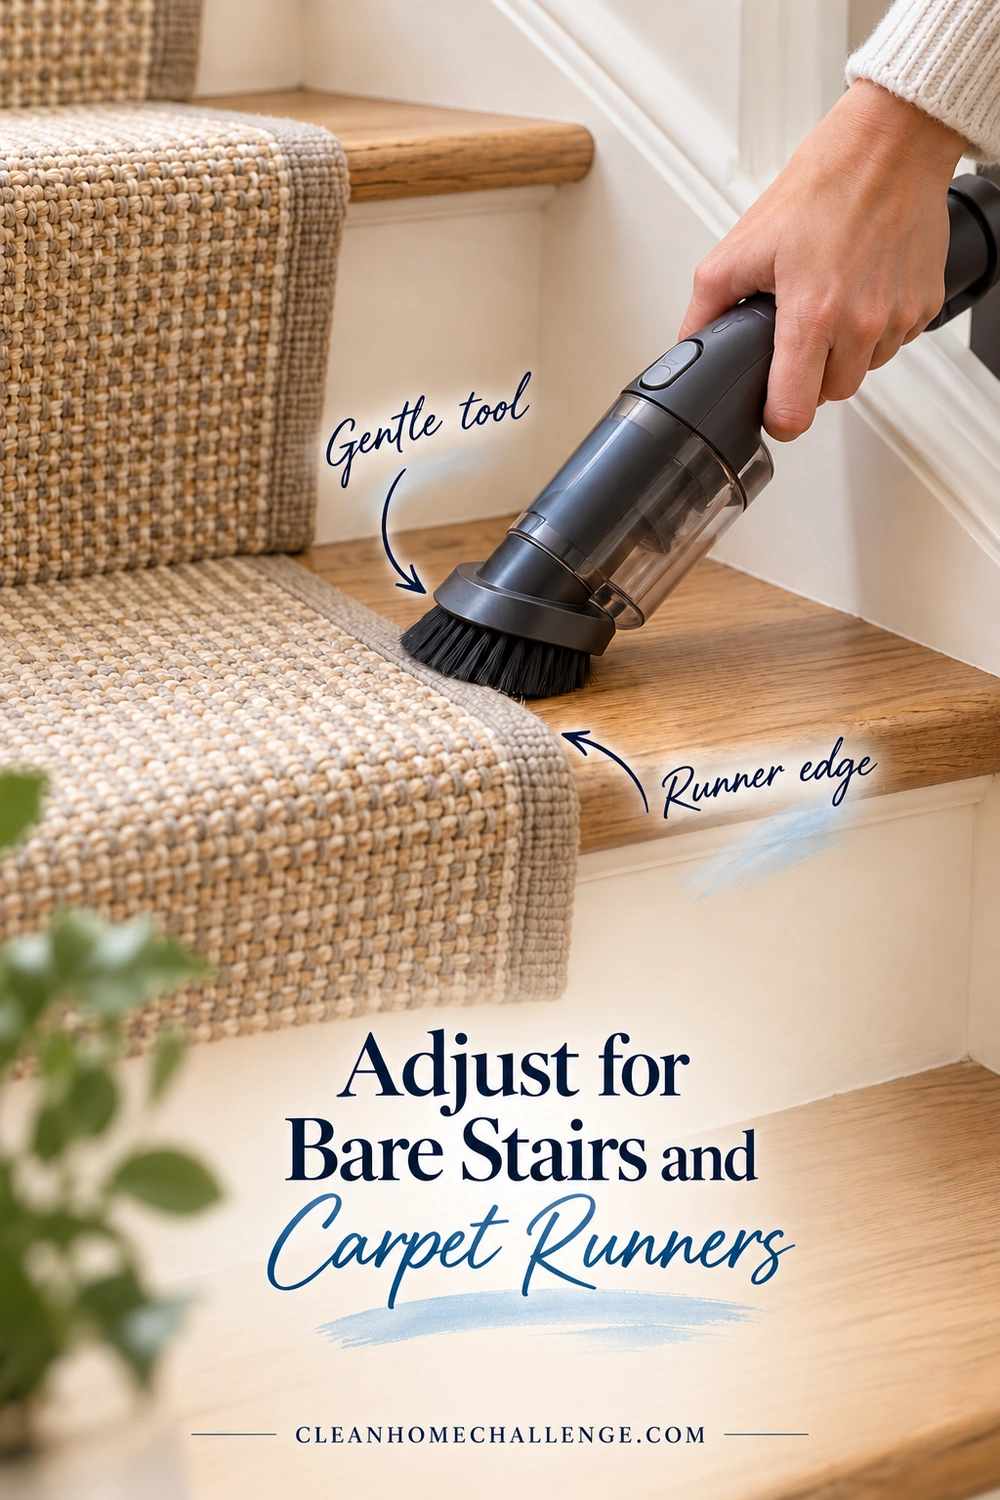
Adjust for Bare Stairs and Carpet Runners
Bare wood, laminate, vinyl, stone, and painted treads need an attachment that their own manufacturer permits. A carpet brush setting is not a useful default for all of them.
For finished wood, Bona’s floor-care guidance specifies a wood-floor vacuum without a beater bar. Use the appropriate soft tool, inspect its underside for grit, and lift it to reposition rather than dragging a hard corner across the finish. Follow finish-specific instructions if they are more restrictive.
Collect crumbs with controlled passes that draw them into the nozzle. Avoid flicking grit toward the next step. Trace accessible corners with a compatible detail tool and check the front edge, where debris can remain just out of sight.
Treat a runner as two neighboring surfaces:
- Check that the runner and its binding are secure before starting.
- Vacuum the carpet using its approved suction and brush arrangement.
- Keep the nozzle from catching loose binding, fringe, or an unsecured edge.
- Change to the suitable hard-surface tool for the exposed strips on either side.
- Pick up any displaced debris and check that nothing has shifted.
Do not pull up an installed runner to clean underneath it. Decorative rods are not something to loosen during a quick vacuuming session. If dirt is trapped beneath a lifted edge or the runner moves underfoot, arrange the appropriate repair or installer advice first.
Dry vacuuming may be all the stairs need today. Sticky marks, stains, and wet spills are separate jobs with separate care requirements. This routine does not require sprays, carpet powder, polish, or a damp finish. Leave wet cleaning for a time when you can follow the surface instructions and keep the staircase out of use until it is safely dry.
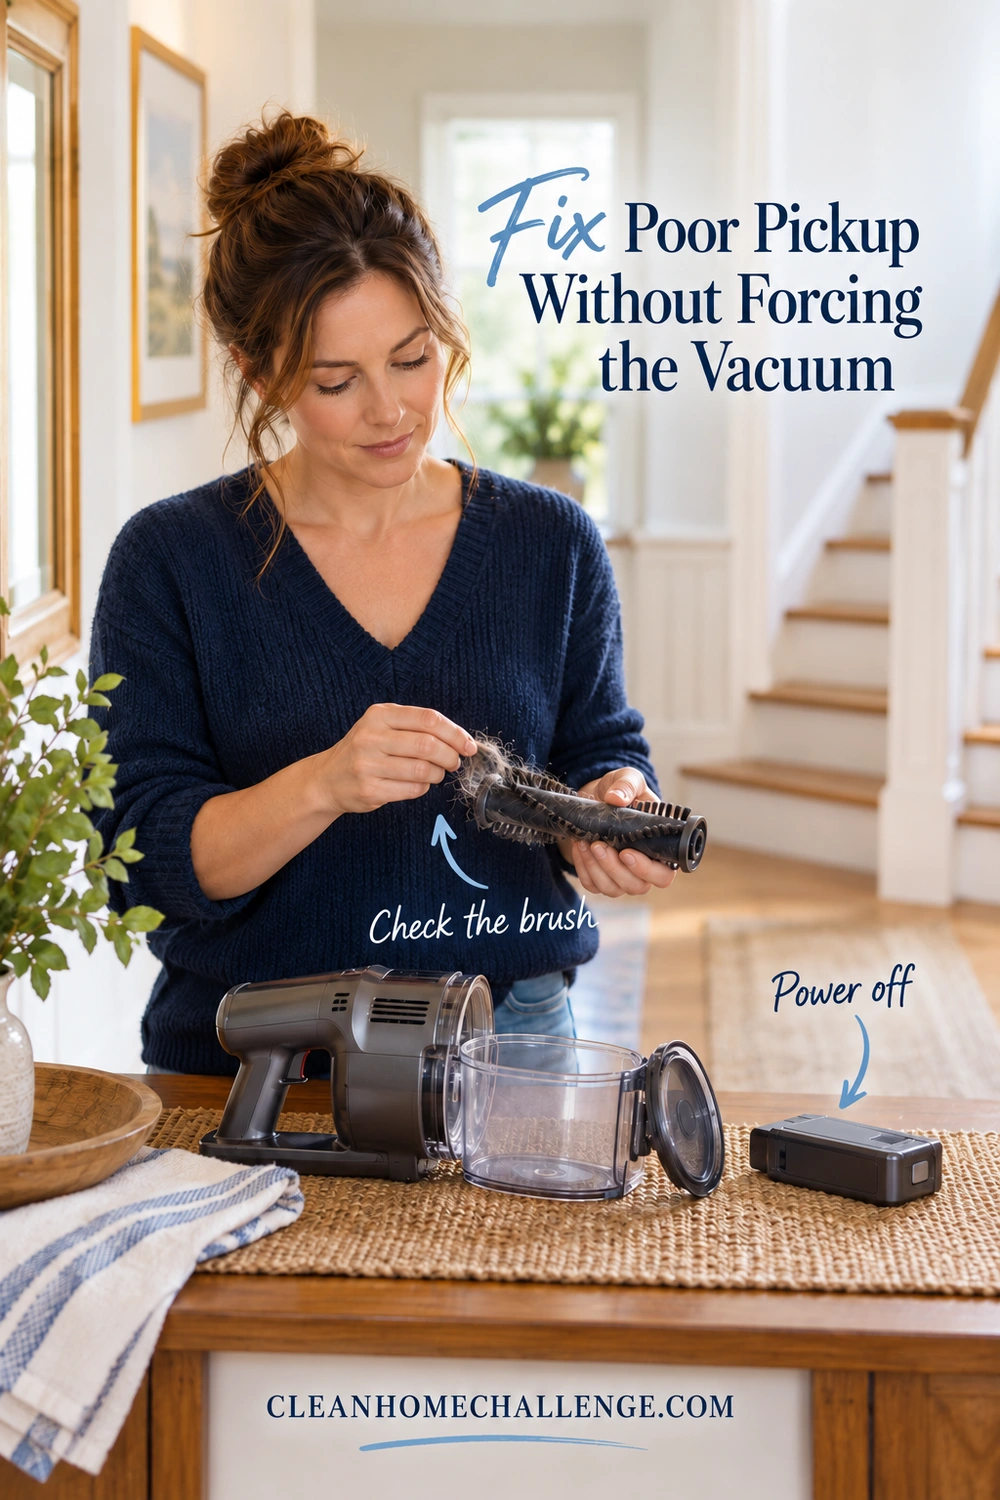
Fix Poor Pickup Without Forcing the Vacuum
When crumbs stay put, pressing harder or pushing the vacuum faster is rarely the best next step. Move to a safe, level area and troubleshoot before continuing on the stairs.
If suction seems weak: Switch off and disconnect power as its manual directs. Check whether the dust cup has reached its fill line or the bag needs changing. Inspect accessible airways and the attachment for a blockage, using only the approved maintenance method. Check whether the filters need servicing, then confirm that parts are correctly fitted before restarting. The Hoover Turbopower manual gives these kinds of checks in its troubleshooting guidance; use the instructions for your own machine.
If hair remains on the carpet: Confirm that the tool is appropriate for that carpet and that any permitted roller is working normally. Clear tangled hair only with the power safely disconnected and by the method specified for the attachment. Try another slow pass. Skip aggressive scraping with a knife, metal comb, or improvised rake, particularly on looped or delicate pile.
If the tool sticks or is hard to move: Stop rather than bracing yourself against the suction. Check the carpet-care guidance and your tool’s approved suction or airflow adjustment. A lower setting or a different compatible attachment may help, but do not keep using a setup that pulls the runner or makes your footing uncertain.
If a cordless unit stops early: Check the charge indicator and the model’s instructions. Dyson’s support guidance shows that runtime changes with the power mode, surface, and tool. Check your model’s guidance rather than planning stair work around an advertised maximum alone. Finish a safe section, put the machine away correctly, and resume when it is ready.
If there is an unusual smell, excessive heat, sparking, or damage: Stop using the vacuum. Follow its troubleshooting instructions or contact the manufacturer. Do not repeatedly restart a machine that cuts out or attempt an electrical repair as part of cleaning.
Finally, a persistent mark is not necessarily loose dirt. Vacuuming will not reliably remove a stain, repair worn pile, or correct a damaged finish. Once dry debris is collected, identify the remaining problem and use the relevant care guidance. More passes are not always useful.
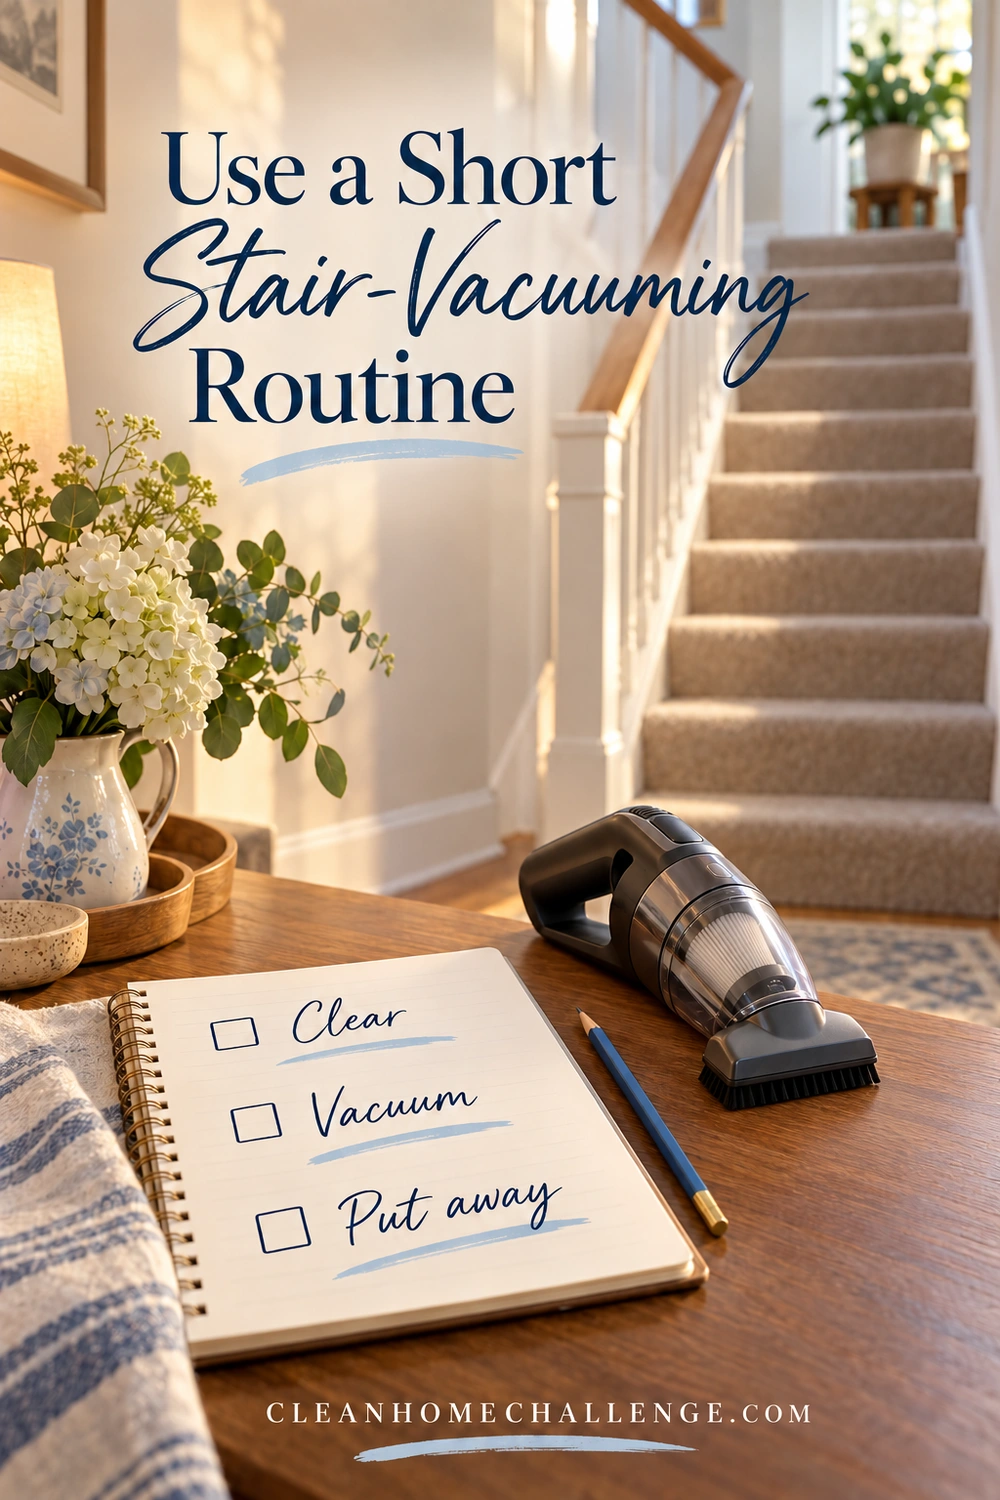
Use a Short Stair-Vacuuming Routine
On a busy day, reduce the amount you tackle rather than removing the safety steps. This practical routine keeps the decisions simple:
- Clear and check. Remove obstacles, switch on the lights, and confirm that the steps and covering are secure and dry.
- Prepare one useful setup. Check the dust cup or bag, charge or cord route, and the attachment you need. Keep the next tool on a safe landing outside the walking route.
- Clean a reachable section. Pick up visible debris, vacuum its accessible edges and tread surfaces, and add the nosing or risers that need attention.
- Finish that section properly. Collect anything you dislodged, switch off, and put equipment away if you are stopping.
If you have only a few minutes, choose the bottom few steps that collect everyday crumbs or the safe section nearest a landing. Do not promise yourself a whole-flight speed challenge. A small finished area is more useful than a hurried job with a cord left across the route.
To save attachment changes, you can do the detail work and then the broader tread passes within one comfortably reachable section. Only do this if it keeps the equipment stable and avoids unnecessary trips. Completing one step at a time may be simpler on a narrow flight.
A quick pass is for ordinary loose debris. If the stairs have heavy grit, tangled hair, loose carpet, or a spill, give the job the extra time or different method it needs. The stopping point is a clear route with the equipment safely stored, even when the remaining cleaning waits.
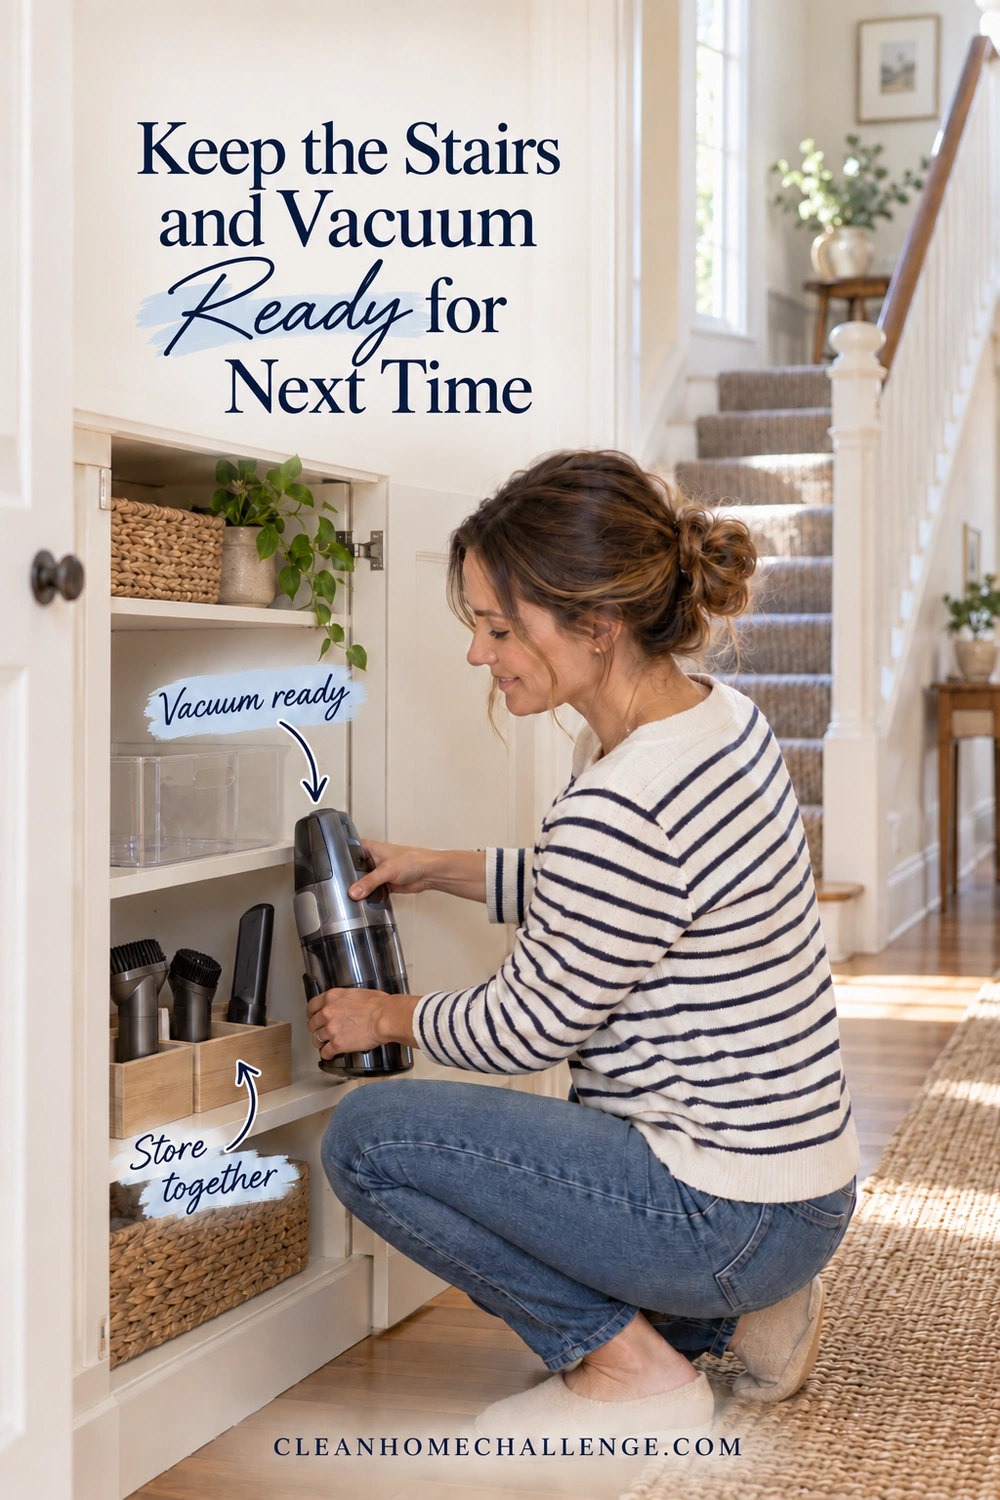
Keep the Stairs and Vacuum Ready for Next Time
Add the stairs to your regular floor routine. Friday’s CHC floor day can be a useful reminder, with small pickups between fuller cleans when crumbs, grit, or pet hair appear. Let your household’s traffic and the carpet maker’s instructions guide the frequency; there is no reason to follow someone else’s daily schedule if your stairs do not need it.
When you finish, empty the dust cup before its marked limit or replace the bag as directed. Check the stair attachment for hair and lodged debris. Do maintenance on a safe level surface with the power disconnected as instructed, never while balancing equipment partway up the flight.
Wash only filters and components that your model identifies as washable. Use its specified method and let everything dry fully before refitting. Dyson’s cordless filter-care page, for example, calls for at least 24 hours and complete drying; that is an example, not a universal schedule for every vacuum. A filter can still need more drying time after the minimum has passed.
Store attachments together so the crevice tool is easy to find. Put the vacuum and charger where they do not narrow a hallway or landing, and follow the charging instructions for the model. Coil the cord appropriately rather than leaving loops across a walking route.
Small household habits help too. Keep a shoe-drop spot away from the stair entrance, collect stray toys when you notice them, and deal with loose runner edges promptly. You do not need a perfectly styled staircase. A clear flight, tools that suit the surface, and a routine you can repeat comfortably are a worthwhile result.
CLEANERS CLUBHOUSE
Stay on Top of Floors Without Cleaning All Day
Give your floors a focused Friday reset instead of chasing every mark all week. The Cleaners Clubhouse helps you build a realistic routine with practical guidance, printables and monthly challenges.
