THIS POST MAY CONTAIN AFFILIATE LINKS. PLEASE READ MY DISCLOSURE FOR MORE INFO.
A cold glass, a warm serving bowl, or a damp flowerpot can leave a mark that suddenly becomes the only thing you notice on the table. Before you reach for an iron or raid the bathroom for toothpaste, take a moment to check what you are treating.
To remove water rings from wood, start by blotting any moisture, identifying the furniture’s finish, and checking whether the mark is surface residue, a white haze, or darker damage. A compatible white-ring treatment may help an intact finish. A dark stain, lifting veneer, or an unknown antique finish needs a different approach.
You do not need to try every tip you find online. This guide takes you through a careful first clean, how to choose a suitable treatment, when to stop, and a few small habits that make the next spill easier to manage.
Your quick starting point: Get two clean, soft cloths and the furniture’s care instructions. Leave heat, abrasive pads, and homemade mixtures out of the process while you assess the mark.
Disclosure: This post may contain affiliate links. As an Amazon Associate, Clean Home Challenge earns from qualifying purchases. If you make a purchase through these links, we may earn a small commission at no extra cost to you. This helps us keep creating practical cleaning tips, routines and resources for busy families! 🧽
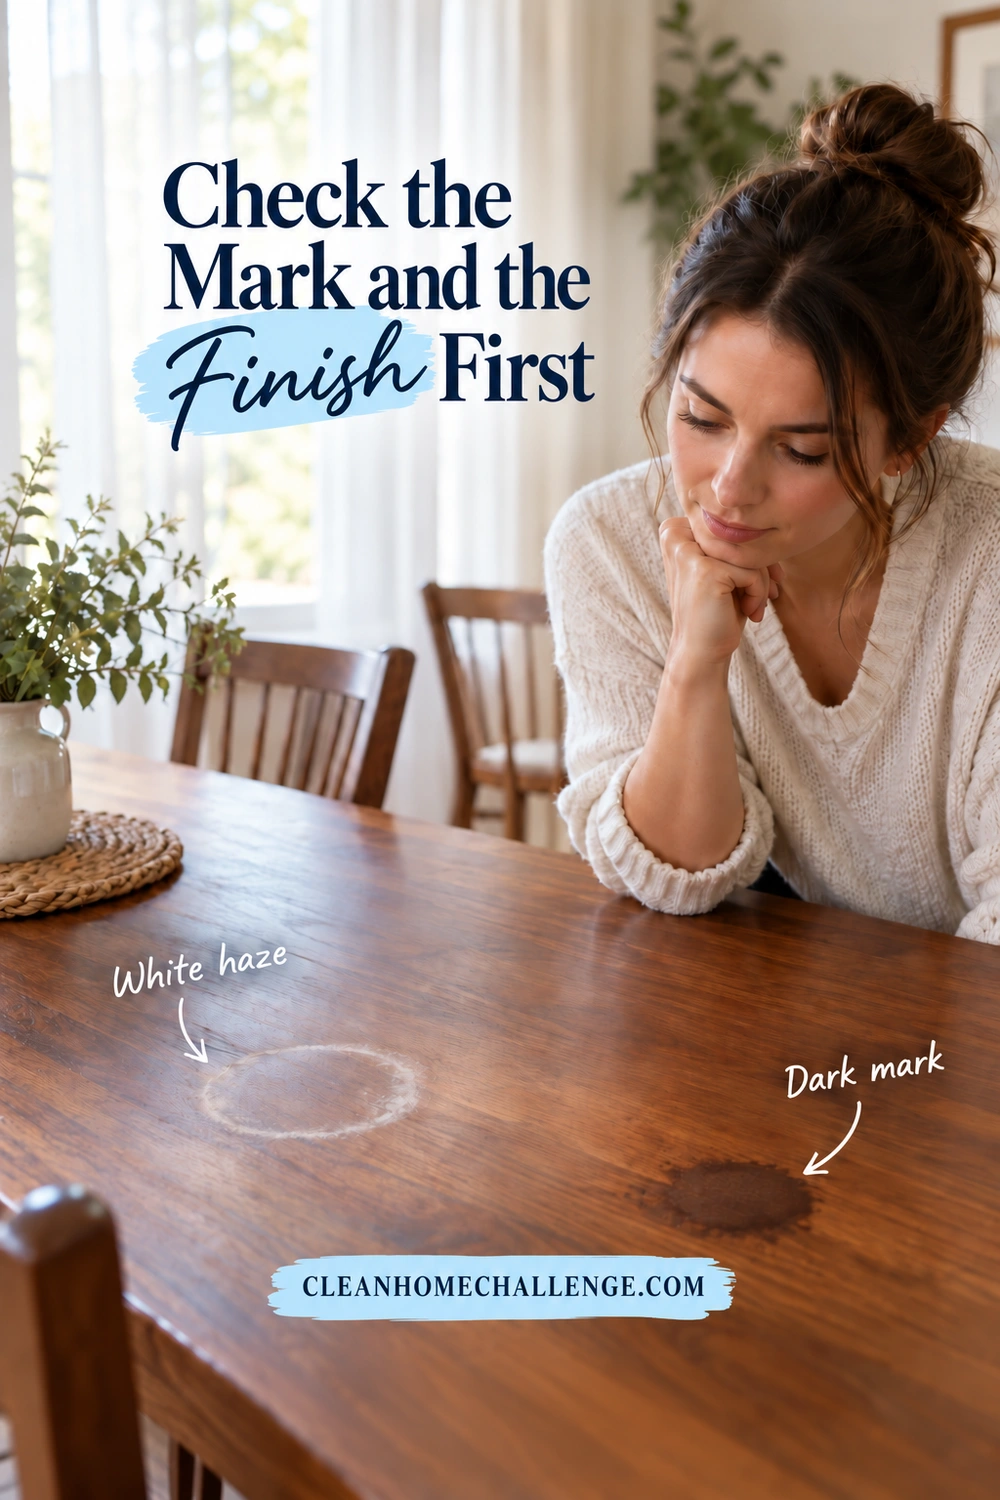
Check the Mark and the Finish First
Look at the surface in daylight and then from a low angle. Take a photograph before you apply anything. The color and texture can guide your next step, although a photograph alone cannot identify a finish or diagnose every stain.
- A pale, cloudy ring on a smooth surface: This commonly points to an issue in the finish. General Finishes distinguishes white watermarks in the finish from dark watermarks in the wood.
- A dark brown, gray, or black mark: Moisture may have reached the wood. Cleaning the surface will not necessarily remove the discoloration.
- A rough patch, lifted edge, blister, or peeling coating: Stop treating it as a simple ring. The surface itself may need repair.
- A deposit sitting on top: Dried drink residue may be part of what you are seeing. Try only the gentle cleaning permitted for that finish before deciding that the remaining mark is damage. See General Finishes’ watermark guidance.
Next, find the care card, order confirmation, product page, or maker’s label. Ask the seller which finish was used if the paperwork only says “wood.” Oak, walnut, and veneer describe the material, not the protective coating.
The difference matters. A polished varnished table, an oil-finished desk, and a matte lacquered sideboard can need different products. Rubio Monocoat, for example, provides a dedicated cleaning and maintenance system for furniture finished with its Oil Plus 2C. That guidance should not be transferred to an unrelated finish. Check the manufacturer’s furniture-care instructions.
For an antique, valuable heirloom, or piece with flaking decoration, get specialist advice before using a remover. The Canadian Conservation Institute emphasizes preserving original finishes and referring extensive cleaning or repair to a conservator. Avoid solvent tests that deliberately soften the coating just to identify it.
Blot Fresh Spills and Let the Wood Dry
If you have just lifted a glass and found moisture underneath, the useful job is to remove that moisture without spreading it or adding more.
- Lift the glass or dish away. Move nearby paper, placemats, and anything else that is damp.
- Blot with a clean, dry, absorbent cloth. Work without scrubbing. Change to a dry part of the cloth as needed.
- Check the edges. Look around a table leaf, seam, or veneer edge for moisture, without poking a cloth into gaps.
- Leave the area uncovered. Let it sit at normal room conditions, away from direct sunlight, a radiator, or another concentrated heat source.
- Photograph and reassess. Compare the mark later, in similar lighting, before deciding whether further treatment is necessary.
For a newly noticed white mark, checking it again the next day is a practical pause in your household routine. It is not a guaranteed drying time or a promise that the ring will disappear. Older marks and damaged finishes may remain unchanged.
Avoid placing a cloth, tray, or table protector over a still-damp patch simply to hide it. Give the surface time to dry before returning ordinary items to it. If a spill was large, entered joints, or left swelling, skip the waiting-and-polishing cycle and contact the maker or a repair specialist.
Water and heat deserve the same prompt attention. Room & Board advises wiping up moisture, drying with a soft cloth, and protecting wood from both moisture and heat. Its wood and veneer care guide also explains why care must follow the finish.
Only have a minute? Blot, clear the damp items, and take the photo. You can look up the finish after the school run or dinner cleanup. There is no benefit in rushing into an unfamiliar treatment.

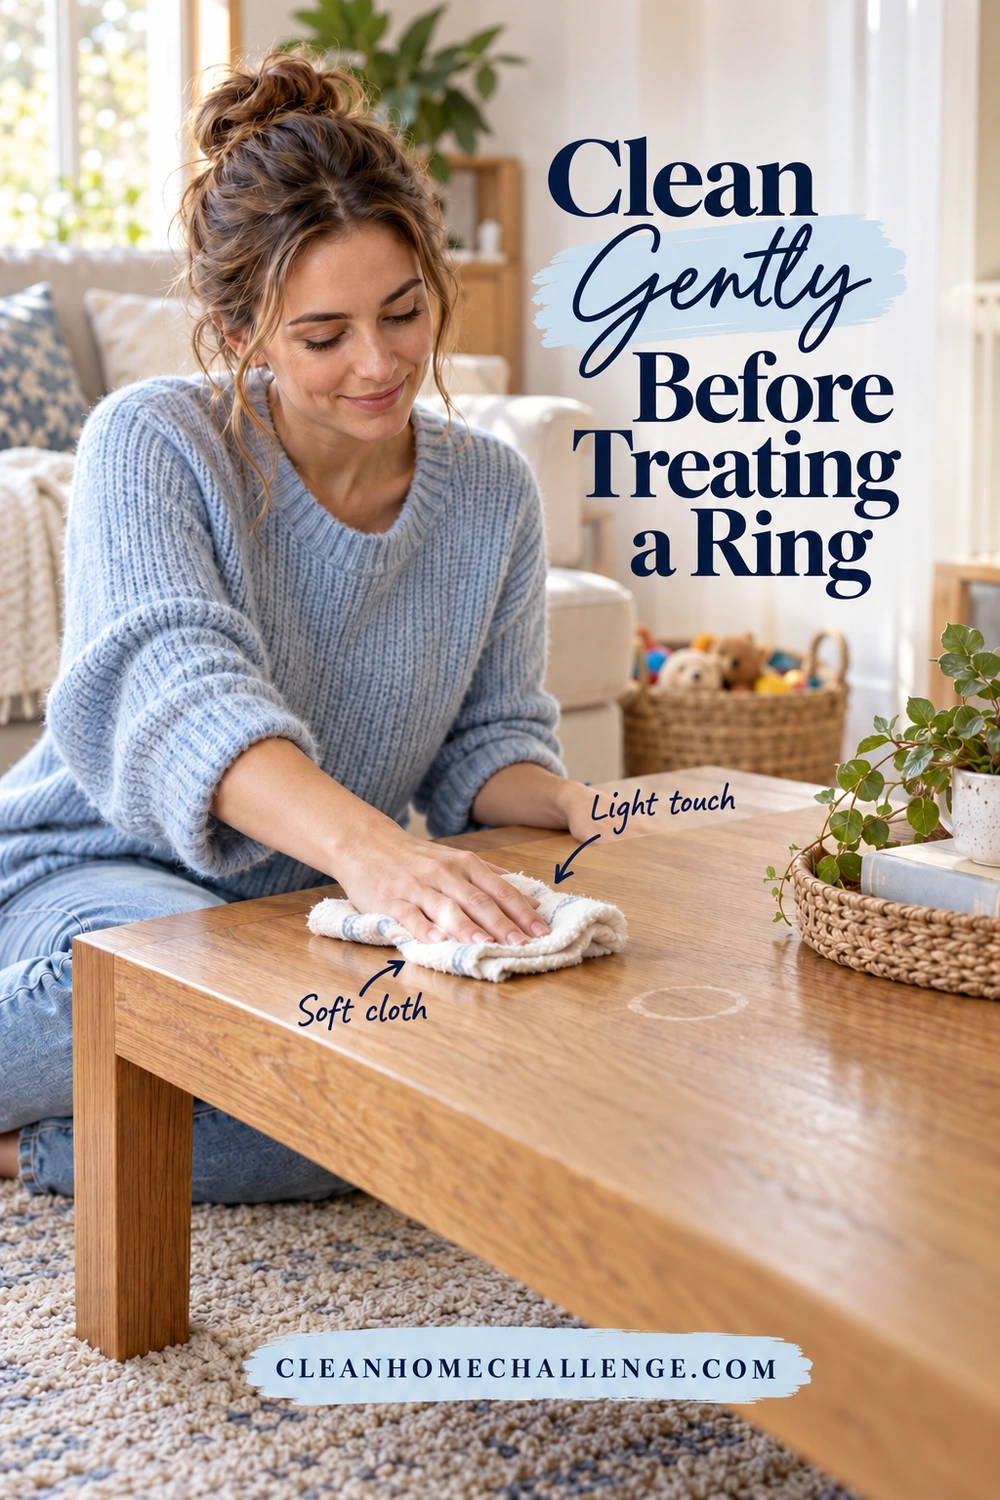
Clean Gently Before Treating a Ring
A water stain on furniture can appear alongside fingerprints, dried drink residue, or old polish. A permitted surface clean helps you see what actually remains. Cleaning will not automatically repair a cloudy topcoat.
Gather a soft lint-free cloth, a second dry cloth, and only the cleaner recommended for the furniture. A bowl of water is useful only when the care instructions allow damp cleaning. You do not need a scrub brush or a soaking-wet sponge.
For an intact, fully cured finish whose instructions permit a damp cloth, use this simple sequence. Bassett’s care guidance likewise pairs a dampened cotton cloth with a separate dry cloth:
- Remove loose dust gently with a clean, soft cloth.
- Dampen another cloth and wring it out thoroughly. It should not drip or leave puddles.
- Try a small hidden area that has the same finish as the tabletop. An unfinished underside is not a useful comparison.
- Wipe lightly, following the grain. Keep moisture away from seams and damaged edges.
- Wipe dry with the separate cloth, then let the surface dry before inspecting it.
Room & Board permits a slightly damp cloth and, for persistent spots on certain finishes, mild detergent with water, followed by drying. That is finish-specific advice, not permission to wash every wooden surface with dish soap. Use the care instructions for the actual piece.
Do not wet-clean unfinished wood. Some older furniture is also sensitive to water, so an unknown vintage piece needs a more cautious route. The Canadian Conservation Institute’s basic care advice describes these exceptions.
If the cloth picks up finish color, the surface becomes tacky, or the test patch changes gloss, stop. Do not compensate by rubbing harder or adding another cleaner. Record what you used and ask the maker for advice. Even a barely visible ring is easier to assess when it has not been covered with several different products.
Choose a Finish-Safe White Ring Treatment
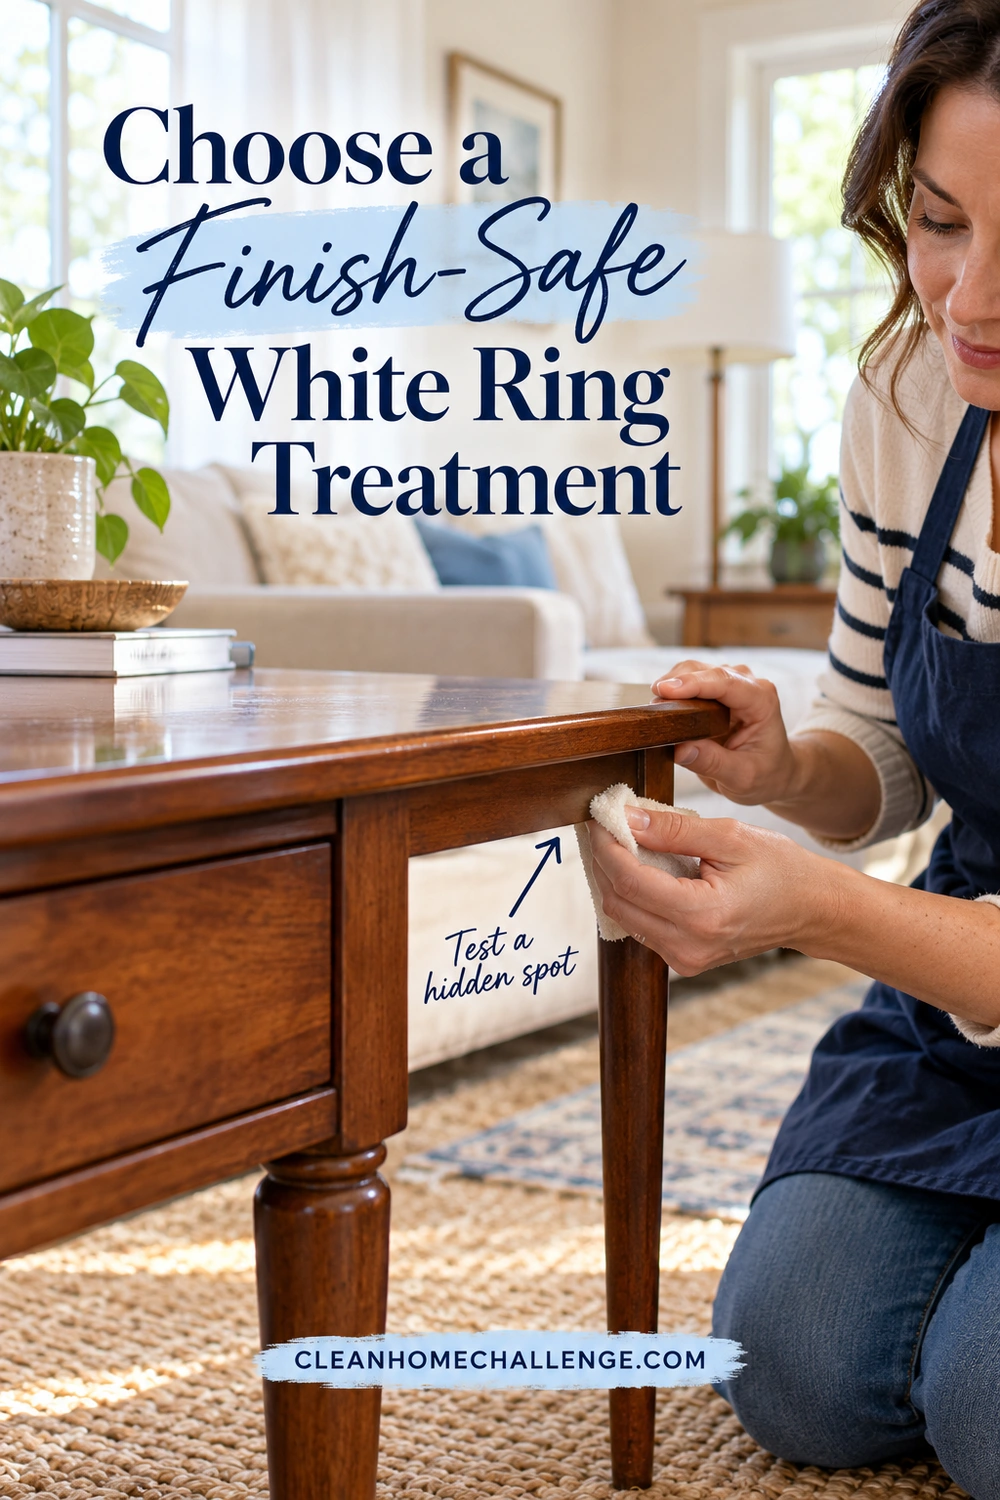
Once the surface is clean and dry, an intact white mark may be suitable for a purpose-made treatment. First confirm that the furniture maker allows it, the product lists your finish, and the instructions address white water or heat marks.
Choose by finish and sheen
Polished finishes: Libéron Ring Remover is intended for highly polished finishes, including French polish, lacquer, and varnish. Its manufacturer warns that it can leave a shiny area on matte or satin surfaces. If your table has a soft, low-sheen finish, that warning matters as much as the promise to remove a ring. Read the Libéron product directions before deciding whether it belongs in your home.
Treated remover cloths: Guardsman and Homax sell cloths specifically marketed for water and heat marks. These are treatment products, rather than ordinary dusting cloths. Check the current package’s surface restrictions, test directions, and safety information; the product name alone does not establish compatibility. The Guardsman product page and Homax listing from PPG confirm their intended uses.
Oiled or waxed surfaces: Use the care system specified for that finish. Do not assume that a remover made for a polished coating suits an oil finish. Rubio Monocoat’s stain-treatment guidance, for example, limits its listed treatments to surfaces finished with Oil Plus 2C.
Make the test useful
Read the whole label before opening the product. Check ventilation, protective equipment, drying or wiping instructions, and disposal requirements for both the product and used cloths. Keep children and pets away from the work area, and protect neighboring upholstery from drips.
Then follow this decision sequence:
- Confirm the exact product and finish. If either is uncertain, ask the manufacturer before applying it.
- Test a small inconspicuous area with matching finish. Follow the label’s application and cleanup instructions there first.
- Inspect after the stated drying or assessment time. Compare color and sheen from more than one angle. A darker or glossier patch is a failed match, even if it looks clean.
- Treat only when that test is acceptable. Use the specified applicator, amount, pressure, and work direction. Do not invent an overnight dwell time.
- Reassess before repeating. Follow any label limit on repeat treatment. Stop if the surface changes unexpectedly or the mark is not improving.
For a concrete example, Libéron’s instructions use a lint-free cotton cloth, working with the grain, followed by dry buffing. Its stronger rubbing directions are for compatible polished surfaces; they are not a general instruction to scrub an unknown table. This guide does not extend that process to steel wool or attempts to adjust the sheen yourself.
Solvent-based restorers also need care. Howard’s Restor-A-Finish directions require a hidden test, small-area application, prompt wiping, and adequate ventilation. The product contains stain and solvents, warns about fire hazards, and may not penetrate some hard finishes. It is not an automatic next step after a cloth fails.
An improvement is a reasonable outcome. You do not need to chase the final faint outline if doing so risks a conspicuous repair patch.
If you are putting together a small cleaning kit, the Stain and Odour Problem-Solvers collection covers broader household stains. Choose only supplies that match your furniture’s care instructions. General stain removers are not automatically suitable for wood.
Skip Shortcuts That Can Damage the Finish
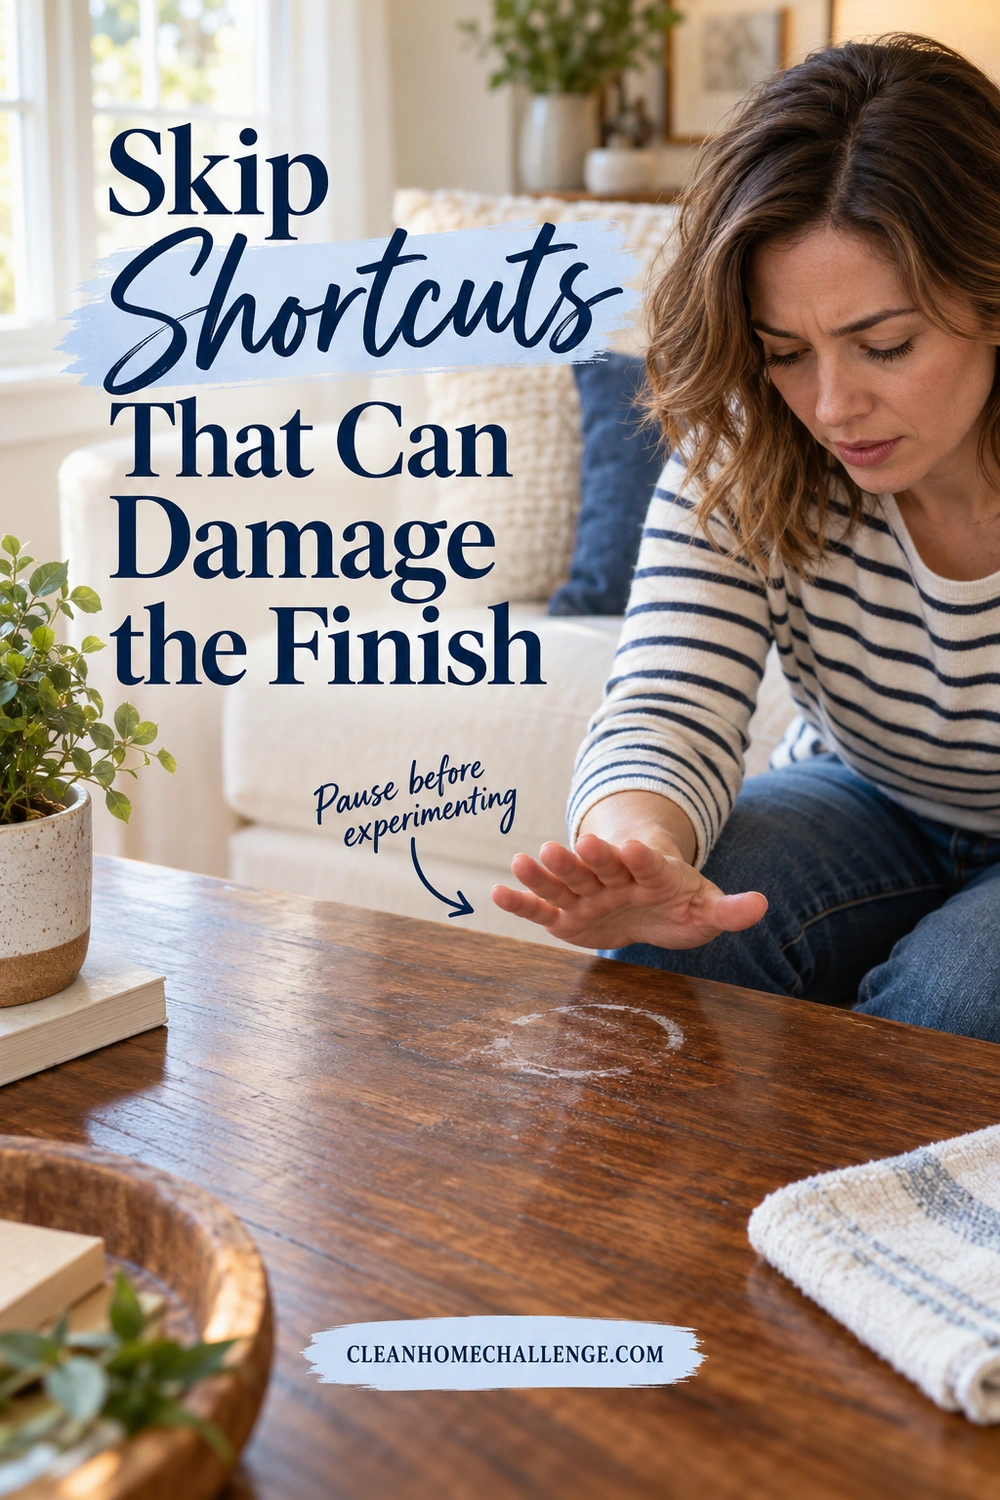
Search results are full of quick fixes for white heat marks on a table. The missing detail is often the finish, its condition, or what the surface looked like after the demonstration was filmed.
Irons, hairdryers, and steam: Do not use added heat as a general home remedy. A method demonstrated on one coating does not establish a safe temperature or exposure time for yours. Steam adds moisture, and concentrated heat introduces another variable to an already marked surface. The low-risk choice is to get finish-specific advice before trying a heat treatment.
Toothpaste, baking soda, salt, scouring pads, and melamine sponges: Leave these out of routine ring removal. Rubbing a finish with an abrasive can change its sheen. A ring that looks lighter beside a newly dulled patch has not necessarily been successfully repaired. Even specialist products can alter sheen, as Libéron’s own caution makes clear.
Mayonnaise, cooking oil, and improvised mixtures: These are not a reliable, finish-specific treatment plan. A temporarily darker or shinier surface is not proof that the damage is gone. They also make it harder to explain exactly what has been applied when you later seek help.
Alcohol, acetone, and generic disinfecting sprays: Do not substitute these for a compatible wood-care product. Room & Board specifically excludes alcohol-, ammonia-, and petroleum-containing cleaners from care for several of its finishes. A product suitable for another household job can be unsuitable here. Follow its finish-specific restrictions.
Avoid layering wax, polish, and different restorers in the hope that one will eventually work. Stickley warns against combining its furniture-care products and explains that some products can progressively increase sheen. Its care guide is a useful reminder that the maintenance system matters.
If you already tried a shortcut, stop adding products. Write down what it was, how long it stayed on, and whether heat was involved. That information can help a professional choose the next step.
Know When Wood Marks Need Professional Repair
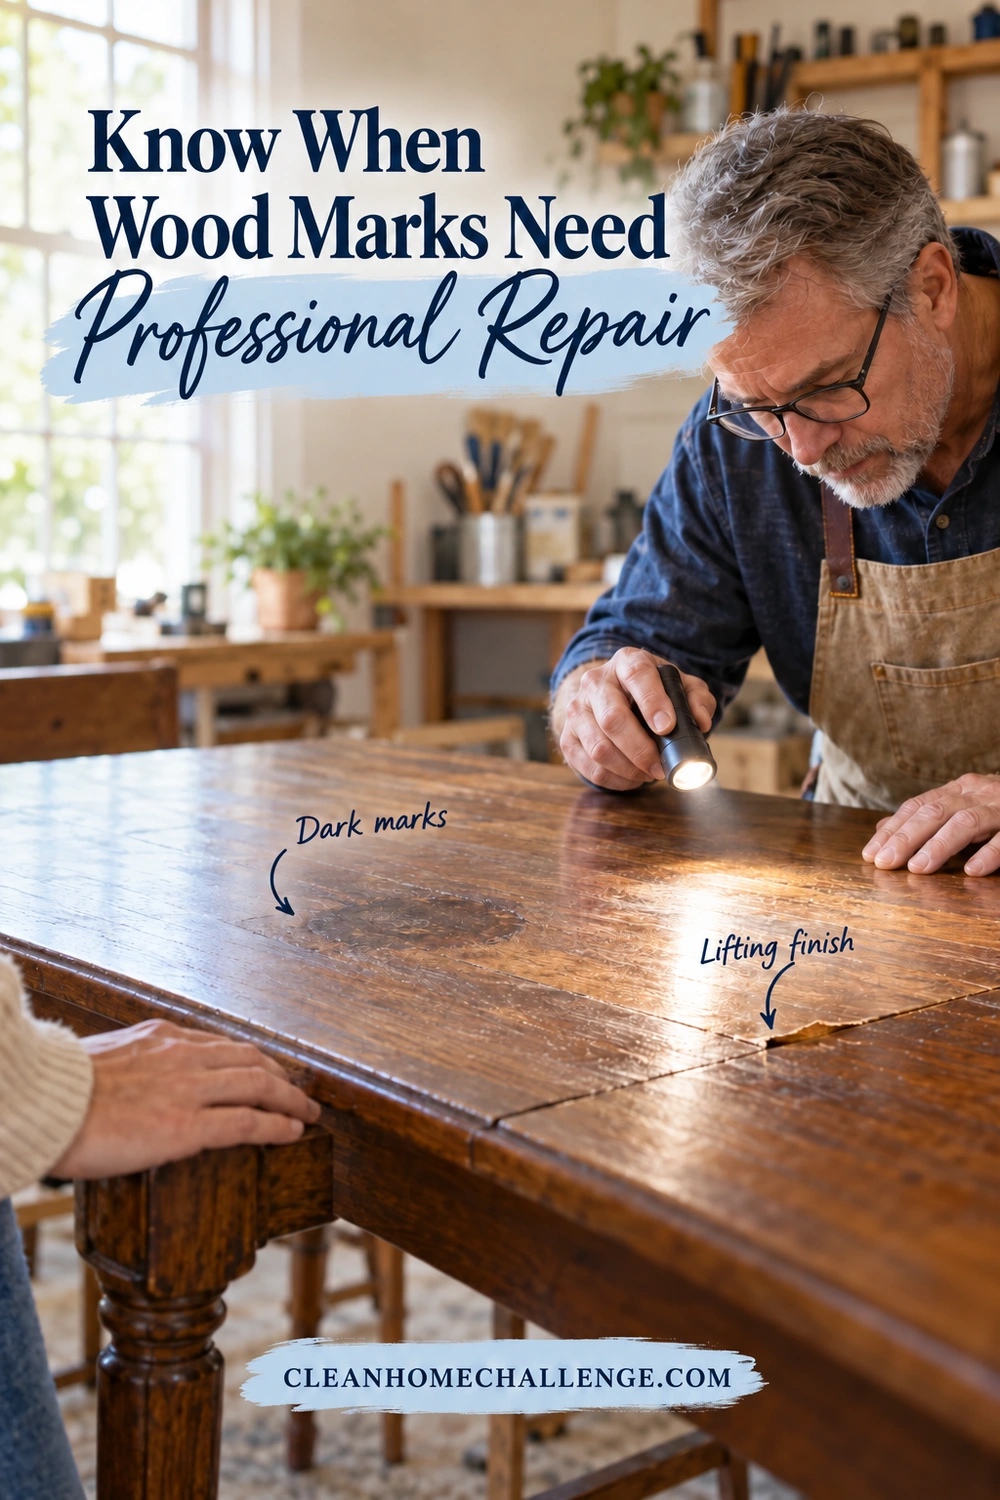
Some marks belong in a repair conversation rather than another cleaning session. Ask for advice when you see:
- A dark ring that remains after the surface is dry
- Swelling, lifting veneer, peeling finish, or an open seam
- A scorched, blistered, or rough patch from a hot item
- Color loss or an obvious shiny or dull patch after treatment
- A stubborn white mark on an unidentified finish
- Any damage to a valuable antique or sentimental piece you cannot replace
Dark staining does not mean the furniture is beyond saving. It means you need to establish where the discoloration sits and what repair will preserve the surrounding surface. General Finishes notes that some watermarks cannot be removed and that deeper treatments can change the wood. Avoid casually following sanding or bleaching instructions intended for refinishing work.
Veneer deserves particular care. Do not assume you can sand it like a thick solid-wood tabletop, and do not press a lifted area down with a hot iron. Have its construction and damage assessed first.
Prepare a short repair inquiry with a whole-piece photo, a close-up in daylight, the maker and model if known, and a list of treatments already attempted. Say whether the spill was water, alcohol, a hot dish, or something uncertain.
Ask the specialist whether a localized repair is realistic, whether the sheen can be matched, and whether treating the whole top would be necessary. Request an estimate before agreeing to refinishing. For a historically important piece, seek a furniture conservator who can discuss preserving the original finish.
It is also reasonable to live with a stable cosmetic mark while you consider the options. Stop the source of moisture and keep the area dry. A small imperfection does not have to become an urgent weekend project.
Prevent New Rings With a Simple Routine
Make protection easy to reach where your family actually puts things down. A coaster stored in a drawer is less useful than one beside the couch or on the bedside table.
Try this small setup:
- Put a coaster at each usual drink spot and keep a couple of spares nearby.
- Place a suitable heat-resistant trivet where serving dishes enter the dining area.
- Check underneath condensation-covered glasses and damp coasters during cleanup.
- Keep a clean, dry cloth handy for spills, separate from greasy kitchen cloths.
- Water plants away from wood furniture and dry their containers before returning them.
- Give vases and other water-holding objects a suitable protective base, then check underneath regularly.
Choose protection that suits the furniture’s care instructions. A thin placemat is not automatically rated for a hot pan. Check that coaster bases are clean and dry, and replace a soaked one rather than leaving it against the tabletop.
General Finishes recommends prompt spill cleanup, coasters, and heat protection, and explains that water-resistant finishes are not impervious to water. Its furniture-care guidance also distinguishes a fully cured finish from one that is merely dry. Follow the finish maker’s curing period after new finishing work before returning the piece to ordinary use.
For a manageable weekly check, add the table to your Thursday living-area routine: lift everyday objects, dust as the care instructions allow, inspect for damp spots, and return clean coasters. This can be a quick check rather than a full furniture-polishing session.
Use wax or maintenance oil only when the maker recommends it for that finish. More product does not necessarily mean more protection. Keep the care instructions in your phone with the furniture’s model name so the next spill does not turn into another search through conflicting advice.
For support with an achievable whole-home cleaning routine, Cleaners Clubhouse can help you organize the everyday jobs. Furniture restoration still calls for advice from the maker or a qualified repair specialist.

CLEANERS CLUBHOUSE
Get Step-by-Step Help With Tricky Cleaning Jobs
When a stain, smell or stubborn cleaning problem has you stuck, a clear plan makes all the difference. The Cleaners Clubhouse gives you practical guidance, useful printables and routines you can actually follow.
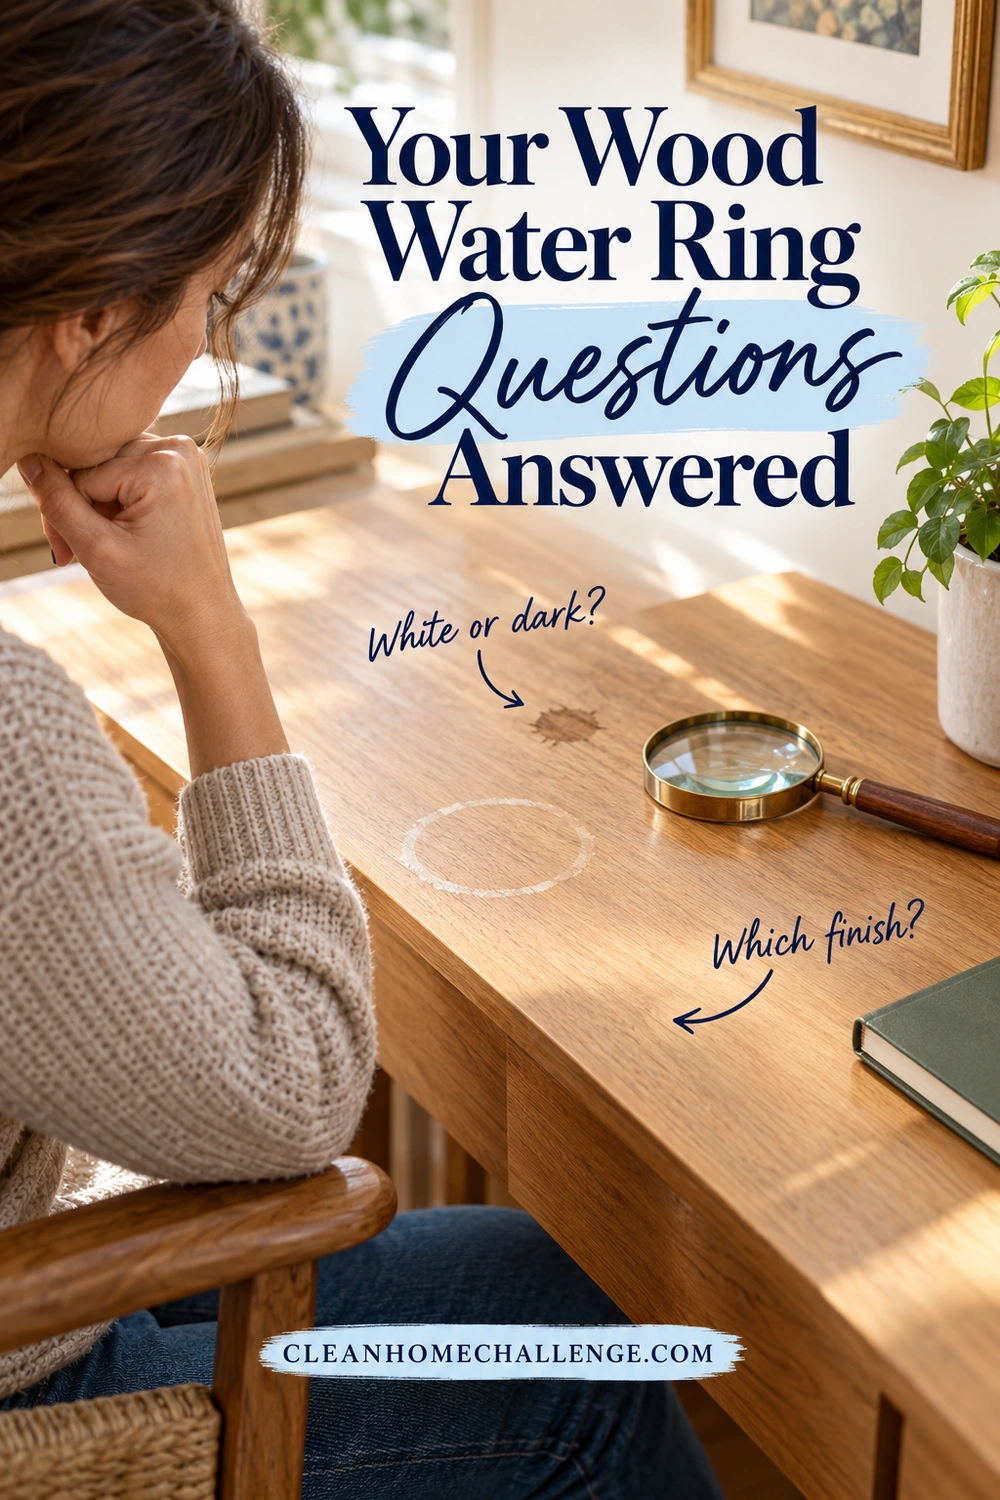
Your Wood Water Ring Questions Answered
Why does the ring seem to disappear when the surface is wet?
Judge the result only after the surface is dry and any treatment has been removed or allowed to dry as instructed. Wetting or oiling changes how a surface looks; it does not prove that the finish has recovered. Do not keep rewetting the table to check. Use photographs taken in similar light for a more useful comparison.
Can a furniture marker hide a white ring?
A marker adds color, so it is a poor first choice for a cloudy mark in a clear finish. You may end up with a colored outline as well as the original damage. Ask the furniture maker or a repairer about a matching touch-up system if color is genuinely missing. Keep the marker for the uses specified on its label.
What if my table is new or covered by a protection plan?
Photograph the mark and check the care and claim instructions before using a treatment. Contact the seller or plan provider with the purchase details and explain what happened. Product terms vary; do not assume a DIY repair will be covered or that you must attempt one before asking for help.
How can I tell whether a treatment was successful?
Check the dry surface from above and from the side. The ring should be less noticeable without a new color difference, sticky area, roughness, or shiny patch. Record the product you used and keep its instructions. If the result is acceptable, stop there and return to ordinary care.
A clear plan makes this job less stressful: deal with the spill, identify the finish, choose one compatible approach, and protect the surface afterward. Your table can stay part of everyday family life without needing a new cleaning experiment every time someone sets down a drink.