

THIS POST MAY CONTAIN AFFILIATE LINKS. PLEASE READ MY DISCLOSURE FOR MORE INFO.
An empty home gives you a useful little window: you can reach the cupboard corners, clean the fridge shelves, and get behind the bedroom door without shifting your belongings. A move in cleaning checklist helps you use that time well, especially when the moving truck is coming and your energy is already stretched.
Start with a walkthrough, make one bathroom usable, clean the kitchen storage and food areas, then work through the remaining rooms from high surfaces down to the floors. Let everything dry before unpacking. If time runs short, prioritize somewhere to wash, prepare a simple meal, and sleep.
This checklist is for the home you’re moving into. Choose the jobs it actually needs, keep a separate list of repairs, and leave cosmetic extras for another day. You can make a comfortable start without finishing every window track before bedtime.
Disclosure: This post may contain affiliate links. As an Amazon Associate, Clean Home Challenge earns from qualifying purchases. If you make a purchase through these links, we may earn a small commission at no extra cost to you. This helps us keep creating practical cleaning tips, routines and resources for busy families! 🧽
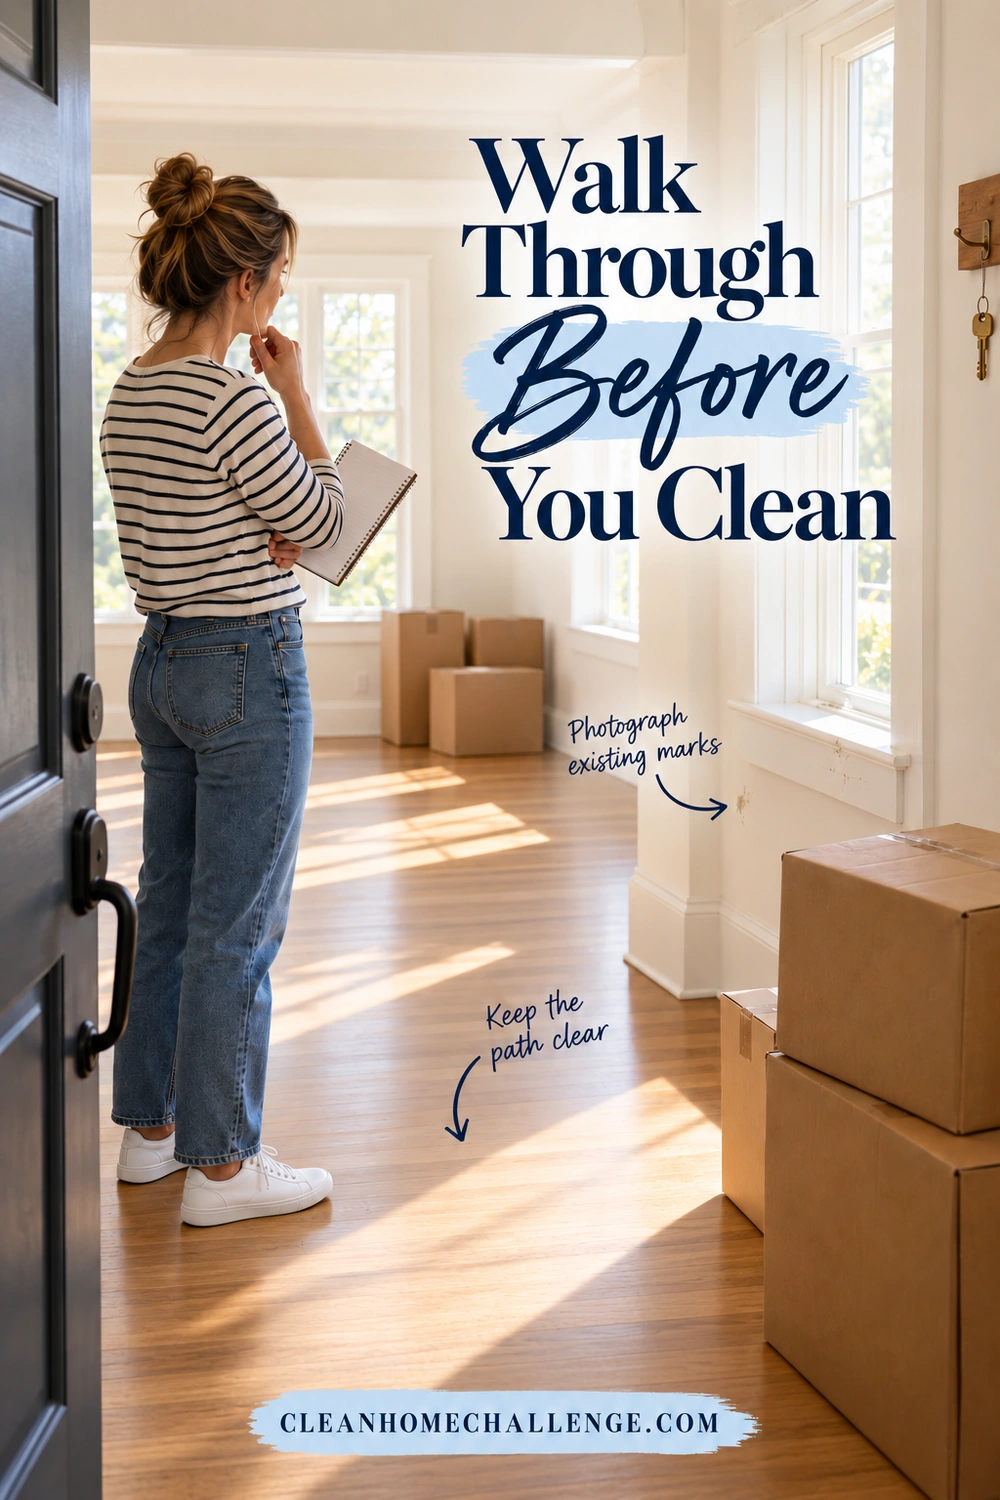
Walk Through Before You Clean
Give yourself about 15 minutes to look around with the lights on before opening the cleaning caddy. Photograph existing marks, broken fittings, leaks, and anything that needs attention. For a rental, use the move-in condition report and the reporting process your property manager provides.
Open cabinets and closets. Look beneath sinks, around toilet bases, along window frames, and at the floor edges. Notice sticky residue, ordinary dust, damaged finishes, damp patches, and persistent odors. These observations tell you where to spend your effort and whether ordinary cleaning is appropriate.
Pause the checklist for these problems:
- Water damage or mold: Resolve the moisture source before filling the area with belongings. Widespread growth, significant water damage, suspected contaminated HVAC, or sewage-related damage needs specialist advice. EPA’s mold cleanup guidance explains when a household cleanup may be suitable and when to get help. Don’t cover mold with paint or shelf liner.
- Deteriorating paint in an older home: A US home built before 1978 may contain lead-based paint. Don’t sand, scrape, or dry-sweep suspect paint debris as part of a quick clean. Keep people away from the affected area and seek lead-safe assessment and guidance. See EPA’s lead exposure advice.
- Rodent droppings or nests: Stop before vacuuming or sweeping them. Rodent waste needs a different cleanup method; follow CDC’s rodent cleanup guidance and arrange pest-control help for an infestation.
- Unsafe fittings or unknown damage: Leave exposed wiring, unstable fixtures, and damaged appliance connections alone. Tell the property manager or appropriate qualified professional.
Check that water, power, and lighting are available. Find out what the floors, counters, and cabinets are made from, and locate appliance model numbers or manuals. If a finish is unknown, begin gently and test an inconspicuous spot rather than reaching for a stronger product.
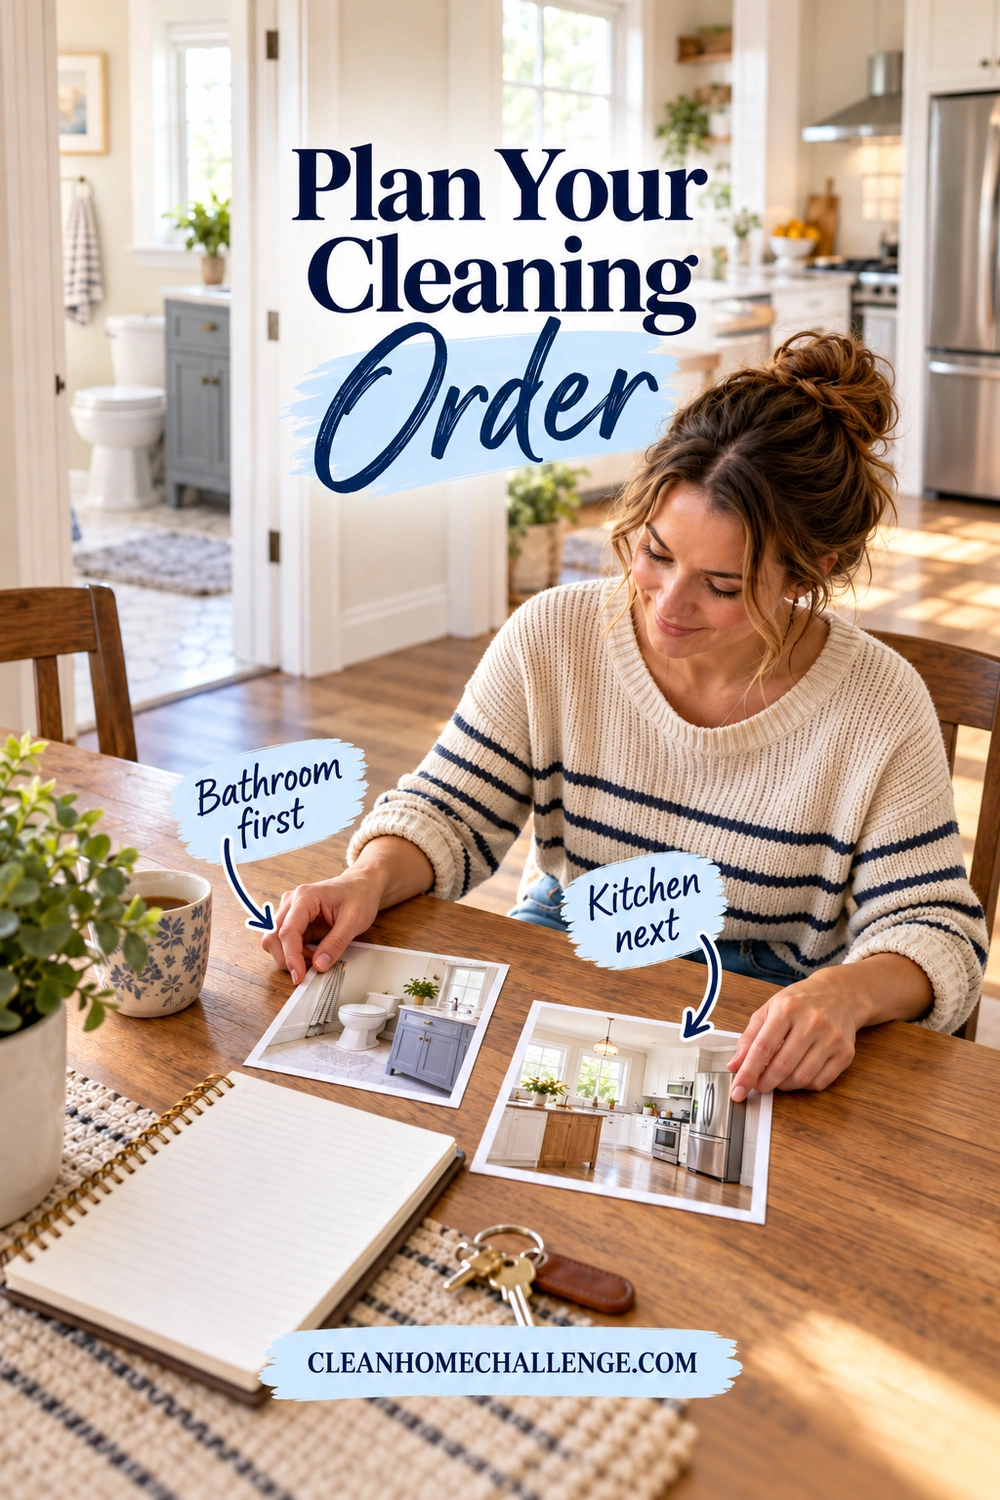
Plan Your Cleaning Order
Your best cleaning order balances dust control with what your family needs first. Use this route through a reasonably sound, empty home:
- Complete the walkthrough and separate repair concerns from cleaning jobs.
- Bring in the caddy, collect ordinary loose trash, and establish a place for used cloths.
- If the fridge needs a full clean and time to cool again, start that job early.
- Make one bathroom ready for use.
- Finish the kitchen, including empty cabinets and drawers.
- Clean the remaining rooms and closets, working high to low.
- Vacuum and clean floors, moving toward an exit.
- Let surfaces dry, then bring in first-night essentials.
Within each room, remove loose dust before damp wiping, and finish the floor after the higher surfaces. You can clean the bathroom floor immediately to open that room for use, then touch it up after the moving traffic stops.
For planning purposes, allow roughly 30–60 minutes for an ordinary bathroom, 60–120 minutes for a kitchen with empty storage, and 20–40 minutes for a lightly soiled empty bedroom or living room, plus floors and breaks. These are working estimates, not a promise: heavy grease, several bathrooms, old adhesive, and careful appliance cleaning can turn the job into a full day or more.
Have two adults helping? Give one person the bathroom and the other the kitchen, with separate cloths and tools. Avoid sending everyone through the same room. If you hire cleaners, agree beforehand whether cabinet interiors, appliances, windows, and carpet cleaning are included.
Already surrounded by boxes? Choose one temporary staging area. Keep exits clear and the bathroom accessible, and leave boxes away from the cabinets you’re about to clean. Finish one storage zone, let it dry, and unpack only that zone. You can still make progress without emptying the whole house again.
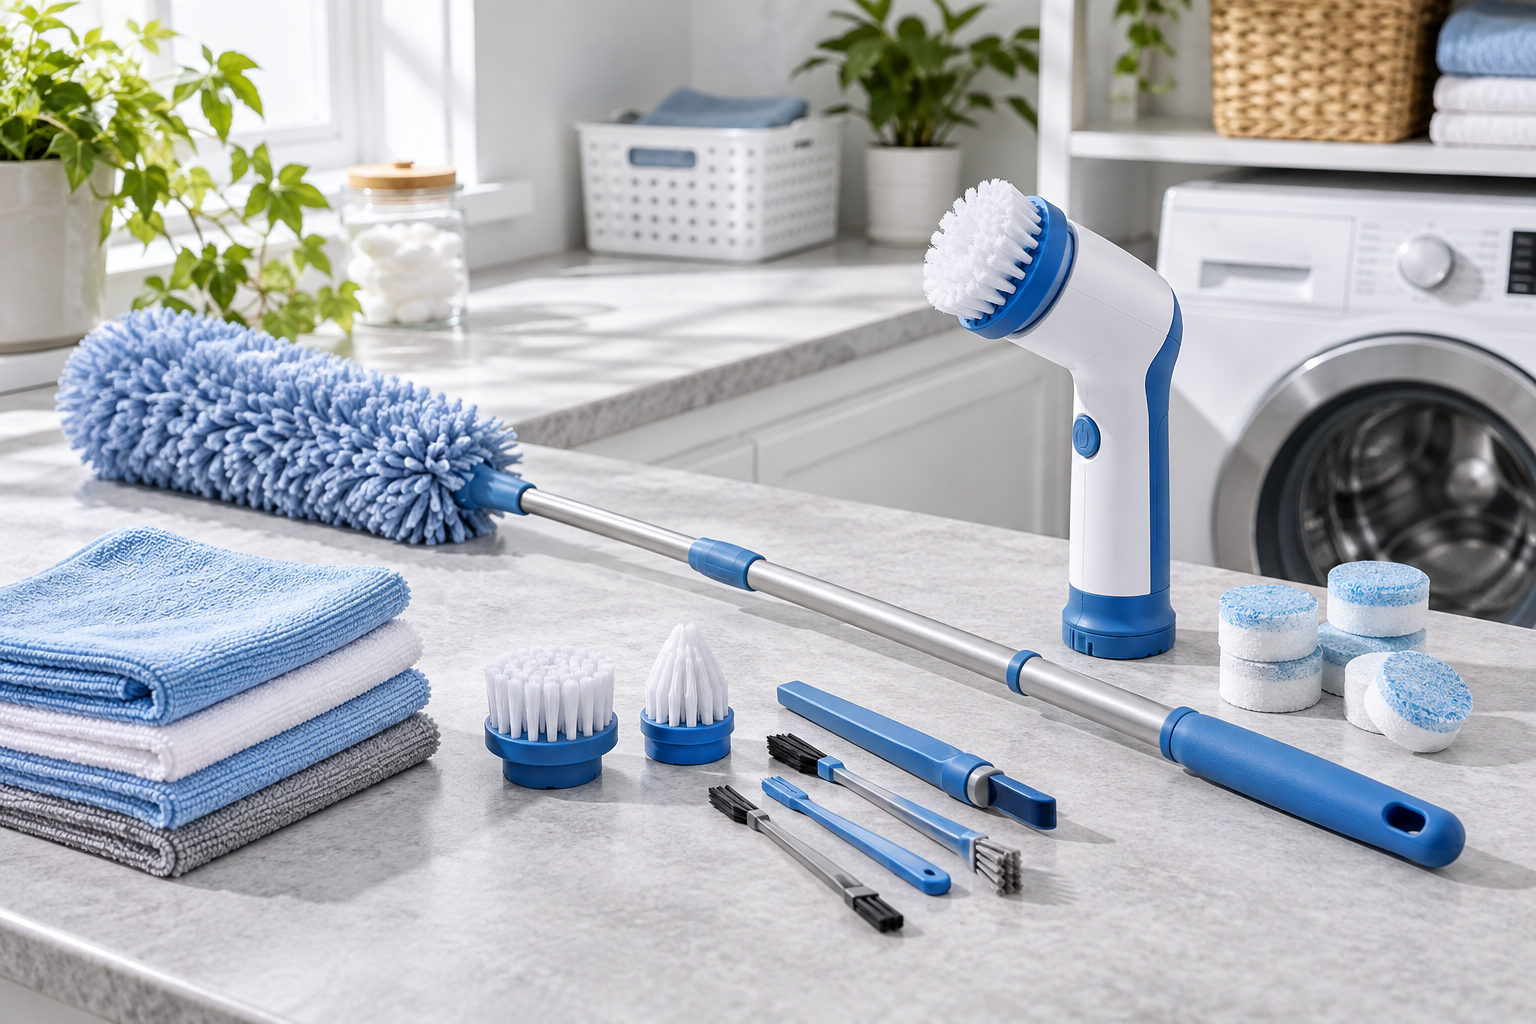
Pack a Move-In Cleaning Caddy
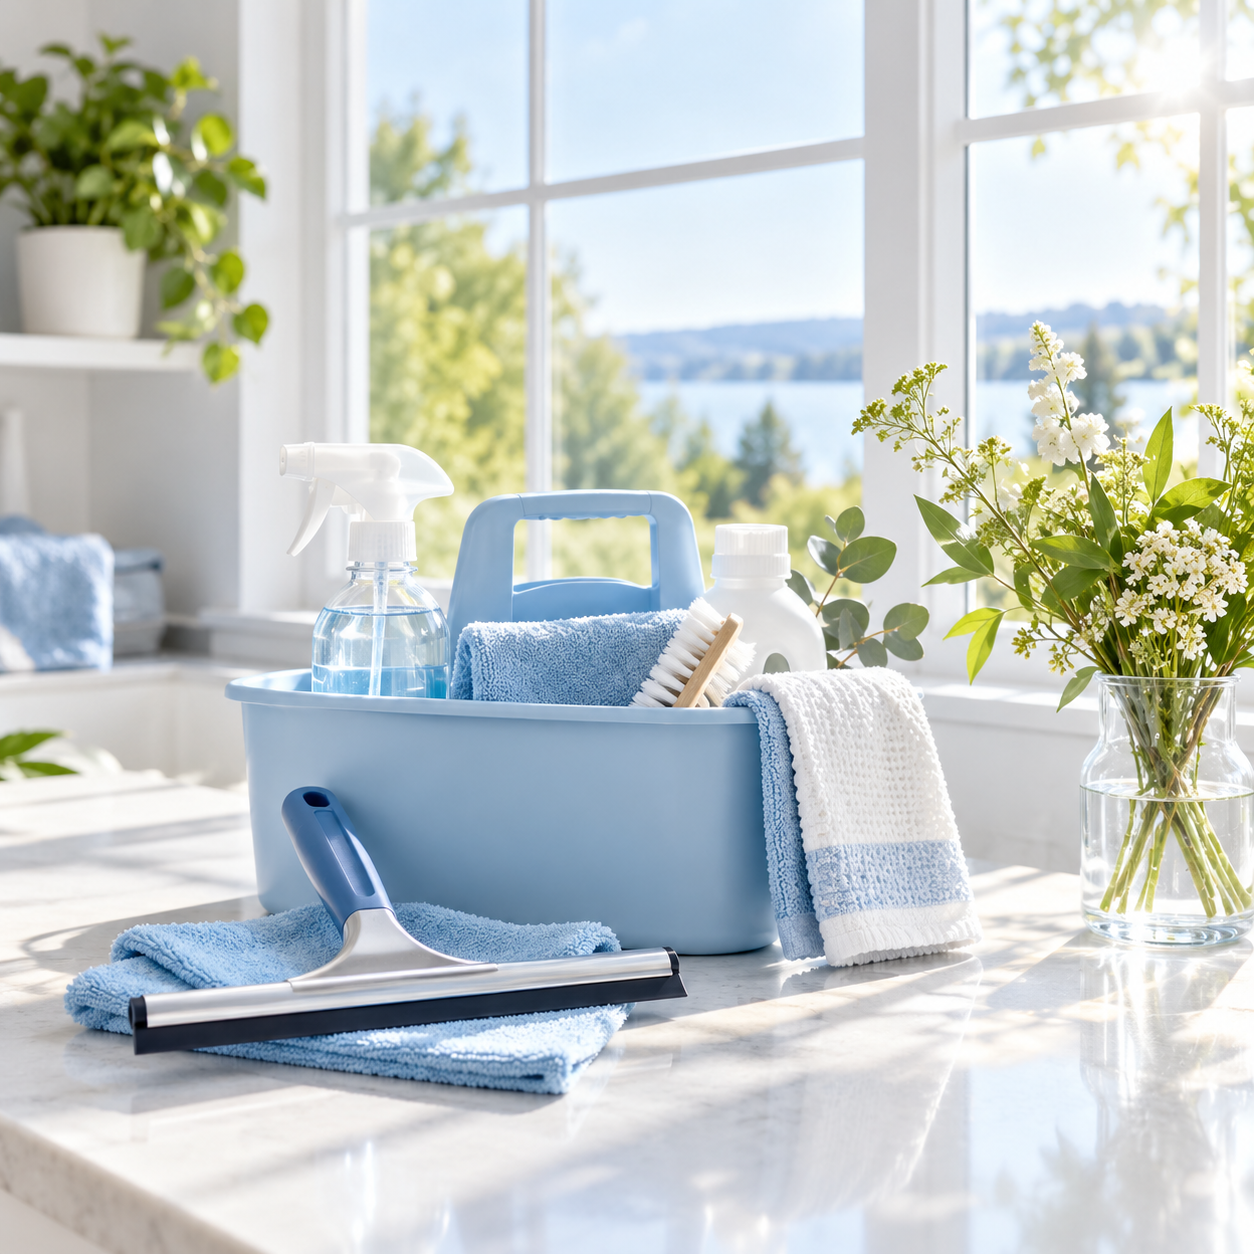
Keep moving cleaning supplies accessible rather than buried in a labeled box somewhere on the truck. A small caddy and a separate floor kit are easier to carry than a collection of half-used products.
Put these basics within reach:
- Clean microfiber cloths, including separate colors or sets for the toilet, other bathroom surfaces, and kitchen
- A soft scrub brush, non-scratch sponge, and toilet brush
- A surface-compatible general cleaner, mild dish soap, and a suitable toilet cleaner
- Glass cleaner if needed, plus the correct cleaner for your floor finish
- Gloves specified by your products, and eye protection when the label requires it
- Trash bags, a bag or container for used cloths, and a few disposable towels for messy jobs
- A vacuum with suitable attachments, a microfiber flat mop, and spare clean pads
- A stable step stool and an extendable duster, where safe to use
- Hand soap, toilet paper, and a clean hand towel
Check the tools themselves before starting. Empty the vacuum as instructed, remove hair from the brush, and replace a dirty mop pad. A gritty tool can undo careful work on a newly cleaned surface.
Read labels for dilution, approved surfaces, ventilation, and rinsing. Never mix cleaning products, including bleach with vinegar, ammonia, or other cleaners. Keep products in their original labeled containers and out of children’s and pets’ reach, including during a quick break. CDC’s home-cleaning guidance covers these precautions.
You don’t need a separate bottle for every room. Start with the smallest useful kit, then buy a specialist product only after identifying a specific problem. Keep the kitchen cloths clean and separate; once a cloth has cleaned the toilet, it stays out of every other area.

Make One Bathroom Ready
A working bathroom makes the rest of moving day easier. Set out hand soap, toilet paper, and a fresh towel as soon as it is clean, even if the other bathroom still needs attention.
- Remove loose dirt. Pick up ordinary debris, then remove dust and hair from accessible ledges and corners. Keep the fan off while cleaning its exterior; follow its manual before removing a cover.
- Clean the mirror and vanity. Wipe the mirror, cabinet fronts, handles, and empty drawers. Use a lightly damp cloth inside storage, then dry it before adding toiletries.
- Wash the sink and faucet. Use a compatible product and a soft tool. Wipe around the faucet base and rinse or wipe away cleaner as directed. Dry the surrounding counter.
- Clean the shower or tub. Work from the upper reachable surfaces downward. Give the chosen product the label’s recommended working time, gently loosen residue, and rinse fully. Keep floors clear while the area is wet.
- Finish with the toilet. Use dedicated supplies for the bowl, seat, lid, hinge area, exterior, and base. Follow the toilet and cleaner instructions. Don’t add another product to a bowl that contains cleaner.
- Clean and dry the floor. Reach behind the door and around the toilet without soaking trim or leaving slippery residue.
Match products to the materials. Acrylic, coated fixtures, natural stone, and glazed surfaces can have different care requirements. Avoid abrasive pads on easily scratched finishes. Vinegar and acidic limescale products can damage some stone; the Natural Stone Institute’s care guide recommends choosing cleaners for the stone type.
A new address doesn’t automatically require disinfecting every surface. Cleaning removes dirt and many germs; disinfecting is an additional step for situations such as illness or a household member with a weakened immune system. If needed, clean first and use a compatible disinfectant, keeping the surface wet for its full label contact time. Follow any rinse instructions. CDC explains the distinction.

Clean the Kitchen Before Unpacking
The kitchen deserves a generous share of your time because dishes and groceries will soon hide the very places you can easily reach now. Work through storage first unless the fridge needs an early start to be ready for food.
Empty cabinets and drawers
Remove ordinary crumbs with a clean, suitable attachment or soft brush, checking corners and shelf edges. Then wipe the interior with a lightly damp cloth and a cleaner approved for the material. Work in small sections and dry them as you go.
Don’t soak hinges, unfinished edges, shelf-pin holes, or damaged laminate. Clean handles and the areas around them, then wipe the cabinet fronts. KraftMaid’s cabinet-care guidance favors gentle cleaning and prompt drying; follow your own cabinet manufacturer’s directions for its finish.
Peel away loose, unwanted shelf liner only where it comes off without damaging the surface. Stop if it pulls at the finish. You can investigate the adhesive later rather than testing a strong solvent on every shelf. Fit new liner only to clean, fully dry storage, and check that it’s suitable for the finish.
The refrigerator and freezer
Check the manual before removing parts or disconnecting power. If the appliance has just been transported, follow its model-specific standing and restart instructions rather than guessing a waiting time.
For an empty fridge, remove only the shelves and bins intended to come out. Let cold glass reach room temperature before washing it; sudden temperature changes can break it. Hand-wash removable parts with an approved mild cleaner, rinse, and dry. Wipe the interior, door bins, gasket folds, and accessible handles, keeping water away from controls and electrical components. Whirlpool’s interior-cleaning instructions provide a useful model-specific example.
Reassemble and restart as directed. Check with an appliance thermometer before loading perishables: the refrigerator should be 40°F or below and the freezer 0°F. Keep food safely chilled elsewhere while you clean and cool the appliance. See FDA’s food-storage guidance.
Cooking and washing areas
Use this short checklist once storage is ready:
- Wipe counters and the backsplash with a finish-compatible cleaner; follow food-contact rinse requirements.
- Wash the sink and faucet, including the rim and accessible drain strainer.
- Clean the cool stovetop according to its manual, removing only parts designed for routine cleaning.
- Wipe the microwave interior and removable turntable using the approved method.
- Inspect the oven and choose its manufacturer-approved cleaning method. Don’t improvise with blades, oven sprays, or a self-clean cycle on an unfamiliar appliance.
- Check the dishwasher filter and clean it only as the manual directs; run the recommended maintenance cycle if needed.
- Clean the range hood exterior. Wash a removable metal grease filter with dishwashing liquid only if its care instructions allow it; replace non-washable filters as directed.
You don’t need to pull out a gas range, disconnect hoses, or move heavy appliances to finish this checklist. Arrange suitable help for inaccessible areas. For tonight, a clean food-preparation area, usable sink, ready fridge, and one dry cupboard for dishes are a useful stopping point.

Work High to Low in Every Room
Bedrooms, living spaces, hallways, and closets are often simpler to clean while empty. Take the same route around each room so you don’t keep wondering what you’ve missed.
Start above eye level. Use an extendable tool for accessible cobwebs and ledges. Dust switched-off fan blades and cool light-fixture exteriors where you can safely reach them. Keep your feet on a stable step stool rather than a chair, countertop, or stack of moving boxes. Leave difficult-height jobs for suitable equipment or help.
Move to windows and touch points. Dust blinds according to their material, wipe accessible window frames and sills, and clean interior glass if it needs it. Avoid soaking wood or spraying into mechanisms. Treat suspect paint debris as the separate safety issue identified during your walkthrough. Wipe door handles and switch plates with a barely damp cloth, keeping liquid out of openings; follow device instructions for smart controls.
Finish the room’s lower surfaces. Wipe closet shelves and rails, doors, and baseboards with a compatible method. Dry closet shelves before putting clothes or linen away. Clean the space where the bed or a large cabinet will sit before it becomes difficult to reach.
Whole-wall washing isn’t an automatic move-in task. If a wall is sound and simply has a few marks, patch-test gentle spot cleaning against the paint manufacturer’s guidance. Matte paint, wallpaper, damaged plaster, and textured surfaces need particular care. Stop if color transfers or the finish changes.
For laundry areas, wipe accessible machine exteriors and inspect the washer gasket, dispenser, and dryer lint screen. Use the appliance manuals for removable parts and maintenance cycles. A vent problem or persistent damp smell belongs on the assessment list rather than being covered with fragrance.
Room-ready check: High dust removed, storage wiped and dry, handles cleaned, lower trim finished, and ordinary debris collected. Leave the floor for the final pass unless that room needs to be opened for use now.

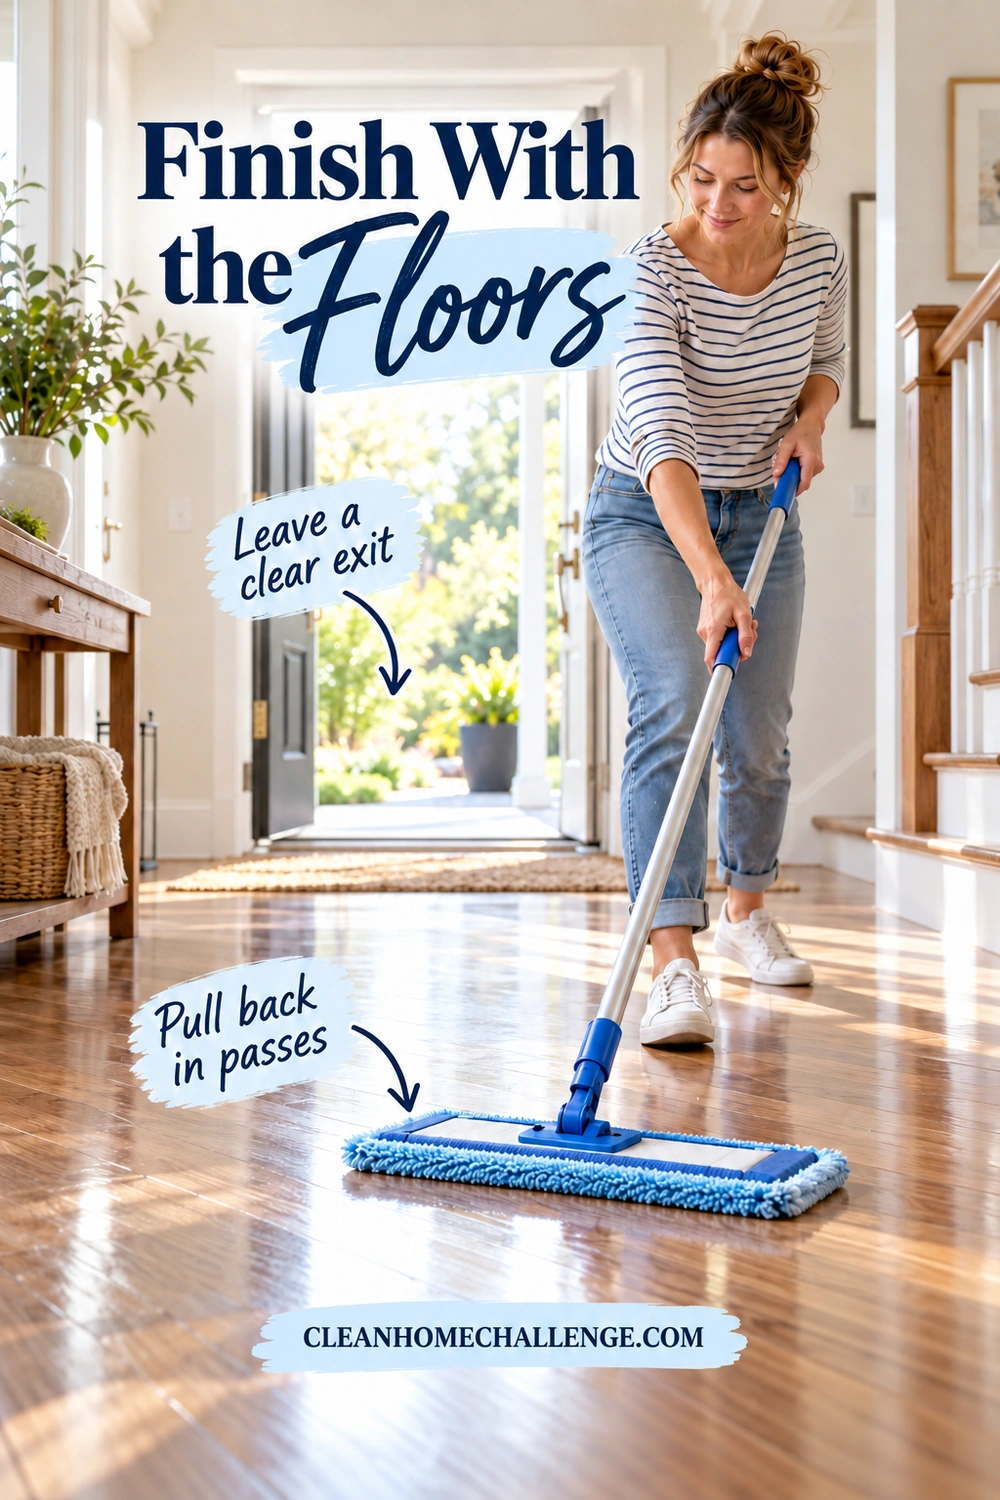
Finish With the Floors
Once the dusting and wiping are done, collect the debris that has landed below. Work from the room farthest from the exit so you don’t have to walk across freshly cleaned floors to retrieve your bag.
- Remove loose grit first. Vacuum with a floor-compatible head, including edges, closet floors, and behind doors. Follow the floor and vacuum instructions for the brush roll setting.
- Identify the finish before adding moisture. Use the manufacturer’s cleaner and method for wood, laminate, vinyl, tile, or stone. Don’t assume a waterproof-looking surface allows water to sit in its joints.
- Mop in small sections. With a microfiber flat mop, use controlled pull-back passes toward you, overlapping slightly. Keep the pad flat and change it when dirty rather than spreading the same soil through the room.
- Use the correct amount of cleaner. Follow the dilution and rinse instructions. Extra concentrate can leave residue; repeated wet passes aren’t a shortcut to a better result.
- Let the floor dry. Keep people, pets, boxes, and rugs off it for the product or flooring manufacturer’s recommended time and until it is fully dry.
For wood floors, avoid excess liquid and don’t use steam unless your exact flooring manufacturer permits it. Bona’s wood-floor guidance emphasizes gentle tools and controlled moisture. If the floor finish is unknown or damaged, get advice before choosing a wet method.
Vacuum carpets thoroughly. If they need extraction cleaning, check the carpet’s care requirements and book enough time for complete drying before furniture arrives. Persistent odor, staining, or suspected water damage may need assessment rather than another pass with a rental machine.
Plan for moving-day traffic. Put a suitable mat at the entrance, protect dry floors with flooring-approved coverings when needed, and do a short final vacuum after the movers leave. Keeping every footprint away while furniture is arriving is an unrealistic job to give yourself.
Set Up Your First Night
If the day has run away from you, narrow the checklist. Your first-night minimum is a usable bathroom, somewhere clean to handle food, dry floor space for sleeping, and clear routes through the home.
Before you stop, check:
- The toilet, sink, and shower you need are clean and ready.
- Soap, toilet paper, towels, and basic toiletries are accessible.
- The kitchen sink and one food-preparation surface are ready.
- Perishable food is in verified cold storage.
- One cupboard or drawer is clean and dry for essential dishes.
- Sleeping areas have been cleaned, floors are dry, and bedding is ready.
- Exits and walkways are clear of boxes and cleaning equipment.
- Products are safely stored, used cloths are set aside for washing, and trash is contained.
Write down just the next few jobs, such as the spare-room closet, interior windows, or a second bathroom. Give each one a place in the coming week. Keeping a short list stops a new house deep clean from turning into an endless search for another overlooked corner.
As you settle in, use a small daily reset: put away a few items, wipe food spills, handle the day’s dishes, and spot-clean tracked-in dirt. Then return to a manageable weekly rhythm, with the kitchen on Monday, bathrooms Tuesday, bedrooms Wednesday, living areas Thursday, floors Friday, and laundry catch-up Saturday. Adjust it around your family’s actual week.
The best time to clean an empty home is the time you have available. Finish the useful basics, unpack into dry storage, and let the rest become a series of smaller jobs. A ready bed and a clean place to make breakfast count as a very good start.

CLEANERS CLUBHOUSE
Need Help Getting Through a Proper Deep Clean?
Follow the 7-Day Deep Clean Bootcamp when your home needs more than a quick tidy. The Cleaners Clubhouse breaks the work into achievable steps with printable support and seasonal cleaning guidance.
