
THIS POST MAY CONTAIN AFFILIATE LINKS. PLEASE READ MY DISCLOSURE FOR MORE INFO.
A laundry basket can contain five different washing instructions before you reach the bottom. There might be a new navy sweatshirt, a white school shirt, a fuzzy towel, leggings and a sweater that needs gentle handling. Sorting all of that into a dozen tiny piles is exhausting. Putting everything together and hoping for the best can be expensive.
The useful middle ground is to build loads of items that can safely share the same treatment. To sort laundry, check the care labels first, separate risky colors, then match fabric weight, soil level and washing requirements. Choose the temperature after you have decided what belongs together.
You do not need an elaborate laundry room or a separate hamper for every shade. A couple of baskets, a small place for items that need attention and a repeatable order can do most of the work. This guide includes a sorting chart, worked examples and a lower-effort routine for the days when getting one necessary load finished is enough.
Disclosure: This post may contain affiliate links. As an Amazon Associate, Clean Home Challenge earns from qualifying purchases. If you make a purchase through these links, we may earn a small commission at no extra cost to you. This helps us keep creating practical cleaning tips, routines and resources for busy families! 🧽
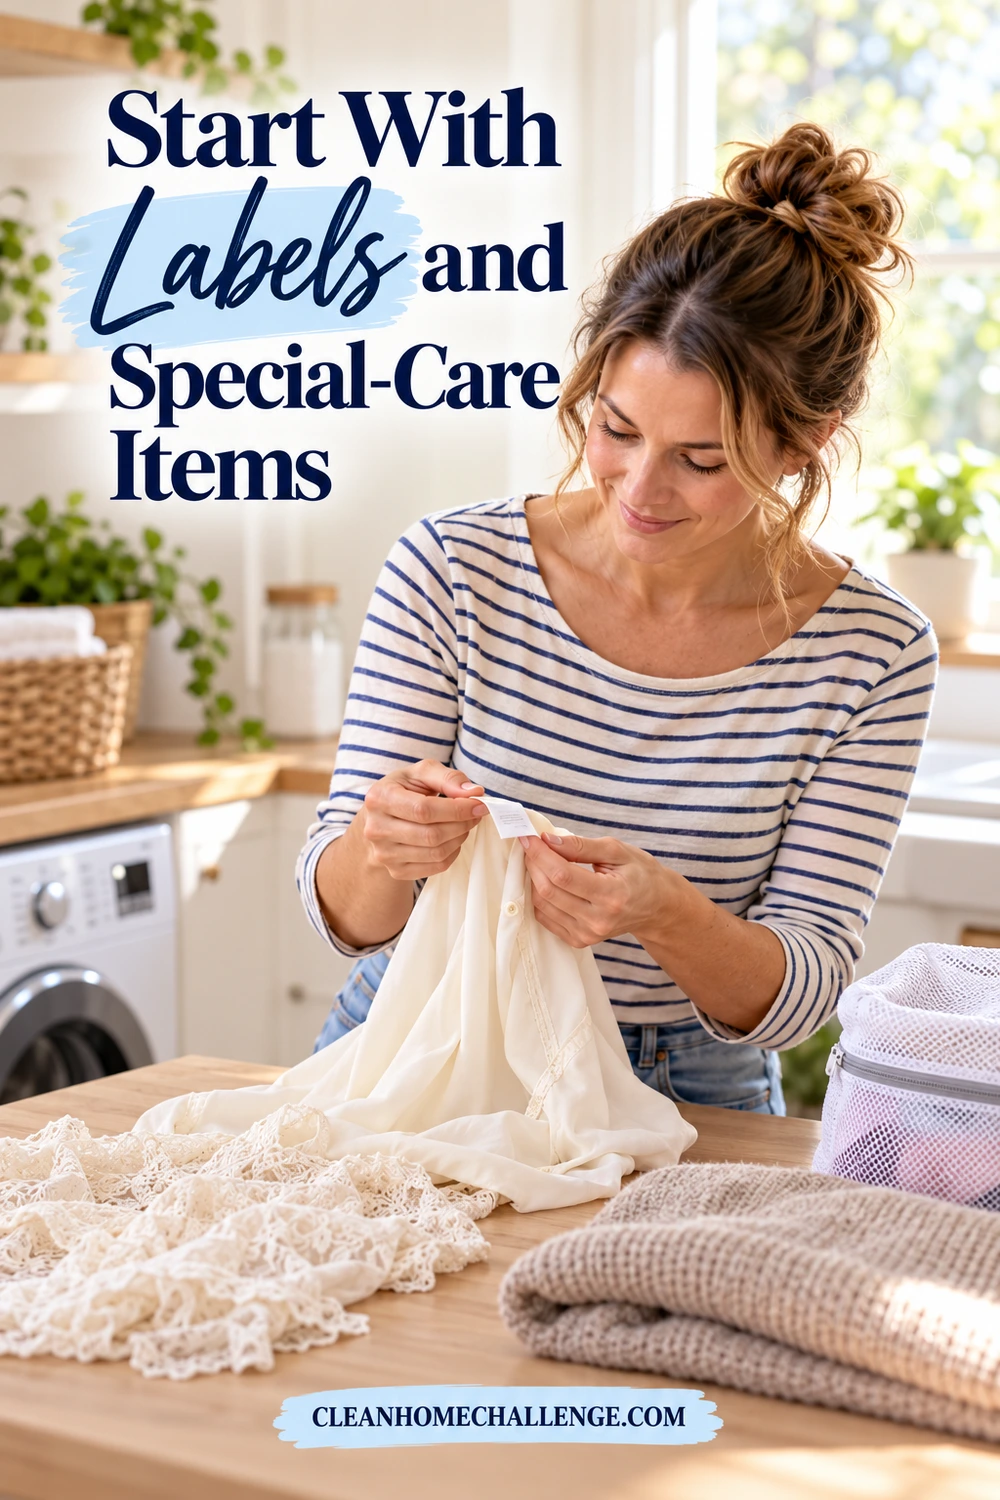
Start With Labels and Special-Care Items
Before sorting by color, pull out anything that cannot join an ordinary machine-washable load. A white blouse and a white bath towel may match perfectly in color while needing completely different care.
Read the washing and drying instructions on unfamiliar items. Look for whether the garment can be machine washed, which cycle it needs, any temperature limit and whether it can go in the dryer. The Whirlpool laundry-symbol guide explains the common washing, bleaching and drying symbols. A washing instruction does not automatically tell you how to dry the item, so check both.
Make a small “check first” space
Use an existing basket, shelf space or clearly identified bag for:
- New clothes whose care instructions you have not checked.
- Hand-wash or dry-clean-only garments.
- Clothes with stains needing attention.
- Fragile, embellished or unfamiliar fabrics.
- Items with missing or unreadable care labels.
This is a temporary decision point, not another permanent pile. Put it beside the main hamper rather than somewhere you will forget it. If several people share laundry duties, make the meaning obvious: items here must be checked before washing.
For missing labels, look up the exact item on the maker's website or ask the manufacturer. Do not assume that something soft is machine washable or that all cotton clothing tolerates the same treatment. Trims, dyes, construction and blended fibers can affect the instructions.
Decide on special-care loads separately
A machine's gentle button is not permission to machine wash every delicate garment. Woolmark directs people to follow the garment's own care claim and use suitable wool-care products. Some wool items can be machine washed; others require another method. Check the item rather than treating “wool” as one universal wash setting. Woolmark care guidance
You can keep a brief note for frequently washed special items: “blue sweater: label requires flat drying,” for example. That saves the next person from having to remember everything. Keep the original label attached when possible.
For everyday clothes you already know well, this first pass gets quicker. The goal is not to reread familiar labels from scratch every morning. It is to stop an unfamiliar item from slipping into a routine that could damage it.
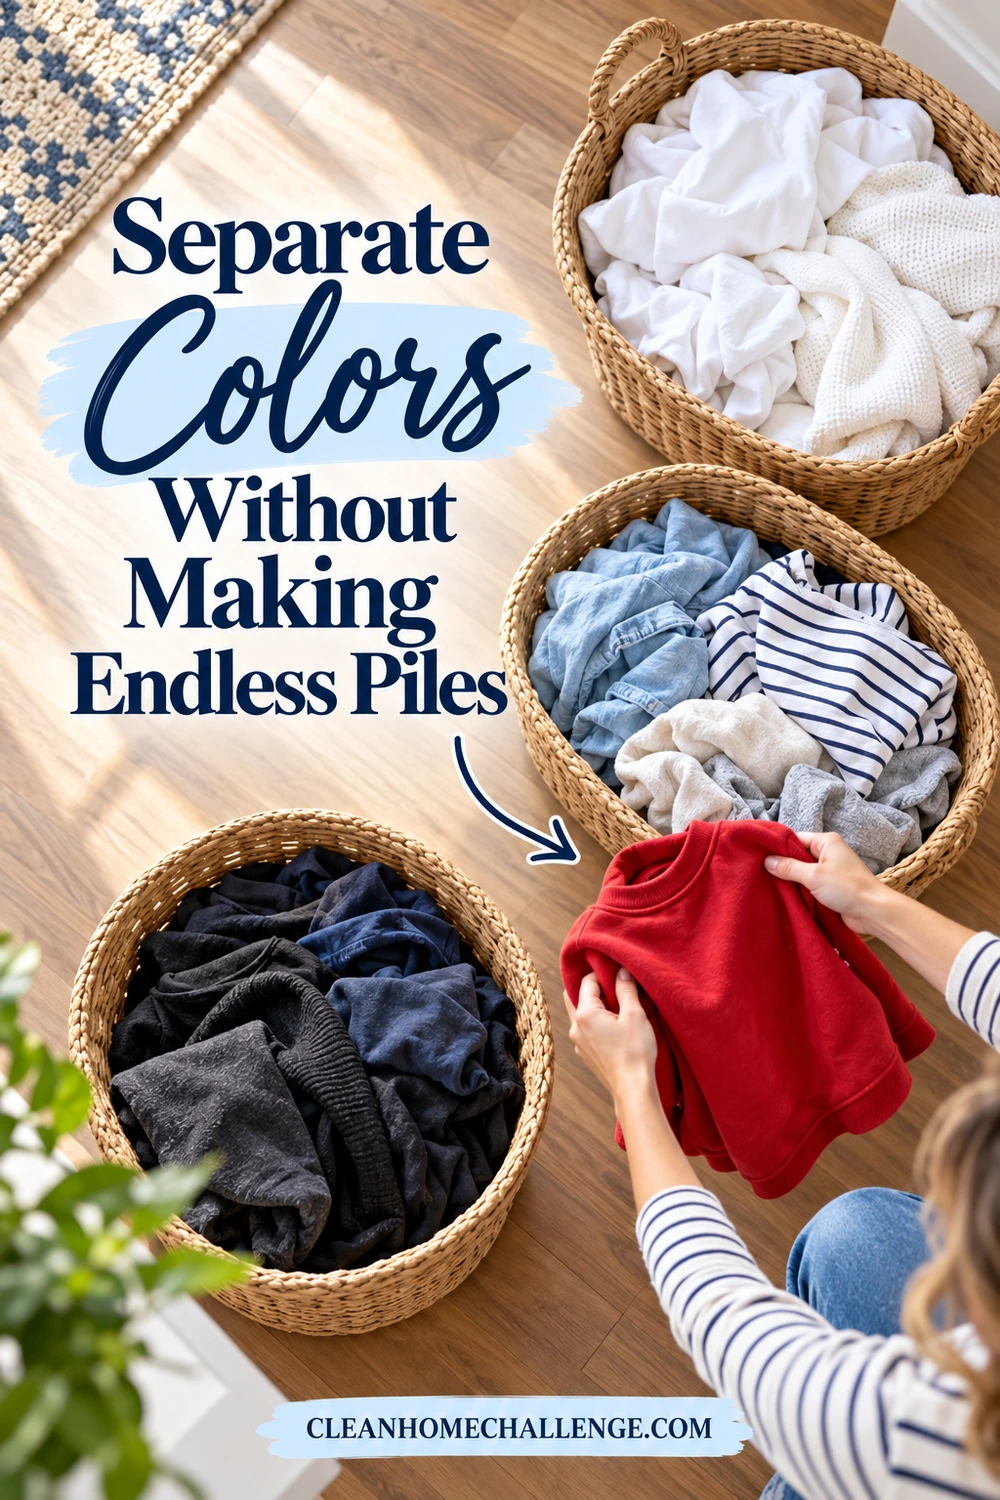
Separate Colors Without Making Endless Piles
Start with white items, light or medium colors, and darker colors. Then remove anything new or known to release dye. These are starting groups; each still needs a fabric and care check before becoming a wash load.
Tide recommends sorting by color and fabric and washing new or dark items separately when dye transfer is a concern. Cold water may suit the label, but it does not turn an uncertain item into a guaranteed colorfast one. Tide's sorting guide
Think about the lightest item in the load
A pale pink shirt should not be treated like a dark red towel simply because neither is white. Likewise, a black-and-white top is not an all-white garment. Check its label and keep it away from items you are unwilling to risk staining until you understand how it washes.
You do not need individual baskets for blue, green, gray and brown. Instead, ask whether the items have similar color depth and a known washing history. If one piece is brand new, marked to wash separately or has previously released dye, take that piece out. Do not make the whole load responsible for testing it.
What about a very small whites pile?
There are three practical options:
- Wait until you have enough compatible white items, if they are dry and there is no urgent need to wash them.
- Run an appropriately sized load using your washer's instructions.
- Change what you need for the next day rather than forcing an unsuitable mixed load.
An essential white uniform shirt may justify a small load. That is a household decision, not a failure to run an efficient home. Avoid adding a new colored garment solely to fill the drum.
Make new-clothes care easy to remember
Keep the tag or receipt nearby until the first wash if that helps you identify a new item. Add it to the check-first space rather than dropping it into the usual darks basket. Once you have followed its care instructions, continue paying attention to any separate-washing instruction; one successful wash does not override the label.
A simple household rule is easier to teach than a detailed color wheel: new or uncertain clothes get checked before they join a familiar load.
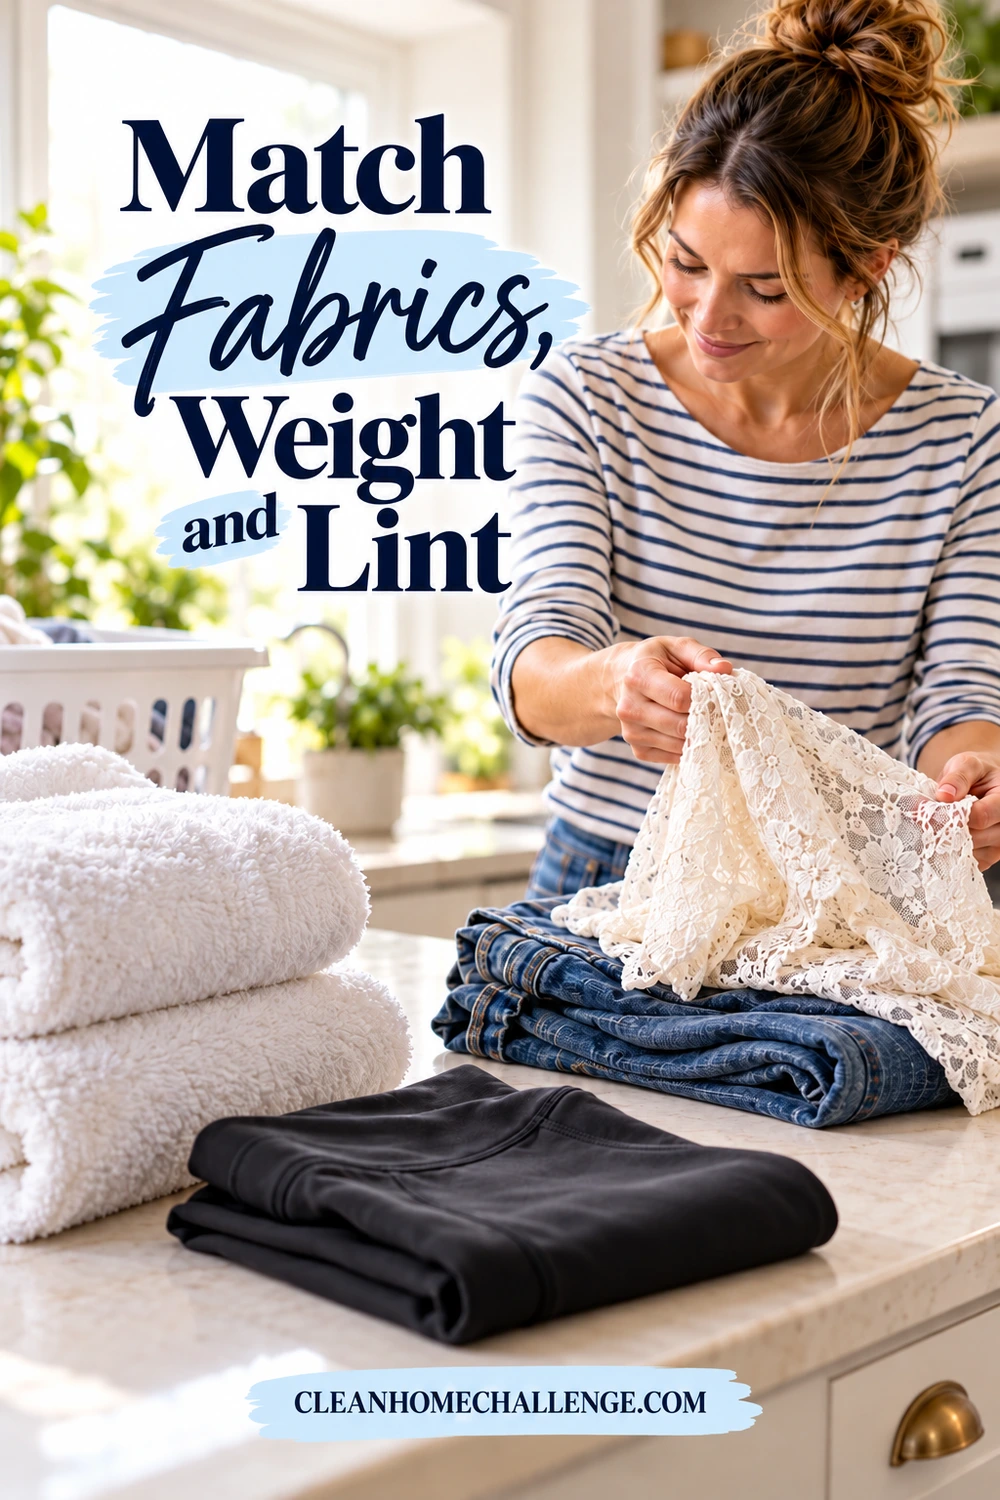
Match Fabrics, Weight and Lint
Color is only the first filter. Next, consider what will happen when the items move together in water. Heavy, robust pieces and lightweight, easily snagged clothes may not be good partners even when their colors match.
Tide's general laundry guidance recommends washing and drying heavier items separately from lighter clothing. This helps protect finer items and makes drying more consistent. Tide laundry guide
Build a load around its main fabric type
Choose a clear starting point: everyday shirts, sturdy cotton items, towels or washable delicates. Then consider additions that need the same cycle and a compatible drying method.
For example, a collection of familiar cotton-blend T-shirts may make sense together if their labels agree. Adding a thick bath towel and a delicate camisole creates two extra care problems. It is easier to leave those out than to find a compromise setting for three incompatible groups.
Do not confuse fabric weight with item size. A large lightweight shirt is different from a small, thick washcloth. Follow your washer's loading guidance rather than assuming that matching every item by size produces a balanced load.
Keep lint givers away from lint collectors
New towels and other fuzzy fabrics can shed onto smoother clothing. Whirlpool recommends separating lint-producing fabrics from items that attract lint, checking pockets and avoiding overloading. Whirlpool lint-prevention guidance
In practice, give towels their own sorting category if towel lint regularly ends up on work clothes or leggings. Shake out loose debris where appropriate before loading, and check for tissues in pockets. A mesh bag can help contain small suitable items, but it does not make a heavy towel and a fragile garment compatible.
Separate heavily soiled items
A muddy sports kit should not automatically join a lightly worn office-shirt load. The American Cleaning Institute recommends separating heavily soiled items and grouping pieces that share care requirements. ACI Laundry Basics
Set aside items requiring special contamination guidance rather than treating them as an ordinary sorting puzzle. Follow relevant product, employer or health instructions for those situations. This article covers routine household laundry; it does not provide a disinfection method.
Finally, plan the exit from the washer. Put the drying rack out before starting a load with air-dry pieces. Sorting has only partly helped if everything then goes into the dryer together by habit.
Choose the Right Water Temperature
Choose water temperature for the actual load, not from a rule such as “all whites hot” or “everything cold.” Read the most restrictive relevant care instructions and consider the cycle, detergent directions and type of soil.
Whirlpool notes that named settings and temperature ranges vary, and recommends following garment instructions to reduce damage. Check your own machine's manual if you need to understand what “cold,” “tap cold,” “warm” or a specialty cycle means on that model. Whirlpool washer-cycle guidance
Use this decision order
- Can these pieces share a cycle? If one needs a different care method, separate it.
- What temperature does each label permit? Do not exceed a garment's stated limit to accommodate another item.
- Is the chosen setting suitable for the soil and detergent? Check both product and machine directions.
- Would a different grouping work better? A heavily soiled robust item may belong in another load rather than forcing a poor compromise.
Cold washing can be a useful choice for many suitable everyday loads. The Department of Energy notes that heating water accounts for much of a washer's energy use and recommends using appropriate cooler washes and full loads where possible. That is a reason to consider cooler settings, not a reason to ignore care or cleaning needs. Department of Energy, Energy Saver guide
Do not use heat as a shortcut for every problem
A stain needs an appropriate treatment, not simply the hottest button. Identify it, check fabric compatibility and follow the stain product's directions before washing. Avoid making a general temperature chart into a stain-removal recipe.
The wash temperature and dryer temperature are separate choices. An item that tolerates a particular wash may still require low-heat or flat drying. Place a reminder on the laundry basket if someone else will move the load.
Routine washing is also different from sanitizing or disinfecting. A setting described as hot does not, by itself, establish a verified germ-killing result. If there is a specific hygiene requirement, use the relevant instructions rather than improvising from this everyday sorting system.

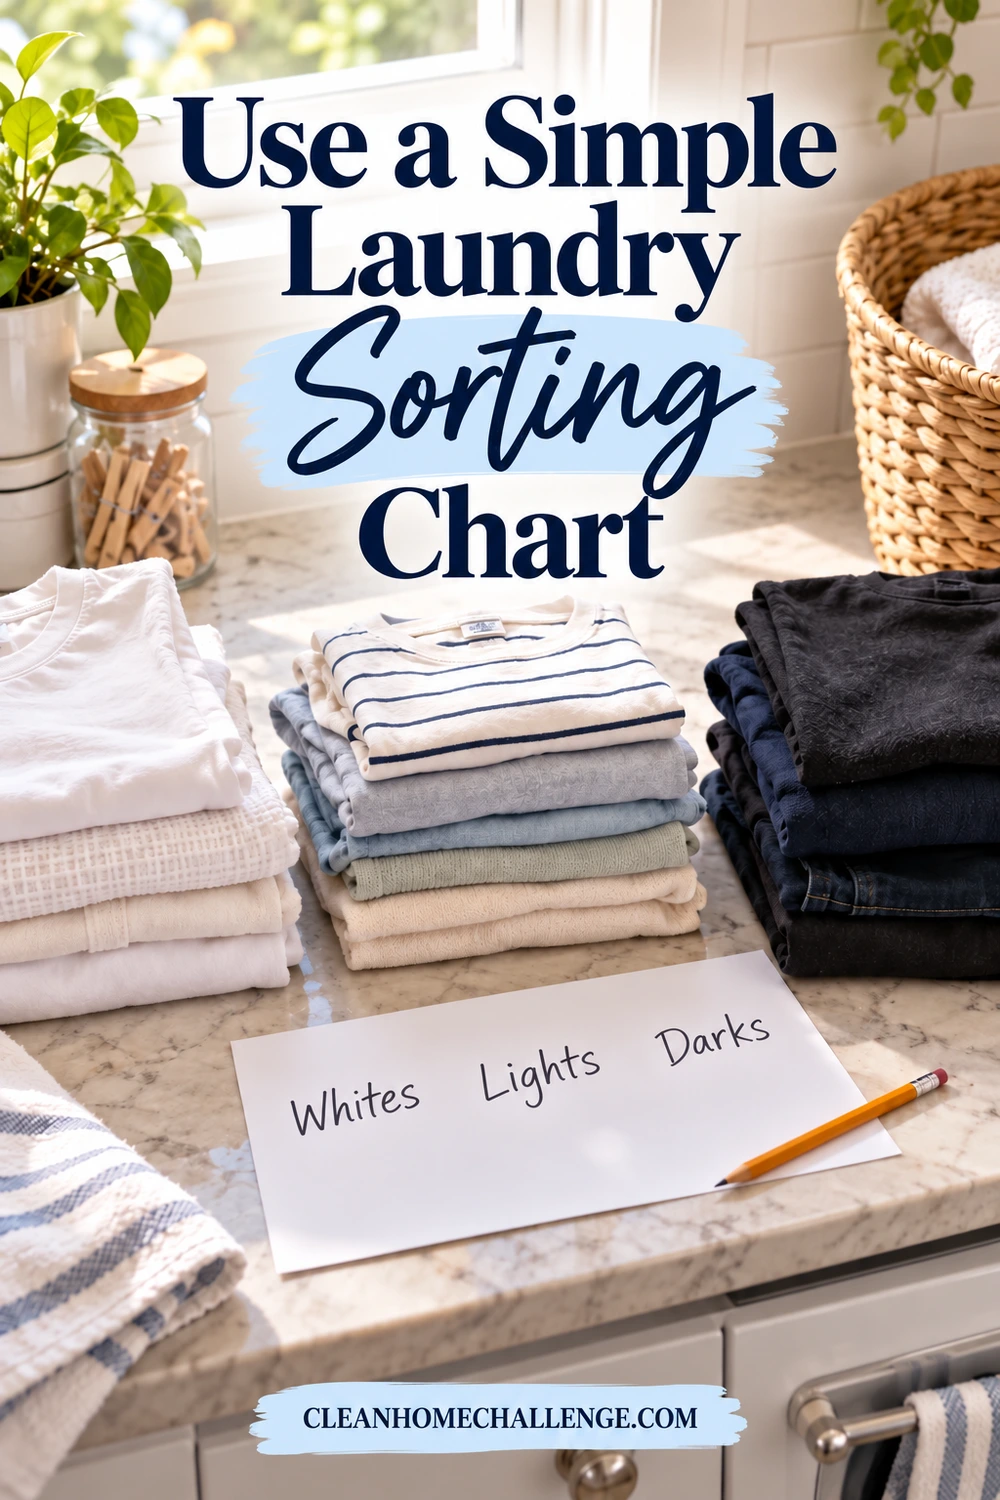
Use a Simple Laundry Sorting Chart
Use this chart as a starting checklist. The actual labels and your washer's manual take priority over the examples. You do not need to run every row as a separate load each week; combine only when the color, fabric, soil and care checks all agree.
White everyday clothes
- Examples to check: Familiar white shirts and socks.
- Keep out: New colors, special-care whites.
- Before choosing a setting: Compare labels, fabric weight and stains.
Light or medium clothes
- Examples to check: Familiar pale shirts and similar-weight items.
- Keep out: Dye-risk darks, heavy towels.
- Before choosing a setting: Confirm compatible care and color history.
Dark everyday clothes
- Examples to check: Familiar dark shirts and similar-weight clothes.
- Keep out: New dye-risk pieces, lint-shedding towels.
- Before choosing a setting: Check cycle and drying requirements.
Towels
- Examples to check: Compatible bath towels and washcloths.
- Keep out: Fragile clothing, lint-sensitive workwear.
- Before choosing a setting: Check color, labels and machine capacity.
Washable delicates
- Examples to check: Items specifically labeled for the selected method.
- Keep out: Heavy or rough items.
- Before choosing a setting: Follow every special-care instruction.
Stained or heavily soiled items
- Examples to check: Muddy clothes or pieces needing treatment.
- Keep out: Lightly soiled items needing gentler care.
- Before choosing a setting: Deal with the soil before grouping.
Check first
- Examples to check: New clothes or an unreadable label.
- Keep out: Everything until care is resolved.
- Before choosing a setting: Find instructions or ask the manufacturer.
Work through a real basket
Imagine you have two familiar navy T-shirts, gray leggings, a new red sweatshirt, a white shirt, two bath towels and a wool sweater.
Start by removing the new sweatshirt and the sweater for label checks. Put the white shirt with compatible whites. Set the towels aside. Now compare the T-shirt and legging instructions: they might share a wash if their colors and care needs are compatible, but do not assume that based on the basket alone. If the leggings need different handling, separate them too.
That example may leave several small groups. You only need to wash the group needed now. The other dry items can wait appropriately for compatible companions; the worksheet is a decision aid, not a demand to start seven machines.
Make your own household version
Write the names of your three most common loads on paper. Beneath each, list two examples that genuinely belong there and one thing that does not. For instance: “Everyday darks: familiar dark shirts; no new clothes without checking.”
Leave space for exceptions. Specific examples from your own laundry are often easier for the household to follow than a chart covering every fabric imaginable. Keep it visible at the sorting point, and change it when a rule repeatedly causes confusion.
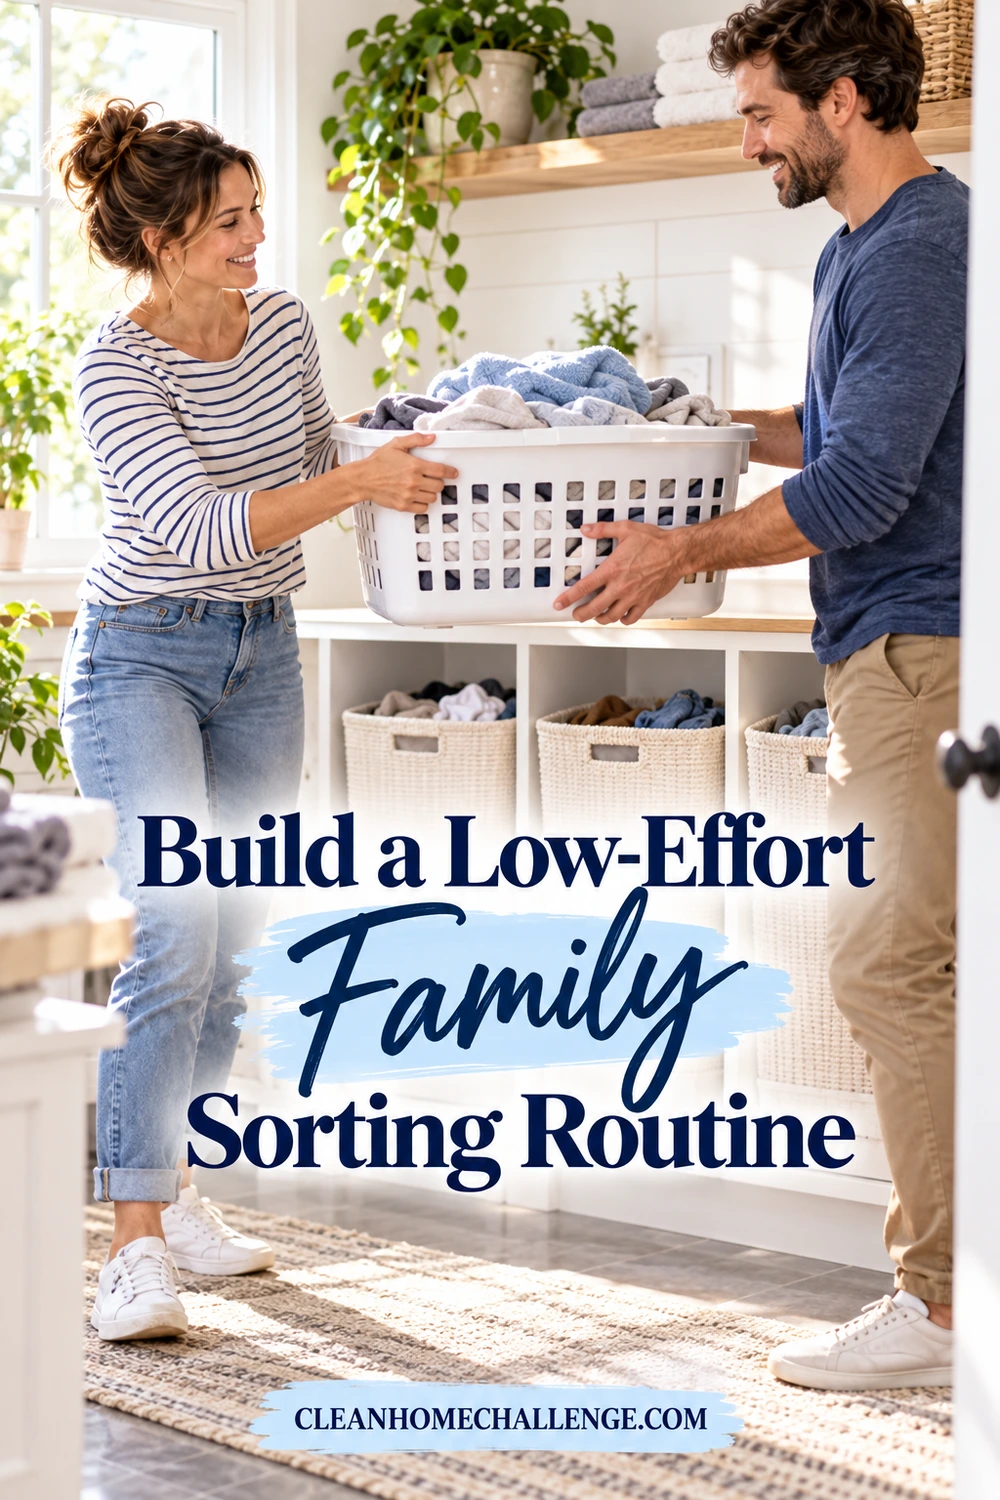
Build a Low-Effort Family Sorting Routine
The best sorting system is one the next person can understand without asking you to identify every sock. Start with the space you already have. There is no requirement to buy matching hampers or reorganize the entire laundry room.
Try two baskets and a check-first bag
Use one basket for whites and lighter items and another for darker items, with a separate check-first space. These are collection categories, not automatically ready-to-wash loads. At the machine, separate whites from colors as needed and complete the fabric, soil and care checks.
If that still creates confusion, collect everything in one basket and sort only when you are ready to wash. A consistent final check matters more than having an impressive-looking hamper system.
Ask each capable household member to empty their own pockets and flag stains or new items. Give children age-appropriate tasks such as bringing their basket or matching clean socks; keep detergent handling with a responsible adult. Store laundry products securely in their original packaging, away from children. ACI safe laundry practices
Use a five-minute sorting window
This is a suggested routine, not a promised completion time:
- First, identify what is actually needed for tomorrow.
- Pull out special-care items and anything requiring stain attention.
- Choose one compatible load around the priority items.
- Check pockets, labels and drying needs.
- Start the load only when you have a realistic plan to move it afterward.
On a low-energy day, stop there. Finishing one useful load can be more helpful than sorting the whole house into piles you cannot process. A clean basket ready for unloading is worth more than an elaborate weekly schedule that does not fit your day.
Share the whole task
Assign a complete load rather than asking somebody merely to press Start. The job includes checking the load, selecting suitable settings, drying correctly and returning clean items. Leave a short written note for any exception instead of carrying every instruction in your head.
A weekly catch-up window can help, but keep it flexible. If uniforms are needed midweek, build that load first. If towels are already covered, they do not need an arbitrary place on today's list. Plan around household needs and safe grouping rather than a rule that every basket must be empty.
CLEANERS CLUBHOUSE
Make Laundry Catch-Up Feel More Manageable
Use Saturday to catch up without letting laundry take over the whole weekend. Inside the Cleaners Clubhouse, practical routines and printable support help you keep washing, folding and household jobs moving.
Fix Common Sorting Mistakes Before Washing
Most useful laundry checks take place before the door closes. Pause briefly, look at what is actually in the drum and ask whether anything has slipped past the sorting system.
“I use cold water, so I can mix everything”
Temperature does not settle questions about dye transfer, fabric friction, lint or a special-care label. Remove the risky item instead of relying on one setting to solve every issue.
“The basket was full, so the washer must be full”
Basket size is not a loading guide. Follow the machine's capacity and loading instructions and leave items able to move as directed. Whirlpool identifies overloading as one possible contributor to poor washing results and lint problems; splitting a load can be a better choice than squeezing in the last handful.
“I will remember what cannot go in the dryer”
Use a physical reminder. Place the empty drying rack nearby or leave a note for the person unloading. Check the individual items again during transfer. The reminder is especially useful when laundry duties change hands halfway through a load.
“That mark will probably disappear”
Check stained pieces again after washing and before heat drying. ACI recommends addressing remaining stains rather than drying them into the fabric. If dye transfer or another problem has already occurred, consult fabric-compatible guidance before adding a rescue product. ACI laundering problems and solutions
“More detergent will make this mixed load work”
Detergent cannot repair incompatible sorting. Measure it according to the product and machine instructions, considering the stated load and soil guidance. Adding extra products is not a substitute for separating a delicate item or dealing with a new garment's dye risk.
Before starting, use this final checklist: labels checked, uncertain colors removed, compatible fabrics together, stains considered, pockets emptied, suitable settings chosen and drying planned.
You do not need a perfect laundry system. You need a small set of decisions that protects your clothes and is easy to repeat. Start with the next load, keep the exceptions visible and make the routine clear enough that somebody else can take a turn.