

THIS POST MAY CONTAIN AFFILIATE LINKS. PLEASE READ MY DISCLOSURE FOR MORE INFO.
A weekend can give your home a useful fresh start, but it does not need to become two days of nonstop scrubbing. The trick is choosing what matters before you open a cabinet or pull everything out of a closet.
This weekend deep cleaning schedule puts the kitchen and bathrooms first, then moves through bedrooms, living spaces, and floors. It includes room-level detail, breaks, a smaller version for tired days, and a clear stopping point. You will work beyond the usual quick wipe without promising yourself that every drawer, window, and appliance must be finished by Sunday night.
Use the plan as a starting point. A larger home, substantial buildup, interrupted sleep, limited mobility, or caring for children can change the pace considerably. Finishing fewer areas properly is more useful than leaving the entire house in pieces.
Disclosure: This post may contain affiliate links. As an Amazon Associate, Clean Home Challenge earns from qualifying purchases. If you make a purchase through these links, we may earn a small commission at no extra cost to you. This helps us keep creating practical cleaning tips, routines and resources for busy families! 🧽
Set a Realistic Weekend Cleaning Goal
Before making a checklist, walk through the house with a piece of paper. Spend about ten minutes identifying the work that would make daily life easier: a usable kitchen, bathrooms without visible buildup, clean bedding, and floors you can comfortably walk across.
Separate tasks into three groups:
- Weekend essentials: kitchen work surfaces, sink, cooking mess, bathroom fixtures, bedroom dust, bedding, living-area dust, and floors.
- Selected deep details: greasy cabinet fronts, the main shower, one refrigerator section, reachable baseboards, or crumbs beneath sofa cushions.
- Another-day projects: full closet sorting, every cabinet interior, carpet extraction, exterior windows, heavy-appliance moving, and a severely dirty oven.
“Whole-house” means covering the home’s main living areas. It does not mean cleaning every object you own. Pick one or two deeper details in each priority room rather than adding every overdue job to the weekend.
Match the plan to your starting point
The sample below reserves about five hours on Saturday and four and a half hours on Sunday, including breaks and finishing time. It assumes a reasonably accessible, moderately maintained home with roughly two bedrooms and one main bathroom, cleaned mostly by one adult. These are planning allowances, not tested completion times or a promise that your home will fit them.
An extra bathroom needs its own block. Multiple bedrooms, extensive pet hair, or sticky buildup may require dropping optional tasks or extending the work into another week. If the kitchen alone needs half a day, give it that time and reduce the rest.
Set a finish time before starting. Allow the final 20–30 minutes for returning supplies, making beds, and clearing walkways. That time protects you from the familiar Sunday-night problem of clean surfaces surrounded by unfinished piles.
Choose what “done” means
Write an endpoint for each space. For example: “Bathroom fixtures cleaned, loose items returned, fresh towel hung, floor dry.” A specific endpoint stops a useful clean from becoming an unplanned grout-restoration project.
Take damage, suspected leaks, persistent mold, pest contamination, and unsafe access off the ordinary cleaning list. They need assessment or appropriate specialist help, not a faster scrub. The EPA’s mold cleanup guidance explains that the size of the affected area and water damage matter when deciding who should handle cleanup.

Gather Supplies and Clean Safely
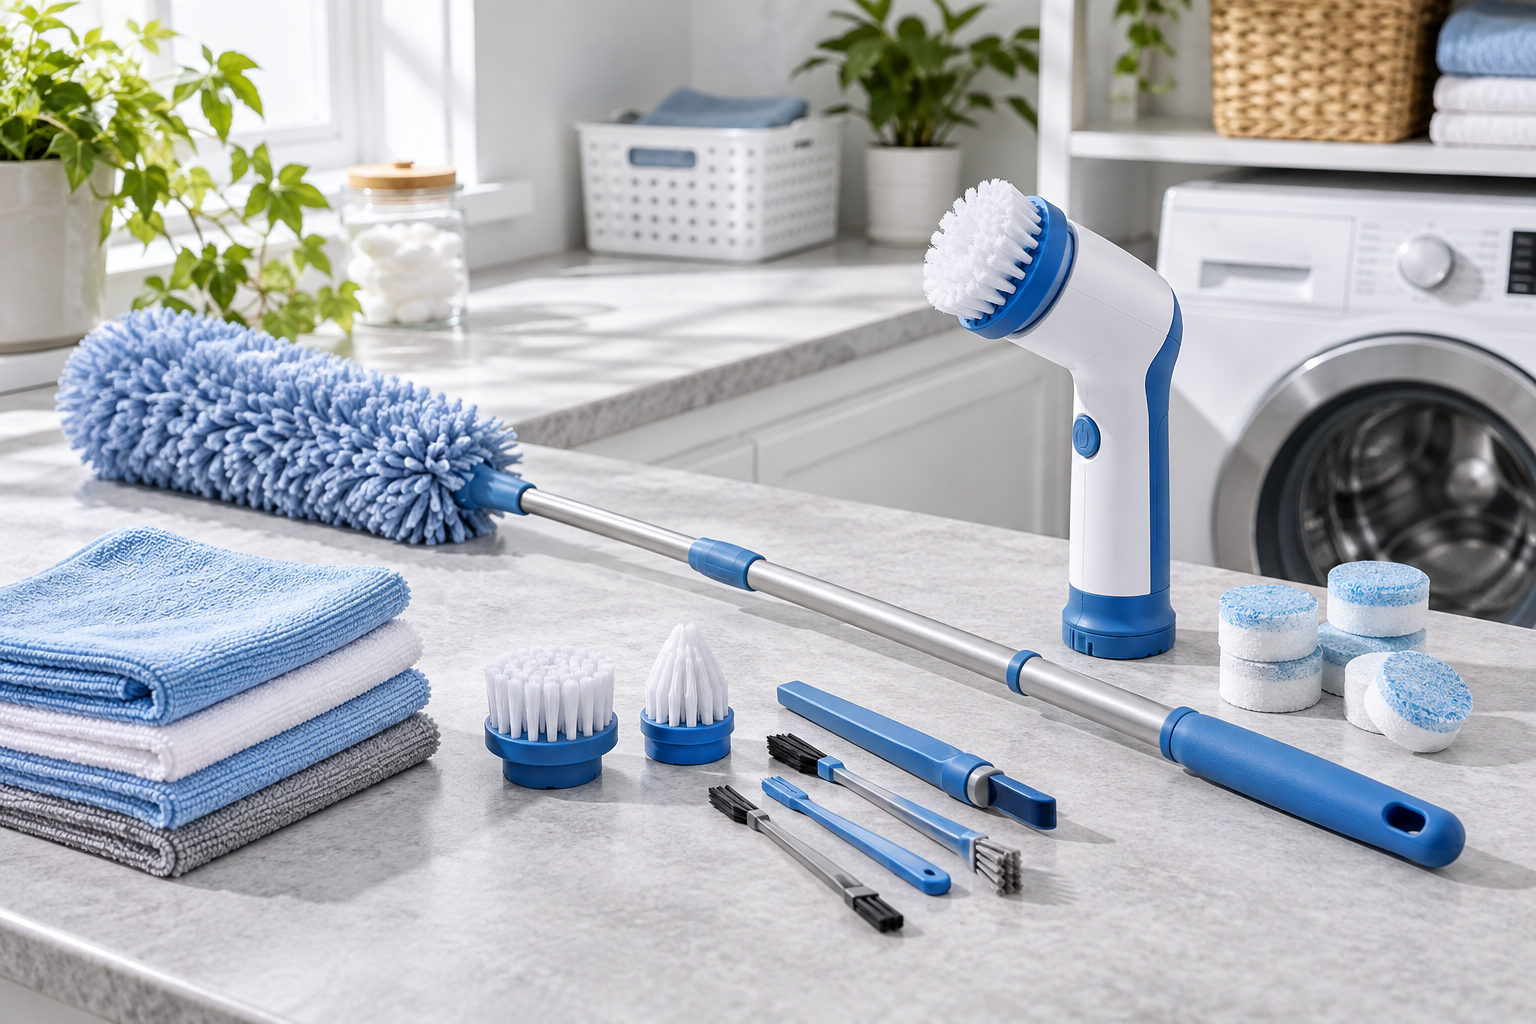
Start with products you already know are suitable for your surfaces. You do not need a new gadget for every room.
Gather:
- Several clean microfiber or other suitable soft cloths
- Separate bathroom and kitchen cloths, plus a toilet-only cloth or disposable alternative
- A non-scratch sponge and small cleaning brush
- Dishwashing liquid and appropriate surface cleaners
- Toilet cleaner and, if needed, a compatible disinfectant
- A vacuum with suitable attachments, or a broom
- A mop, clean pads, and the floor manufacturer’s recommended cleaner
- Trash bags, a laundry basket, and a small carry basket
- Gloves and any other protection required on product labels
Check that the vacuum is ready to use and that you have enough clean mop pads. Changing a dirty cloth is usually more helpful than adding more product. Keep used cloths separate from clean supplies.
Know which job you are doing
Cleaning removes dirt and many germs. Sanitizing and disinfecting have different purposes and product directions; neither is simply another word for a thorough clean. The CDC’s home-cleaning guidance says routine cleaning is usually sufficient in most situations, with disinfecting appropriate when someone is sick or more vulnerable to illness.
If you disinfect, use a product labeled for that surface and purpose. Pre-clean as directed, and keep the surface visibly wet for the label’s full contact time. There is no universal “leave it for five minutes” rule. Follow required rinsing instructions, particularly for food-contact surfaces. The EPA’s disinfectant-use guide explains why label directions and wet contact time matter.
Never mix cleaning products. In particular, do not combine bleach with vinegar, acids, ammonia, alcohol, or other cleaners. Ventilate as labels direct, wear the specified protection, and keep products in their original labeled containers, secured away from children and pets. Do not leave an open caddy unattended during a break.
Match the method to the material
Check care instructions and test an unfamiliar compatible product in an inconspicuous spot before broad use. Vinegar is not an all-purpose answer: the Natural Stone Institute warns that acidic cleaners can etch or dull certain stone surfaces. Use a stone-safe product on stone counters, tile, and surrounds.
Check manuals before cleaning appliance interiors, screens, wood, laminate, upholstery, or specialty finishes. Avoid saturating switches, outlets, controls, seams, and unfinished wood. A cleaning plan should never require guessing whether a harsh product is safe.

Friday Prep: Clear the Way
Friday preparation is optional, but 30–45 minutes of sensible setup can make Saturday less frustrating. If Friday is already full, move this block to Saturday and remove one optional detail later.
Do a quick pickup, not a full declutter
Carry a basket through the main rooms. Put obvious items back where they belong, collect laundry, and remove trash. Clear enough counter and floor space to clean comfortably.
Do not empty every drawer. If an item has no clear home, put it in one small decision basket and choose a later time to deal with it. Keep that basket out of walkways. A temporary basket is a boundary for this weekend, not a reason to build a room-sized sorting pile.
At the end of the pickup, stop and look at the spaces you actually cleared. If surfaces are still inaccessible, reduce the cleaning area. Working on one clear counter is a better start than trying to scrub around stacks of belongings.
Make the household plan visible
Write Saturday and Sunday tasks on paper or in a shared list. Add names beside jobs that someone else has agreed to own. Include the finish time and what can wait.
Plan easy meals around the kitchen clean. Set aside lunch supplies before wiping the work surfaces, and avoid planning a complicated baking session in the middle of the kitchen block. Make sure there is a usable bathroom while another is being cleaned.
Choose laundry realistically. One bedding load and one towel load may be enough; do not strip every bed unless you can wash, dry, and remake them. Check textile care labels and machine capacity first.
Put supplies where they help
Place a secure caddy near the first work area and set out clean cloths. Check labels and manuals now if a surface or appliance is unfamiliar. Charge cordless equipment if needed.
Put a water bottle, snack, and your checklist somewhere away from cleaning chemicals. Decide which room will remain a comfortable place to rest. That small preparation makes it easier to take an actual break instead of standing in the hallway wondering where to sit.

Saturday: Deep Clean the Kitchen and Bathrooms
Saturday concentrates on grease, food mess, and bathroom buildup. Work within one room before moving to the next, with higher surfaces before lower ones. Catch spills as you go, but save the main floor clean until the messy work is finished.
Saturday schedule at a glance
- 9:00–9:15: Set up, finish the pickup, and check the day’s priorities.
- 9:15–10:45: Clean the kitchen’s main surfaces and chosen deep details.
- 10:45–11:00: Take a break.
- 11:00–11:45: Finish the kitchen and one manageable appliance task.
- 11:45–12:30: Eat lunch and reset supplies.
- 12:30–1:30: Clean the main bathroom.
- 1:30–2:00: Finish bathroom flooring, return supplies, and handle any safe, small carryover.
Move these times to suit your household. If a room runs over, remove an optional task rather than skipping lunch or rushing product directions.
Kitchen: clear, soften, wipe, and dry
Start with dishes so the sink and counters are available. Remove loose crumbs, then dust reachable upper surfaces with an appropriate tool. Do not stand on a countertop or dining chair to reach high spots.
Work around the kitchen in one direction:
- Cabinet fronts and handles: Wipe visible splashes and greasy touchpoints with a finish-compatible cleaner. Avoid soaking edges and hinges; dry as directed.
- Backsplash and counters: Move a few items at a time, clean beneath them, and return them after the surface is ready. Remove cleaner residue according to the label.
- Cooktop: Make sure it is off and cool. Use the method for that specific surface. Do not substitute an abrasive pad or razor blade without manufacturer permission.
- Small appliances: Follow each manual; unplug where instructed and keep moisture away from electrical parts. Remove crumbs from accessible areas rather than dismantling equipment.
- Sink and faucet: Clean after the surrounding dirty work. Use a compatible non-scratch method, rinse where required, and dry water-prone surfaces.
For greasy buildup, give a suitable product its labeled working time instead of repeatedly scrubbing harder. If it is not improving, pause and reassess the material and product. More force is not automatically the solution.
Choose one appliance detail
A manageable refrigerator section or washable range hood filter is often a better weekend choice than doing the entire refrigerator, oven, and dishwasher at once.
For a refrigerator interior clean, follow the manual’s power and removal instructions. Keep perishables safely cold in another refrigerator or an ice-packed cooler while you work. The FDA recommends a refrigerator temperature of 40°F or below and limits room-temperature time for perishables to two hours, or one hour above 90°F. Return food promptly rather than treating that limit as a target.
Allow cold glass shelves to reach room temperature before washing; sudden temperature changes can break them. Whirlpool’s refrigerator guide includes this precaution. Clean and dry removable parts as directed, then reinstall them securely.
For a washable metal range hood filter, turn the hood off and let it cool. Use warm water and dishwashing liquid if the manual allows, then rinse, dry, and refit it according to instructions. Some filters are replaceable rather than washable. Whirlpool distinguishes washable grease filters from nonwashable charcoal filters.
Leave major oven cleaning for a separate block if it needs long treatment, a self-clean cycle, or extensive preparation. Do not add chemicals to a self-cleaning cycle.
Bathroom: work from cleaner areas toward the toilet
Remove towels, bath mats, and countertop clutter. Collect hair and loose dust before making surfaces wet.
Clean the mirror, reachable ledges, vanity, and sink. Use the correct product for shower tile, glass, acrylic, grout, and fixtures; one bottle may not suit all of them. Work in manageable areas, follow treatment times, rinse as directed, and avoid leaving puddles.
Clean the toilet bowl with its intended product and a toilet brush. Use dedicated supplies for the seat, exterior, base, and surrounding touchpoints. Never add bleach or another product to toilet cleaner, and keep toilet supplies away from other surfaces.
Finish with the floor, a fresh towel, and replacement of necessary items. Leave wet surfaces to dry and keep children and pets out until label directions and safe footing allow access. Persistent staining may need a later material-specific approach; it is not a reason to combine products.

Sunday: Refresh Bedrooms, Living Areas, and Floors
Sunday covers the drier rooms and the main floor clean. Begin with laundry only if you can complete it before your stop time. The aim is to finish with usable rooms and made beds, not a queue of wet bedding.
Sunday schedule at a glance
- 9:00–9:15: Start a planned bedding load and gather supplies.
- 9:15–10:15: Dust and detail the bedrooms.
- 10:15–10:30: Take a break and check laundry.
- 10:30–11:30: Clean living and dining areas.
- 11:30–12:15: Have lunch and remake beds when bedding is ready.
- 12:15–1:00: Vacuum and mop the remaining floors.
- 1:00–1:30: Finish laundry, return belongings, and close the checklist.
If laundry cycles run longer, use clean spare bedding or reduce the number of loads. Larger floor areas may need a separate session.
Bedrooms: clean the space you use
Dust reachable higher ledges first, followed by dressers, bedside tables, and other furniture. Lift a few objects at a time rather than placing an entire room’s contents on the bed.
Wipe compatible touchpoints and accessible baseboards. Vacuum floor edges and beneath furniture where the tool reaches comfortably. Do not move a heavy bed or dresser alone simply to meet a checklist.
Use the appropriate attachment on a mattress only if its care instructions allow it. Skip improvised soaking, scented sprays, and powders. Strip or wash covers only when their labels permit, and make sure bedding is fully dry before remaking the bed.
Closet floors can get a quick vacuum if already accessible. A closet overhaul belongs on the another-day list.
Living areas: dust before vacuuming
Work from higher reachable surfaces down to tables and lower shelves. Clean frequently handled surfaces with material-appropriate methods. Follow the device manufacturer’s instructions for televisions and other screens rather than spraying them with general-purpose cleaner.
Remove sofa cushions only if designed to come off. Vacuum crumbs from seams and accessible crevices with a suitable attachment. Check upholstery care instructions before any spot treatment; do not assume removable covers are machine washable.
Choose a few high-value details: dining-chair rungs, the entry bench, or the baseboard behind a lightweight basket. If you have time for interior window glass, work only where access is safe and follow the frame and glass guidance. Whole-house window cleaning can wait.
Finish the floors without undoing the work
Vacuum or sweep loose soil first, including room edges. Select the right setting or attachment for rugs and hard floors. Empty the vacuum and maintain its filters only as the manual directs.
Mop compatible hard flooring in small sections with the recommended amount of cleaner and moisture. Start at the far side and work toward the exit. With a flat mop, use controlled pull-back strokes to bring loose debris toward you, changing the pad when dirty.
Keep water out of seams and wipe accidental spills promptly. Bona’s wood-floor guidance cautions against excess liquid. Do not assume a steam mop is approved for wood or laminate; check the floor manufacturer’s requirements.
Let floors dry before returning rugs or allowing traffic. Skip carpet shampooing if you cannot provide the equipment, drying conditions, and time required by the carpet and machine instructions.

Adapt the Plan for Low Energy or Extra Helpers
A workable weekend deep cleaning schedule needs a smaller version. If circumstances change, reduce the scope early, before every room is half-started.
The low-energy version
Choose three short blocks, with rest between them or on separate days:
- Kitchen block: Handle dishes, clear one preparation area, wipe it, and clean the sink.
- Bathroom block: Clean the toilet and sink, replace the towel, and remove obvious floor debris.
- Bedroom and walkway block: Put fresh bedding on one bed if manageable, collect laundry, and clear essential paths.
Allow roughly 15–25 minutes for each block, adjusting freely. This is a priority reset rather than the full deep clean, and it still has value. If only one block fits, start with the area affecting meals, bathroom use, or sleep most directly.
Use long-handled tools where helpful and work at a comfortable height. Stop for pain, dizziness, or excessive fatigue. A timetable is never a reason to push through symptoms or take a fall risk.
Share complete jobs
When another adult can help, divide spaces or complete outcomes. One person can own kitchen surfaces while another handles the bathroom with separate supplies. Agree what “finished” includes: tools put away, waste removed, and the floor left safe.
Avoid both people starting laundry loads or applying different chemicals to the same surface. Briefly check in before switching rooms. Some work overlaps; some, such as using one bathroom or waiting for floors to dry, cannot be sped up simply by adding another person.
Children can contribute age-appropriate tasks with supervision, such as collecting toys, matching socks, or returning books. Adults should handle chemicals, hot water, high places, heavy lifting, and electrical appliances.
For an interrupted day, write the next specific step before stopping: “Finish rinsing the shower as directed, then return toiletries.” Secure supplies and leave the area safe immediately. Restarting is easier when you do not have to reconstruct what happened.

Keep the Progress Going After the Weekend
Before putting the checklist away, record what you finished and choose just one or two deferred jobs for later. Give each a realistic place on your calendar, or decide deliberately that it can wait. An unfinished optional task is not a debt that must be repaid on Monday.
Use a small daily reset to protect the most useful results: return a few belongings, handle dishes, wipe needed surfaces, and spot-clean obvious floor mess. Make the bed if it helps your room feel settled. Complete one laundry load when needed and feasible, including drying and putting it away.
For a simple weekly rhythm, Clean Home Challenge uses Monday for the kitchen, Tuesday for bathrooms, Wednesday for bedrooms, Thursday for living areas, Friday for floors, and Saturday for laundry catch-up. Adjust that order to your work hours and household needs. These are focus areas, not a requirement to deep clean each room every week.
Add one small detail to the relevant day when time allows: a cabinet front on kitchen day, a reachable ledge on bedroom day, or sofa seams on living-area day. A few maintained details can reduce how much accumulates before the next bigger clean.
Revisit the weekend plan based on what actually happened. If bathrooms consistently take longer, give them more space next time. If you finished with energy left, keep that margin rather than immediately filling it with more chores.
The best result is a home that works better for the people living in it, with a routine you can return to. Stop at the time you chose, enjoy the areas you refreshed, and let the remaining work have its own day.

CLEANERS CLUBHOUSE
Need Help Getting Through a Proper Deep Clean?
Follow the 7-Day Deep Clean Bootcamp when your home needs more than a quick tidy. The Cleaners Clubhouse breaks the work into achievable steps with printable support and seasonal cleaning guidance.
