

THIS POST MAY CONTAIN AFFILIATE LINKS. PLEASE READ MY DISCLOSURE FOR MORE INFO.
A mop pad folded into a damp heap, a broom leaning on its bristles, and a vacuum brush wrapped in hair can make the next cleaning job harder before you even start. Giving those tools a little attention at the end of a job makes them easier to find, use, and look after.
If you’re wondering how to store cleaning tools, start with a simple order: follow each tool’s care instructions, remove the dirt, let washable parts dry completely, and give everything a secure home. A narrow wall rail, a drying spot, and a basket for clean cloths may be all you need.
This guide focuses on the tools themselves: reusable cloths, mop pads, brushes, brooms, buckets, and vacuums. You don’t need to empty every cupboard or buy a matching organizer set. Choose the tool you use most, improve its cleanup routine, and build from there.
Allow around 15–20 minutes for an initial sort of a small collection, plus whatever washing and drying time your tools require. That is a planning estimate, not a deadline. A five-minute check can still be worthwhile when a full reset doesn’t fit your day.
Disclosure: This post may contain affiliate links. As an Amazon Associate, Clean Home Challenge earns from qualifying purchases. If you make a purchase through these links, we may earn a small commission at no extra cost to you. This helps us keep creating practical cleaning tips, routines and resources for busy families! 🧽
Start With the Tool’s Care Instructions
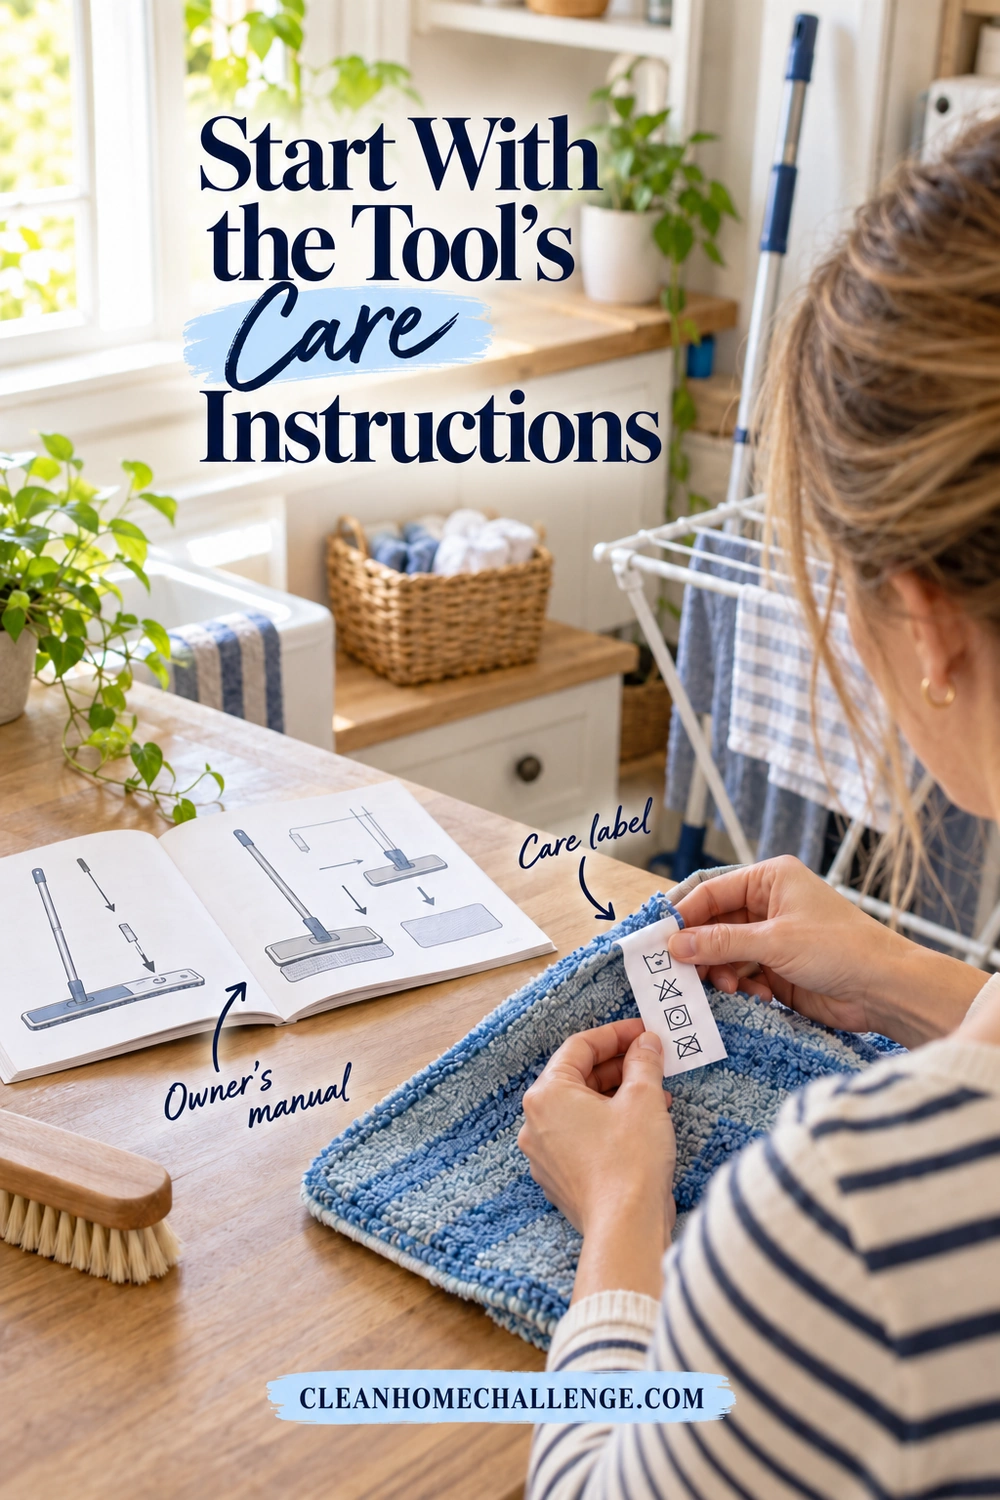
Two tools can look nearly identical and need different care. A removable mop pad may be machine washable while the frame needs wiping. A vacuum can have a washable filter and a second filter that must stay dry. Even two brush heads supplied with the same machine may have different rules.
Before cleaning, find the label, packaging, or manufacturer’s instructions for the exact product. For electrical equipment, use the model number rather than relying on a photograph that looks similar. Save the relevant page on your phone so the next check takes seconds.
Check these five things
- What comes off: Identify the parts designed for routine removal. Leave sealed housings and electrical assemblies intact.
- What can get wet: Look for an explicit washing instruction. “Removable” does not automatically mean “washable.”
- Which method is allowed: Check handwashing versus machine washing, water temperature, detergent restrictions, and drying settings.
- When maintenance is due: Note the maker’s cleaning interval, replacement guidance, and any warning indicators.
- How to put it back: Check the fitting direction, locking tabs, and requirement for fully dry parts.
For example, BISSELL’s guide for several Rewind upright models distinguishes washable filters from a nonwashable post-motor filter. That difference matters more than a general “wash your vacuum filters” tip.
Gather only what the permitted method needs: a waste container, a clean cloth, suitable detergent if specified, and a place for parts to dry. Keep electrical equipment away from the washing area. Switch it off and disconnect power before removing components, following the manual’s battery instructions for cordless models.
If the care information is missing, photograph the tool and model label and contact the maker. For now, remove accessible loose debris by the allowed dry method. Skip soaking, dishwasher cycles, high heat, and improvised chemicals until you can confirm compatibility.
Wash Reusable Cloths and Mop Pads
Start by separating used cleaning textiles from clean ones. Keep toilet-area cloths clearly identified and away from kitchen cloths. A color system can help, but a simple label works too. The useful part is that everyone in the home understands which cloth belongs to which job.
A manageable wash sequence
- Remove loose debris. Pick off hair and larger bits into the trash before washing. Check pad pockets, edge seams, and hook-and-loop backing without pulling at the stitching.
- Read the textile instructions. A flat-mop pad may include foam, adhesive, or backing with different heat limits from a plain cloth. Follow the complete pad’s label.
- Sort the load. Group items with compatible care settings and similar uses. Keep heavily soiled cleaning textiles out of an ordinary clothing load. Deal with unusual contamination according to relevant product and public-health guidance rather than this everyday maintenance routine.
- Measure a compatible detergent. Use the amount appropriate to the detergent, load, and care directions. An extra splash makes rinsing harder; it is not a substitute for a suitable wash.
- Dry using the permitted method. Open pads out and check the backing and thick edges before folding them away. Reattach them only when the instructions allow and all parts are dry.
For a product-specific example, the O-Cedar H2prO care guide permits machine or handwashing its pad in warm water, excludes bleach and fabric softener, and specifies flat drying. Those directions belong to that pad; they are not a universal mop-pad setting.
Give microfiber a little extra care
Check that your detergent does not include fabric softener, and leave out dryer sheets. E-Cloth’s care instructions explain that these products leave residue that interferes with its fibers’ ability to pick up dirt. The same guide gives different care advice for some dusting products, another reason to read the individual label.
Separating lint-shedding cotton towels is a useful precaution, especially for glass-cleaning cloths. Microfiber Wholesale’s washing guide warns that microfiber collects lint from other fabrics. Some brands allow mixed loads, so treat separation as a practical way to reduce lint rather than proof that every mixed wash ruins a cloth.
If you accidentally use softener, check the maker’s recovery advice before throwing the cloth away. E-Cloth, for instance, advises rewashing after accidental softener or dryer-sheet use. Do not turn another brand’s boiling or high-heat recovery method into a rule for all microfiber.
Have only one or two used cloths? Handwash them if their instructions permit, or dry them in a designated used-cloth area before holding them for the next suitable load. Keep that area separate from clean textiles. When possible, keep one compatible spare mop pad so cleaning does not depend on yesterday’s pad drying in time.

Clean Brushes, Brooms, and Buckets
These tools are easy to overlook because they already spend their time around dirt. A short check after use helps you notice trapped hair, residue, bent bristles, and a bucket that has been put away with water still inside.
Start dry, then wash only suitable parts
Remove caught debris over a waste container. Use the tool’s built-in cleaning comb if it has one, or follow the manufacturer’s recommended method. Avoid tugging so hard that bristles or their mounting come loose.
For a washable synthetic brush, follow its directions for washing and rinsing, then position it so water can drain and air can reach the bristles. A wooden-backed brush, natural-fiber broom, glued head, or metal fitting may need different treatment. Do not assume that a dishwasher-safe plastic handle makes the whole tool dishwasher safe.
A broom often needs only loose debris removed between more thorough cleanings. O-Cedar’s care directions for its Multi-Surface Push Broom allow shaking or rinsing after use and recommend hanging for storage. For your own broom, check the material and instructions before rinsing. Store it securely without crushing the bristles against the floor or another tool.
Empty and check the bucket
Dispose of used cleaning water as its product label and local requirements direct. Remove grit before it dries into the bottom. Wash or rinse the bucket according to its instructions, check the rim and handle connections, and leave the interior able to drain and dry.
Buckets with wringers, water tanks, or pump parts need their own guide. Do not pry apart a mechanism simply because residue is visible. For example, O-Cedar’s RinseClean instructions explain how to drain the clean-water tank and leave its designated openings open to air-dry. Follow the openings and removal steps for your particular system.
Keep toilet brushes and plungers in their own dedicated area and holders. Never wash them alongside kitchen brushes or put them into the shared clean-tool basket. Clean the holder as its maker directs, too. OXO’s compact toilet-brush holder uses a ventilated drip tray to let collected moisture evaporate; whatever holder you have, keep its drainage and ventilation working.
Washing and drying a tool is routine cleaning. It does not justify calling it disinfected. If a particular situation requires disinfection, use guidance and a labeled product compatible with that tool, without mixing cleaners.

Maintain Your Vacuum Without Damaging It
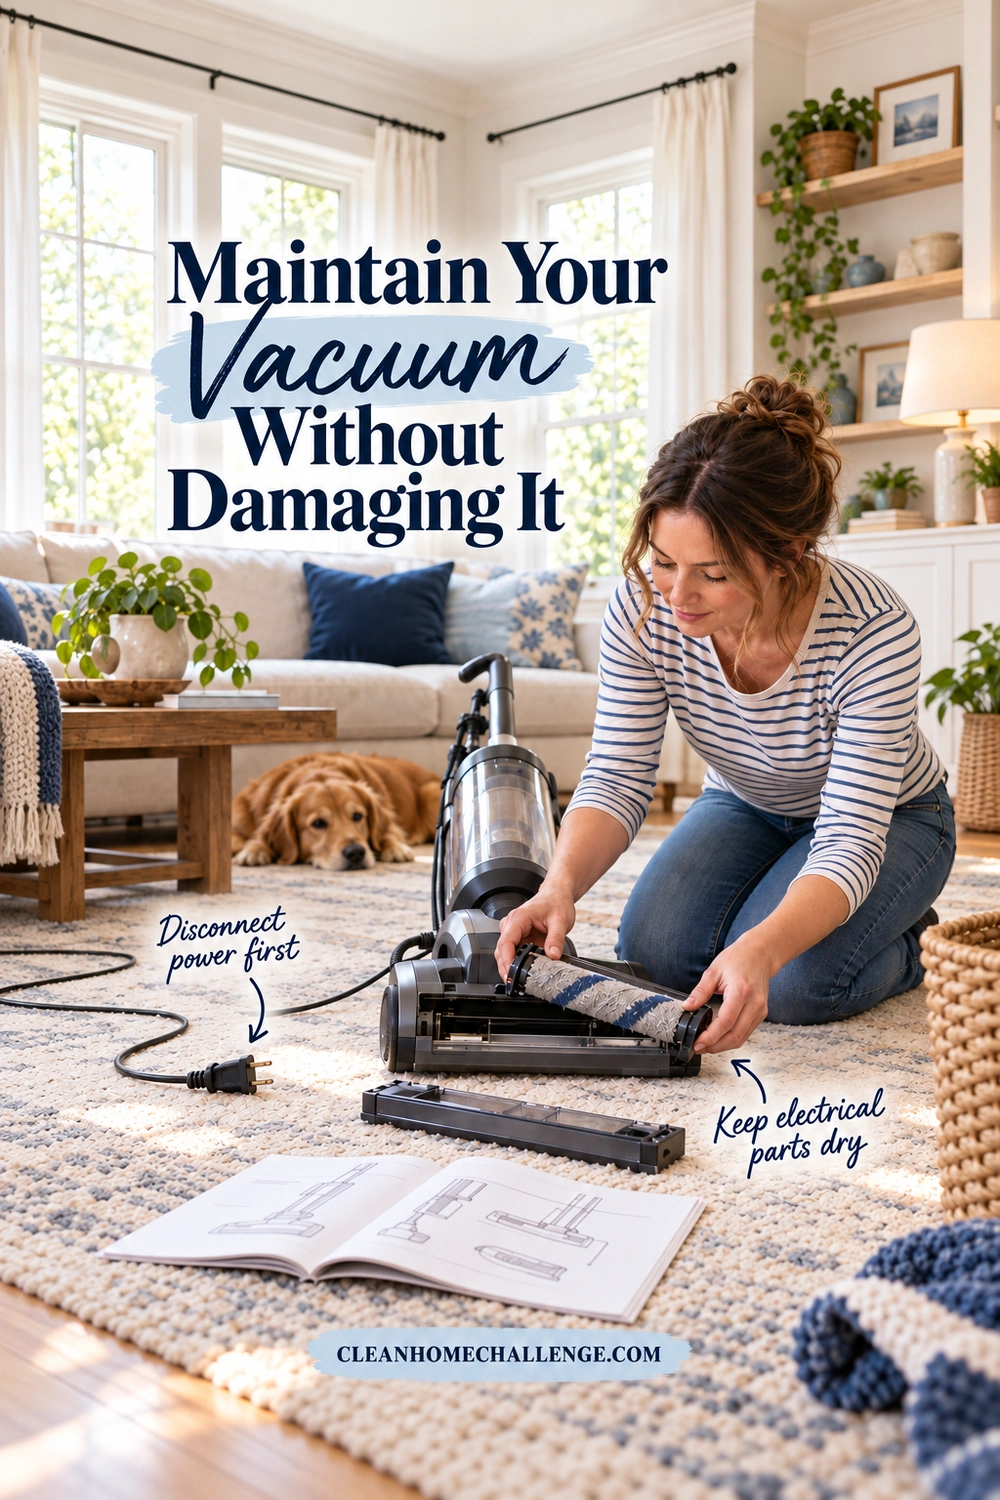
Vacuum maintenance works best as a model-specific checklist. Emptying the bin, removing wrapped hair, and checking accessible airways are different jobs from washing a filter. Put the vacuum on a stable, dry surface with enough room to keep small removable parts together.
Disconnect it before checking the brush
Turn the machine off, unplug a corded model, and disconnect a cordless model from its charger. Follow any instructions for removing a user-removable battery; do not open a sealed battery housing. Allow hot parts to cool as directed, and keep fingers away from switches or triggers while working.
To clean a vacuum brush, open only the access points shown in the manual. Lift off loose hair and threads using the permitted method. If the maker allows cutting wrapped strands, follow its directions carefully so you do not cut bristles, belts, or seals. Avoid forcing a tight roller or prying out a part that is not designed for routine removal.
Check the ends of the brush, visible wheels, and the cleaner-head opening. Stop if you find a cracked part, a damaged cable, a loose electrical connection, or anything that needs a repair beyond routine user maintenance.
Keep water away from nonwashable parts
A brush roll can be removable and still need dry cleaning. Dyson’s Digital Motorbar guidance says that its brush bar is not washable. Other heads have different directions, so do not borrow a soft-roller washing method for a Motorbar.
The same caution applies to bins and filters. Empty a dust container before it exceeds the marked limit, but only rinse it if the manufacturer explicitly permits that step. Keep the motor body, battery, charger, electrical contacts, and motorized housings dry. Do not spray cleaner into the vacuum or run the assembled head under a faucet.
Identify each filter before doing anything
Find out which filters are washable, which need a permitted dry-cleaning method, and which must be replaced. Use the exact water and detergent directions for any washable filter. A foam filter and a pleated filter in the same machine may need different care.
Drying takes longer than the hands-on job. Dyson’s filter-care guidance specifies cold-water washing without detergent for the filters it covers, followed by drying until completely dry. It gives a 24-hour drying period and excludes tumble dryers, microwaves, and naked flames. Other models can require longer. Follow your manual’s minimum and wait beyond it if any moisture remains.
Never run the machine with a required filter missing or still damp. Before reassembly, check that parts are dry, seated correctly, and latched as instructed. Store the vacuum in its approved position and keep the cord supported without sharp bends. For cordless machines, use the specified charger and location conditions rather than squeezing the charging setup under a wet-tool rack.
Dry Tools Before You Put Them Away
A place to dry tools is part of a useful storage system. It can be a short laundry rail, a suitable hook over a utility-sink draining area, or a small rack that you put out after cleaning.
Spread cloths and pads so their surfaces are exposed. Separate neighboring items instead of draping several wet layers over one bar. Position washable brushes so water can drain from the head, and keep bucket interiors open until dry. Use a suitable drip tray where needed, then empty and dry the tray too.
Check the parts that stay damp longest: thick pad seams, foam backing, brush bases, bucket rims, and washable filter folds. A dry-feeling outside does not tell you that the center is ready. Follow any manufacturer-stated drying period as well as checking the condition of the item.
Avoid these common shortcuts
- Folding a damp pad into a basket of clean cloths
- Leaving a wet mop standing in its bucket
- Closing a cupboard around dripping tools
- Adding radiator, hair-dryer, or oven heat that the instructions do not allow
- Returning a damp filter to service because you need the vacuum today
Keep the drying area away from food preparation, electrical equipment, and places where children or pets can reach used tools. Do not balance a brush or mop where it could fall or drip onto a walking route.
If drying is slow, improve the spacing and choose a more suitable ventilated spot. A compatible spare can bridge the gap. If a tool still smells after an appropriate wash and complete drying, check for hidden residue and follow the maker’s further-care or replacement advice. Covering the smell with fragrance leaves the underlying problem unresolved.

Build a Simple Cleaning-Tool Storage Zone
Good storage makes the next job easy to start. Begin with the space and tools you actually have, then decide whether anything is missing. You may be able to reuse a shallow basket or an existing shelf before buying an organizer.
Give each kind of tool a clear home
Long handles: Use a secure hook or holder sized for the handle and weight. Leave enough space to remove one broom without knocking down the mop. Keep bristles clear of pressure and avoid forcing a mop joint into a bent position.
Clean, dry textiles: Fold or loosely stack them in a clean basket or drawer. Group them by purpose so a bathroom cloth is not mistaken for a kitchen cloth. A plain written label is enough; you do not need a new color-coordinated collection.
Used textiles: Give fully dry used cloths a separate, clearly marked holding basket until washing. Continue to keep toilet-area textiles separate from kitchen items. A damp cloth belongs in the designated drying or immediate-wash route, not buried in a closed hamper.
Small attachments: Put dry vacuum nozzles and compatible spare parts together where you can see them. Check the fit before discarding packaging with the part number. Store the manual link with that number if several family members use the equipment.
Buckets and appliances: Keep them stable and accessible without blocking a door or walkway. Fully dry buckets can be stored together if their shape and instructions allow it. Avoid jamming a heavy item inside one and stressing its handle or rim.
Work with a small space
A slim section of laundry wall may hold the broom and mop while a nearby shelf holds cloths. In a closet, measure handle height, door clearance, and the space needed to lift tools out before fitting a rail. A behind-door option should let the door open and close normally.
Follow the organizer’s installation instructions, wall-surface requirements, and weight limit. A hook that holds an empty cloth bag is not automatically suitable for a vacuum. Use the appliance’s approved bracket where required, and keep charging equipment clear of damp items.
If you cannot mount anything, a stable freestanding holder may work. Check that it supports tools without crushing bristles or tipping when one is removed. You can also keep the drying spot separate from final storage; the whole process does not need to fit inside one cupboard.
The simplest test is practical: can you take out a tool, put it back, and see whether it is clean and dry? If that feels awkward, move one item or reduce crowding before adding another container.

Keep Tools Ready With a Small Routine
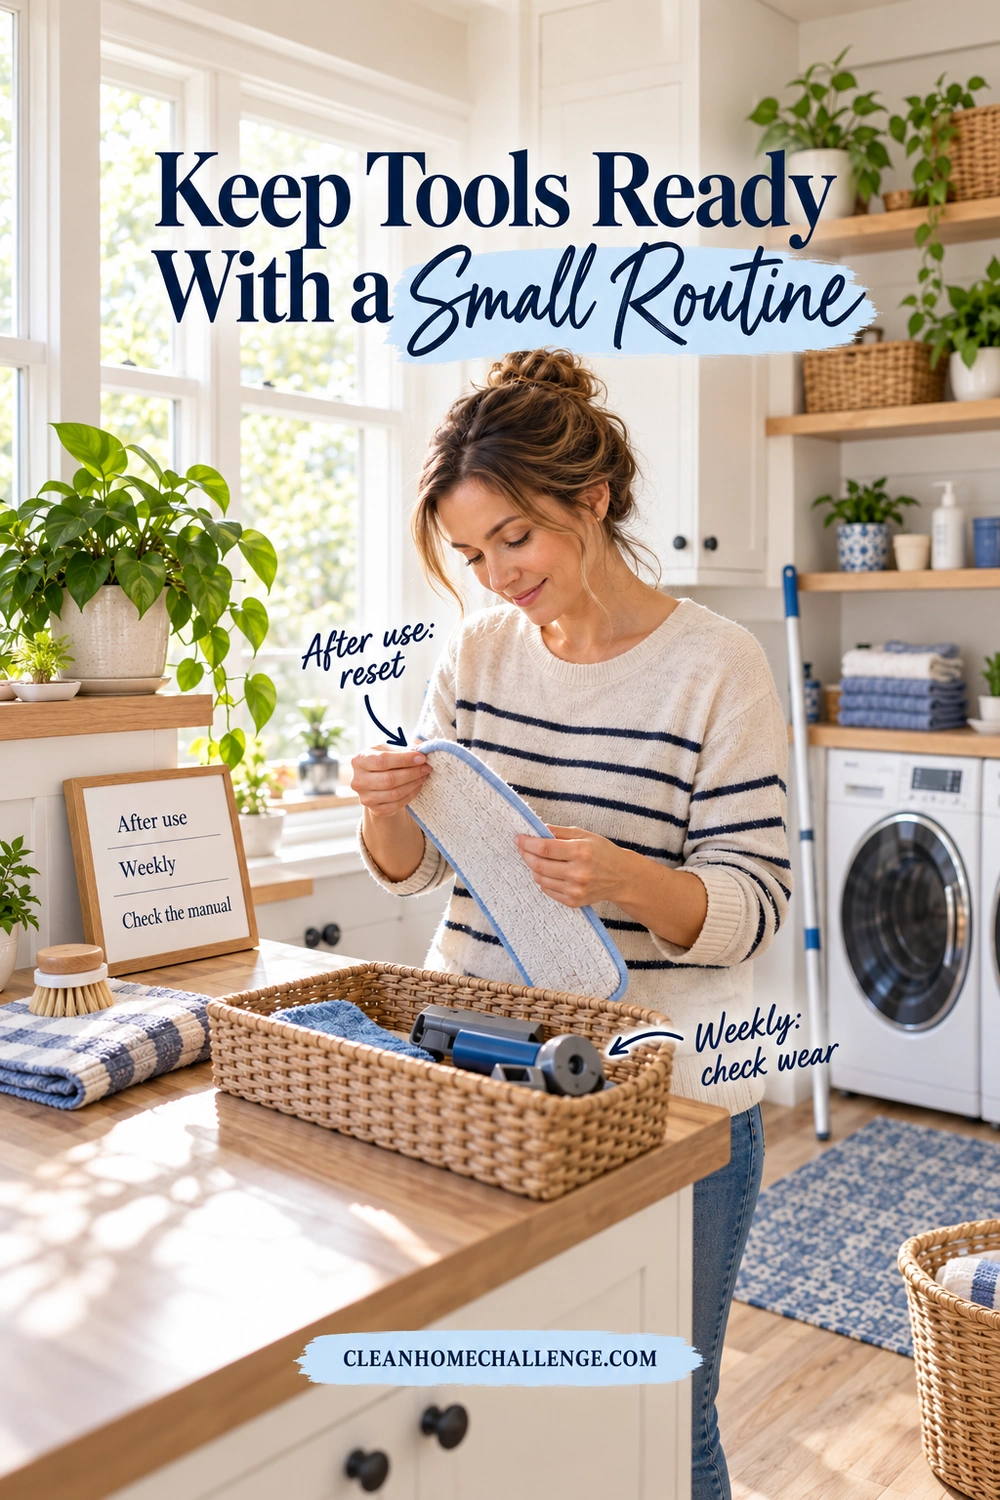
Cleaning tool maintenance is easier when it has a place in an existing habit. Try a short after-use reset and a weekly glance at the tools you reach for most. Keep the manufacturer’s maintenance intervals alongside that routine rather than replacing them with a generic schedule.
After each cleaning session
Remove obvious debris, deal with used cloths or mop pads, and empty and care for the bucket as directed. Set washable parts out to dry. Check the vacuum’s fill line when you finish using it and empty or change its container or bag when required.
If you are tired, prioritize getting wet items into a safe drying or washing setup. The cupboard can look ordinary. You can straighten the baskets later.
Once a week, take a quick look
Choose a convenient moment, such as after Friday’s floor cleaning or during Saturday’s laundry catch-up. Check for wrapped hair, clogged attachment openings, loose handles, frayed pad seams, and crowding in the storage area. Wipe the shelf or drip tray as needed and put dry tools back in their assigned places.
A five-minute check is a useful starting point. Actual washing, repairs, and drying take their own time. Put a due-date reminder in your calendar for any filter or other component that needs scheduled attention under the manual.
Replace the part that has stopped doing its job
Look for pads that will not stay attached, split backing, damaged handles, badly distorted bristles, or persistent poor performance after appropriate cleaning. Follow the maker’s replacement advice and stop using unsafe damaged equipment. A stained cloth that still cleans properly is a different issue from a torn pad that will not grip its frame.
Before buying, confirm the model and part number. Similar-looking mop refills and vacuum filters are not necessarily interchangeable. One suitable spare is more useful than several parts that almost fit.
Start with one change today: hang the broom securely, open out the wet mop pad, or label the clean-cloth basket. A small, repeatable reset gives your tools a better chance of lasting and leaves you with less preparation next time the floor needs attention.
CLEANERS CLUBHOUSE
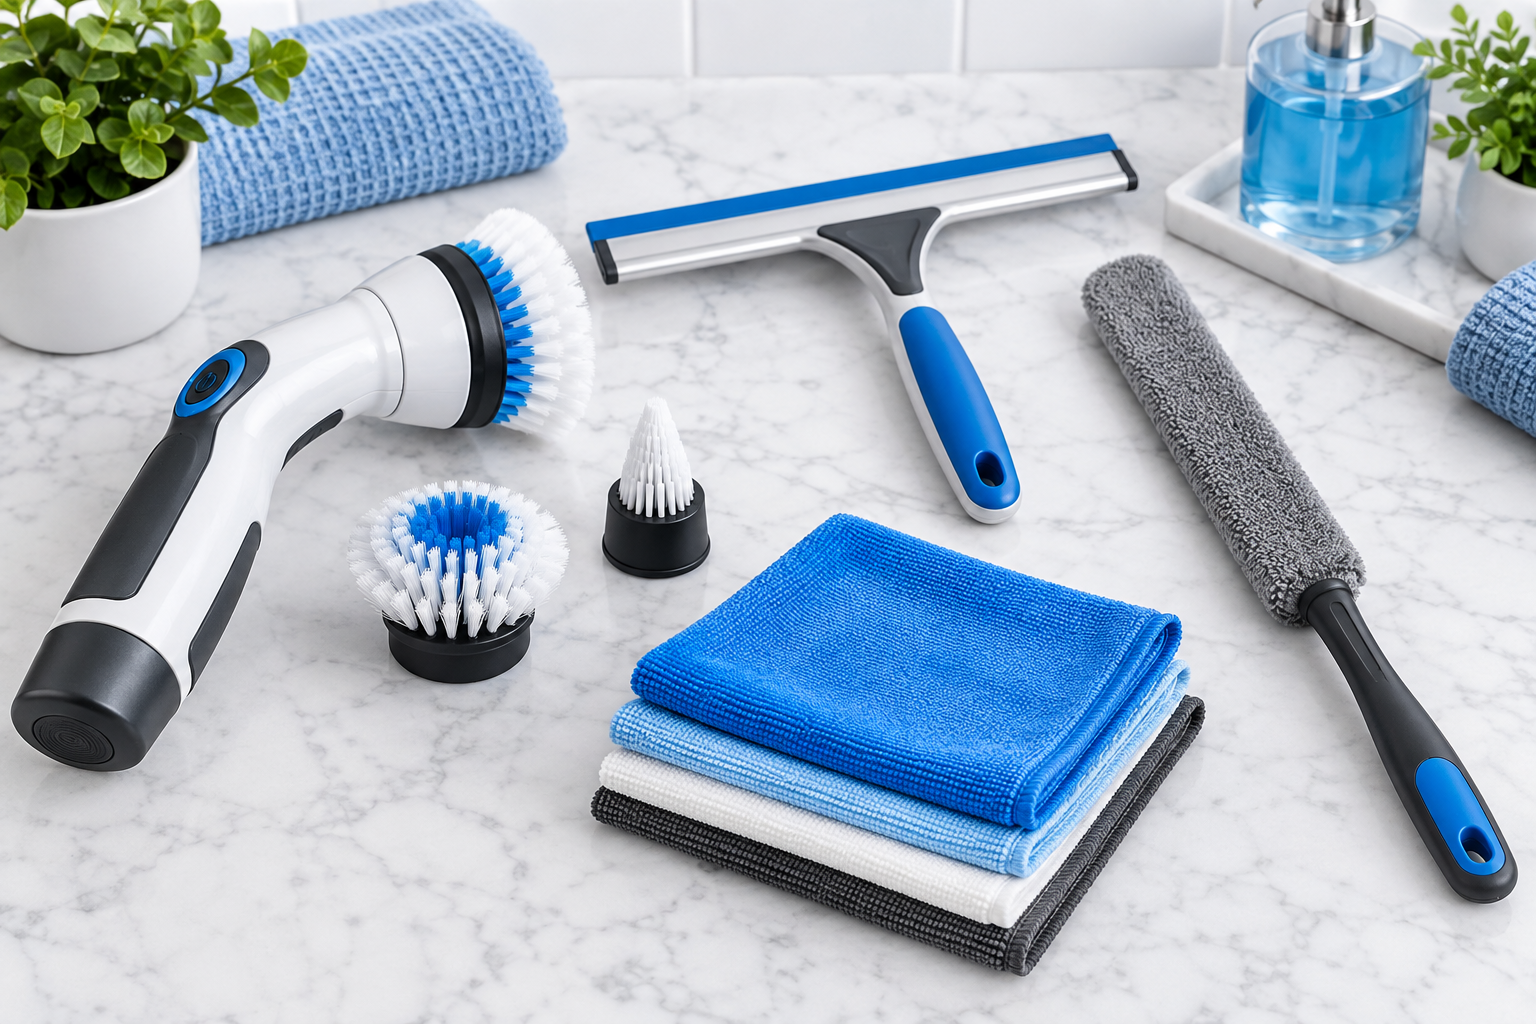
Use the Right Tools With a Routine That Works
Good cleaning tools work best when you know where and when to use them. Inside the Cleaners Clubhouse, recommended products sit alongside practical routines, printable worksheets and monthly challenges.
