

THIS POST MAY CONTAIN AFFILIATE LINKS. PLEASE READ MY DISCLOSURE FOR MORE INFO.
A mudroom earns its keep on the days when everyone arrives home with something wet, gritty, or covered in dog hair. The trouble starts when yesterday’s muddy shoes are still sitting in today’s puddle and a backpack lands on top of both.
If you’re wondering how to clean a mudroom without turning it into a weekend project, start with the mess that can spread: standing water, pet accidents, and loose grit. Then clean the surfaces, give damp belongings room to dry, and leave a clear route through the door.
This mudroom cleaning routine is a working-room cleaning plan, so you don’t need matching baskets or an empty bench. You need a manageable order and a few decisions about what can get wet. The reset below suits a separate mudroom, a laundry entrance, or a small back-door corner. All suggested task times are planning estimates, excluding laundering, product contact times, and drying.
Disclosure: This post may contain affiliate links. As an Amazon Associate, Clean Home Challenge earns from qualifying purchases. If you make a purchase through these links, we may earn a small commission at no extra cost to you. This helps us keep creating practical cleaning tips, routines and resources for busy families! 🧽
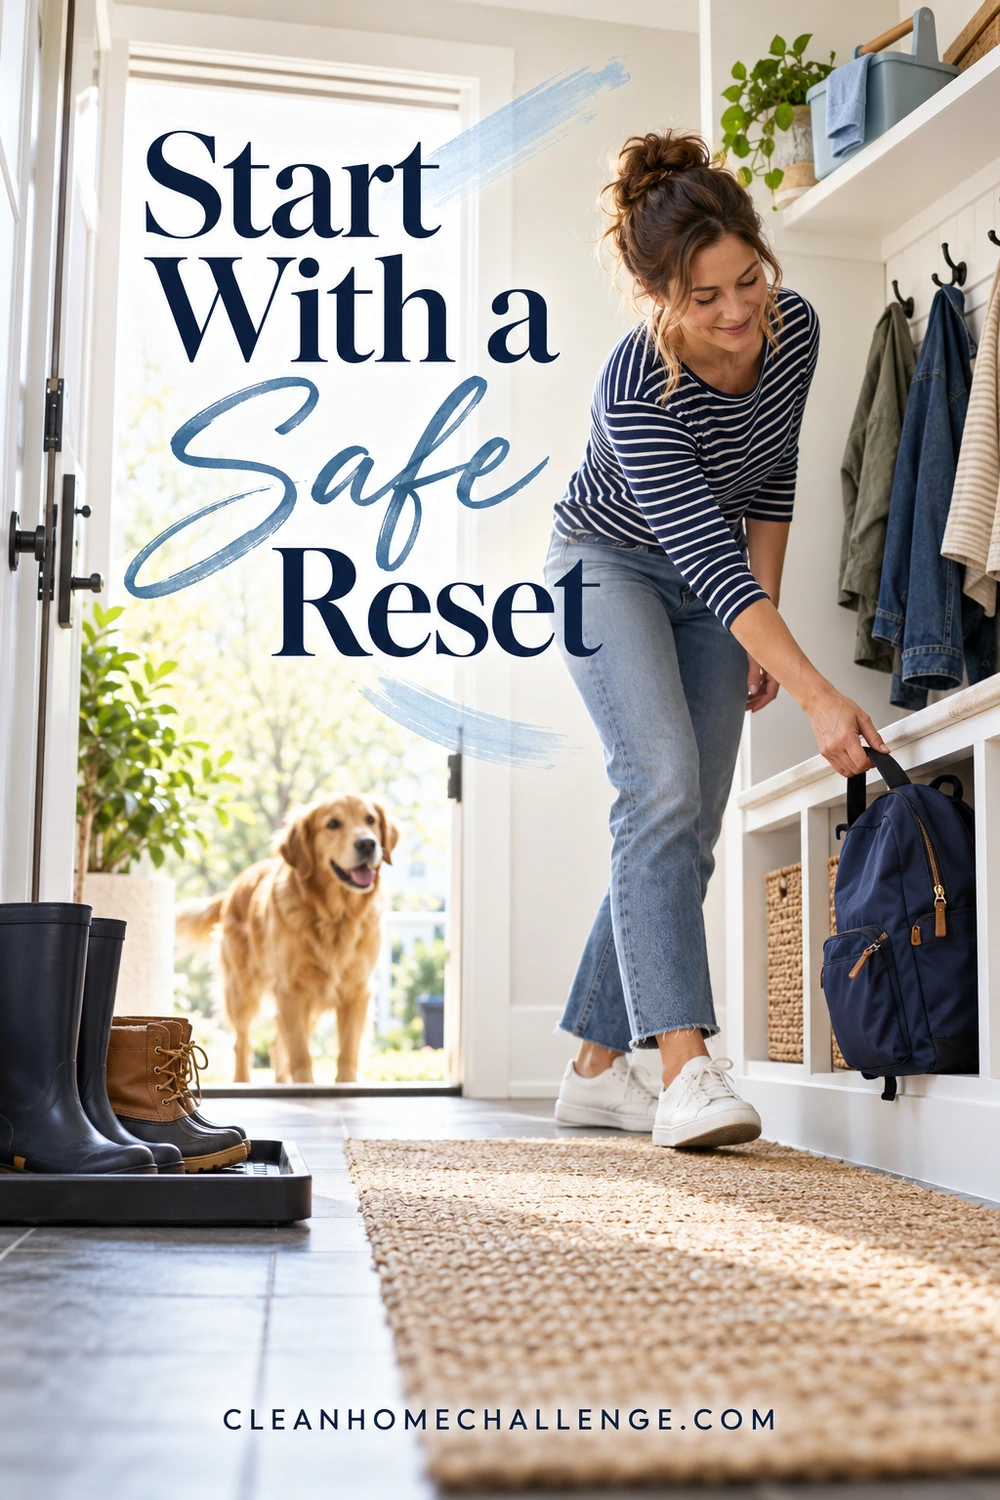
Start With a Safe Reset
Before moving everything, decide what needs immediate attention. Blot puddles, keep people away from a slippery patch, and contain any pet accident. Leave those areas separate from ordinary dusting and sweeping. A wet floor does not need to wait while you sort gloves.
Next, make enough space to clean one section at a time. Put dry shoes together, hang bags away from the cleaning area, and carry lunch containers to the kitchen. Move damp coats and towels to an appropriate drying or laundry spot. Leave an exit clear throughout the job, including enough clearance for the door to open fully.
Gather a small, useful kit
- A soft broom and dustpan or vacuum with a floor-appropriate attachment
- Several washable cloths and an absorbent towel
- A floor-compatible cleaner and a clean flat-mop pad
- A soft brush for the shoe tray and approved washable surfaces
- A trash bag and gloves appropriate for the cleaner or mess
- A separate pet-mess cloth supply or disposable absorbent material
You may already own everything you need. Keep clean cloths away from the shoes and use separate cloths for bag interiors, general surfaces, and pet mess. Chemicals should stay in their original labeled containers, secured away from children and animals.
Check the surfaces before choosing the cleaner
Look up the floor and bench care instructions if you have them. A stone-look floor could be vinyl, porcelain, or natural stone, and those materials do not share every cleaning method. Check labels on mats, shoes, and bags too. When the material or finish is uncertain, remove loose debris and moisture gently, then ask the manufacturer or installer before using a treatment.
Routine cleaning removes dirt and many germs; disinfection is a separate step. CDC guidance says routine home disinfection is generally unnecessary unless someone is sick. If disinfection is needed, clean first, choose a product approved for the surface, and follow its wet contact time. Never mix cleaning products. Ventilate as directed and follow protective-equipment instructions. CDC home cleaning guidance
For a low-energy day, make your goal smaller: deal with liquids, clear the walking path, and put wet gear somewhere it can dry. That is a useful reset even if the shelf still needs wiping.
Lift Mud and Grit First
The first full cleaning pass is about picking things up rather than spreading them around. Mopping over sandy footprints can turn a small dirty patch into a room-wide gray film.
Start at the bench and low shelves. Lift belongings rather than wiping around them, and collect loose debris with a dry cloth or suitable vacuum attachment. Work down toward the floor. Save wet wiping for after the loose dirt is gone.
Separate wet mud from dry dirt
For fresh mud on a hard floor, lift the bulk gently with absorbent material, avoiding pressure that drags stones across the finish. Blot remaining moisture promptly. Do not leave a puddle to dry on wood or around flooring seams.
For dry grit, use a soft broom or a vacuum head suitable for the floor. Pay attention to the door threshold, the space beside the shoe tray, and underneath bench legs. Never use a dry-only vacuum for liquid or wet mud. Check the vacuum’s instructions before using any powered brush attachment on a hard surface.
Take mats outside for loose-dirt removal when their construction allows it, without shaking debris toward people or open windows. Clean the exposed floor beneath them. If the mat is washable, follow its label rather than assuming it can go into the washing machine. Return it only when both the mat and the floor are dry.
Wash the boot tray separately
Carry the tray level so collected water does not spill. Remove stones and mud into the trash rather than washing a pile of sediment down a drain. Clean the tray using a method its manufacturer permits, including raised ridges and corners, then rinse if required and dry it. Wipe and dry the underside before replacing it.
Check that the tray and mat backing suit your flooring. Some Shaw resilient-floor guidance warns that rubber or latex-backed mats can discolor the floor, so a tray that looks practical still needs a compatibility check. Shaw resilient-floor care
Finish with a surface-safe floor clean
- Wood: Use the cleaner recommended for its particular finish. The National Wood Flooring Association advises against wet and steam mops and recommends removing spills promptly with a dry or slightly damp cloth. NWFA maintenance guidance
- Luxury vinyl: Follow the product-specific guide; do not assume a waterproof claim permits every chemical or cleaning machine. Shaw advises avoiding abrasive, ammonia-based, and vinegar-based cleaners on its luxury vinyl. Shaw luxury-vinyl care
- Ceramic or porcelain tile: Choose a cleaner approved for both the tile and grout, following dilution and rinsing directions. Natural stone needs a different care routine. Daltile tile-care guide
- Natural stone: Use a suitable stone cleaner. Avoid acidic shortcuts such as vinegar or lemon on marble and limestone; abrasive products can scratch stone too. Daltile stone-care advice
- Laminate or an unidentified finish: Find the specific care instructions before damp cleaning, especially around seams or worn edges.
Where a flat mop is approved, use controlled pull-back passes toward yourself, working toward the exit. Change a dirty pad instead of repeatedly pushing it over the floor. Keep moisture within the floor manufacturer’s limits and leave the walking surface dry before normal traffic resumes.

Dry Shoes Without Trapping Damp
A tidy-looking row of boots can still hide wet insoles and a puddle underneath. Treat drying as part of cleaning, rather than the thing that might happen after the shoes are put away.
Keep only the current wet pairs in the drying area. Move dry footwear out of the splash zone, and avoid stacking one wet shoe inside another. A tray catches drips; it does not make standing water disappear.
Give each pair a simple check
- Remove obvious clumps from the soles over a suitable catch surface.
- Check the care instructions for the upper material and any waterproof treatment.
- Open laces or fastenings enough to let air reach inside.
- Remove insoles only if they are designed to come out, and dry them separately as directed.
- Leave space between pairs, then check the tray for new drips later.
Nike’s sneaker-care instructions recommend gentle dry brushing, careful hand cleaning, and air-drying at room temperature. Nike also advises against putting its shoes in the washing machine. Use those instructions for suitable Nike footwear, not as permission to wash every boot, suede shoe, or leather upper the same way. Nike shoe-cleaning guidance Nike washing-machine advice
Avoid improvising with a hair dryer, radiator, or tumble dryer. If you use a purpose-made shoe dryer, check both the dryer instructions and the footwear care guidance, including heat restrictions. Keep electrical equipment and cords away from pooled water and out of the walking route.
Solve the damp source before masking odor
If the room smells stale, check inside shoes, under the tray, behind a folded mat, and inside a damp sports bag. Empty trapped water, remove dirty socks, and clean only by the relevant care instructions. Fragrance does not tell you whether the damp source is gone.
There is no reliable universal drying time for footwear. Thickness, weather, and ventilation all matter. Check the inside before returning shoes to closed storage, and allow more time when they still feel damp. Rotating to a dry pair is more practical than putting a wet pair into a closed cubby overnight.
For the room itself, persistent moisture needs attention. EPA guidance emphasizes fixing water sources and drying water-damaged areas and items within 24–48 hours to help prevent mold. That is a moisture-response guideline, not a promise that every shoe will dry on that schedule. Investigate repeated puddles or a continuing musty smell rather than repeatedly covering them up. EPA moisture guidance

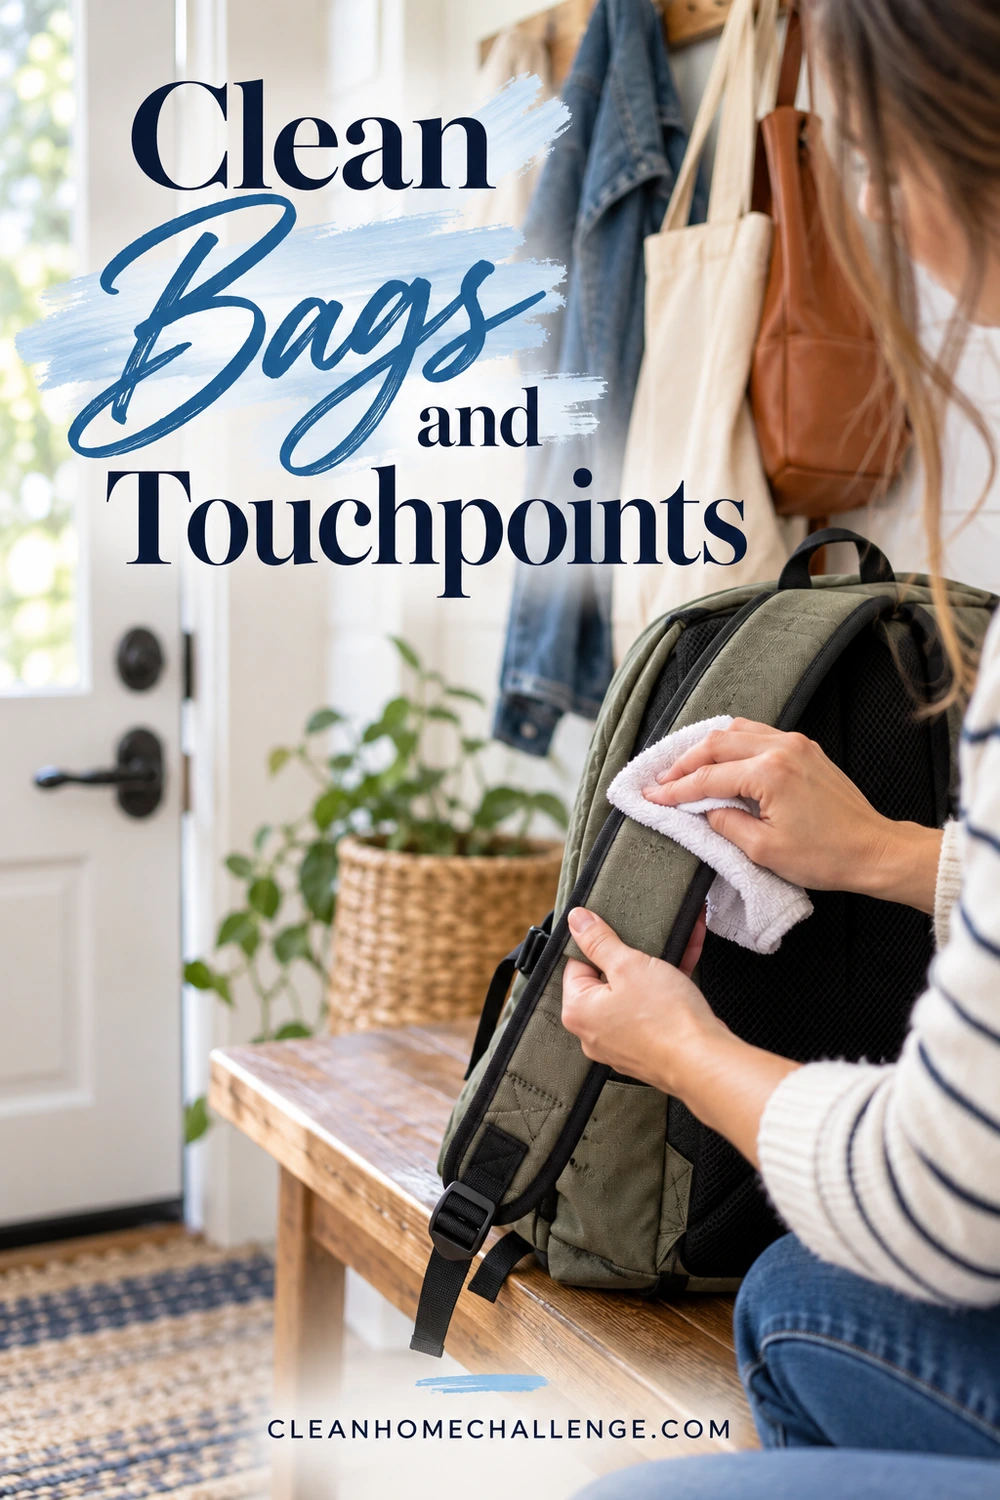
Clean Bags and Touchpoints
Bags bring a different kind of mess: sandy seams, snack crumbs, leaking bottles, and a damp underside that was sitting on the ground. Cleaning the outside while leaving the pockets full rarely solves the whole problem.
Start with one bag so important contents do not get mixed up. Empty every pocket, remove electronics and paper, and check lunch compartments. Collect crumbs over the trash and use a suitable vacuum attachment for dry debris if the bag’s construction permits it. Look inside folded seams and around zipper ends.
Choose care by the bag, not its appearance
A fabric-looking backpack can contain coatings, stiffening panels, leather trim, or components that do not tolerate machine washing. JanSport recommends gentle cloth cleaning for its backpacks and cautions that leather or suede details can be damaged by water. This is a useful reminder to read your own bag’s instructions before soaking it. JanSport backpack-cleaning guide
Patch-test an approved cleaner where it will not show. For spot cleaning, support the fabric and use a clean cloth rather than saturating the whole bag. Remove residue as the care instructions require. Open the compartments for drying, and wait until the bag is fully dry before repacking it. A detachable lunch bag may have different instructions from the backpack it fits inside.
If a drink leaked onto homework or charging equipment, separate those items before continuing. Do not spray cleaning liquid near electronics or push moisture into ports. Follow the device manufacturer’s guidance for anything electrical.
Wipe the places hands and shoulders reach
Work through the bench, hooks, handles, and washable marks on doors or walls. Apply a surface-approved cleaner to a cloth when appropriate rather than spraying broadly over hooks, bags, and nearby electrical fittings. Use light pressure on painted surfaces and stop if color or finish transfers to the cloth.
Include the front edge of the bench, where hands steady shoes, and the low cupboard pull used every morning. These often need attention before a high shelf does. Keep cloths used around shoe soles or pet accidents away from these touchpoints.
When returning belongings, leave bag bottoms away from the wet-shoe tray. Hang only what the hook or rail can safely support. This small separation keeps a freshly cleaned bag from landing back in the next puddle and saves repeating the job tomorrow.
Handle Pet Mess Safely
Pet mud, loose hair, and accidents need different responses. Keep the cleanup calm and move the pet out of the active cleaning area before using household products. A familiar, dry resting spot elsewhere is helpful while the floor is wet.
For muddy paws and wet coats
Keep a clean, absorbent pet towel within easy reach. For ordinary dirt, use a water-dampened cloth or rinse as appropriate for your pet, then dry gently. Do not use floor cleaner, disinfectant, or household cleaning wipes on an animal. If something unusual or potentially hazardous is on the coat or paws, contact your veterinarian rather than experimenting with a household solvent.
After winter walks, ASPCA advises washing and drying pets’ feet to remove ice, salt, and chemicals and checking for redness or cracked pads. Ask your veterinarian about persistent irritation or pain. ASPCA winter paw guidance
Put used towels into the appropriate laundry routine and dry them fully before reuse. Avoid leaving a damp towel wadded inside the leash basket. Keep a clean replacement ready so the next walk does not start with yesterday’s muddy cloth.
For hair collecting around the edges
Remove loose hair before damp cleaning. Work around bench feet, along the baseboard, and beneath removable bedding using tools suitable for those surfaces. Lift washable bedding, follow its care label, and clean the area underneath. Empty collected debris as the vacuum instructions direct.
A short edge pass can be enough between fuller cleans. If hair keeps returning to one corner, make that corner part of the daily spot check rather than recleaning the entire room.
For urine, feces, or vomit
- Keep children and pets away from the spot and wear suitable gloves.
- Pick up solids and blot liquids with absorbent material. Avoid rubbing the mess across a larger area.
- Bag waste appropriately and use separate cleaning materials for the contaminated patch.
- Choose a product whose label covers the mess and the actual surface. Check exclusions and test in an inconspicuous area.
- Follow its application, treatment time, rinsing, and drying instructions exactly. Wash your hands after cleanup.
An enzymatic stain-and-odor product can be useful where its label permits, but it is not automatically a disinfectant or safe for every floor. ASPCA advises allowing enzyme cleaners to dry before pets return to treated areas. Follow any stricter label precautions. ASPCA household-product guidance
Do not transfer a carpet-soaking method to wood, laminate, or flooring joints. For example, Nature’s Miracle’s hard-floor cleaner excludes visibly worn, unsealed, or unfinished floors and warns against applying it directly to pets. Product compatibility matters even within the same brand. Nature’s Miracle hard-floor directions
If liquid has reached seams, padding, or unfinished material, surface wiping may not remove the source. Consult the flooring or textile manufacturer or a qualified cleaner. Repeated or sudden accidents also deserve veterinary advice; stronger fragrance is not a solution to a pet-care problem.

Match Cleaning to the Weather
A mudroom used during a dry week needs a different rhythm from one handling three rainy school pickups a day. Let actual mess set the frequency rather than treating the calendar as a rule you have failed.
Rainy days: check water between arrivals
After a busy arrival, check the tray, wet mat, and path beyond the doorway. Blot pooled water, separate damp shoes, and hang outerwear with room to dry. Swap a saturated washable mat for a dry compatible one when available. Wash the dirty mat according to its label rather than leaving both mats piled in the corner.
Snow and ice: remove tracked-in residue promptly
Catch melting snow before it spreads. Pick up loose grit, then remove salt residue with a method approved for the floor. Avoid reaching automatically for vinegar, which is unsuitable for some flooring and stone. Include paws, the threshold, and the tray edges in the check after winter walks.
Dry, dusty weather: prioritize loose debris
A quick broom or vacuum pass may be more useful than another wet mop. Clean dry dirt from mats and check beneath the tray. Damp-clean only where needed and where the surface permits it. Dusty sports shoes can stay in the arrival area until their soles are brushed.
Build a flexible weekly rhythm
Try a brief arrival reset and one more thorough clean each week, adjusting for use. A typical arrival reset might take an estimated three to five minutes; a fuller pass might take an estimated 20–35 minutes in a small, moderately soiled space. These are starting points, not performance targets.
On Friday floor day, include the mudroom’s corners, tray underside, and mat area. Saturday laundry catch-up can include washable pet towels or mats when their care labels allow, but contaminated or persistently wet items should not wait for the weekend.
Share safe, age-appropriate jobs: returning dry shoes, hanging an empty bag, or reporting a wet mat. Adults should handle chemicals and pet waste. Give each job a clear finish, such as “dry shoes off the tray,” so helping does not require guessing what “clean the mudroom” means.


CLEANERS CLUBHOUSE
Follow a Simple Room-by-Room Cleaning Plan
Break the house into manageable spaces and know exactly where to focus next. The Cleaners Clubhouse gives you a follow-along 12-month calendar, printable worksheets and motivating monthly challenges.
Use the Mudroom Reset Worksheet
Copy this worksheet into a note or print this section. Fill in the care details once, then use the checkboxes for the next reset. Leave anything unknown blank until you have verified it.
My surface and supply notes
- Floor material and finish: ____________________
- Manufacturer’s care page or saved instructions: ____________________
- Approved floor cleaner and any dilution: ____________________
- Mat washing and drying instructions: ____________________
- Shoe or bag care exceptions: ____________________
- Pet-mess product, approved surfaces, and label instructions: ____________________
- Clean towels stored here: ____________________
- Wet items will dry here: ____________________
Every-arrival check
- [ ] Contain accidents and blot standing water promptly.
- [ ] Keep the walking path and door clearance open.
- [ ] Separate wet footwear from dry belongings.
- [ ] Hang damp gear with space to dry.
- [ ] Check the tray and replace wet towels when needed.
Fuller cleaning reset
- [ ] Empty pockets and remove food or leaking containers.
- [ ] Lift loose grit and hair from surfaces and floor edges.
- [ ] Clean the tray, including underneath it.
- [ ] Clean mats according to their care labels.
- [ ] Wipe the bench, hooks, and frequently touched handles.
- [ ] Clean the floor with its approved method.
- [ ] Return belongings only when relevant surfaces are dry.
- [ ] Wash or dispose of cleaning materials appropriately.
One thing to make next week easier
The mess that repeated most was: ____________________
One small change I will try: ____________________
My next fuller reset: ____________________
Choose something specific: a second clean paw towel, fewer shoes in the drying area, or checking the tray after the afternoon walk. You don’t need to redesign the room to make it easier to use.
A successful mudroom reset leaves the essentials working: a safe path, contained dirt, drying gear, and a clean place for tomorrow’s bags. Start with those, and let the rest fit the time and energy you have.

