

THIS POST MAY CONTAIN AFFILIATE LINKS. PLEASE READ MY DISCLOSURE FOR MORE INFO.
A useful Christmas cleaning checklist starts with the rooms you will use, the time you actually have, and a clear place to stop. A kitchen you can cook in, a comfortable bathroom, and somewhere for guests to sit will do more for Christmas than polishing every hidden shelf.
The plan below spreads holiday house cleaning across two weeks, with one manageable task on most days and room for missed days. You can use it before a big family gathering, an overnight visit, or a quiet Christmas at home. Move the dates to match your first guests rather than automatically counting backward from December 25.
For this checklist, deep cleaning means giving selected areas a little more attention than your usual weekly reset. It does not mean emptying every cupboard. Work on the spaces that make daily life and hosting easier, then let your regular habits maintain them.
If you have only a day or two, begin with the kitchen, the bathroom guests will use, and clear walking routes. The final section gives you a shorter arrival-day checklist. All suggested task times are planning estimates; your room size, mobility, energy, and starting point may make them longer or shorter.
Disclosure: This post may contain affiliate links. As an Amazon Associate, Clean Home Challenge earns from qualifying purchases. If you make a purchase through these links, we may earn a small commission at no extra cost to you. This helps us keep creating practical cleaning tips, routines and resources for busy families! 🧽
Choose Your Holiday Cleaning Priorities
Before opening a cleaning cupboard, take a five-minute walk through your home. Follow the route a guest will take from the front door to the bathroom, kitchen, living area, and their sleeping space, if needed. Notice what would make those rooms easier to use. Write down specific jobs such as “clear the coat hooks” or “make room for two serving dishes in the refrigerator.”
Choose a small finish line
Give each task one of three places on your list:
- Needed before guests: clean toilet and sink, usable food-preparation space, clear entry and walkways, enough clean dishes, and fresh bedding for overnight visitors.
- Helpful if time allows: wiping visible cabinet fronts, dusting reachable shelves, washing a marked throw, and clearing one guest drawer.
- Can wait: organizing stored paperwork, deep-cleaning an unused room, sorting every toy, and moving heavy furniture to clean behind it.
A helpful finish line might be “the bathroom is usable, the bed is made, and the kitchen counters are clear.” Decide that before you start. Otherwise, a single sticky drawer can turn into an afternoon spent reorganizing a room nobody will use.
Fit the work around real life
Choose a realistic daily time window, perhaps 15 to 25 minutes. Break bigger jobs into separate sessions: refrigerator shelves today, appliance fronts tomorrow. If you share your home, assign a whole task with a clear endpoint. “Vacuum the living room and put the vacuum away” is easier to follow than “help with cleaning.”
Children can return their own toys or carry unbreakable items when appropriate for their age and supervision. Adults should handle cleaning chemicals and tasks involving hot surfaces, lifting, or electrical appliances.
If bending or standing is difficult, prioritize accessible surfaces and ask for help with awkward jobs. You can also complete the planning and folding tasks while seated. A smaller finished list is useful; an ambitious list that leaves you exhausted is much harder to maintain.
Keep a small “later” note nearby. When you notice a new project, write it there rather than interrupting the current job. At the end of each session, put the tools away so your preparation does not leave another obstacle in the hallway.

Gather a Simple Cleaning Kit
Start with what you already own and know how to use. A small kit saves trips between rooms and helps you avoid buying several products for the same job.
- Clean microfiber or other suitable soft cloths, with separate cloths reserved for the toilet area.
- A non-scratch sponge or soft brush suited to the surface.
- Dishwashing liquid and any surface-specific cleaner your materials require.
- Toilet cleaner, a toilet brush, and bathroom products compatible with your fixtures.
- Gloves and other protection directed by the product label.
- A vacuum or broom, a suitable mop, clean mop pads, trash bags, and a small basket for misplaced items.
Keep products in their original labeled containers and store them securely away from children and pets when you finish. Never combine cleaning products. In particular, do not mix bleach with vinegar, ammonia, acids, or another cleaner. Use ventilation and protective equipment as directed, and check an inconspicuous spot before trying a new product on a finish.
Clean first; disinfect when needed
Cleaning lifts away dirt and germs. Disinfecting uses a product intended to kill germs on suitable surfaces. Routine cleaning is generally sufficient for an ordinary household reset. The CDC’s home-cleaning guidance recommends additional disinfection when someone is sick or has a weakened immune system.
When disinfection is needed, use an appropriate EPA-registered product and follow its label, including cleaning first, approved surfaces, ventilation, and any rinsing requirement. The surface must stay visibly wet for the product’s specified contact time; a quick spray and immediate wipe may not meet it. There is no universal “leave it for five minutes” rule. See the EPA’s disinfectant-use guidance.
For food-contact areas, confirm that the product is permitted for that use and follow every rinse or sanitizing instruction. Do not assume a bathroom disinfectant belongs on a cutting board.
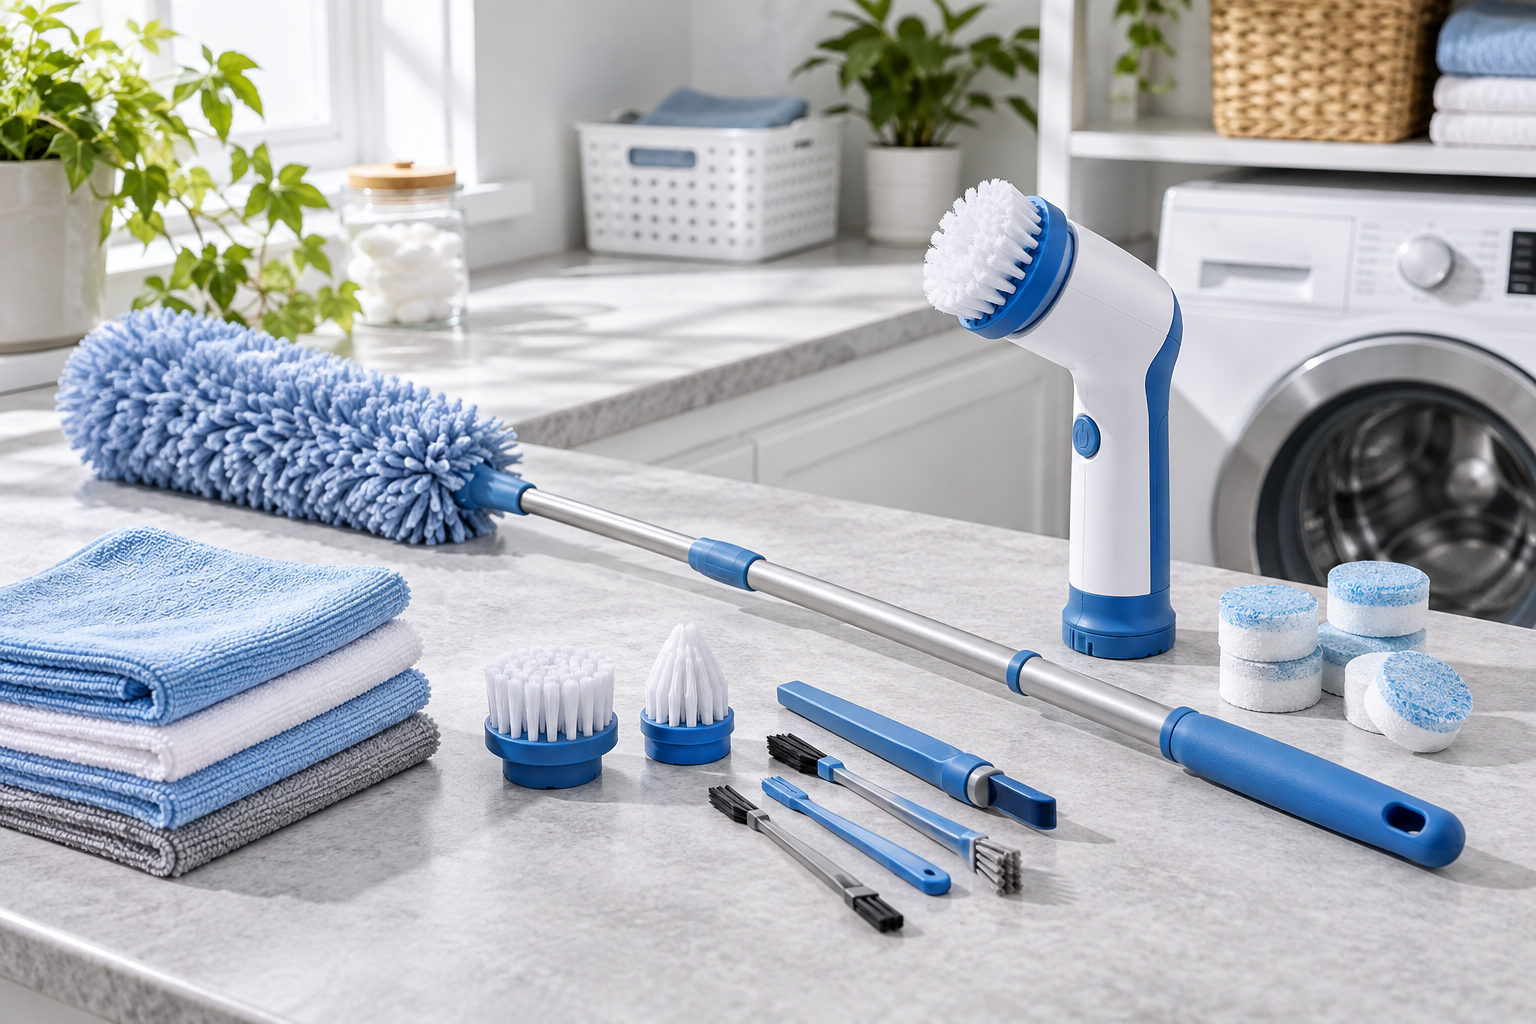
If a useful tool is missing, choose one that solves a specific problem and suits your surfaces. A spare cloth or compatible mop pad may help more than another bottle. The optional deep-cleaning toolkit below can help you compare practical basics without replacing a kit that already works.

Start With the Kitchen
The kitchen benefits from early attention because holiday food and everyday meals compete for the same space. Start before your larger grocery trip, when the refrigerator and counters are easier to clear. Allow two short sessions if a complete kitchen reset feels too large.
Make room for food first
Check what needs using and what must be discarded. Use storage dates and reliable food-storage guidance rather than relying on smell alone. Most cooked leftovers belong in the refrigerator for only three to four days, and the refrigerator should remain at 40°F (4°C) or below. The FoodSafety.gov storage chart has item-specific limits.
For a thorough refrigerator clean, follow the appliance manual and keep perishable food in an insulated cooler with enough ice packs to maintain safe refrigeration temperatures. Let cold glass shelves reach room temperature before washing them. Sudden temperature changes can break the glass. Use the cleaner and removal method approved for your model, rinse as directed, and dry parts before reinstalling them. Whirlpool’s refrigerator-care guidance explains these precautions.
If there is no safe temporary food storage, skip the full empty-out. Clear expired food and tackle a small accessible spill without leaving the door open for a long session. Save the larger job until you can protect the food properly.
Leave usable room for the food you actually plan to serve. Avoid adding so many storage bins that a large casserole dish no longer fits. Place a tray under raw meat on a lower shelf to contain leaks, and keep ready-to-eat foods separate.
Work from counters to sink
- Clear and wash the dishes. Put away small appliances you will not need for holiday cooking.
- Remove crumbs from counters and accessible cabinet edges, then clean using a product compatible with each material.
- Wipe frequently handled cabinet pulls and appliance handles. Avoid soaking hinges, seams, controls, or electrical parts.
- Clean the cooled cooktop according to its manual. Use a non-scratch tool approved for that surface rather than scraping with whatever is nearby.
- Clean the sink and faucet, rinse as needed, and dry them with a fresh cloth.
- Empty the trash, wipe visible bin spills, and finish with the floor once the higher surfaces are done.
Natural stone needs its own care. Skip vinegar and acidic descalers on marble and other acid-sensitive stone; the Natural Stone Institute recommends suitable neutral cleaning products and warns against acidic cleaners.
Check serving platters, roasting pans, and everyday glasses while there is still time to wash them. If the oven needs substantial cleaning, schedule it earlier and follow the manufacturer’s method. Do not turn Christmas Eve into your first experiment with a new oven product or self-clean cycle.

Refresh Bathrooms and Guest Spaces
A comfortable guest bathroom needs clean fixtures, soap, a usable towel, and supplies people can find. This is a good place to focus if you have limited energy. Plan about 20 to 30 minutes for a modest bathroom, or divide it into the sink and toilet today and the shower tomorrow.
Follow a bathroom work order
Remove clutter and laundry first. Clean the mirror with a suitable product, then work through the sink, faucet, counter, bath or shower, and toilet. Keep toilet cloths separate from cloths used on other surfaces. Finish with the bathroom floor, working toward the doorway.
Follow each cleaner’s label rather than applying every product at once. A shower descaler may harm stone, plated fixtures, or certain grout and finishes. Use only a product approved for those materials. Rinse where directed and do not layer a bleach-based product over another cleaner. If a surface has persistent damage or growth you cannot safely address, leave cosmetic experimentation out of this holiday checklist and seek appropriate advice.
Before leaving the room, check the practical details:
- Refill hand soap and set out a clean hand towel or an appropriate alternative.
- Put spare toilet paper where guests can find it.
- Empty the wastebasket and replace its liner if used.
- Put personal items away without blocking access to supplies.
- Make sure the floor is dry and the route to the bathroom is clear.
Prepare an actual sleeping space
Wash guest bedding and towels according to their care labels and dry them fully before storing or making the bed. Check the bed size before starting the laundry so you do not discover a mismatched fitted sheet at bedtime. Clean the surfaces guests will use, including a bedside table and an accessible shelf or drawer.
A guest room can remain a home office or shared room. Clear enough space for a bag, a coat, and a glass of water, and provide a safe route to the door. Move charging cables and decoration cords out of walking paths. If visitors are using a sofa bed, open it early to check the mechanism and find the correct bedding.
Keep fresh linen covered or in a clean cupboard until needed. Make the bed shortly before arrival, especially if that space stays in everyday use. Skip scent-heavy sprays; washing, drying, removing trash, and appropriate ventilation address the job more directly.

Reset Living Areas and Floors
Begin with the things that make a room hard to use: laundry on chairs, packages by the door, toys across the floor, and a dining table covered with projects. Carry a basket from room to room for items that belong elsewhere, then put its contents away before your session ends.
Clear seating and a few useful surfaces before dusting. Leave room for drinks and plates instead of filling every surface with decorations. Wipe reachable shelves, side tables, and obvious fingerprints, using a method suitable for the finish. Work downward so dust and crumbs land on floors you have not cleaned yet.
Clean soft furnishings selectively
Vacuum accessible sofa cushions and seams using an attachment appropriate for the fabric. Check the care label before washing throws or cushion covers; not every removable cover is machine washable. If a cushion needs spot treatment, follow its care instructions and test the product in a hidden area. Leave enough drying time before anyone sits there.
A full carpet or upholstery wash is optional. If you choose one, arrange it well ahead of guests and follow the product or service’s drying guidance. A last-minute wet carpet creates more disruption than an ordinary, freshly vacuumed room.
Leave floor washing until the end
- Pick up small items and secure loose cords before cleaning.
- Vacuum or sweep with tools suited to the floor, including accessible edges and the entrance mat.
- Check the floor manufacturer’s advice and measure cleaner as directed. More product can leave residue.
- For a compatible flat-mop routine, pull the pad back toward you in controlled, overlapping passes, gathering soil rather than repeatedly spreading it. Change dirty pads promptly.
- Keep moisture within the floor’s care limits and let the cleaned area dry before replacing items or walking through it.
Do not assume steam, vinegar, or a bucket of water is suitable for wood or laminate. The floor’s material and finish determine the method. Bona’s wood-floor maintenance instructions emphasize appropriate cleaner, sparing application, and avoiding excess moisture.
A quick entrance reset helps protect your work: shake or clean the mat according to its instructions, make space for coats, and remove shoes or bags from the walkway. Let the room look like a family lives there. Clear, comfortable, and usable is a reasonable result.

Spread the Work Across Two Weeks
Use the following December cleaning plan as a flexible sequence. Day 1 is your planning day, two weeks before guests or your main celebration; Day 14 is the day before. Most tasks fit into a short session, but refrigerator work, a larger bathroom, and laundry may need more time. Appliance running and fabric drying time are additional.
Week one: make the main spaces easier to use
- Day 1, 10–15 minutes: Walk the guest route, choose the essential jobs, and assign tasks. Check the supplies you already have.
- Day 2, 15–20 minutes: Clear the entry, coat space, dining table, and obvious floor clutter. Stop before opening a major sorting project.
- Day 3, 20–30 minutes: Review refrigerator food, plan safe temporary storage, and clean the shelves or spills that need attention.
- Day 4, 20–25 minutes: Reset counters, cabinet handles, appliance fronts, and the sink. Check serving dishes and your oven-care plan.
- Day 5, 20–30 minutes: Clean the main guest bathroom. Replace depleted supplies and note any towels that need laundering.
- Day 6, 15–20 minutes of hands-on work: Wash the first needed linen load and organize the guest sleeping space. Allow the full wash and drying cycle.
- Day 7: Leave a buffer. Finish an essential task that took longer, or take the day off if the list is on track.
Week two: finish the details and protect your progress
- Day 8, 15–20 minutes: Dust living areas and clean accessible sofa cushions and seams. Choose only the fabric washing that is genuinely needed.
- Day 9, 15–20 minutes: Wipe visible doors, switches, and reachable marks using surface-safe methods. Leave hidden details for another season.
- Day 10, 20–30 minutes: Vacuum the main rooms and entrance. Mop suitable floors and allow them to dry.
- Day 11, 15–20 minutes of hands-on work: Finish needed towels and bedding. Put away dry laundry and confirm that guests have room for their belongings.
- Day 12, 10–20 minutes: Check holiday groceries against available refrigerator space. Clear the dining surface and place clean serving items somewhere accessible.
- Day 13, up to 20 minutes: Use a second buffer for one unfinished essential. Make the guest bed if the room is ready, then stop adding projects.
- Day 14, 15–20 minutes: Follow the light final-day reset below. Put supplies away and leave the house ready to be used.
Maintain the result with a brief daily pickup, dishes, a counter wipe, and spot-cleaning actual spills. Add a laundry load only when needed and when you can finish it. You do not need to repeat the deep-cleaning jobs every evening.
If you start late, combine the priority check with the kitchen, bathroom, and sleeping-space essentials. Drop optional details rather than doubling every day’s workload. A missed day changes the plan; it does not erase the useful work already done.

Keep the Final Day Light
The day before Christmas or a guest arrival is for small resets. Choose a stopping time that leaves room for food, rest, and whatever else the day needs. Keep the cleaning kit handy during the reset, then return it to secure storage.
Your final-day minimum
- Load or wash the dishes and leave useful counter space clear.
- Check the toilet and sink; replace the hand towel if needed.
- Empty full trash cans and deal with actual spills or odors at their source.
- Return stray items to their places and clear seats and walking routes.
- Spot-vacuum visible crumbs or tracked-in dirt rather than recleaning every floor.
- Check fresh guest bedding, towels, soap, and toilet paper.
Have only ten minutes? Prioritize the usable bathroom, the food-preparation surface, and safe, clear routes. Leave nonessential polishing. If a spill needs proper treatment or a disinfectant requires a contact time, let that task take the time its instructions require.
After guests arrive, maintain the basics as convenient: contain food mess, collect dishes, and wipe fresh spills before they become a larger job. There is no need to disappear for another full cleaning session while people are settling in.
If a simple routine helps you keep going after the holiday, the Cleaners Clubhouse can be a useful next step for structure and encouragement. For today, finish the few things that matter, put the cleaning products away, and enjoy the home you have prepared.

CLEANERS CLUBHOUSE
Need Help Getting Through a Proper Deep Clean?
Follow the 7-Day Deep Clean Bootcamp when your home needs more than a quick tidy. The Cleaners Clubhouse breaks the work into achievable steps with printable support and seasonal cleaning guidance.
