
THIS POST MAY CONTAIN AFFILIATE LINKS. PLEASE READ MY DISCLOSURE FOR MORE INFO.
A recycling bin can look almost empty and still smell like old juice, beer, or overripe fruit. The likely starting point is a small amount of beverage or food residue: a few drops left in a bottle, a sticky can rim, or liquid that has collected beneath the containers. Empty packaging is not necessarily clean packaging.
A sweet or fermented smell is a clue, not a diagnosis. You cannot identify a microorganism, judge a health risk, or confirm the source from the odor alone. Start by removing the recycling, checking for visible residue, and cleaning the parts your bin’s instructions allow. Fragrance will not remove the sticky material causing the problem.
This guide focuses on ordinary household recycling residue, with a simple way to tell whether the problem is in the containers, the bin, or the space around it. If you find leaking chemicals, damaged batteries, broken glass, or an unexplained strong chemical smell, stop the routine cleanup and follow the appropriate local disposal or emergency guidance. Do not sniff closely to identify an unknown substance.
Disclosure: This post may contain affiliate links. As an Amazon Associate, Clean Home Challenge earns from qualifying purchases. If you make a purchase through these links, we may earn a small commission at no extra cost to you. This helps us keep creating practical cleaning tips, routines and resources for busy families! 🧽
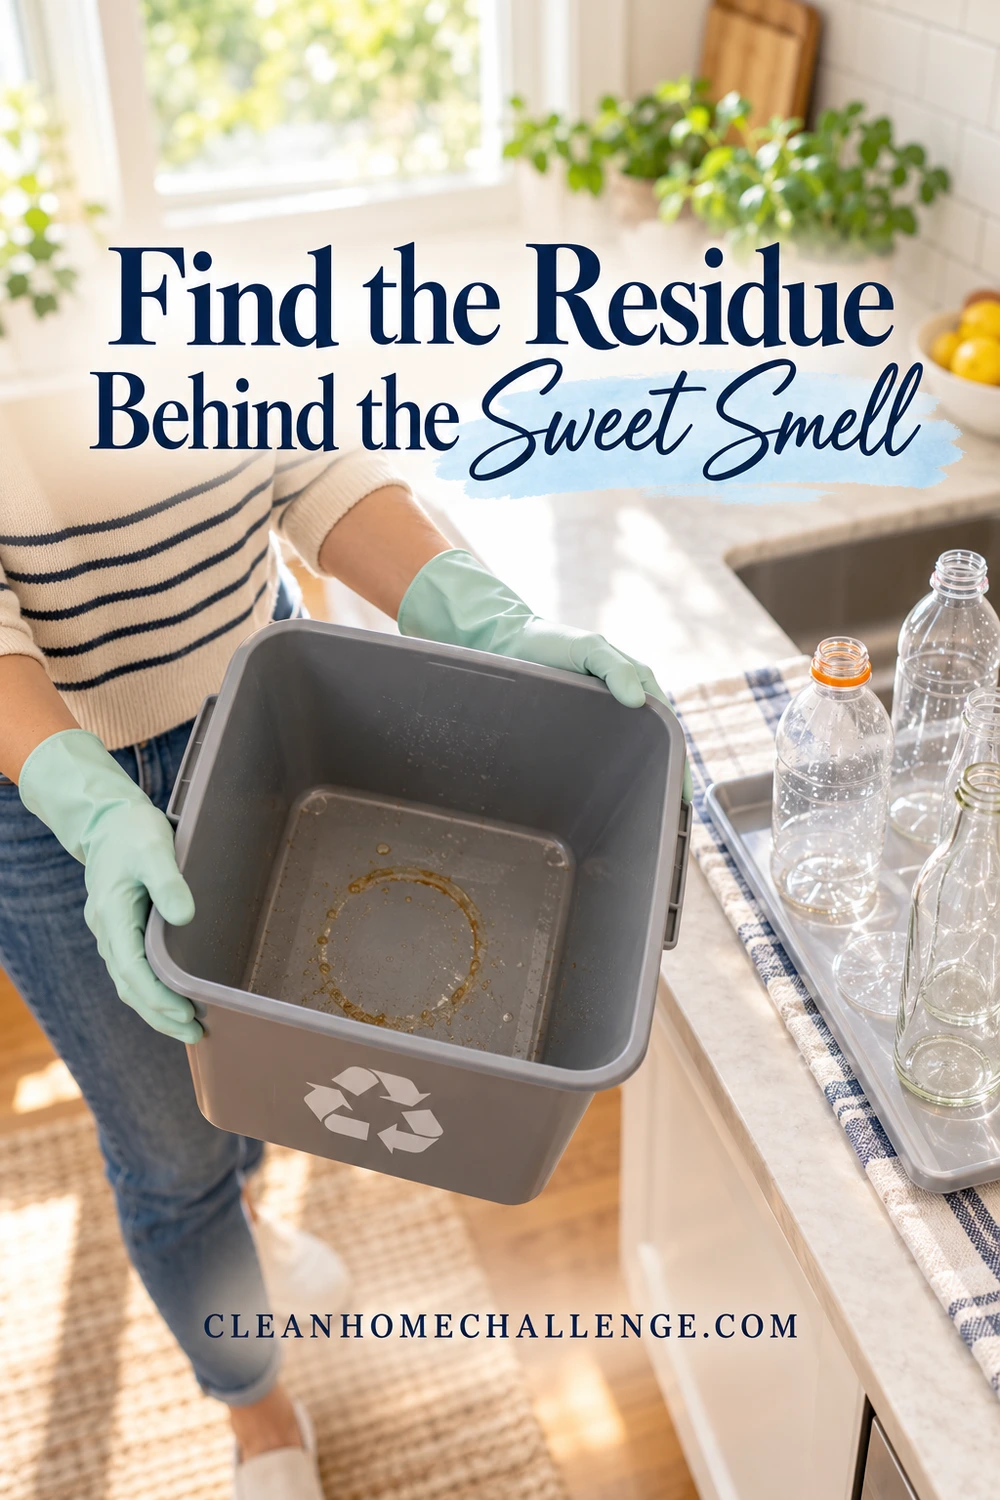
Find the Residue Behind the Sweet Smell
Think about what entered the bin recently. Juice, soft drinks, beer, wine, sweetened coffee, and food packaging can leave traces even when a container no longer holds a visible drink. A bottle can drip as it tips over. A can can feel dry on the outside while its rim remains sticky. Those small amounts become harder to notice when they collect underneath other packaging.
Warm storage and time give damp organic residue an opportunity to change. That makes a fermented drink smell plausible, but it does not prove fermentation is happening in your particular bin. The useful household response is the same: find and remove the residue rather than trying to name the smell.
First, identify the collection rules for your address. Accepted materials, lids, sorting, and preparation differ between services. Do not move questionable packaging into recycling simply because it is clean. Washington State’s recycling guidance emphasizes removing food and liquids and checking local rules. Your own provider decides what belongs in your collection.
Make a safe empty-bin check
Choose a clear space away from food preparation. Keep children and pets away while you handle the contents. Wear suitable gloves if needed, and use care around can edges and glass. Do not press loose recycling down by hand or reach into a container you cannot see into.
Move ordinary accepted packaging into a stable temporary container. Keep wet items away from clean paper and cardboard. If there is broken glass or another hazardous item, stop sorting by hand and follow your provider’s instructions. You do not need to inspect every piece of packaging closely to complete this check.
Once the bin is empty, look at four locations:
- The base and molded corners. Look for a sticky ring, a small puddle, or bits of food where bottles rested.
- The rim and underside of the lid. A tilted container can leave a drip where it was tipped into the bin.
- Accessible seams, handles, and removable inserts. Check only parts designed to be reached or removed; do not pry apart a sealed assembly.
- The floor, cabinet base, or tray beneath the bin. A leak can travel outside the bucket and remain after the bucket is emptied.
Open the lid normally and use sight and ordinary observation. Keep your face out of the bin. Photograph a hard-to-describe mark if useful, or note its location on the printable source-check sheet. A record can be more helpful than repeatedly washing the same easy-to-reach wall.
Separate a container problem from a bin problem
If the smell leaves with the packaging, concentrate on how those containers are emptied and prepared. If the empty bin is sticky, start with the bin itself. If a clean, dry bin is moved aside and the odor stays in the cabinet, inspect the surrounding area using its own surface-care instructions.
These observations guide the next step; they are not a controlled odor test. A bin, a wet cloth, and a forgotten drink can all contribute at once. Avoid changing several cleaning products at the same time, because it becomes harder to tell what actually helped.
Clean the Bin Without Damaging It
Allow roughly 10–20 minutes of hands-on time for a small indoor bin, plus drying. That is a planning estimate, not a tested guarantee. Dried spills, deep containers, awkward lids, and limited mobility can change the time considerably. You can empty and inspect now, then wash the bin when you have a suitable clear workspace.
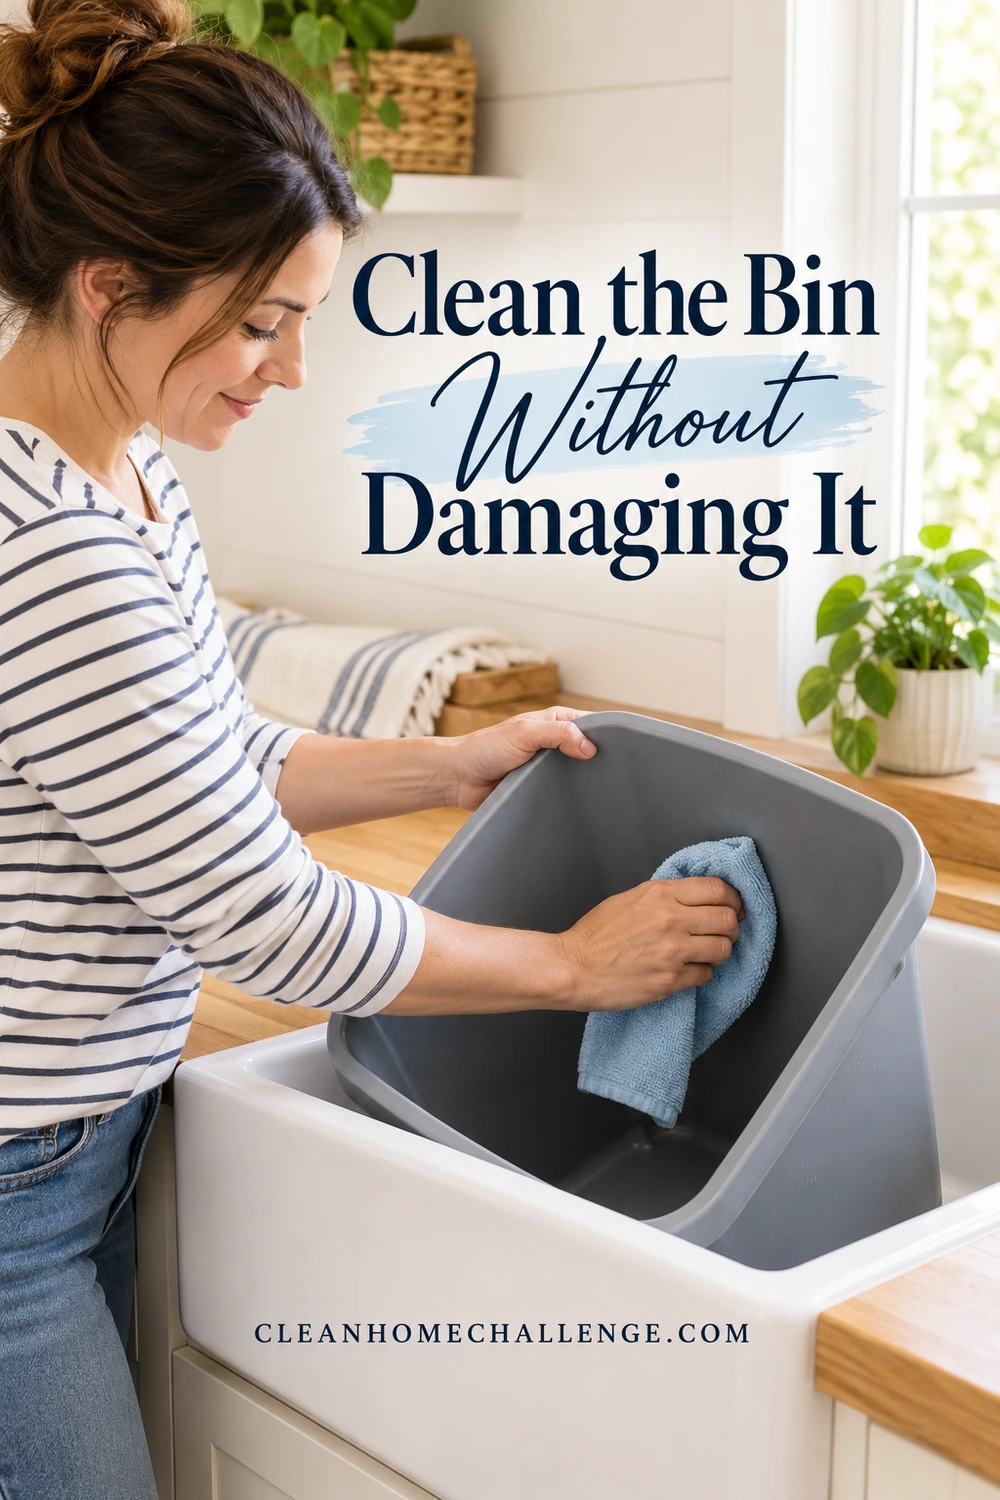
Gather a soft cloth, a nonabrasive brush reserved for bin cleaning, a clean rinsing cloth, a drying cloth, and a mild cleaner permitted for the model. Keep the cleaner in its labeled container. Have an absorbent material ready for a small ordinary beverage spill, and decide how you will contain and dispose of wash water before starting.
Check what is actually washable
A removable bucket is not automatic permission to soak it, put it in a dishwasher, or fill it with hot water. Read the bin’s care directions. Coated metal, hinges, wooden cabinets, and powered lids may need different methods from an ordinary plastic bucket.
For example, simplehuman’s Step Recycler care guidance permits mild detergent and a soft cloth for its stainless-steel exterior while warning against several harsher treatments. That is guidance for a named product and surface, not a universal recipe for all bins. Follow your own model’s instructions, including any separate directions for the inner bucket.
For powered models, disconnect power or remove batteries as the manual directs. Keep moisture out of sensors, battery compartments, and mechanisms. Use a damp-wipe method instead of a wash when that is what the manufacturer allows. Test a newly permitted cleaner in an inconspicuous area according to the directions.
Work in this order
- Remove loose material. Pick up visible ordinary debris with a dedicated tool or absorbent material. Absorb a small beverage puddle before adding water. Dispose of the residue in the appropriate waste stream.
- Soften sticky patches gently. Apply a lightly damp, soapy cloth if the material permits it. Let the residue loosen while you work on another area. Avoid scraping with a knife or metal scourer.
- Clean the accessible surfaces. Work around the rim and upper walls, then the base and corners. Use the dedicated soft brush where a cloth cannot reach comfortably. Wipe the permitted lid surfaces, handles, and nearby splash marks separately.
- Remove the cleaner. Rinse washable parts as instructed, or wipe damp-wipe-only surfaces with a clean cloth dampened with fresh water. Change or rinse the cloth as needed so it does not spread syrup and detergent back around the bin.
- Dry before returning recycling. Towel-dry accessible areas, then allow remaining seams and recesses to dry in a stable, ventilated location. Follow the model’s instructions for reassembly and restoring power.
Do not fill a large bin with water that is too heavy to control. Do not hose an electronic lid or use boiling water as a shortcut. Keep dirty water out of street drains; ask your local wastewater provider about disposal if the correct route is unclear. Clean the work area and wash your hands afterward. Wash or launder reusable tools according to their care instructions and dry them before storage.
Does the smell mean you need disinfectant?
Not automatically. Cleaning removes the residue, while disinfection is a separate product-directed process. CDC’s home-cleaning guidance says routine soap-and-water cleaning is generally sufficient in ordinary situations. A specific contamination or household health concern may call for additional guidance.
If disinfection is needed, both the bin instructions and the product label must allow the intended use. Follow the directions for preparation, protective equipment, ventilation, contact time, rinsing, and drying. Never mix cleaning products or add another chemical to a wet treatment. There is no universal disinfectant strength or contact time for a recycling-bin smell.
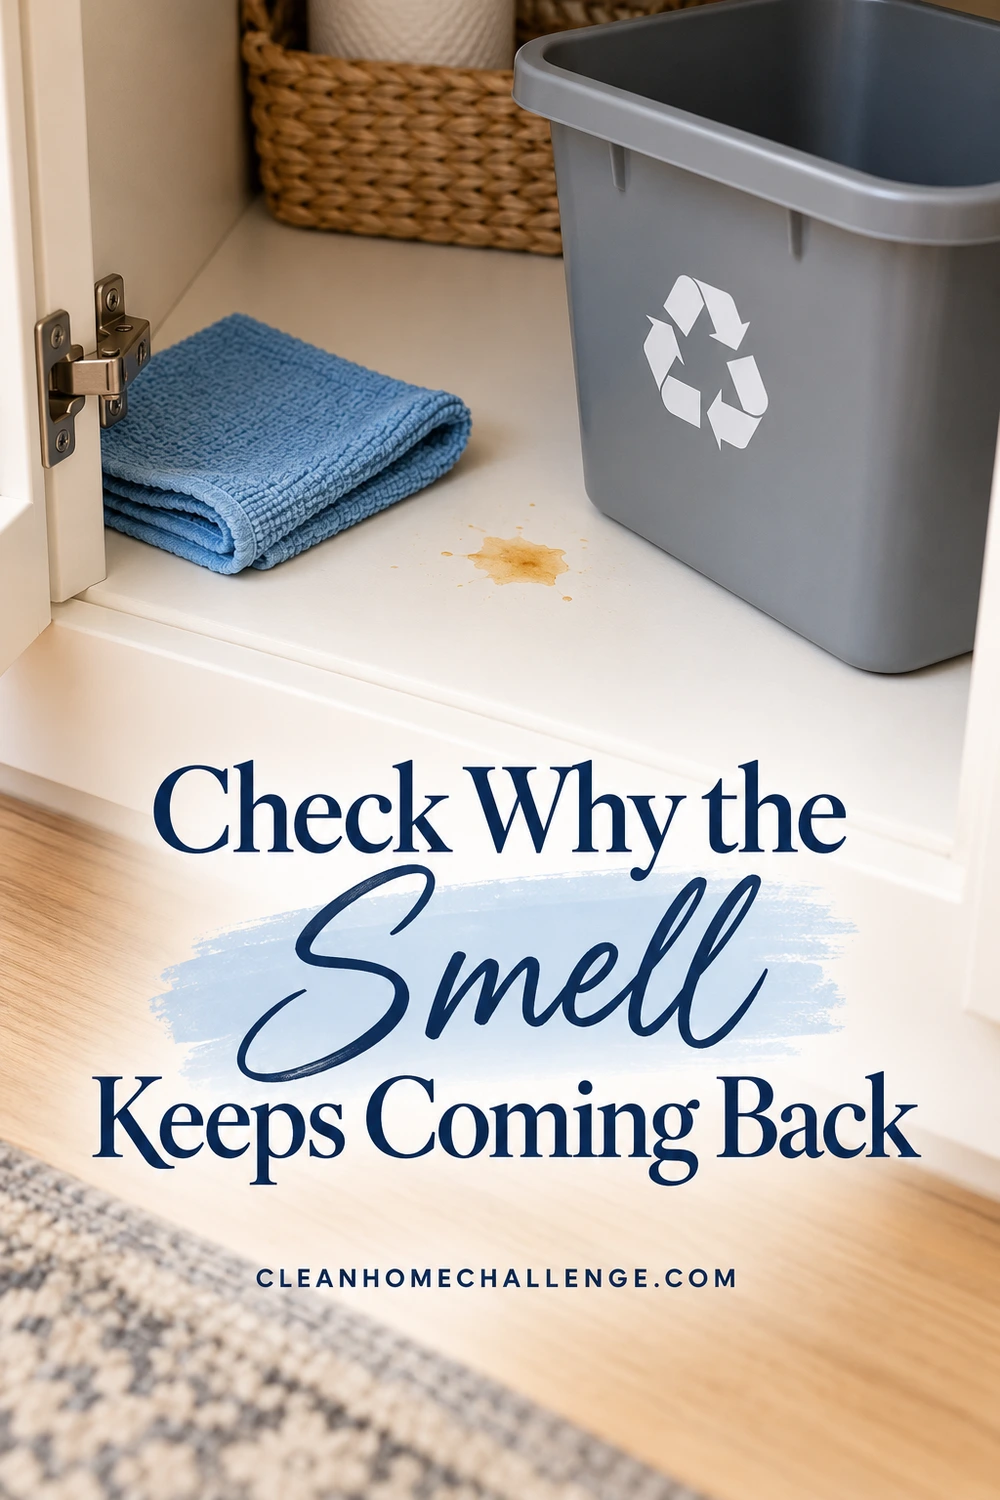
Check Why the Smell Keeps Coming Back
If the odor returns after a thorough clean and complete drying, pause before buying a stronger product. Check the point at which it returns and what changed. The following observations can help you choose a useful next action without treating every smell as the same problem.
| What you notice | What to inspect next | A practical response |
|---|---|---|
| The empty bin smells better, then smells again after drinks packaging is added | Container rims, bottle bases, leftover liquid | Improve emptying and residue removal for accepted containers |
| The bucket is clean but the cabinet still smells | Cabinet base, tray, nearby spill, cleaning cloth | Clean the actual affected material using its care instructions |
| A sticky patch returns along the same seam | Accessible joint, removable insert, possible crack | Recheck the care manual; ask the maker about inaccessible residue or damage |
| Paper is damp underneath containers | Dripping packaging or a leak | Remove liquids and keep paper dry; follow local advice for already-soiled paper |
| Small flies keep appearing | Food residue, drinks packaging, compost, produce, damp cloths | Remove breeding sources; seek identification if the source stays unclear |
If there are fruit flies
Small flies near recycling are a reason to inspect residues, not proof of a particular species. Cornell IPM explains that fruit flies are associated with fermenting or decaying material and recommends keeping recycling containers and their contents clean. See its fruit-fly source-control guidance for more context.
Clean the recycling source and also check nearby produce, food-waste containers, damp cleaning cloths, and other spills. A trap can catch adults without solving a remaining breeding source. Avoid spraying pesticide into the recycling as a routine response. If flies persist, get identification and advice from a local extension service or qualified pest professional.
If a stain remains but the surface is clean
A discoloration is different from sticky residue. Once a permitted clean and drying are complete, do not keep scrubbing simply because the plastic is not its original color. Stop if a finish changes, a surface becomes rough, or a component is damaged.
A cracked bucket, leaking joint, or inaccessible contaminated cavity is a reason to contact the manufacturer about a replacement part or appropriate next step. Replacement is not automatically necessary for a cosmetic mark. If the source remains uncertain, write down what you found and which products were used before trying anything else. That gives the next person useful information and helps prevent accidental product mixing.
For a separate general-waste bin, use our kitchen trash-can cleaning guide. Keeping the two jobs distinct can make it easier to locate a recurring kitchen odor.
Build a Quick Recycling Reset
The easiest prevention starts before packaging enters the indoor bin. Empty the contents into the correct disposal route, remove food residue as your local service requires, and avoid pooling rinse water around paper. Use a small amount of water where rinsing is needed; accepted recyclables do not generally need a dishwasher cycle just to become recyclable. Your provider’s preparation rules take priority.
Do not assume every lid should be removed, every carton flattened, or every item bagged. Check local directions. Many curbside programs require recycling loose, even if you use a reusable carrier to move it through the house. Empty the carrier into the collection bin and retain it where required; a new plastic liner is not an odor fix that overrides collection rules.
Give each step an existing cue
When a drink is finished: empty it properly, deal with residue, and prepare only accepted packaging for the collection. A brief action now is usually more manageable than cleaning a sticky pile later.
When the indoor bin is emptied: glance at the base and rim. Deal with an ordinary spill using the permitted method rather than covering it with the next load. Check the tray or cabinet if a leak was present.
During the Monday kitchen reset: inspect touch points, the underside of a removable bucket, and the floor around the bin. Wash when residue, visible dirt, or odor indicates it needs attention. This is a practical cue, not a rule that every bin must be washed weekly.
After collection: use the empty-bin opportunity to inspect a larger cart if needed. Keep it stable, do not climb inside, and get help when you cannot safely reach or manage it. Keep its lid closed against rain and follow your provider’s storage guidance.
The low-energy version
On a busy day, choose one useful action: remove the residue-bearing packaging from the indoor area, or deal with one visible spill. Use a suitable temporary recycling container while a washed bin dries. Do not put clean paper into a wet bucket just to finish quickly.
Download the free recycling-bin odor source-check sheet (PDF) to record the bin material, four inspection spots, care directions, and one prevention step. It includes a short reset checklist and space to note what happened after the next emptying. No membership is needed for the download.
If you would like more support building manageable household routines, you can explore Cleaners Clubhouse. Start with today’s small source check. A clean, dry bin and packaging prepared for your actual collection service are more useful goals than making the recycling smell like perfume.

CLEANERS CLUBHOUSE
Get Step-by-Step Help With Tricky Cleaning Jobs
When a stain, smell or stubborn cleaning problem has you stuck, a clear plan makes all the difference. The Cleaners Clubhouse gives you practical guidance, useful printables and routines you can actually follow.