
THIS POST MAY CONTAIN AFFILIATE LINKS. PLEASE READ MY DISCLOSURE FOR MORE INFO.
A candle spill can look worse once it sets: a stiff patch on the tablecloth, little white flakes caught in the rug, or a puddle clinging to the dining table. Before you scrub, check what is underneath. A method that suits a washable cotton cloth can leave a permanent mark on a delicate chair or a polished wood finish.
To remove candle wax, let it cool, identify the material, and lift only the loose solid wax with a smooth, blunt tool. Then treat the remaining oily or colored mark using that item’s care instructions. Heat, solvents, and washing are separate decisions, not automatic next steps.
This guide concentrates on washable fabric and furniture, with a careful starting point for carpet. You will also find a quick material guide, a small cleanup checklist, and a treatment note you can copy before trying anything stronger. You do not need to finish every stage in one session.
Disclosure: This post may contain affiliate links. As an Amazon Associate, Clean Home Challenge earns from qualifying purchases. If you make a purchase through these links, we may earn a small commission at no extra cost to you. This helps us keep creating practical cleaning tips, routines and resources for busy families! 🧽
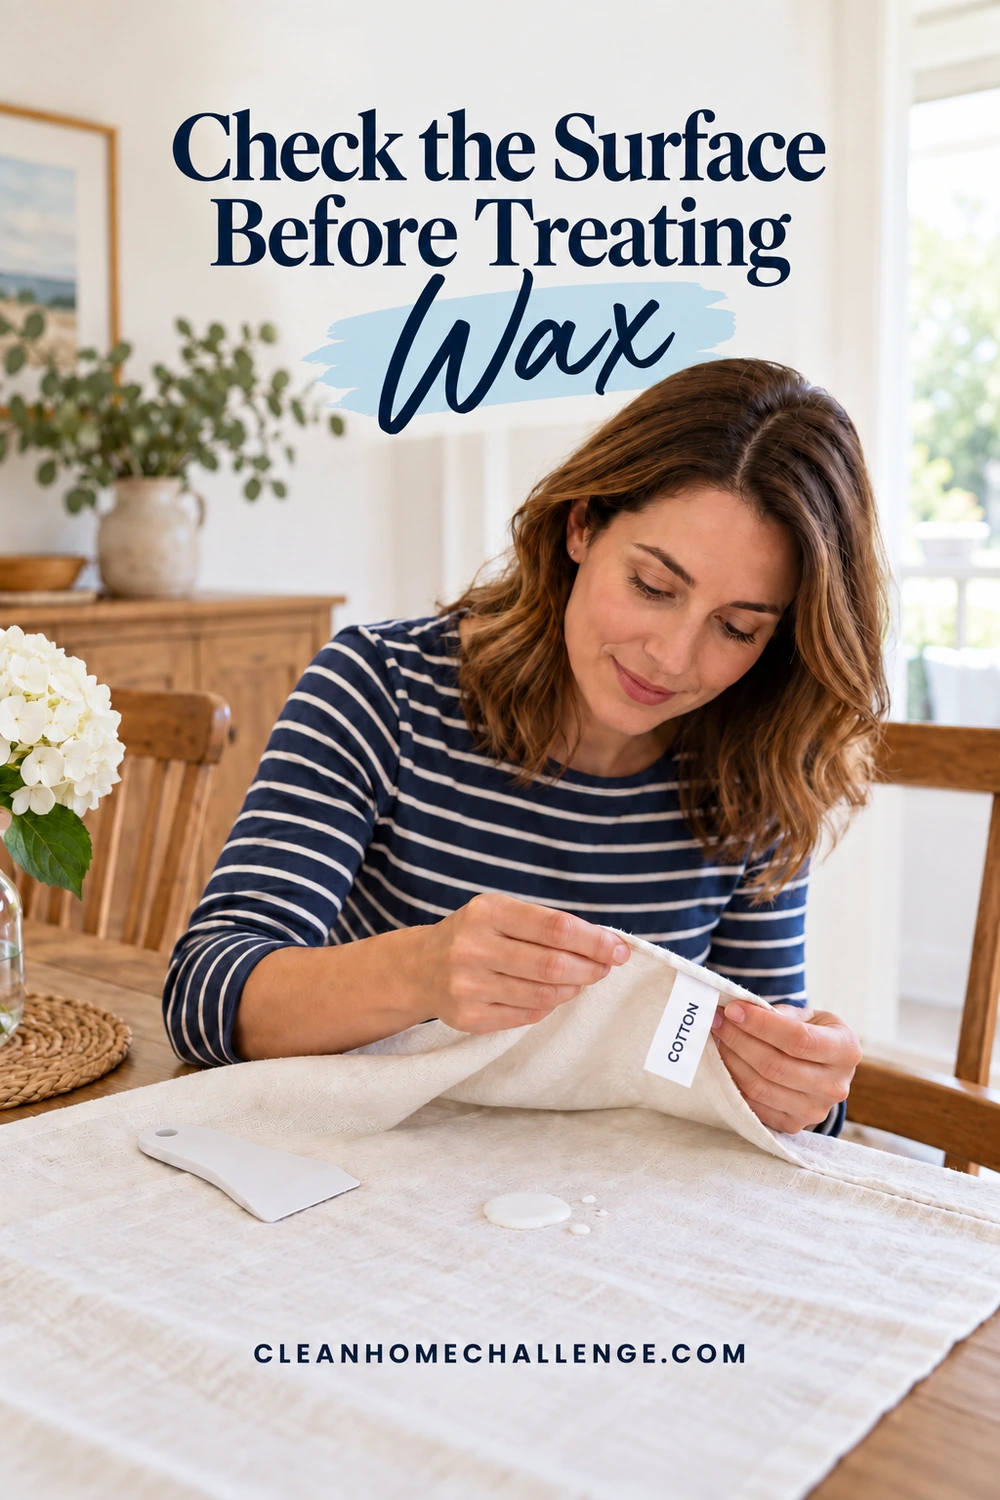
Check the Surface Before Treating Wax
Extinguish the candle safely and keep children and pets away. Leave a hot candle holder in place until it is safe to handle. Do not carry a pool of hot wax across the room or wipe soft wax across a larger area. If the spill caused a burn, attend to the person before the furnishing.
Let the wax become fully cool and firm. There is no useful fixed waiting time for every spill; a thin drip and a deep puddle cool differently. While you wait, find the garment label, upholstery tag, carpet details, or furniture care guide. Photograph the spill and label so you can refer to them without moving the item repeatedly.
Match the first step to the material
| Material | Sensible starting point | Pause before |
|---|---|---|
| Washable tablecloth or clothing | Check the label, then gently lift cooled surface wax | Ironing, stain remover, bleach, or machine drying |
| Finished wood | Lift pieces that release easily, without digging into the finish | Heat, solvents, water, polish, or scraping a firmly attached layer |
| Upholstery | Read the furniture’s cleaning instructions and remove only freely loose pieces | Wet treatment, extraction, ironing, or solvent use |
| Carpet or rug | Identify fiber and construction before gentle dry removal | Heat, moisture, solvents, or pulling attached wax from yarn |
| Antique, silk, delicate, or unidentified material | Leave attached wax undisturbed and ask a specialist | Experimenting with a general household hack |
A cotton label does not automatically make every treatment safe: dyes, prints, trims, coatings, and interlinings also matter. A removable cushion cover is not necessarily washable. Follow the item’s complete instructions, not just the fiber name.
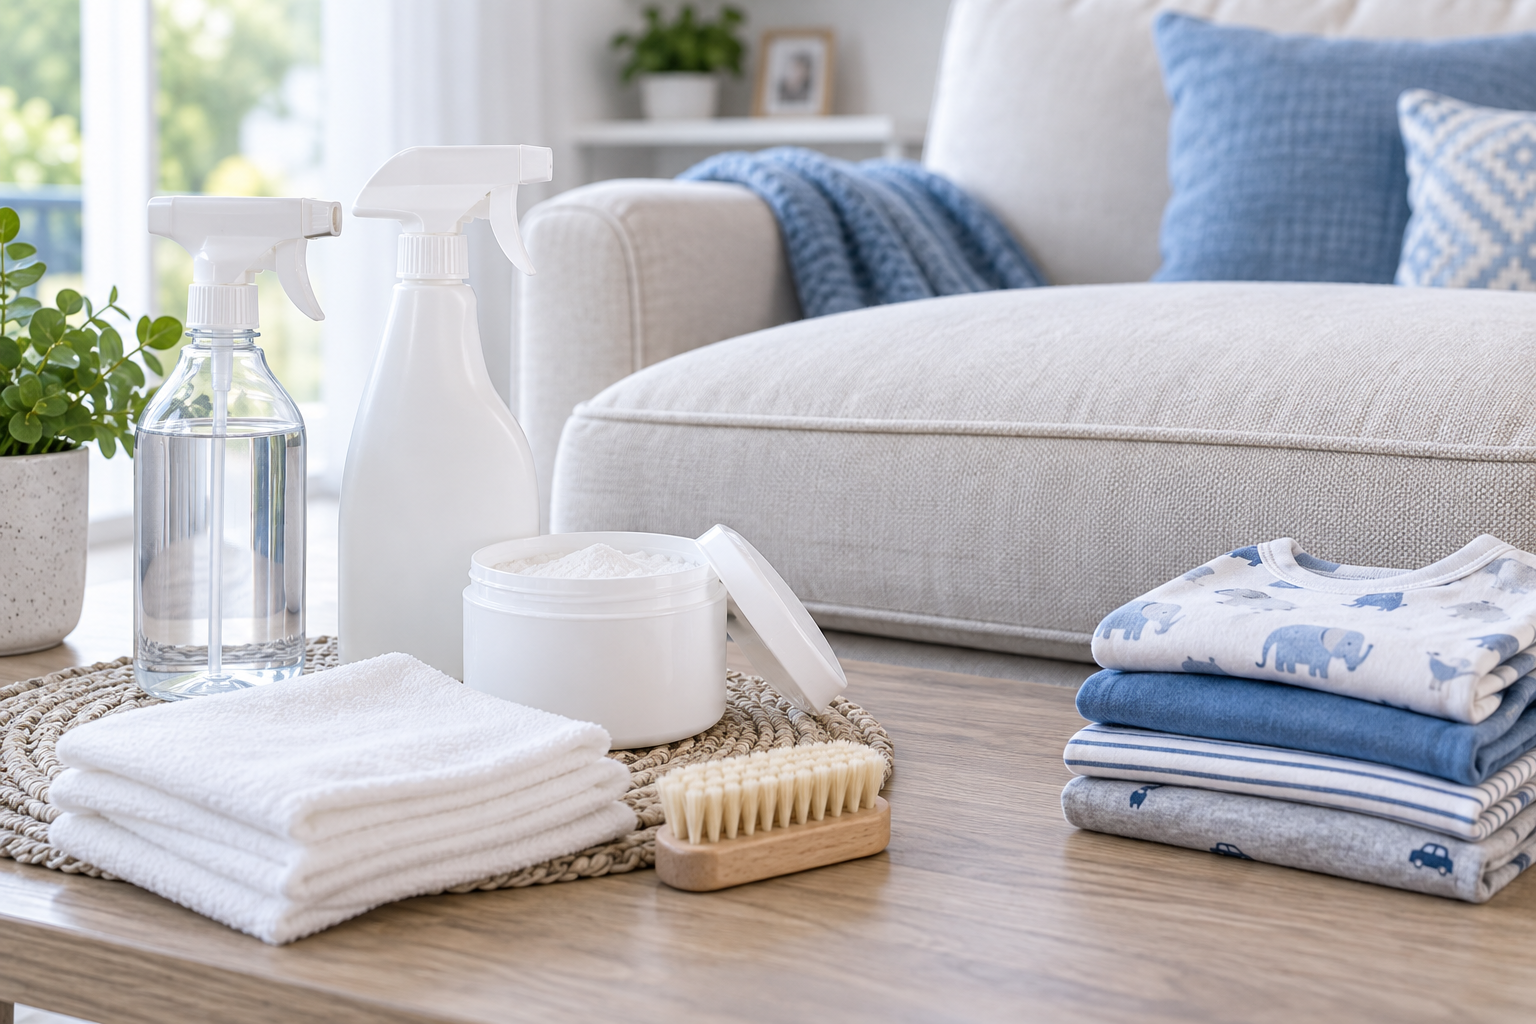
Gather a smooth plastic card or rounded plastic scraper, plain white absorbent cloths, a waste container, and the care information. Check the tool’s edge for chips. A sharp knife, razor, abrasive pad, or wire brush can turn a wax problem into a cut, scratch, or pulled thread.
If the care instructions allow controlled cooling, a sealed ice bag wrapped in a dry cloth can help firm wax. Avoid direct ice, condensation, and long damp contact on wood or moisture-sensitive material. Natural cooling is a useful option when you are unsure. You are trying to make lifting easier, not freeze or soak the furnishing.
Keep cleaning products in their original containers and out of reach. Never mix treatments, and do not add a second product over the first to see whether it works better. Your first useful result may simply be identifying the material and removing a few already loose pieces.
Remove Wax From Washable Fabric
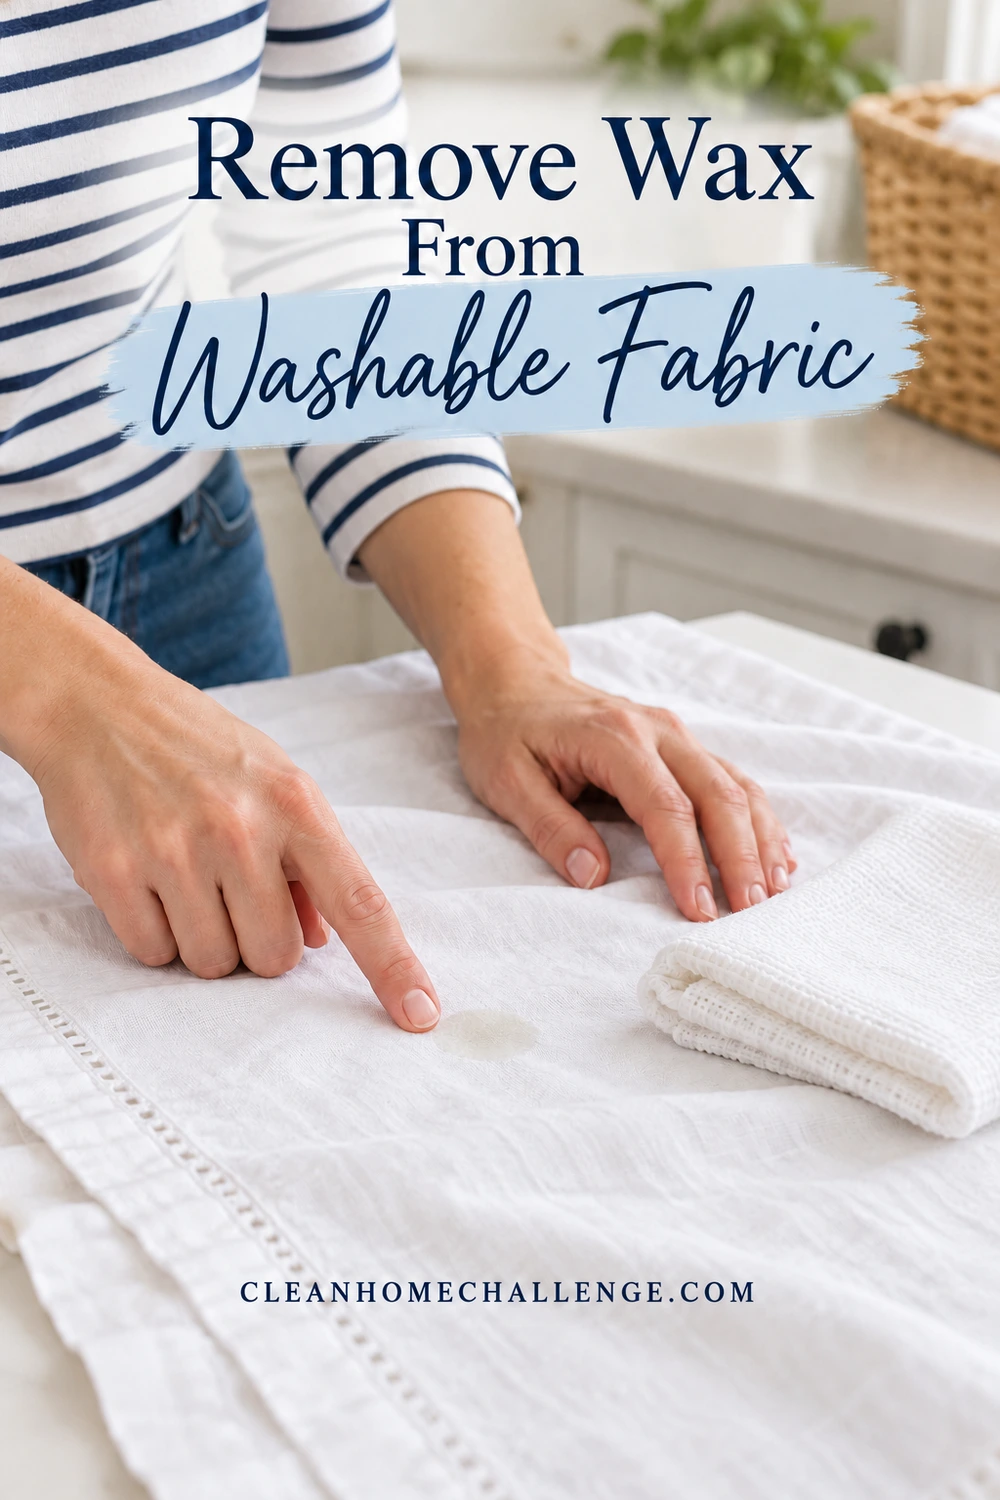
For a washable tablecloth, napkin, or garment, work on a clean, supported surface after checking the care label. Keep a stiff wax patch supported rather than sharply folding it and forcing wax deeper into the weave. Lift loose cooled material gently with a smooth blunt edge, catching the flakes before they scatter. Stop if the fabric catches, stretches, or starts to fuzz.
Decide whether a warm iron is permitted
The American Cleaning Institute’s stain-removal guide describes transferring remaining candle wax into clean paper towels with a warm iron before stain treatment and laundering. That is a fabric method, not permission to iron every surface in this article.
Use it only when the item’s label and manufacturer allow ironing and the relevant heat level. If ironing is prohibited, the material is delicate, or you cannot establish a safe setting, skip heat and seek material-specific advice. Do not use an iron on upholstery, a rug, or a wood table merely because the method works on a particular cloth.
For compatible washable fabric, use a proper ironing surface and plain, unprinted absorbent paper towels above and below the waxed area. Start at the low end of the label-permitted setting, without steam. Apply brief, controlled contact and check frequently. Move to fresh towel sections as wax transfers so you do not put it back into the fabric. Keep the iron away from exposed wax and never leave it unattended. Stop immediately if color transfers unexpectedly, the fabric changes, or the method makes the mark spread.
The goal is to reduce residual wax, not keep increasing the temperature until the cloth looks spotless. A colored shadow may be dye; a translucent ring may be oil. More ironing is not automatically the answer to either.
Treat the remaining mark before washing
Choose a prewash stain remover labeled for that fabric and stain, check colorfastness in a hidden area, and follow its directions. Keep contact time and rinsing instructions product-specific. Avoid improvised solvent recipes, particularly around an iron or other ignition source. For dry-clean-only clothing, tell the cleaner that the stain is candle wax and list anything already applied.
Launder washable items according to the care label and detergent instructions. Do not put lumps of wax into the washer. Inspect the item after washing and air-dry it before deciding whether the mark remains; do not rush it into a tumble dryer while residue is still visible. If another compatible treatment is warranted, follow the product directions rather than repeatedly adding different cleaners.
Colored candle wax can leave a stain even when the hard wax is gone. Bleach is not a universal rescue: use it only if both the garment label and the specific product allow that use. Delicate, valuable, printed, or stubbornly stained pieces may need professional attention. A manageable wash-day approach is to finish the dry lifting stage now, record the next step, and treat the item when you have time to supervise it.
Lift Wax From Wood and Upholstery
Furniture needs two different approaches. A sealed wooden table and a fabric-covered chair may stand beside each other, but they do not share the same safe cleaning method.
Protect the wood finish
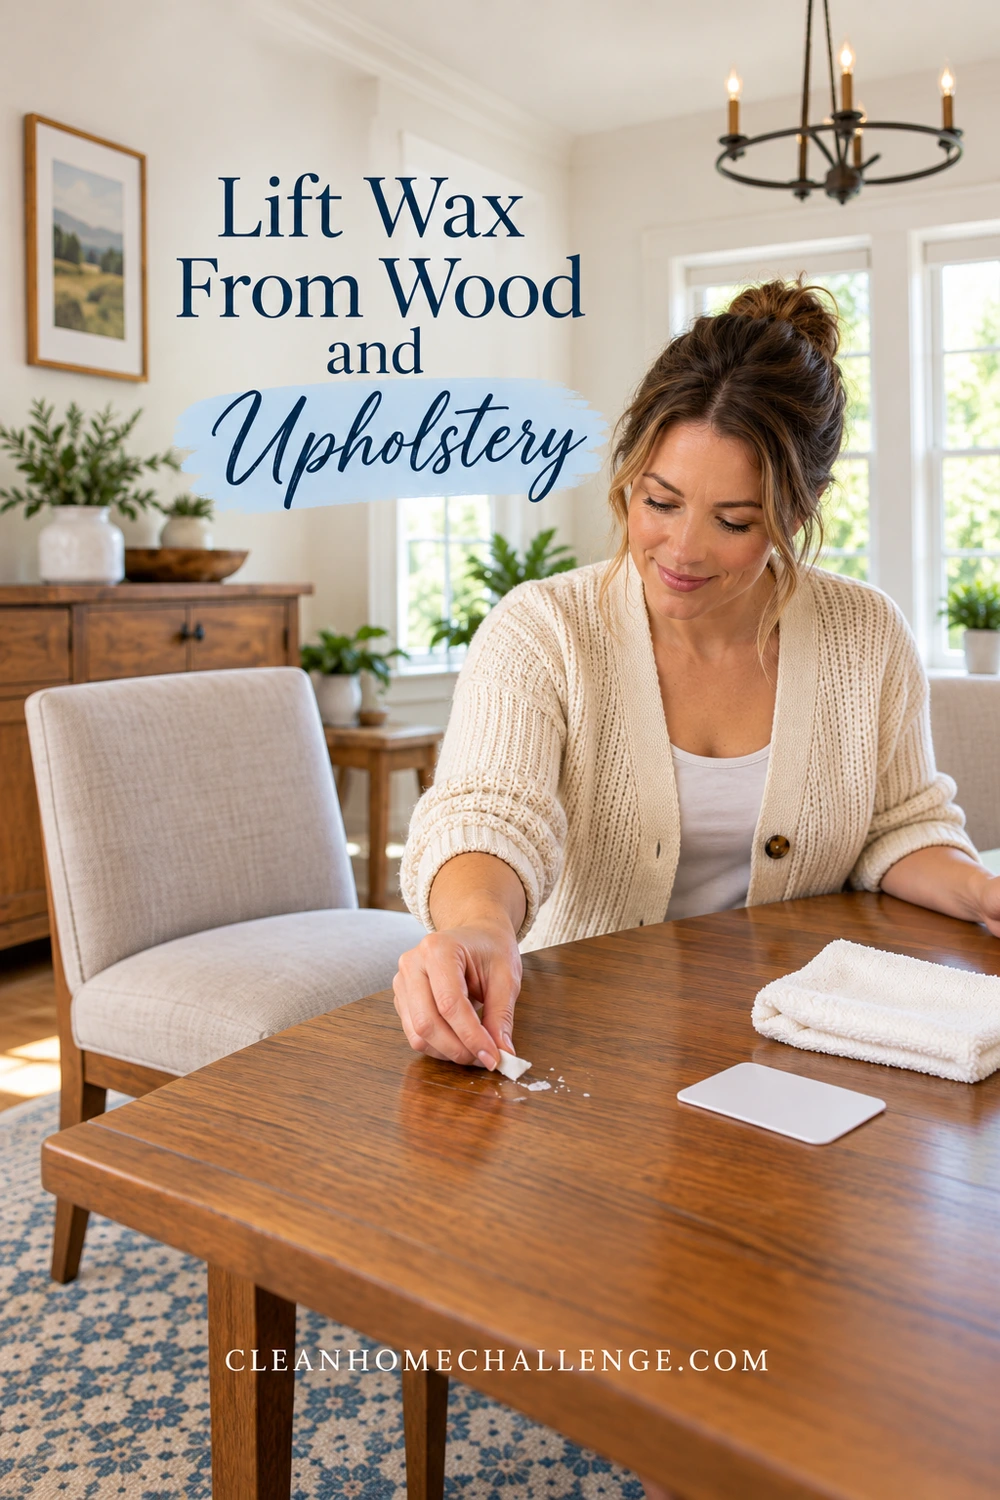
Find the furniture maker’s guidance and establish whether the surface is sealed, painted, oiled, waxed, veneered, or unknown. On a suitable finish, pick up cooled pieces that come free easily. If a smooth plastic card is permitted, hold it at a shallow angle and use very light pressure at the wax edge. Do not dig under a stubborn patch or scrape across the grain with a blade.
Ashley’s furniture-care guidance describes cooling wax before careful removal and warns about water spots from melting ice. Its finish-specific finishing steps are not a universal recipe for every table. For an unfamiliar finish, allow natural cooling and stop after freely loose pieces are removed. Keep any approved cold pack dry and remove it promptly rather than leaving condensation on the surface.
Do not default to a hair dryer, hot iron, vinegar, alcohol, oil, or furniture polish. These can affect a finish or disguise damage, and their suitability depends on the exact piece. Use only the maker-approved approach for the last film. If the area is sticky, cloudy, lighter, darker, or changes sheen after wax lifts, stop; that can be a finish issue rather than dirt needing more scrubbing.
For an antique, lacquered, delicate, or valuable piece, ask a furniture conservator or repair specialist. Keep the wax and finish history if known. Do not sand or refinish a small mark as part of routine cleanup.
Read the upholstery instructions first
Locate the tag under the chair or cushion and read the manufacturer’s full guidance. Common codes include W for water-based products, S for solvent-based products, and WS for either type subject to instructions. X generally limits home care to vacuuming or brushing and calls for professional advice on a stain. A code does not guarantee that heat, saturation, or a particular stain remover is suitable.
BISSELL’s upholstery guide also emphasizes checking the cleaning code before selecting a machine or formula. Treat those permissions as a starting point, not a reason to wet an unknown chair.
Gently lift only loose, cool pieces without pulling at the yarns. Avoid forcing a plastic edge into a textured weave. Pick up larger flakes by hand and, if the furniture permits it, remove dry loose crumbs using the appropriate upholstery attachment. Do not vacuum hot, soft, or sticky wax.
For residue, use the furniture maker’s approved cleaner and process, with an inconspicuous test and the specified drying steps. Avoid rubbing a tiny spot aggressively, soaking the padding, or applying a fabric iron to the seat. A remaining oil ring, dye mark, or firmly attached wax is a good reason to call an upholstery cleaner, particularly on velvet, silk, leather, suede, or an unidentified fabric. Tell them the candle color, material, and every previous treatment.
Handle Carpet Wax With Care
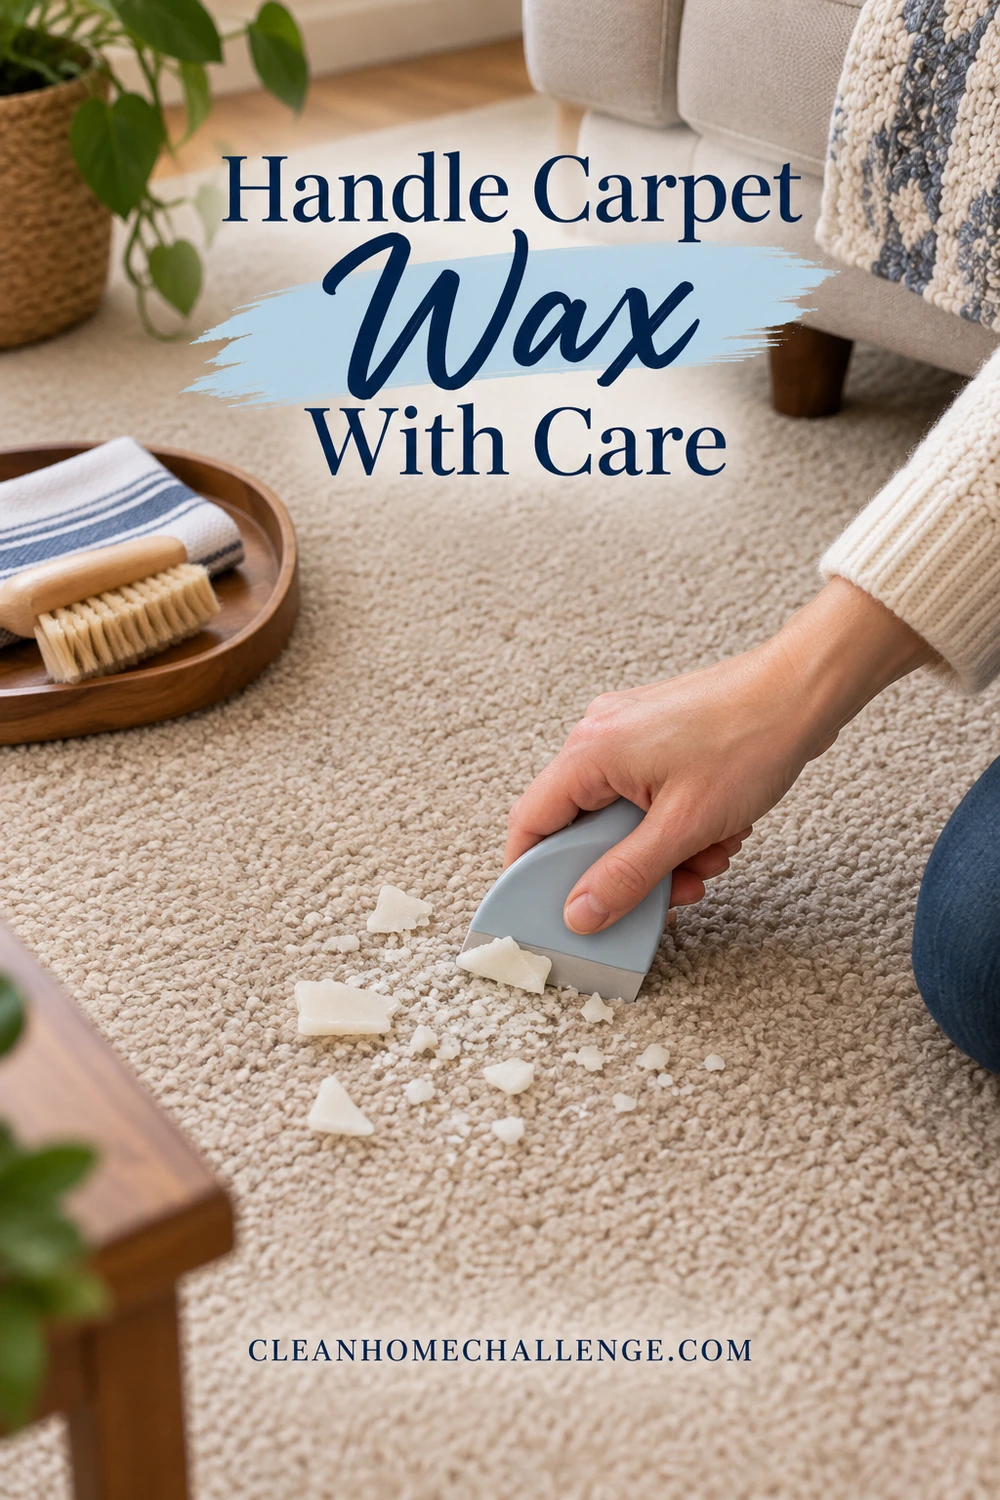
Start by finding the carpet or rug’s fiber and care guidance. Let wax cool without walking over it. On a suitable, durable carpet, a sealed dry cold pack may help firm it before you gently lift pieces with a blunt tool. Avoid sharp edges, pulling loops, and scraping against the pile. Collect the pieces, then vacuum dry loose crumbs only when the carpet and vacuum instructions permit.
Do not assume all synthetic fibers tolerate an iron or that all wool rugs tolerate a wet spot treatment. Construction, backing, dye, and protective treatments matter too. Jute, sisal, silk, viscose, antique rugs, and unknown materials deserve particular caution; a rug specialist can advise before a small patch becomes a larger repair.
There may be three separate problems: solid wax, an oily film, and candle dye. Once the solid material is gone, reassess instead of scrubbing all three as though they are one stain. A carpet cleaner or extraction machine should be used only when the carpet maker and the exact formula and machine instructions support the treatment. General wax-removal demonstrations do not establish compatibility with your floor covering.
For the full carpet-specific sequence, use our guide to removing candle wax from carpet and rugs. It covers fiber checks, cautious lifting, residue decisions, and when a professional is the better next step.
If a large amount of hot wax soaked deeply into the pile, a brightly colored candle left a strong stain, or the rug is valuable, stop after making the area safe. Take photos and contact a specialist. Avoid experimental combinations of heat and solvent, and keep people off any damp treated area until it is completely dry.
Finish the Cleanup and Prevent Another Spill
Once the wax is lifted, check the area in ordinary daylight. Look for loose crumbs, oily residue, color, pulled fibers, scratches, or a change in sheen. These need different decisions. A scratch cannot be washed away; a dye shadow is not necessarily attached wax. Stop if the surface changes during treatment and record what happened.
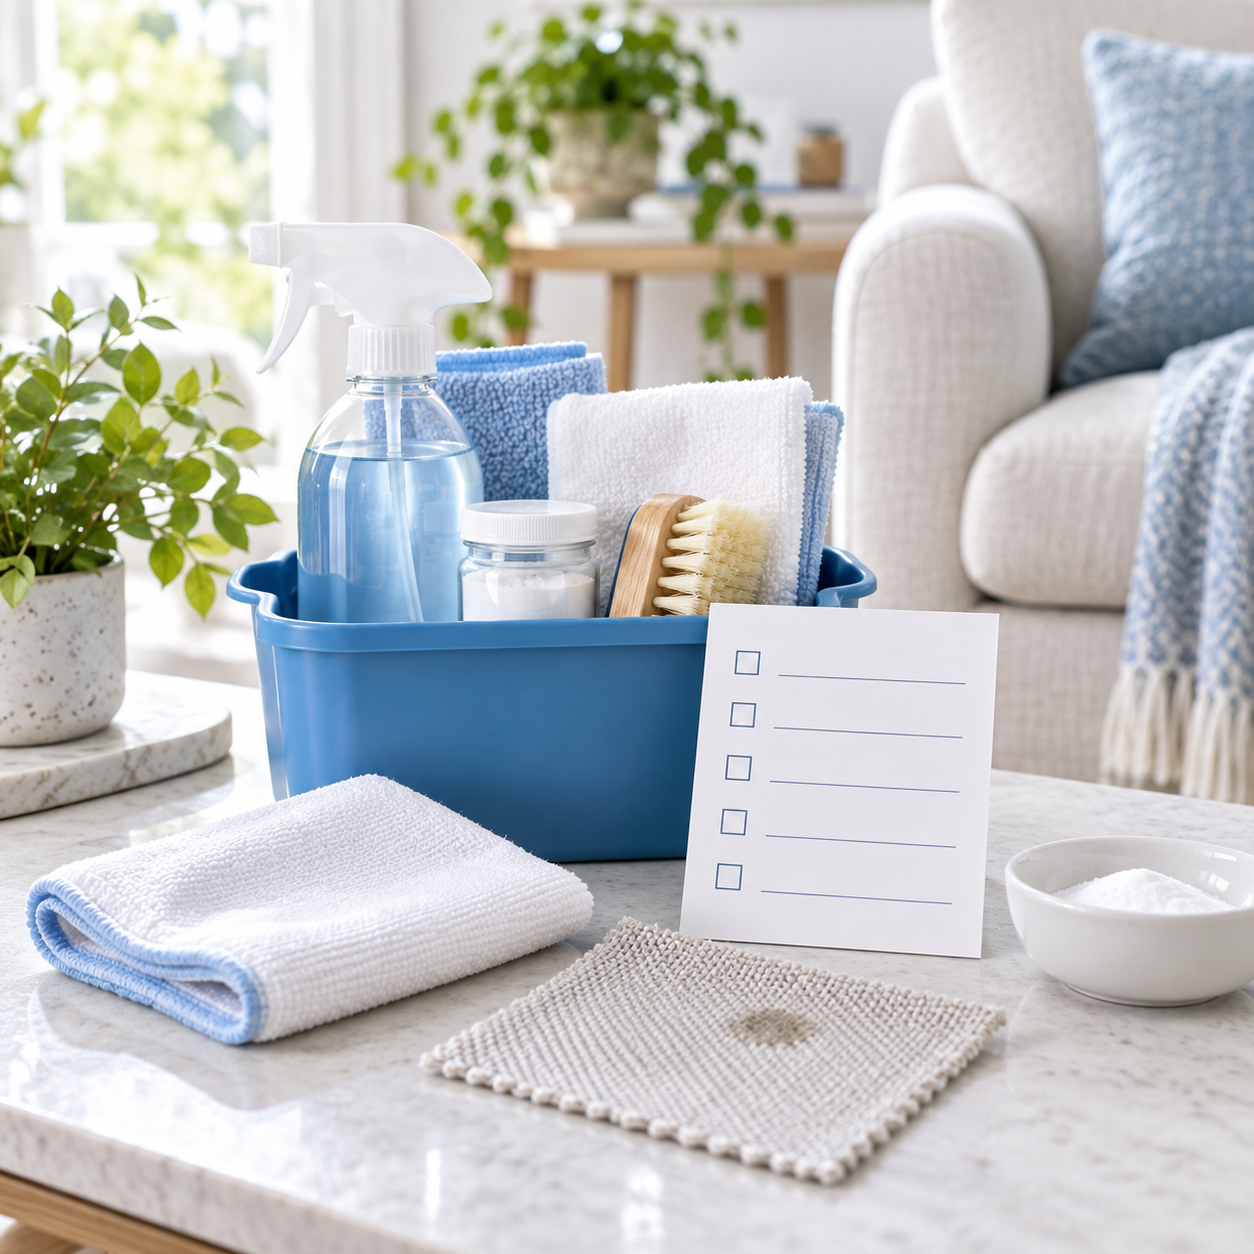
Copy this wax-cleanup checklist
- Candle extinguished and hot holder left to cool safely.
- Children and pets kept away from the spill and supplies.
- Surface identified and care instructions checked.
- Cool, loose wax lifted without force; flakes collected.
- Any next treatment matched to the material and tested where instructed.
- Washable item inspected before drying; furniture or carpet fully dried after any permitted wet care.
- Remaining mark photographed and a clear next step chosen.
- Supplies cleaned according to their instructions and stored safely.
Keep a short treatment note
Copy these lines into your phone or notebook:
Item and material: ______
Candle color and approximate spill size: ______
Care instructions found: ______
Products, heat, or cooling already used: ______
Result after drying and next action: ______
That note prevents another family member from applying an incompatible product later and gives a professional a useful starting point. If you only have five minutes, make the spill safe, identify the surface, and collect pieces that are already loose. Leave the supervised treatment for a better moment.
For next time, follow the candle maker’s fire-safety instructions, use a suitable stable holder on an appropriate heat-resistant surface, and keep it away from flammable furnishings, children, and pets. Do not move a lit candle or one with liquid wax. The National Candle Association’s safety guidance covers stable holders, clearance, supervision, and allowing wax to cool before moving a candle. A flameless option can be practical where a tablecloth, busy walkway, or family activity makes a real flame awkward.
Add a quick check of candle holders and nearby surfaces to the room’s ordinary cleaning turn. The useful habit is noticing a small drip before it gets walked through or folded into the laundry. Finish with a safe, usable space and a plan for any mark that remains; you do not have to keep trying stronger methods in the same afternoon.
CLEANERS CLUBHOUSE
Get Step-by-Step Help With Tricky Cleaning Jobs
When a stain, smell or stubborn cleaning problem has you stuck, a clear plan makes all the difference. The Cleaners Clubhouse gives you practical guidance, useful printables and routines you can actually follow.