

THIS POST MAY CONTAIN AFFILIATE LINKS. PLEASE READ MY DISCLOSURE FOR MORE INFO.
A candle gets knocked, a wax warmer tips, and suddenly there is a hard, shiny patch in the middle of the living room rug. Before reaching for an iron or pouring cleaner over it, take a breath. A small wax spill is often a job you can approach in stages.
To remove candle wax from carpet, start by checking the carpet’s care instructions. On a suitable, durable carpet, let the wax cool, use a sealed ice bag to firm it up if needed, gently lift the loose wax with a blunt tool, and vacuum the dry crumbs. Treat any remaining residue only with a method approved for that carpet. Heat and solvents need extra care; delicate or valuable rugs deserve professional advice first.
Think of the cleanup as three separate questions: Is there solid wax to lift? Is there an oily film? Has the candle left color behind? You may solve the first problem without solving the others, and that is useful progress. The steps below help you decide what to do next without turning a small spill into a bigger floor-care project.
Disclosure: This post may contain affiliate links. As an Amazon Associate, Clean Home Challenge earns from qualifying purchases. If you make a purchase through these links, we may earn a small commission at no extra cost to you. This helps us keep creating practical cleaning tips, routines and resources for busy families! 🧽
Check Your Carpet Before You Start
First, extinguish the candle safely, switch off the warmer if applicable, and keep children and pets away from the spill. Leave a hot holder where it is until it has cooled. Do not wipe or walk over soft wax. Use the cooling time to find the rug label, purchase details, or carpet manufacturer’s care guide.
Look for the fiber content, cleaning restrictions, and any instructions specific to wax. A description such as “stain resistant” does not tell you whether an iron or solvent is suitable. For a fitted carpet, the retailer may be able to identify the range from your order confirmation. For a rug, photograph the care label before moving anything.
Match the approach to the material
- Nylon, polyester, polypropylene, and other synthetic carpets: Start with gentle removal of solid wax if the care guide permits it. Do not assume a synthetic fiber is safe to iron because it tolerates normal carpet cleaning.
- Wool and wool blends: Check the particular carpet’s guidance and use an approved wool-care product if treatment is needed. A blend has more than one material to consider.
- Jute and sisal: Keep moisture tightly controlled. Nourison warns that excessive dampness can cause plant-fiber rugs to shrink or pucker and advises against wet shampooing or steam cleaning jute. Nourison rug-care guidance
- Silk, viscose, bamboo silk, antique, or hand-dyed rugs: Contact a specialist before spot-cleaning. Warwick’s instructions for its viscose and bamboo-silk rugs prohibit liquid spot cleaners, including water. A damp cloth is not automatically a harmless option. Warwick viscose rug-care instructions
- Washable rugs: Follow the exact model’s instructions. “Washable” does not answer whether wax pretreatment, a particular stain remover, or ironing is allowed.
Also check the construction. Loops, loose tufts, fringe, and long pile need a particularly light touch. Avoid dragging a scraper through a looped carpet or pulling wax that is still holding several yarns together.
If you cannot identify the material, let the wax cool naturally and pick up only pieces that are already completely loose. Leave attached wax for a professional assessment. You do not need to experiment on an unknown rug to make a sensible start.

Gather a Simple Wax Removal Kit
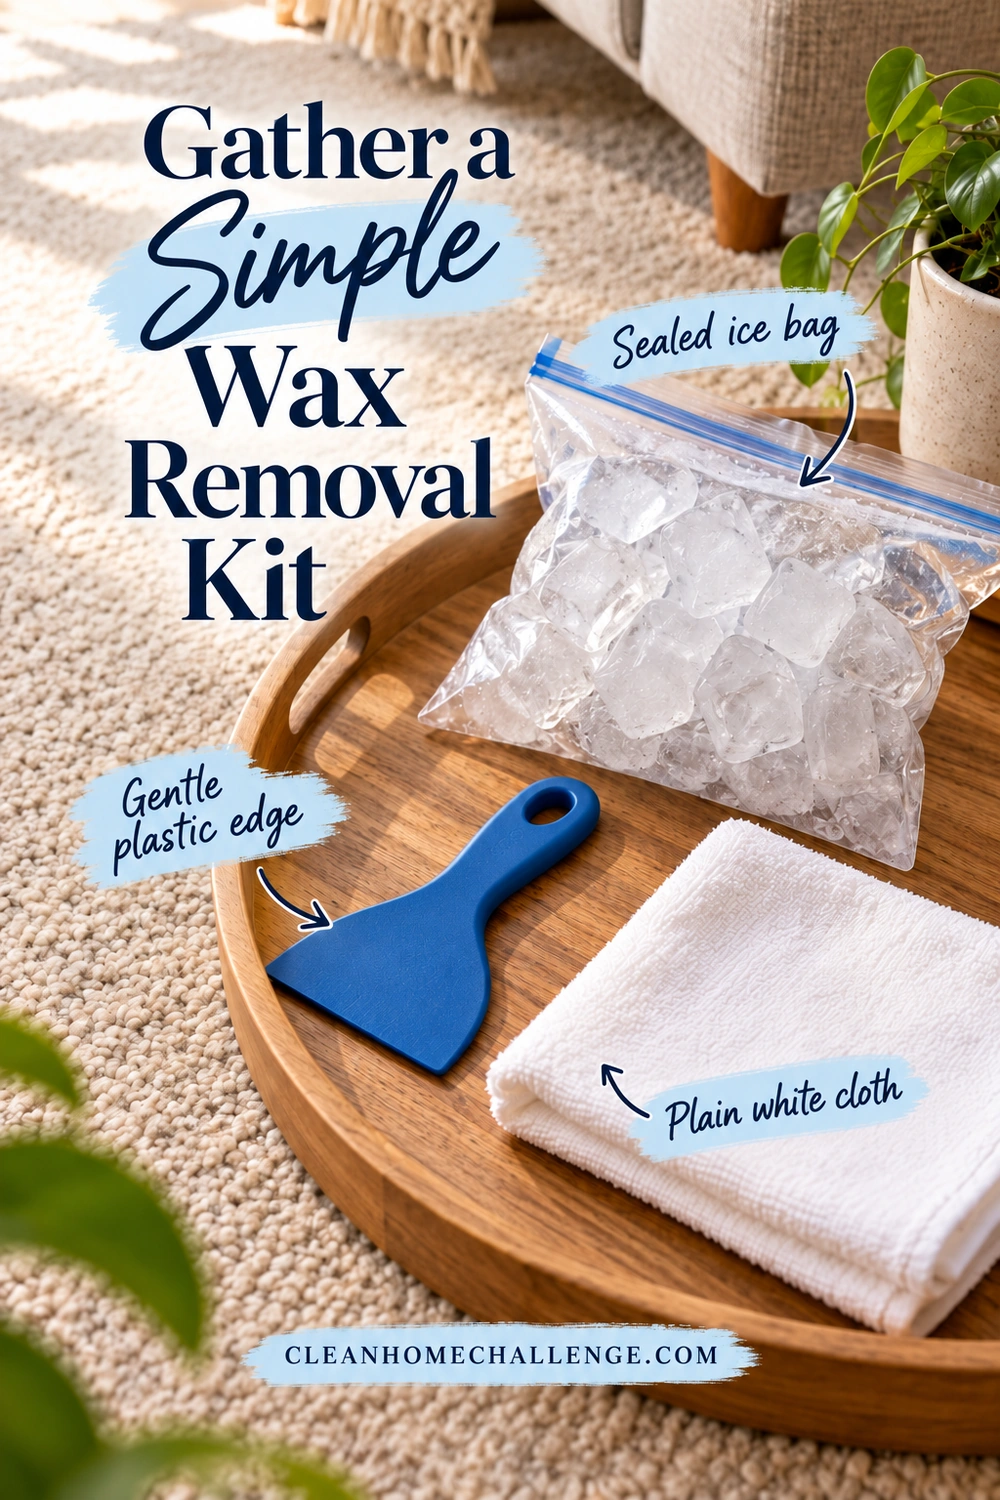
For a small spill on carpet whose instructions allow home care, gather a few ordinary supplies:
- A rounded spoon or smooth, blunt plastic scraper
- A sealable plastic bag and a few ice cubes, if controlled cooling is suitable
- A clean, dry white cotton cloth to catch condensation
- Extra white absorbent cloths for any approved spot treatment
- A small container or trash bag for the larger wax pieces
- A vacuum with the attachment recommended for your carpet
- Your carpet’s care instructions, plus the label of any proposed cleaner
Check the scraper edge with your finger before using it. A chipped plastic edge can catch yarn even when the tool is described as gentle. Keep sharp knives, razors, stiff scrubbing brushes, and scissors out of the kit.
Set the supplies on a nearby hard surface or tray so you are not hunting for a cloth while holding an ice bag. Keep the waste container within reach. A phone photo of the original spill is useful if you later need to explain what happened to a cleaner.
Leave the iron and cleaning chemicals out for the initial lifting stage. You may not need them, and seeing what remains after dry removal makes the next decision easier.
Allow yourself an unhurried short session for preparation and lifting. Cooling, spot-testing, and drying are separate waiting periods; there is no reliable one-size-fits-all completion time. A few surface drips and a full candle’s worth of wax in deep pile are very different jobs.
Harden and Lift the Candle Wax
This is the main home-care starting point for a suitable carpet. It aims to remove solid material with as little disturbance to the pile as possible. If the care label specifies professional cleaning only, follow that direction instead.
1. Let fresh wax become solid
Wait until the wax is cool and no longer soft enough to smear. Trying to wipe up warm wax can spread it through more yarns. BISSELL’s wax-cleaning guide also places physical removal after the wax has hardened. BISSELL wax-removal guidance
You can mark off the area with nearby chairs while you gather supplies. Avoid covering the spill with something that presses it into the carpet. If the candle holder broke, keep everyone clear and deal with the glass hazard before approaching the wax; do not search through the pile with bare hands.
2. Use controlled cooling when appropriate
Put a few ice cubes in a leakproof bag, seal it, and dry the outside. Place a thin, dry white cloth between the bag and the wax to catch condensation. Rest it gently on the wax, checking frequently and removing it once the deposit is firm enough to lift.
Do not leave the pack unattended or let melting ice soak the carpet. Replace a damp barrier cloth immediately. On a moisture-sensitive rug, skip this step unless its care instructions specifically permit it.
The University of Georgia’s textile-care guidance supports using ice contained in a plastic bag to harden wax before gentle removal. Judge readiness by the wax, rather than treating a suggested waiting time as a guarantee. University of Georgia candle-wax guidance
3. Lift small pieces from the edge
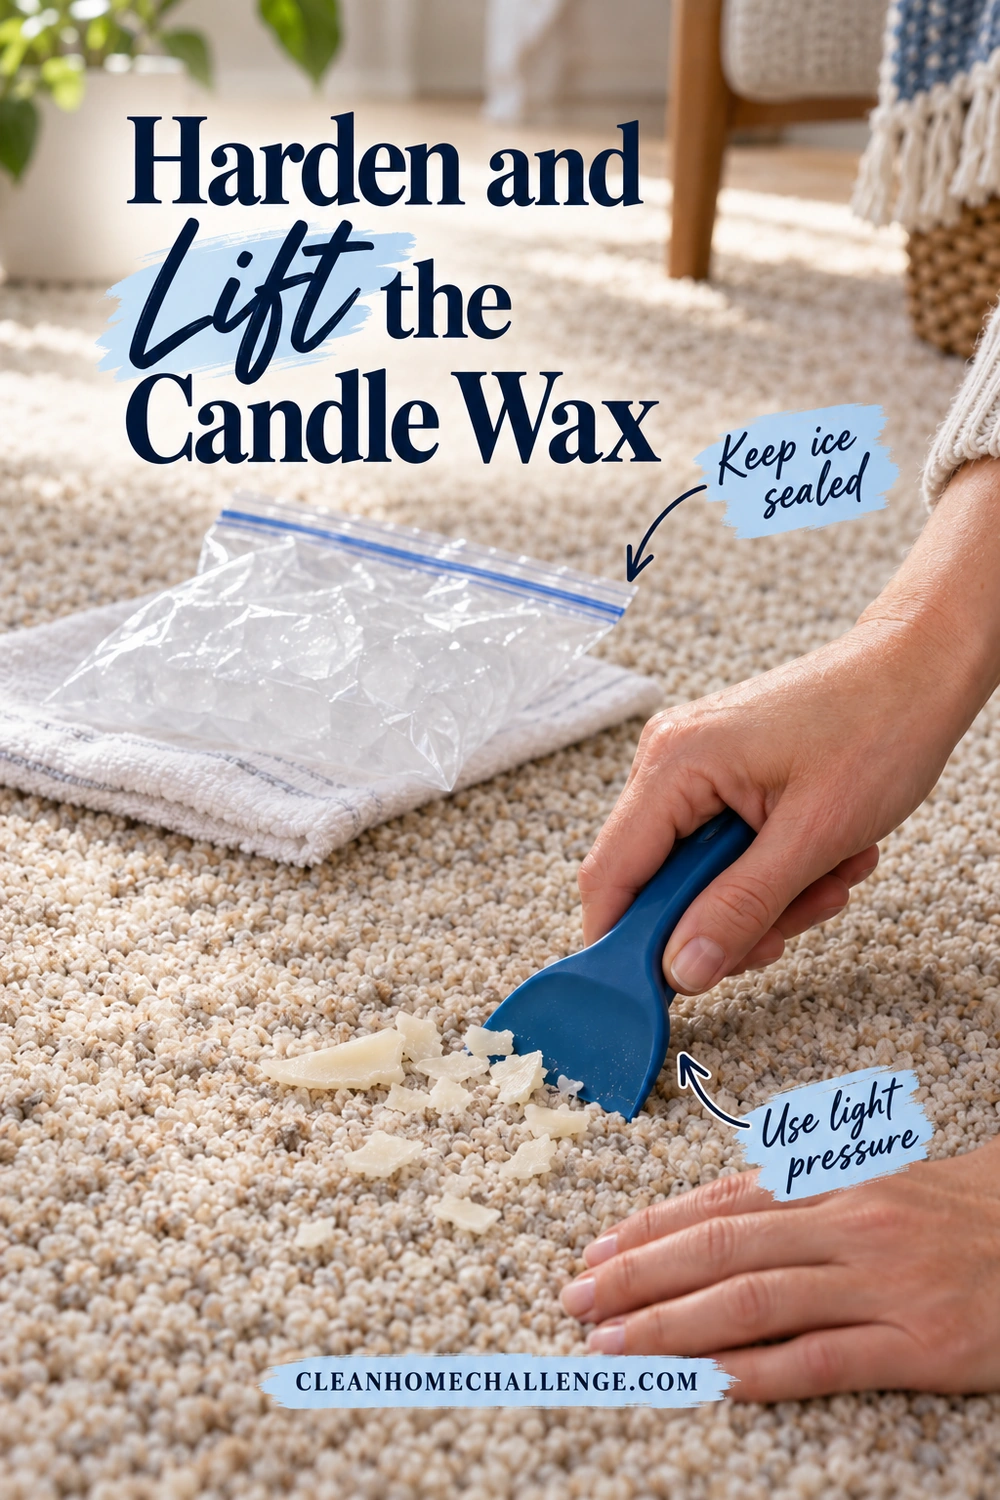
Hold the spoon or plastic scraper almost flat to the carpet surface. Begin at an exposed edge of the hardened wax and gently ease away small pieces. Put each piece into your waste container instead of pushing it onto clean carpet.
Use light, controlled movements. Do not dig toward the backing, saw through the pile, or lever against a bundle of trapped yarn. If the carpet moves with the wax, stop pulling. On looped carpet, keep the tool above the loops rather than trying to hook under them.
Work around the spill in small sections. When wax starts smearing instead of lifting, pause. For a carpet that tolerates the cooling step, firm it up again before continuing. A stubborn patch is a reason to reassess, not increase the force.
4. Collect the loose crumbs
Pick up the larger pieces first, then vacuum only loose, dry particles using a suitable attachment. Do not run a powered brush over a partly loosened wax lump. For shag carpet, Shaw recommends suction-only vacuuming or keeping an adjustable brush away from the long yarns. Shaw carpet-care guidance
Pause to inspect the area from a couple of angles. You may have removed the visible buildup while leaving a thin film or a colored mark. Leave those for the next stage rather than repeatedly scraping the same fibers.
If the area now looks and feels normal, stop. There is no need to add a stain remover simply because it appeared in someone else’s checklist.
Handle Leftover Wax With Care
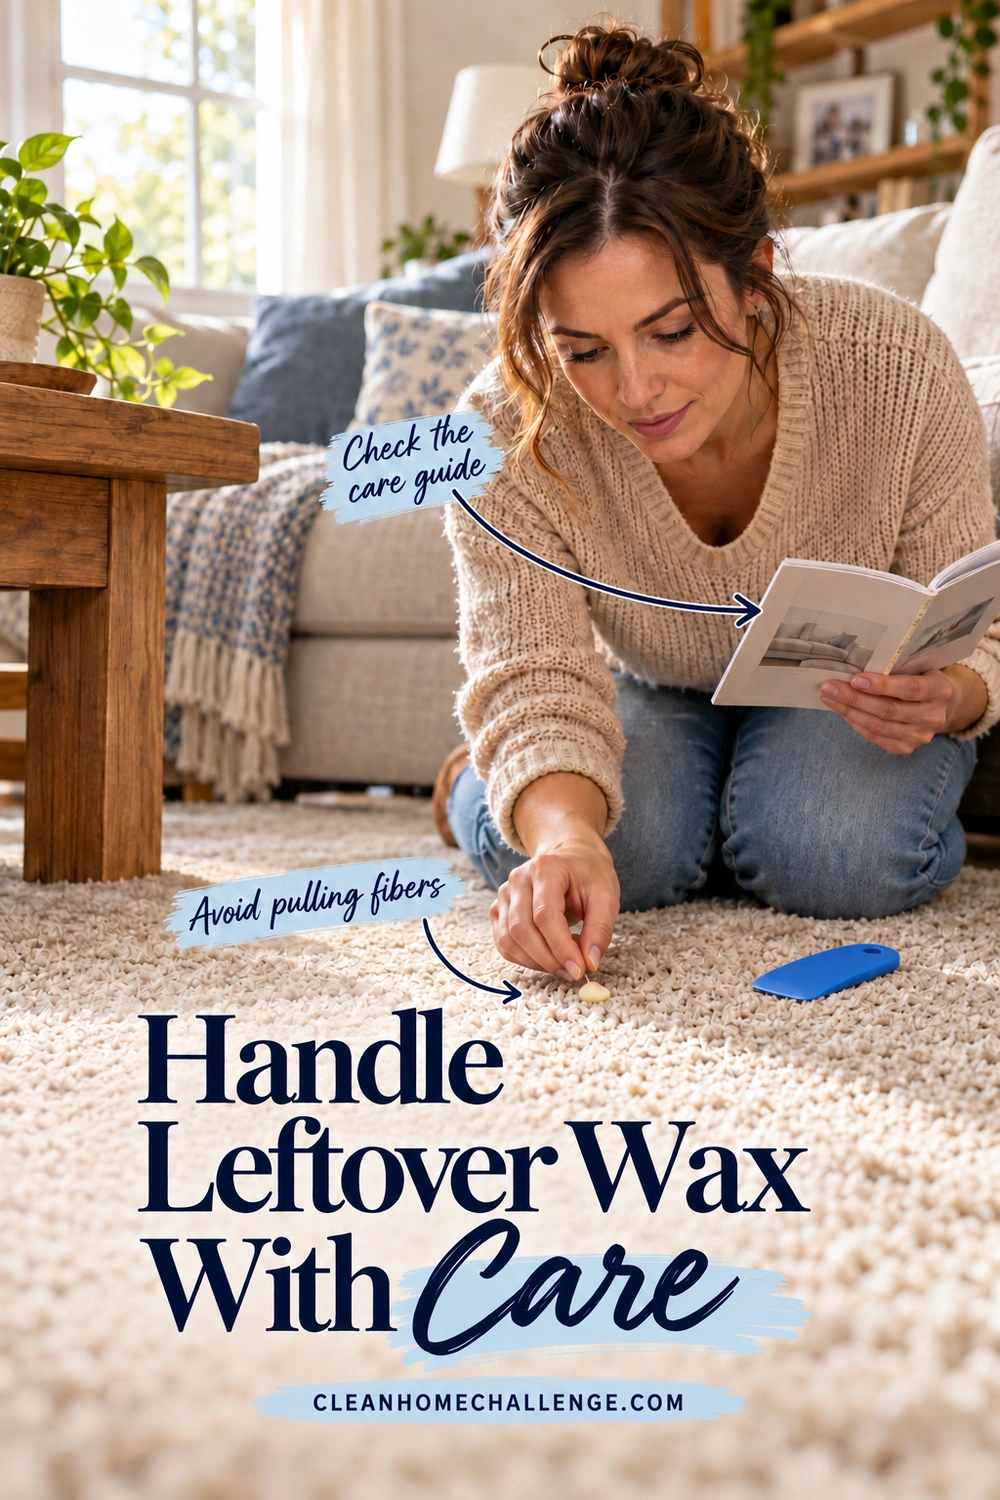
After the dry pieces are gone, look closely at what remains. A raised, stiff deposit suggests more wax is attached. A greasy-looking shadow may be residue. A red or blue tint may be candle dye. These clues help you describe the problem, but they do not reliably identify the right chemical by themselves.
Should you use an iron?
Heat transfer can work by softening wax into an absorbent material placed over it. However, published guidance is not interchangeable across all rugs. WoolSafe’s wool-carpet guide restricts its low-heat ironing instruction to wool fiber. That is an important limit, not permission to iron every carpet described as natural or every wool blend. WoolSafe cleaning and maintenance guide
Use an iron only when the manufacturer has approved heat transfer for your specific carpet or rug. If you have that approval, follow its stated barrier, setting, and technique. General precautions include:
- Remove the loose solid wax first and ensure no solvent has been applied.
- Use the clean absorbent barrier specified by the care guide. It must fully separate the soleplate from the carpet.
- Use only the permitted low setting, with steam off unless the manufacturer explicitly instructs otherwise.
- Inspect frequently and move to a clean part of the absorbent material as wax transfers.
- Stop if fibers stick, the pile changes appearance, or the treatment is not making progress.
Rug Doctor describes a low-setting, no-steam transfer method and moving to clean absorbent material. Those technique details do not replace the approval your own carpet needs. Rug Doctor wax-removal guidance
There is no universal safe temperature or contact time to copy onto every iron and rug. Never place the soleplate directly on the pile. If you cannot find specific permission, choose professional help rather than raising the heat.
What about solvent-based wax removers?
A product must be approved for the surface and used exactly as labeled. “Removes wax” on a bottle meant for hard surfaces is not enough. The Carpet and Rug Institute warns that solvent reaching the backing can damage the latex that bonds carpet layers. Do not pour solvent onto a carpet. CRI paraffin-wax spot guide
If your manufacturer approves a particular consumer product, follow its hidden-area test, application, ventilation, protective-glove, rinsing, and drying directions. Keep children and pets out of the working area. Never combine cleaning products or introduce heat to an area treated with solvent. If its removal instructions are unclear, ask the manufacturer or a professional before continuing.
Skip improvised treatments with nail-polish remover, paint thinner, lighter fluid, or whatever degreaser is under the sink. Do not substitute a hair dryer, steam mop, or boiling water for an approved process. Using a different tool does not remove the need to protect the fiber, dye, backing, and floor beneath.
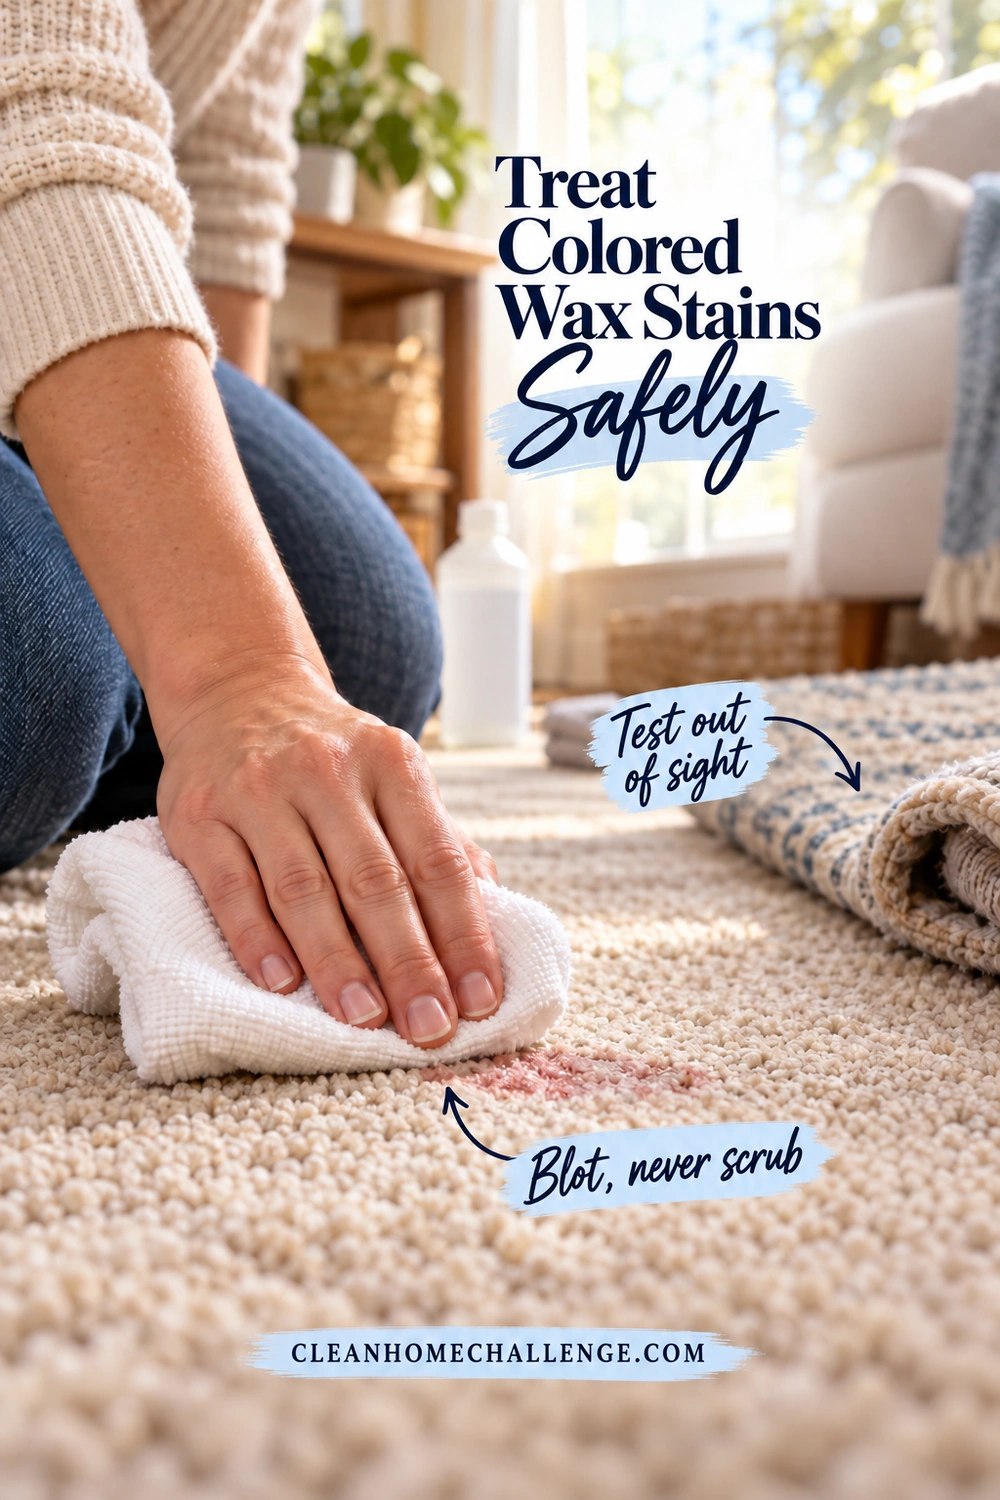
Treat Colored Wax Stains Safely
Colored candle wax can leave a tint even after the wax itself has been lifted. You might also see an oily-looking patch from the candle’s ingredients. Keep your expectations realistic: removing the solid deposit does not guarantee that every color mark will come out at home.
First, make sure you are seeing a stain rather than a shadow cast by flattened pile. View the dry area in normal room light and compare it with an untreated part of the carpet. Do not scrape a flat pink mark as though it were another layer of wax.
Use the carpet’s approved spot-cleaning process
For a carpet whose care instructions allow spot treatment, choose the recommended cleaner and read the whole label before starting. WoolSafe provides a directory of independently tested products for wool carpet care; product certification still needs to fit the intended use and your rug’s instructions. WoolSafe advice for carpet owners
Test the proposed cleaner in a hidden area as directed and evaluate it after drying. Check for carpet-color transfer, a lighter patch, or a texture change. A test that fails is a stop signal. It is not something to work around by making the product stronger.
When the test and care instructions support proceeding:
- Apply only the permitted amount, using the application method on the label.
- Blot gently with a clean white cloth. Work from the outside of the mark toward its center.
- Move to a clean cloth section so you can see whether residue is still transferring.
- Follow the approved residue-removal step, keeping moisture out of the backing.
- Blot dry and let the area dry fully before judging the result.
Shaw’s spot-cleaning instructions emphasize blotting rather than scrubbing and removing detergent residue with controlled amounts of clean water. Use water only where your carpet’s care guide allows it. Shaw spot-cleaning method
Avoid adding bleach, peroxide, ammonia, vinegar, or rubbing alcohol because the mark happens to be red. Candle color alone cannot tell you which treatment is compatible. Repeatedly trying unrelated cleaners also makes it harder to explain the treatment history if you need help later.
If color spreads, the carpet’s own dye transfers, or an approved treatment stops improving the mark, pause and contact a specialist. A small remaining stain is a better starting point for assessment than an increasingly wet, rubbed patch.
Know When to Call a Rug Cleaner
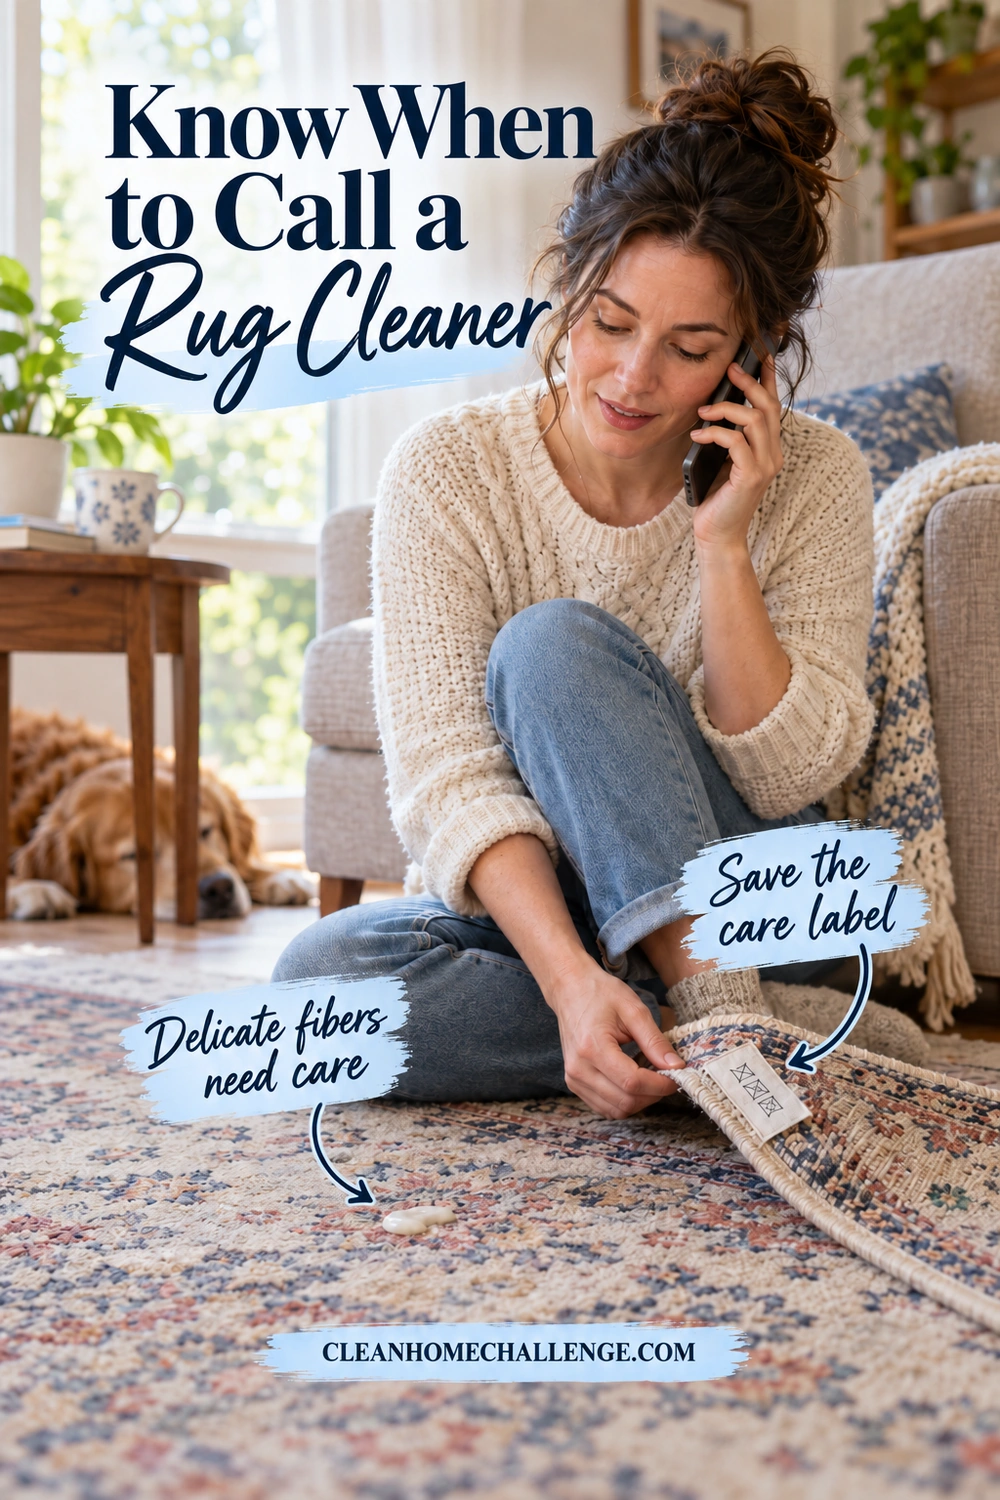
Professional help is a practical choice when the material or size of the spill makes home treatment uncertain. Nourison specifically recommends leaving antiques and delicate silk or viscose rugs to professionals. Nourison guidance on cleaning rugs at home
Ask for advice before further treatment when:
- The rug is valuable, antique, handmade, silk, viscose, or labeled professional-clean only
- You cannot identify its fibers or care requirements
- Wax has reached deep into the pile, backing, fringe, or rug pad
- A large quantity of wax has pooled rather than leaving a few surface drops
- Red, dark, or bright color remains after permitted cleaning
- The pile feels fused, looks scorched, pulls loose, or changes texture
- A hidden-area test shows bleeding or other damage
- An earlier attempt involved substantial heat, soaking, or an unsuitable product
Take two or three clear photos: the whole rug, the spill in close-up, and the care label. Tell the cleaner approximately when it happened, the candle color, and every treatment already used. Include product names and whether an iron, hair dryer, or steam device was involved. This information is more useful than calling it simply “a stubborn stain.”
Ask whether the company regularly handles your rug material and wax or dye stains, whether the rug needs off-site treatment, and what inspection is included before work starts. Get the expected cost and limits of stain removal. For wool, the WoolSafe site lists approved service providers as a starting point for finding suitable help.
While waiting, keep the spot out of foot traffic and leave it dry. Do not trim away wax-covered carpet tufts or keep repeating a process that is changing the pile. Cleaning cannot guarantee reversal of heat damage, and cutting yarn creates a separate repair problem.
Keep Candle Spills Easy to Manage
Once the immediate cleanup is handled, make a small change that reduces the chance of a repeat. Candles need stable holders where they are unlikely to be knocked over, with at least 12 inches between the flame and anything that can burn. Extinguish them when leaving the room or going to bed. Battery-operated flameless candles are worth considering in busy family spaces. U.S. Fire Administration candle-safety advice
Let candles and warmers cool completely before moving them. Carrying a container of liquid wax across a rug adds an avoidable spill opportunity. Keep electrical warmer cords positioned according to the appliance’s instructions so they are not easy to catch. Lancashire Fire and Rescue candle-safety guidance
For everyday floor care, save the rug’s care instructions somewhere easy to find and keep white cloths and a smooth plastic scraper in your cleaning caddy. Leave specialist products in their original labeled containers, safely stored away from children and pets.
On your next Friday floor routine, check the treated area in daylight. Vacuum according to the carpet’s instructions once it is fully dry, and look for a returning greasy shadow or lingering color. If either remains, use the care guidance or ask for help rather than starting a new round of experiments.
If you only have energy for the first steps today, make the area safe, identify the material, and remove only wax that releases easily once cool. That is a useful, manageable start. The aim is a floor you can live with comfortably and a cleanup that protects it: check first, lift gently, treat only what remains, and stop when the material needs specialist care.

CLEANERS CLUBHOUSE
Stay on Top of Floors Without Cleaning All Day
Give your floors a focused Friday reset instead of chasing every mark all week. The Cleaners Clubhouse helps you build a realistic routine with practical guidance, printables and monthly challenges.
