

THIS POST MAY CONTAIN AFFILIATE LINKS. PLEASE READ MY DISCLOSURE FOR MORE INFO.
Getting the keys to your first place comes with plenty of little discoveries. One of them is that crumbs, bathroom splashes, and moving-day dust arrive before your home feels unpacked. A useful first home cleaning supplies list helps you deal with those everyday jobs without buying an entire aisle of products.
Start with a few washable tools, cleaners suited to your actual surfaces, and one workable way to clean your floors. Add specialist products when a specific job calls for them. You can build a practical kit gradually, whether you are setting up a studio, sharing with roommates, or moving into a family home.
This guide focuses on what earns a place in that first shopping basket, what can wait, and how to put your supplies to work during your first week.
Disclosure: This post may contain affiliate links. As an Amazon Associate, Clean Home Challenge earns from qualifying purchases. If you make a purchase through these links, we may earn a small commission at no extra cost to you. This helps us keep creating practical cleaning tips, routines and resources for busy families! 🧽
Start With Your Home's Surfaces
Take a short walk through before shopping
Give yourself about ten minutes to look at the kitchen, bathroom, floors, and laundry setup. This is a planning suggestion, not a cleaning deadline. Note what needs cleaning and what the material is, wherever you can identify it confidently.
Your phone list might look like this:
- Kitchen: laminate countertops, stainless steel sink, glass cooktop.
- Bathroom: ceramic basin, acrylic tub, tiled floor, toilet.
- Living spaces: carpet in the bedroom and vinyl plank elsewhere.
- Laundry: shared machines, with detergent requirements posted nearby.
- Storage: one narrow cupboard that will need a suitable safety lock.
These details change what you buy. A toilet brush has an obvious job; a stone polishing product has no purpose in a home without compatible stone.
If a surface is unfamiliar, ask the property manager, previous owner, installer, or manufacturer. Wood-look flooring could be laminate, vinyl, or engineered wood. A countertop that resembles marble could be another material entirely. Keep any care sheets you receive, and photograph existing damage in a rental before attempting to remove it.
Let care instructions narrow your choices
Read both the surface maker’s guidance and the cleaning product label. A cleaner described as multipurpose still has exclusions. Test an approved product in a discreet spot when the instructions recommend it; a patch test does not override an explicit warning.
For example, Cambria’s quartz care guidance recommends a soft cotton cloth and warm water, with mild soap if desired, and warns against abrasive pads and several harsh cleaners. That example explains why a bottle marketed for kitchens cannot automatically be used on every kitchen counter.
Make three shopping categories: needed immediately, needed after checking a surface, and optional later. Cross off anything a roommate already owns and is happy to share. Agree who supplies replacements before buying duplicates.
If the home needs a full clean before belongings arrive, use our move-in cleaning checklist alongside this shopping guide. Your starter kit supports ordinary household cleaning; extensive mold, sewage contamination, pest problems, or unknown chemical residues need situation-specific help.

Build a Small Everyday Cleaning Kit
Put useful basics on your first shopping list
Choose comfortable, washable tools that you can store and maintain. A reasonable starting quantity is enough for your first few cleaning sessions, rather than a multipack designed to last all year.
- A small set of cleaning cloths. Start with roughly six to eight if your laundry routine allows: a few for the kitchen, a few for the bathroom, and separate dry cloths for dusting or finishing. This is a practical starting suggestion, not a hygiene standard. Buy more if you regularly run out before washday.
- A dish brush or suitable non-scratch sponge. Choose one that fits the cookware and dishes you own. Keep it for washing dishes, away from bathroom tasks.
- One small non-scratch scrub brush. A comfortable handle helps with suitable sink edges and everyday buildup. Check suitability before using bristles on coated or delicate surfaces.
- A toilet brush and stable holder. Keep this beside the toilet or in a dedicated bathroom storage area, separate from the portable kitchen kit.
- Cleaning gloves that fit. Check the cleaner’s label for the protection required. If using gloves for dishes and bathroom cleaning, keep separate pairs.
- Trash bags that fit your bins. One correctly sized pack is more useful than several bargain rolls that slide into the bin or cannot close.
- A small amount of paper towel or other suitable disposable cleanup material. Reusable cloths can handle many everyday tasks, but some unpleasant messes are easier to collect and discard before cleaning the area.
- A way to collect floor debris. Choose a broom and dustpan, a suitable vacuum, or both according to your flooring and the space you have.
- Compatible hard-floor equipment, if needed. A washable flat mop may work well, but check your floor before choosing its pad, cleaner, and moisture level.
Add hand dishwashing liquid, a suitable everyday surface cleaner if needed, toilet cleaner appropriate to the fixture, and laundry detergent matched to your machine. The next section explains how to avoid overlapping purchases.
Make cloth separation easy to remember
Use different colors or labeled storage sections for kitchen and bathroom cloths. There is no need to memorize a professional color system; everyone in your household just needs to follow the same one. Keep any cloth used around the toilet for that task until laundering, and never move it to the kitchen.
Fold a cloth so you can turn to a fresh face as it becomes dirty. Change to a clean cloth when necessary. A pile of spare cloths helps more than trying to make one heavily soiled cloth clean a whole home.
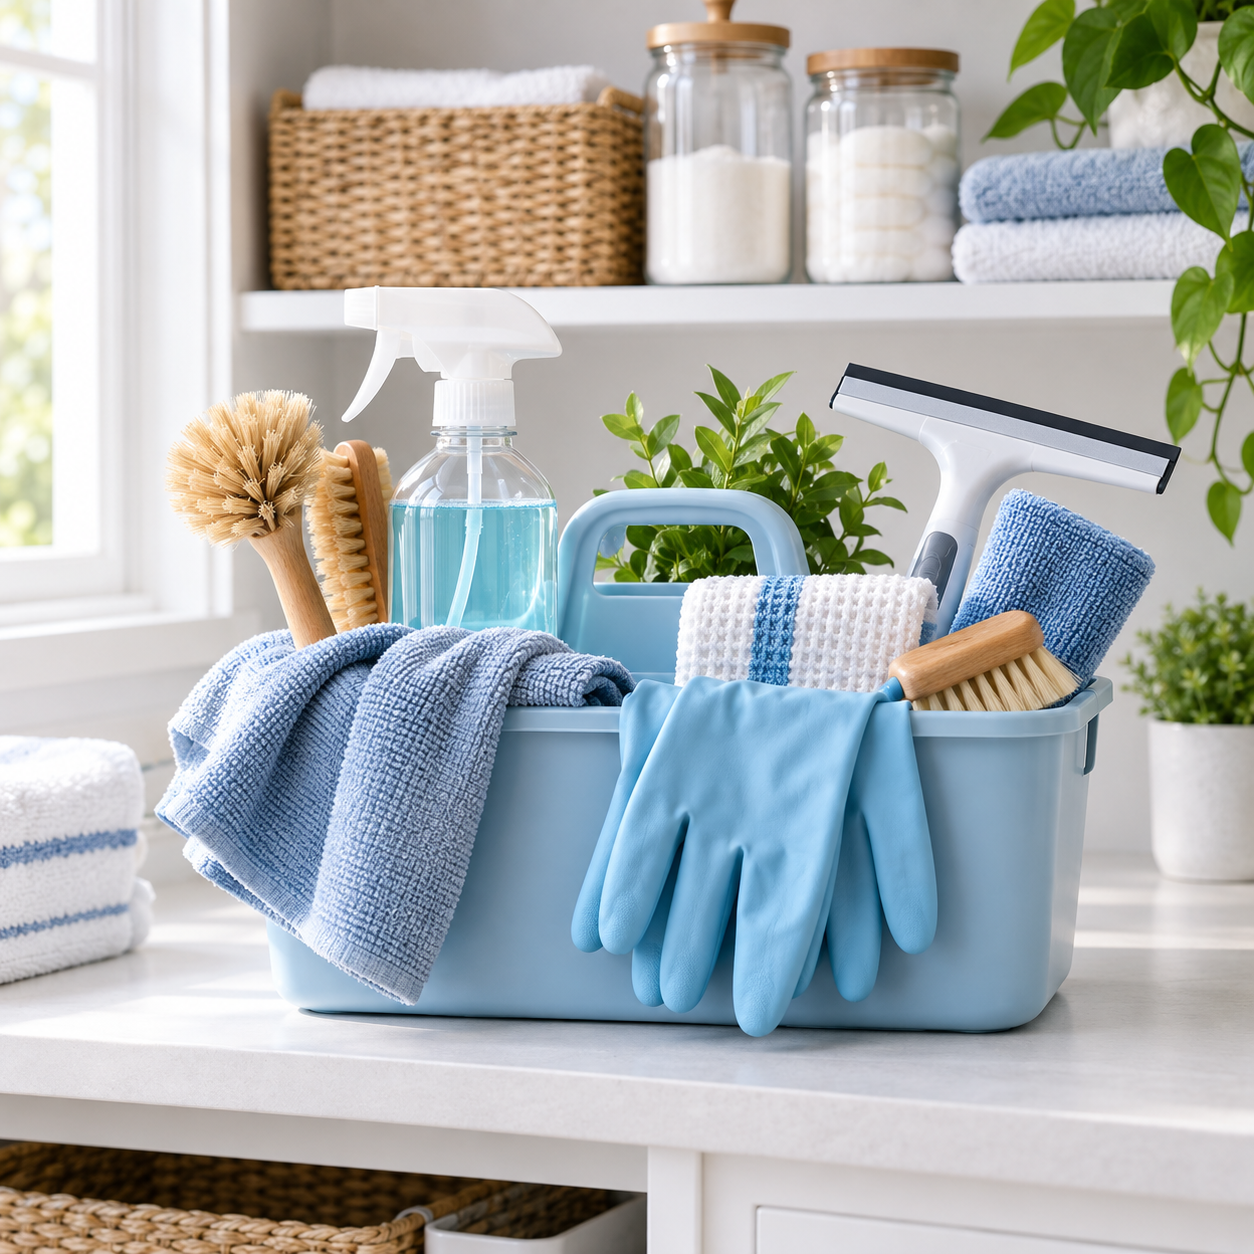
A washable tote or existing plastic tray can carry supplies. You can postpone buying a special caddy until you know what fits. Keep the load light enough to lift comfortably, particularly if you have stairs or limited hand strength.

Choose Cleaners for the Jobs You Have
Buy by task and approved surface
Start with the jobs you will do repeatedly:
- Dishes: choose hand dishwashing liquid for handwashing. If you use a dishwasher, buy the dishwasher detergent specified for that appliance; ordinary dish soap is not a substitute.
- Counters and everyday washable surfaces: use a cleaner approved for those materials. If the manufacturer permits mild soapy water, you may already have what you need. Follow any rinsing instructions, especially on food-contact areas.
- Toilet bowl: select a compatible product with clear directions. Keep it in the bathroom and use it only where the label permits, rather than treating it as a general bathroom cleaner.
- Tub, shower, and basin: an existing compatible cleaner may handle light soil. Buy a separate bathroom product only if the surface or buildup needs it.
- Laundry: choose detergent suitable for your washer, including a high-efficiency formulation when required. Follow the machine and detergent dosing instructions; more detergent is not a shortcut to cleaner laundry.
- Floors: buy a floor cleaner only after checking the specific floor’s care requirements.
Read the amount to use, application method, rinse requirements, protective equipment, and storage directions before the first clean. Our cleaning product label guide walks through those details.
Know when cleaning is enough
Cleaning removes dirt and germs; sanitizing reduces germs to specified levels; disinfecting kills germs covered by the product’s claims. These are different tasks. The CDC’s home cleaning guidance says routine cleaning is generally enough in many household situations, with disinfection particularly relevant when someone is sick or has a weakened immune system. Food preparation can also require targeted sanitizing, such as after raw meat contamination.
If disinfection is needed, select a product registered for that purpose in your country and compatible with the surface. In the US, look for an EPA registration number. Clean first as directed, and follow the label’s wet contact time instead of spraying and immediately wiping dry. The EPA’s disinfectant-use steps explain why directions and contact time matter. Observe any food-contact rinsing requirements.
Keep the chemistry simple
Use products separately and follow their labels. Never combine cleaners in a bottle, bucket, toilet bowl, or on a cloth. CDC bleach guidance warns against mixing bleach with other cleaners or disinfectants, because dangerous vapors can result. This includes vinegar, ammonia-containing products, and acidic toilet cleaners. Ventilate as directed and wear the specified protection.
Vinegar and baking soda do not need to be automatic starter-kit purchases. Neither is a universal surface cleaner. The Natural Stone Institute warns against vinegar on marble, limestone, and travertine. A familiar household ingredient still needs a suitable job and surface.

Match Floor Tools to Your Space
Prioritize the floors you actually live with
Mostly carpet or rugs: put a suitable vacuum near the top of your buying list. Check the carpet or rug maker’s advice about brush rolls, suction, and attachments. A broom cannot replace routine vacuuming of carpet. If borrowing a vacuum initially, agree on access so the arrangement works between spills.
Mostly hard flooring: a soft broom and dustpan or an approved hard-floor vacuum head can collect crumbs and grit. You may not need a second machine for a tiny apartment. Choose tools that reach under furniture and fit into the storage space you actually have.
A mixture of surfaces: look for one vacuum with appropriate settings and heads for both, then add a compatible hard-floor mop if your floors allow it. Check weight, cord reach or battery practicality, replacement-pad availability, and how easy it is to empty and clean. These everyday details matter more than collecting attachments you will never use.
Measure your cupboard before buying long-handled tools. A compact vacuum that is easy to take out may be more useful in your routine than a larger model you struggle to store.
Check moisture rules before buying a mop
Some floors tolerate more moisture than others. Follow the flooring manufacturer’s instructions rather than assuming every hard surface can be wet-mopped. For example, Shaw’s laminate care page recommends dry debris removal with the correct attachment, dedicated laminate care products, and avoiding wet mopping. Steam is also something to verify for your exact floor, rather than buying a steam mop first and asking later.
For a floor approved for damp flat-mop cleaning:
- Clear loose items and remove dry debris.
- Fit a clean pad and apply only the approved cleaner and moisture level.
- Begin at the far side and work toward the exit.
- Use controlled pull-back passes, turning or changing the pad as it becomes dirty.
- Let the floor dry before normal traffic, keeping children and pets away during cleaning and drying as the label requires.
Avoid leaving a wet pad resting on the floor afterward. Bona’s mop care sheet specifically warns that this can damage the surface. Remove the pad and follow its washing instructions.

Add Extras Only When You Need Them
Let a real problem justify the next purchase
After a week or two, you will know which jobs your starter kit handles comfortably and where there is a genuine gap. Keep a short “buy later” list instead of adding every interesting tool to your cart.
Possible additions include:
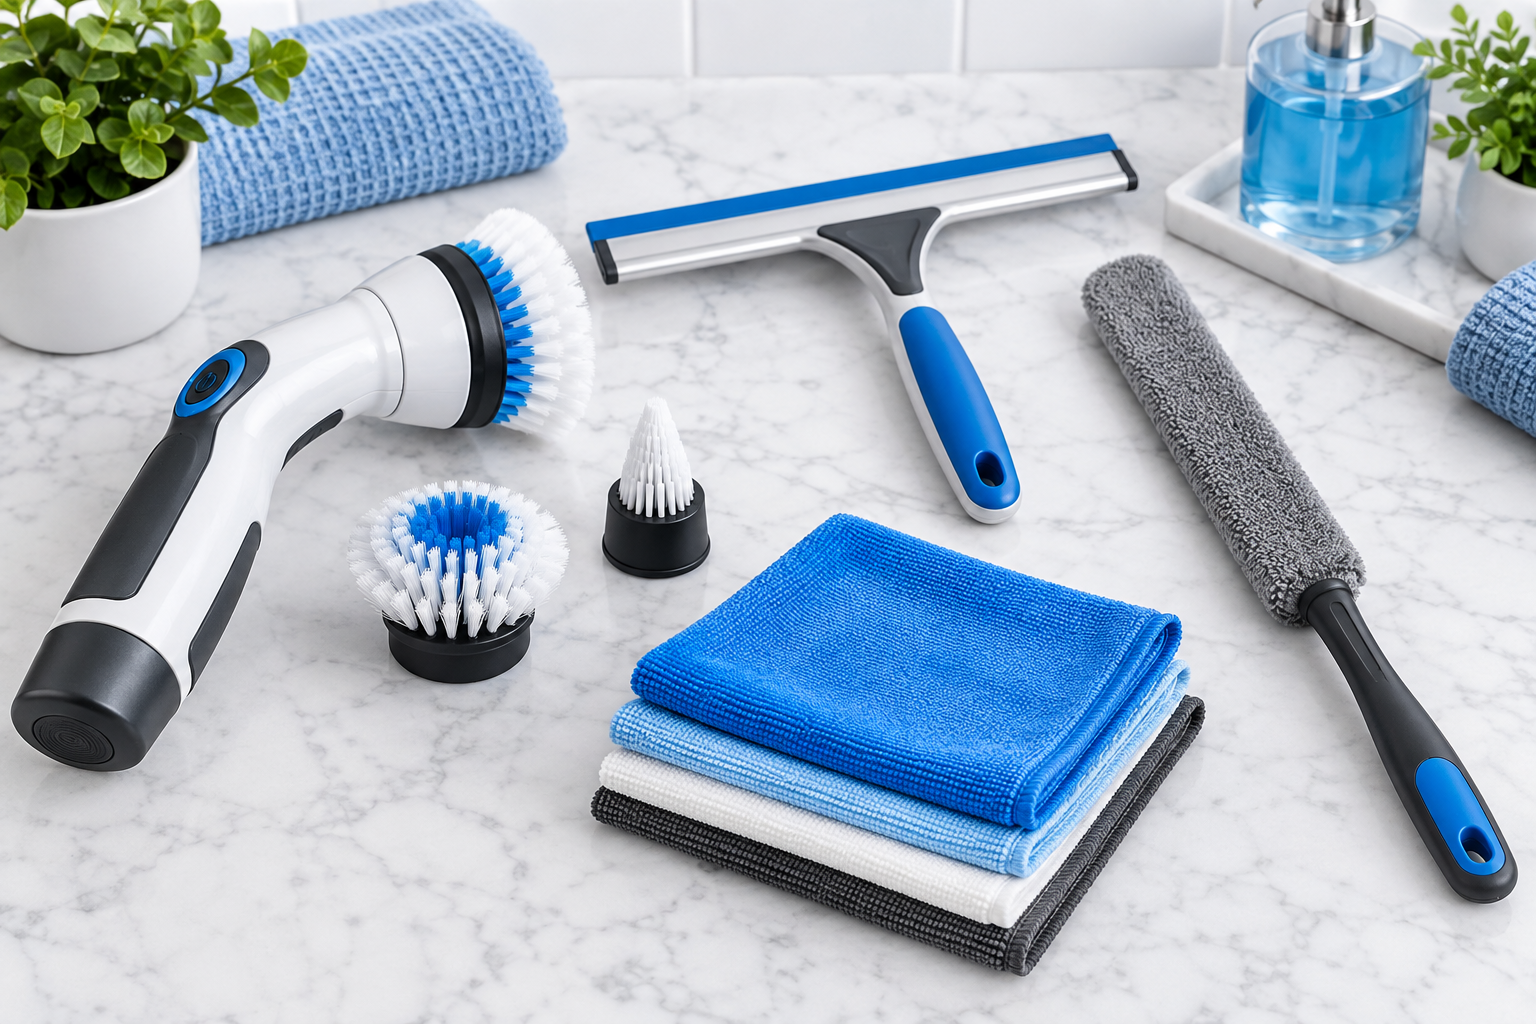
- A glass cloth or compatible glass cleaner if mirrors stay smeared after your existing method.
- A shower squeegee if it suits your screen and you will realistically use it.
- An extendable duster for reachable high surfaces, so you do not need to climb on furniture.
- A specialist stain treatment chosen for the stain and fabric care label.
- A compatible limescale remover if hard-water deposits are an actual problem.
- A detail brush when your existing brush cannot reach a recurring awkward gap.
Check instructions before using abrasive pads, polishing pastes, melamine erasers, or strong descalers. A stubborn mark may be damage rather than removable dirt, and extra scrubbing can make it worse.
Spend in an order that suits your home
There is no reliable universal price for a first cleaning kit. Costs depend on your country, existing supplies, floor area, and whether you need a vacuum. Give essential tools and suitable products priority over matching bottles, extra fragrances, and duplicate sprays.
Compare the cost of replacement pads or consumables as well as the initial tool. A concentrate may offer good value if you can measure it accurately and store it safely; a ready-to-use bottle may be simpler while you learn. Buy a modest amount of an unfamiliar product before committing to a bulk pack.
Postpone steam equipment, carpet-cleaning machines, large brush collections, and specialist appliance cleaners unless you have a verified need. If you share your home, agree which items are shared and who replaces them. Keep receipts for larger tools and check return terms before purchase.

Store and Care for Your Kit
Choose the storage location before filling it
Keep cleaning products in their original labeled containers, with caps or triggers secured as intended. Decorative bottles can separate a product from its directions, warnings, and emergency information. The EPA’s household hazardous waste guidance advises keeping hazardous household products in original containers and never putting them in food containers.
Follow each label’s temperature, ventilation, and separation requirements. Store supplies away from food, children, and pets. Use a suitably secured or locked cupboard when needed; an open caddy on a low shelf is a carrying system, not secure chemical storage. A washable tray can help contain small leaks, but it does not replace proper storage.
Keep bottles upright and labels readable. Do not pour leftovers together or top up one product with another. If you find an unlabeled container left by a previous occupant, do not sniff or experiment with it. Ask the property manager or local waste service about identification and disposal options.
Give tools a short reset after cleaning
Remove debris from brushes, rinse suitable tools according to their instructions, and let them dry in a place inaccessible to children and pets. Keep used cloths away from fresh ones and launder them appropriately before reuse. Do not seal wet cloths inside the caddy.
Check microfiber care labels before washing. E-Cloth’s US care instructions, for example, advise avoiding fabric softener and dryer sheets. Follow the instructions for the cloth you own rather than applying another brand’s heat settings to it. Our reusable cleaning cloth hygiene guide covers washing, drying, and replacement in more detail.
Empty vacuum containers or replace bags and maintain filters as the manual directs. Inspect mop pads and brushes for trapped grit or wear. Replace a tool when it is damaged or no longer works properly, rather than following an invented replacement deadline.

Try a Simple First-Week Routine
Give each part of the kit one useful job
During your first week, aim to learn your home and establish a few manageable habits. A heavily soiled move-in clean may take longer or require help; this plan is for starting everyday upkeep once urgent cleaning issues are handled.
- Day 1: Set up the kit. Check surfaces, assign cloth colors, read labels, and choose secure storage. Put supplies where you can retrieve them easily.
- Day 2: Reset the kitchen. Wash dishes, clear crumbs, clean a compatible counter section, and wipe the sink using its approved method. Follow food-contact cleaning and rinsing directions.
- Day 3: Clean the bathroom basics. Tackle the basin and toilet with separate tools. Follow product directions, allow required contact time, and finish by cleaning and storing your equipment.
- Day 4: Clear and dust one living area. Put loose items away, then use a suitable cloth on reachable surfaces. Choose one shelf or bedside table if energy is low.
- Day 5: Do the floors. Remove debris first, vacuum suitable carpet and rugs, and damp-clean approved hard floors as needed. Leave time for drying.
- Day 6: Catch up on laundry and tools. Wash clothes as needed and launder cleaning cloths according to their care requirements. Check the vacuum and mop before putting them away.
- Day 7: Review the shopping list. Notice what you used, what you borrowed, and what you genuinely missed. Add only those gaps to your next shop.
Try a ten- or fifteen-minute work block if that makes starting easier. It is fine to stop after one useful task; a timer never shortens a product’s required contact time or drying time.
Keep a smaller version for busy days
When the week gets crowded, wash the dishes you need, wipe the messiest compatible surface, take out full trash, and deal with spills promptly. Put used tools through their cleanup routine so tomorrow’s small job starts with clean equipment.
Once you know your space, our cleaning schedule for a small home or apartment can help turn those first steps into a repeatable week. Your kit can grow with your needs. A few well-chosen supplies, used consistently and cared for properly, are a useful beginning.

CLEANERS CLUBHOUSE
Use the Right Tools With a Routine That Works
Good cleaning tools work best when you know where and when to use them. Inside the Cleaners Clubhouse, recommended products sit alongside practical routines, printable worksheets and monthly challenges.
