
THIS POST MAY CONTAIN AFFILIATE LINKS. PLEASE READ MY DISCLOSURE FOR MORE INFO.
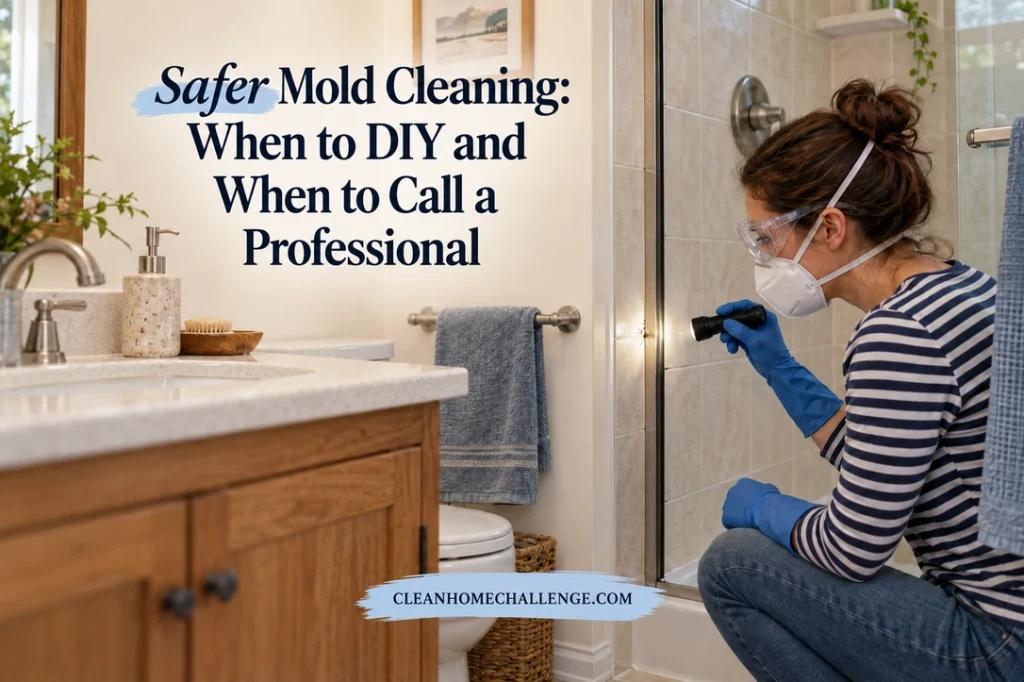
Finding mold behind a shampoo bottle or along a window can make an ordinary cleaning day feel much bigger. Before reaching for a spray, pause. The most useful first step is deciding whether the problem belongs on your cleaning list or needs a repair and professional assessment.
A small, accessible patch on a suitable hard surface may be manageable for a healthy adult with the right protection. Water damage, hidden growth, vulnerable household members, and contaminated materials can change that decision, even when the visible patch is tiny.
This guide walks through safe mold cleaning for a limited household situation, with clear stopping points. It does not cover flood restoration, opening walls, or treating health symptoms. You do not need to prove you can handle mold yourself. Asking for help is a perfectly sensible part of caring for your home.
Disclosure: This post may contain affiliate links. As an Amazon Associate, Clean Home Challenge earns from qualifying purchases. If you make a purchase through these links, we may earn a small commission at no extra cost to you. This helps us keep creating practical cleaning tips, routines and resources for busy families! 🧽
Check Whether DIY Cleaning Is Appropriate
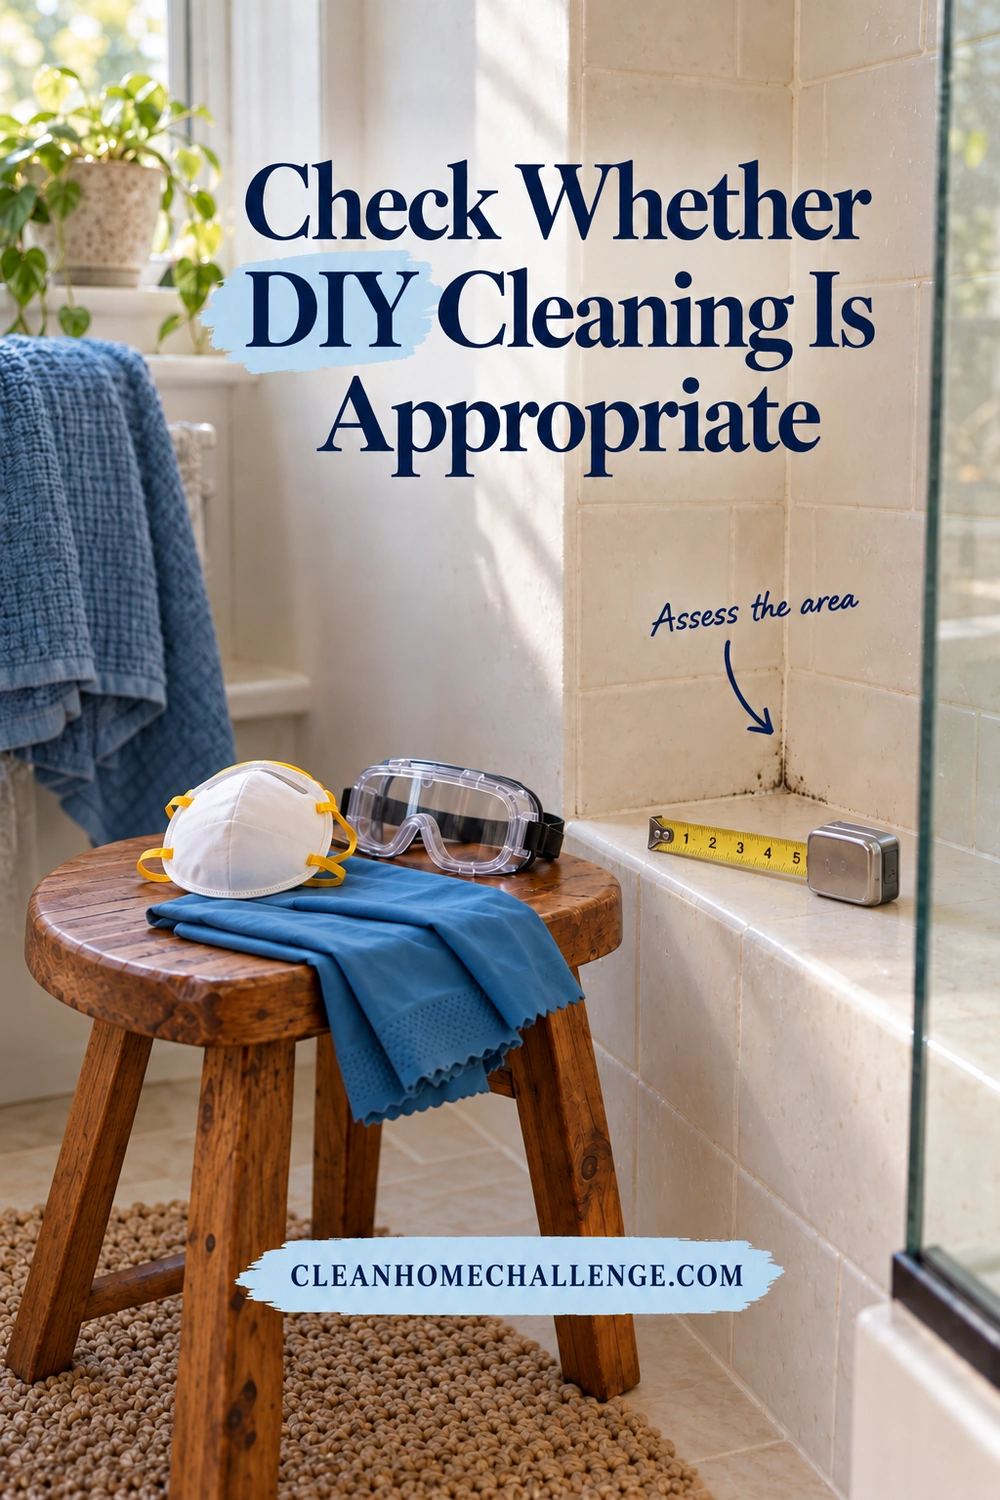
Start with the whole situation. The EPA says homeowners can often handle mold covering less than about 10 square feet, but it also identifies circumstances that need professional help. Treat that size as a screening guide, never a guarantee of safety. A 2-foot-by-3-foot patch is 6 square feet; several nearby patches must be considered together. EPA household cleanup guidance
A cautious DIY candidate meets all of these conditions:
- The growth is small, visible, and limited to a hard surface that can tolerate cleaning.
- The moisture source is understood and can be corrected.
- There is no sewage, floodwater contamination, major water damage, or suspected HVAC involvement.
- You can reach the area safely without climbing into a confined space, removing building materials, or working overhead on a ladder.
- The person cleaning is suitable for the task, can wear the necessary protection, and can keep others away.
If any answer is uncertain, stop at assessment and arrange advice. A small surface mark over a soft, swollen wall deserves a different response from a few spots on intact shower glass.
Who should sit this job out?
People with mold allergies, asthma, COPD, other underlying lung disease, or weakened immune systems should not clean mold. Keep vulnerable people out of the cleanup area; CDC specifically advises people with asthma, COPD, or immune suppression not to remain in a moldy home during cleanup. Children and pets should be kept away from the work as well. CDC cleanup precautions
Protective equipment does not turn a medically unsuitable task into a suitable one. If you are unsure about your health or your ability to wear a respirator, ask your healthcare professional before starting. Anyone who develops irritation or breathing symptoms should stop, leave the area, and seek appropriate medical advice. This guide cannot tell you whether mold caused a symptom.
Fix the Moisture Source First
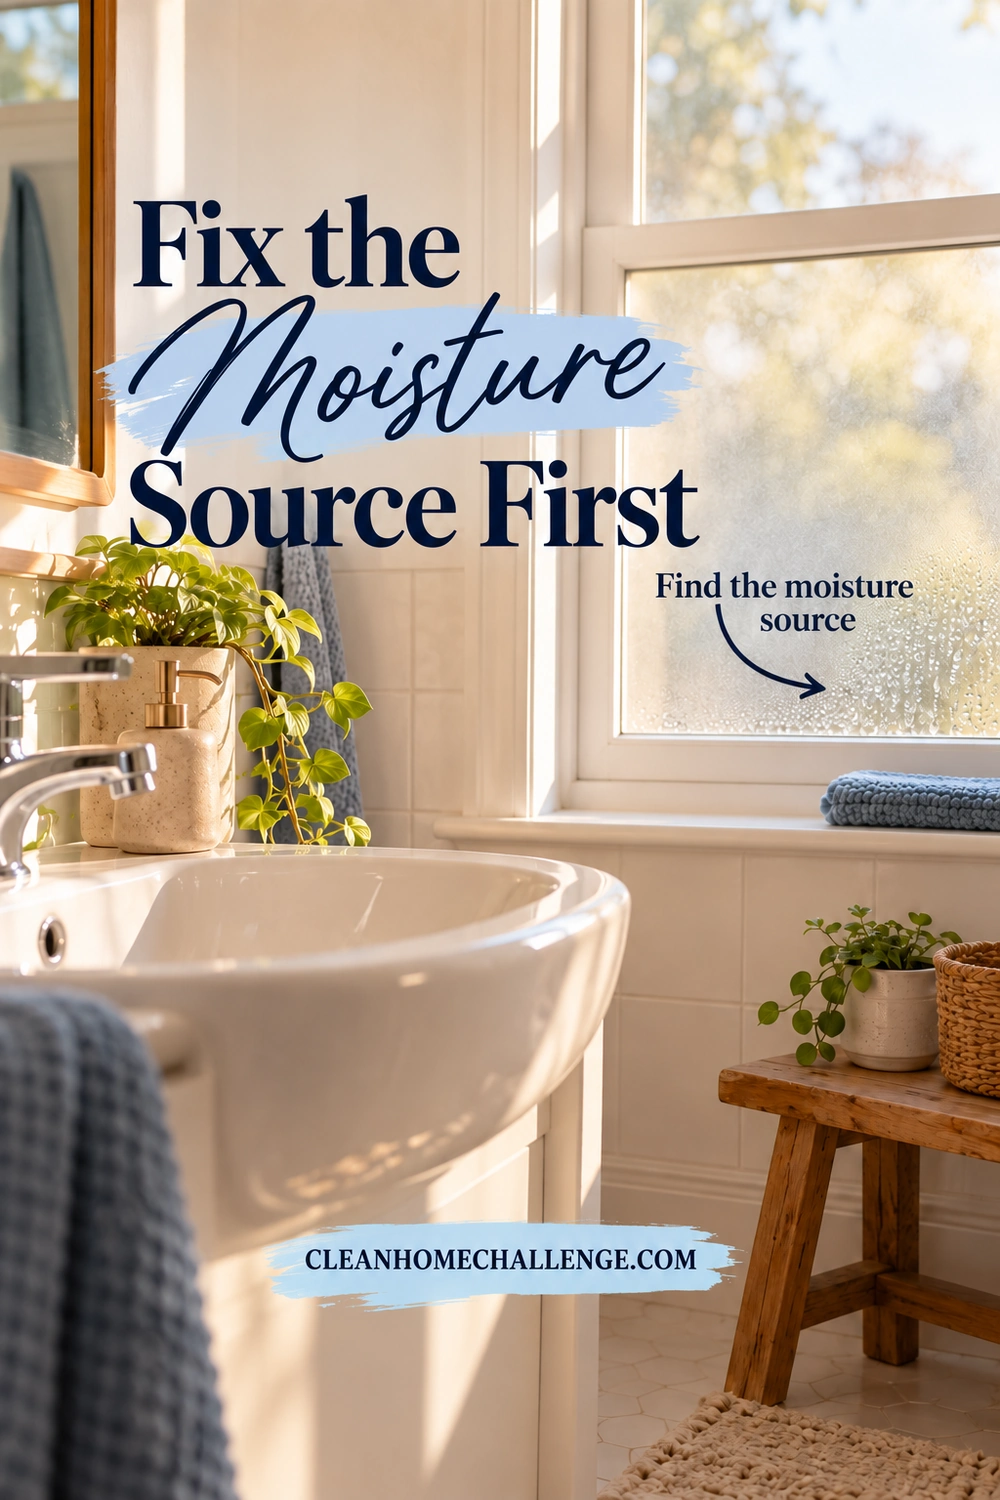
Write down where the moisture is coming from before choosing a cleaner. Is a pipe dripping? Does condensation collect on the window each morning? Is water escaping around the shower? Did a roof leak leave the wall wet? A cleaning session will be short-lived if the same surface keeps getting damp.
Look at accessible areas without disturbing moldy materials. Note the date, take a photo, and record what was happening when you noticed the moisture. These small details can help a plumber, property manager, or remediation professional understand a recurring problem.
For a simple, safely accessible clean-water drip, stop using the affected fixture if practical and arrange the repair. Water near electrical equipment, a sagging ceiling, or structural damage calls for qualified help rather than a closer DIY inspection.
Freshly wet materials should be dried promptly, ideally within 24–48 hours, to reduce the chance of growth. That prevention window is not a promise that an item is safe after a flood, and it does not mean established mold disappears when it dries. EPA guidance distinguishes drying fresh water damage from remediating growth that is already present. EPA guidance on moisture and condensation
Ventilation without spreading the problem
Provide outdoor ventilation where it is safe and appropriate for the room and cleaning product. Do not aim a portable fan at visible mold or use a fan to blow contaminated air through the home. CDC warns that fans can spread mold once growth has begun. If the air-conditioning or heating system itself may be contaminated, leave it off and seek professional advice. CDC and EPA disaster-cleanup guide
If repairs must wait, the useful action today may be documenting the problem and keeping people away. Do not pull off wallpaper, lift moldy carpet, or open a wall to find out how far it goes.
Prepare Your Space and Protective Gear
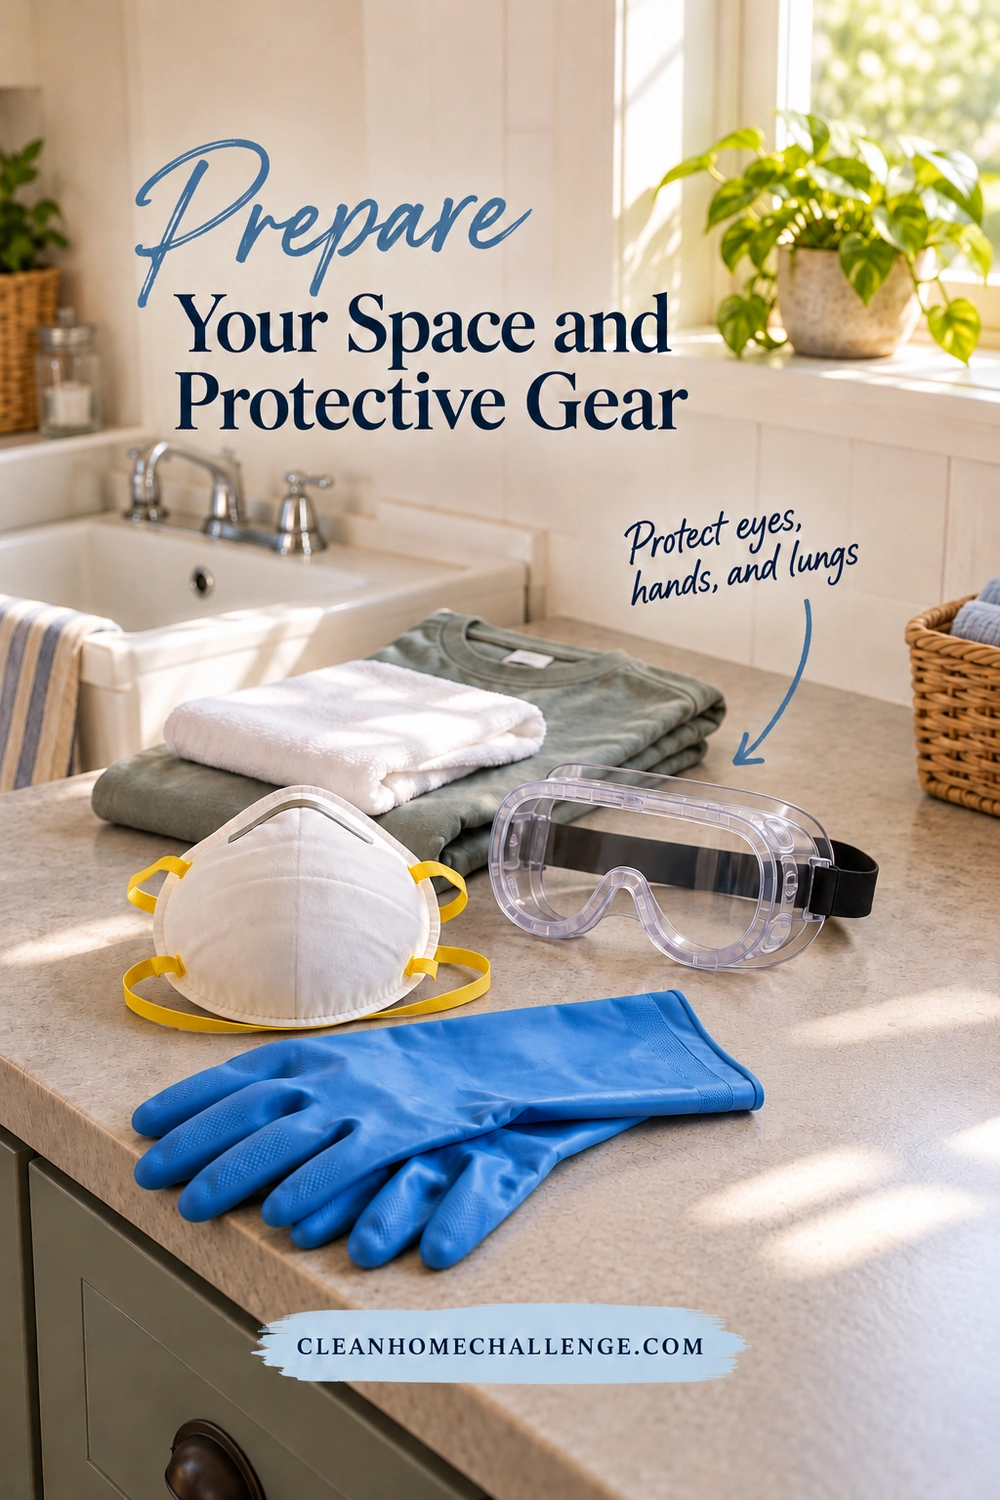
Get everything ready before approaching the affected surface. For this limited hard-surface job, gather:
- A NIOSH-approved N95 respirator that seals to your face
- Well-fitting goggles designed to exclude dust and small particles, without open ventilation holes
- Long protective gloves suitable for your cleaner
- One compatible detergent, clean water, and a small container
- A nonabrasive cloth or soft brush approved for the surface
- Clean wiping and drying cloths, plus a bag for disposable waste
An ordinary cloth face covering, loose dust mask, or pair of glasses does not replace the specified protection. EPA recommends gloves extending toward the middle of the forearm and notes that glove material must suit the chemical being used. EPA protective-equipment guidance
Follow the respirator’s own fitting instructions and perform its user seal check every time. Facial hair where the respirator meets the skin can prevent a seal. If you cannot obtain a good fit, do not proceed with that respirator. Manufacturer instructions also matter when replacing a damaged, dirty, or difficult-to-breathe-through disposable model. 3M respirator use and care
An N95 filters particles; it does not protect you from chemical gases or vapors. It is not a reason to tolerate strong fumes or ignore a product’s ventilation directions. NIOSH guidance on filtering facepiece respirators
Set up a job you can finish calmly
Keep children, pets, and other household members out of the area. Leave clean supplies within easy reach so you are not walking through the house with dirty gloves. Remove only nearby clean belongings that can be moved without disturbing mold; leave contaminated items for the appropriate cleanup plan.
Allow uninterrupted time for setup, cleaning, waste handling, and drying. There is no universal 15-minute mold-removal promise. If your available window ends before you can finish safely, use it to gather information and arrange help instead.
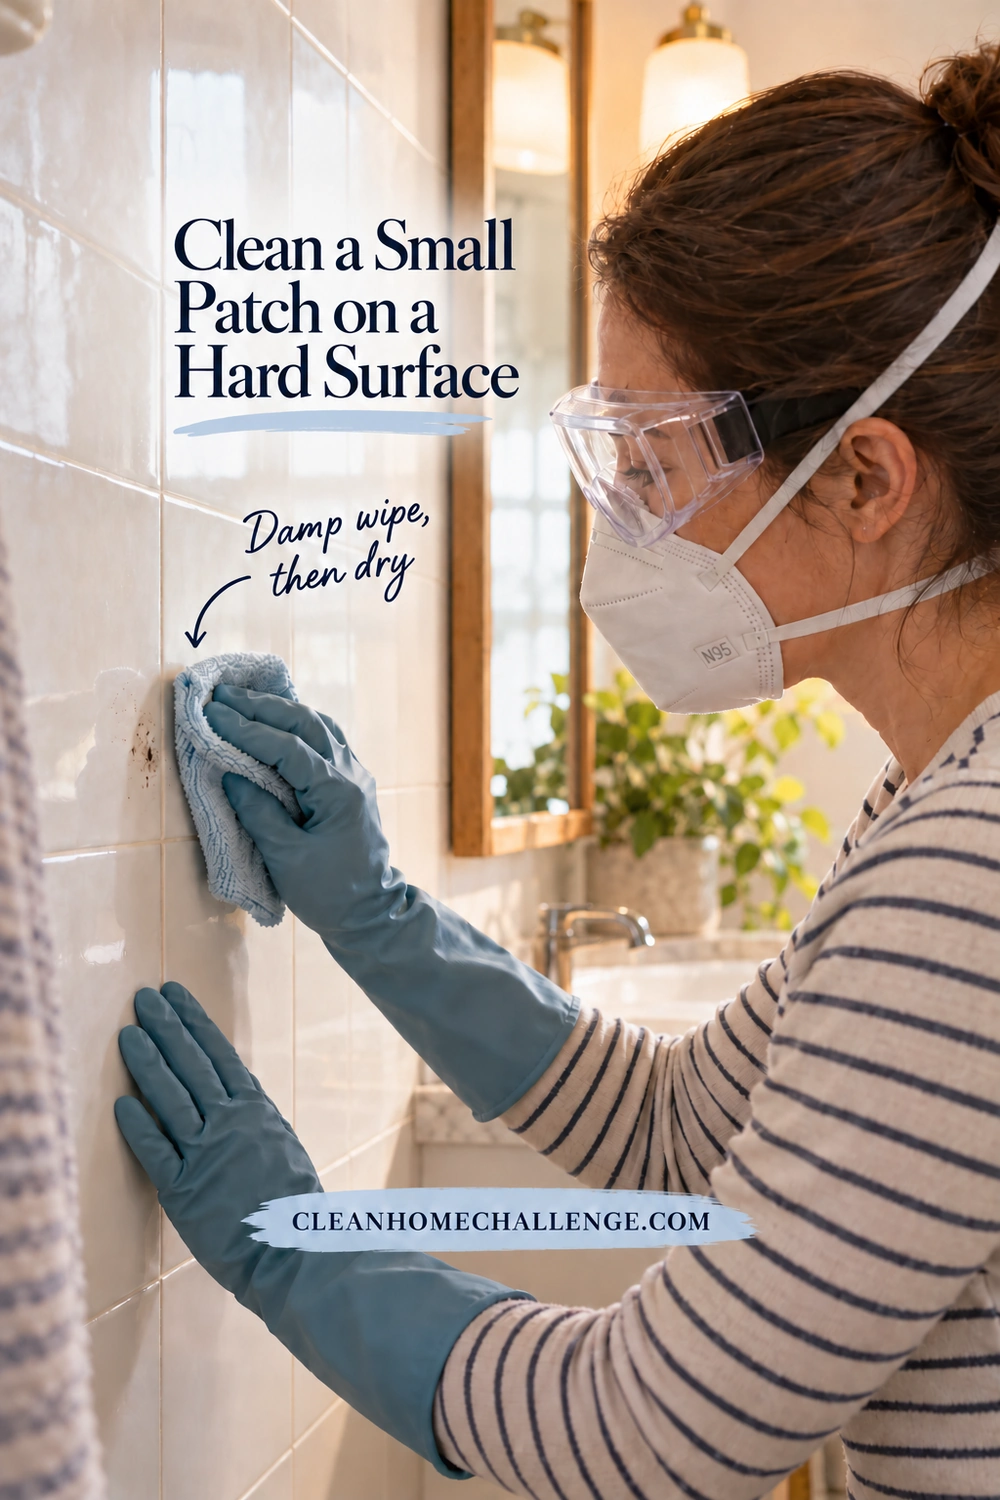
Clean a Small Patch on a Hard Surface
Use this sequence only after the DIY checks above are satisfied. It is intended for accessible, intact, cleanable surfaces such as glazed ceramic tile or glass. Natural stone, damaged finishes, unsealed grout, and absorbent materials need their own care instructions and may need specialist advice.
1. Check both the surface and product instructions
Confirm that the detergent, cloth, and brush are suitable for the exact material. Test a small, inconspicuous spot when the manufacturer recommends it. Daltile, for example, gives different care guidance for manufactured tile and natural stone, and recommends nonabrasive products for glass and metal tile. A method suitable for one bathroom finish can damage another. Daltile care and maintenance
2. Put on your protection before disturbing the patch
Fit the respirator and goggles, then put on your gloves. Check that the room is ready and other people are clear of the area. Do not touch the growth to see whether it rubs off while you are still setting up.
3. Clean with controlled moisture
For a compatible hard surface, use detergent and water as directed and gently work away the visible growth with a damp cloth or suitable soft brush. Avoid dry brushing, sanding, high-pressure spraying, or powered scrubbing that throws material into the air. Do not soak wall joints or surrounding absorbent surfaces.
Use a clean part of the cloth as you work. If the surface starts crumbling, the finish lifts, or the growth extends beyond what you assessed, stop. This is the point to revise the plan, rather than scrub harder. EPA describes damp wiping or scrubbing with water and detergent as a hard-surface cleanup method. EPA remediation methods
4. Remove residue and dry thoroughly
Follow the cleaner and surface manufacturer’s rinsing instructions, using controlled amounts of clean water. Wipe away excess moisture and allow the surface to dry completely. Keep people away while the cleanup remains unfinished. Drying time depends on the material and room conditions; a timer cannot confirm that hidden materials are dry.
5. Finish the cleanup before putting supplies away
Seal disposable contaminated wipes in a bag at the work area. Handle reusable tools according to their cleaning instructions, and do not shake dirty cloths through the house. Keep your respirator on until you are out of the affected area. Remove protective equipment carefully, avoid touching contaminated outer surfaces, and wash your hands. Store cleaning products securely in their original labeled containers, out of children’s and pets’ reach.
6. Check the result and arrange a follow-up look
The aim is removed growth, a dry surface, and a corrected moisture problem. A bleached-looking patch or a fresh scent cannot demonstrate that those conditions are met. Recheck after the area has dried and again after normal use or the next rain, as relevant. Remaining discoloration can be cosmetic, but continued dampness, odor, or returning growth needs investigation.
Do you need bleach?
Routine mold cleanup does not automatically require bleach. EPA does not recommend routine biocide use, and killing mold alone does not remove the material that may still cause reactions. For the limited job described here, compatible detergent and water are the starting point. EPA advice on cleanup and biocides
If a labeled mold product is appropriate, use that product exactly as directed. Cleaning, stain removal, and disinfection instructions can have different contact times, application methods, and rinsing requirements. Check the directions for the intended use on your own bottle; do not borrow a timing or dilution from another product. Clorox product directions illustrating use-specific instructions
Never mix cleaning products. In particular, never combine bleach with vinegar, ammonia, acids, alcohol, or other cleaners. Do not layer products over unknown residues to make a stain disappear faster. Pause and check manufacturer instructions instead.

Handle Porous Materials With Care
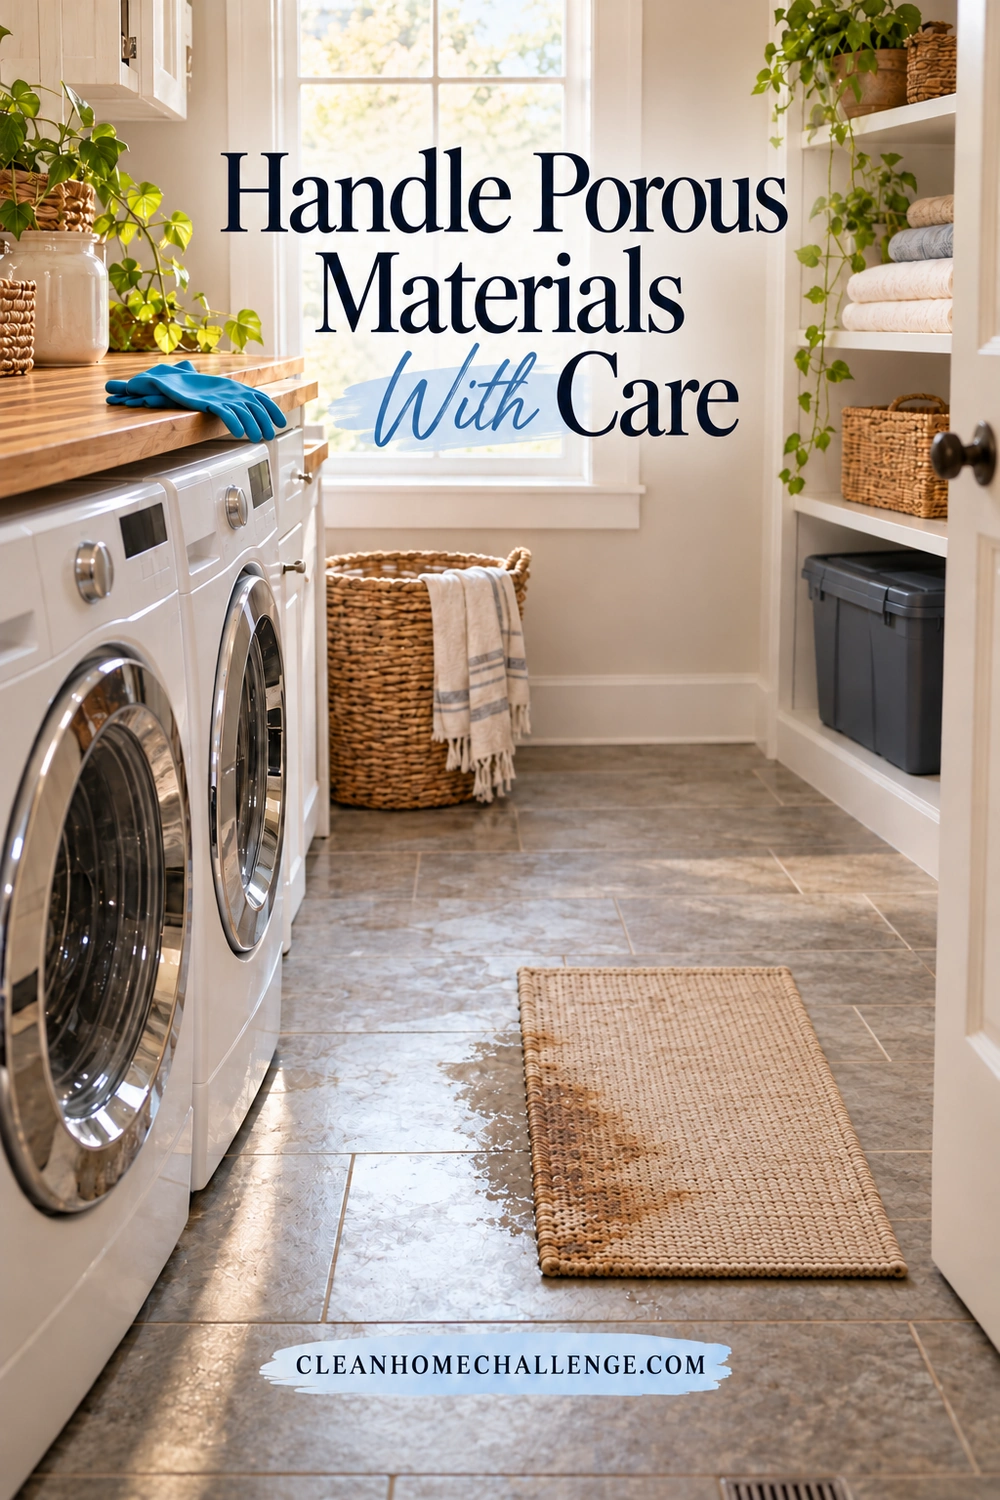
Some materials cannot be treated like tile. Mold can reach into absorbent materials where wiping the outside will not remove it adequately.
Moldy carpet and padding, ceiling tiles, insulation, and water-damaged drywall may need removal and replacement. Surface cleaning is not a reliable rescue plan for soft, swollen, deteriorating, or deeply contaminated material. EPA’s guidance includes different approaches for different materials and treats contaminated-water damage separately from clean-water damage. EPA material-specific remediation guidance
Make the decision before dismantling anything
For this household guide, opening walls, stripping wallpaper, pulling up carpet, or breaking moldy drywall is a professional-assessment point. These tasks can reveal a larger problem and release contamination. Hidden growth may be present behind a surface that looks only lightly affected. EPA guidance on finding hidden mold
Bathroom details deserve the same care. Intact glazed tile may be washable while adjacent grout, caulk, or backing has a different problem. Persistent growth within deteriorated caulk or damaged grout needs assessment and an appropriate repair. Avoid sealing a damp or moldy joint under another layer of caulk. Do not paint over growth to hide it.
Washable fabrics and valuable belongings also deserve material-specific decisions. Check care labels and consult the manufacturer or a restoration specialist. A treasured photo album, upholstered chair, or antique is a good reason to ask about options before either saturating it with cleaner or throwing it away.
If removal is recommended, ask how items will be contained and taken out without carrying contamination through clean rooms. Local disposal requirements can differ. You do not need to tear out the material yourself to make the appointment worthwhile; an accurate description and clear photos are a useful start.
Know When to Call a Mold Professional
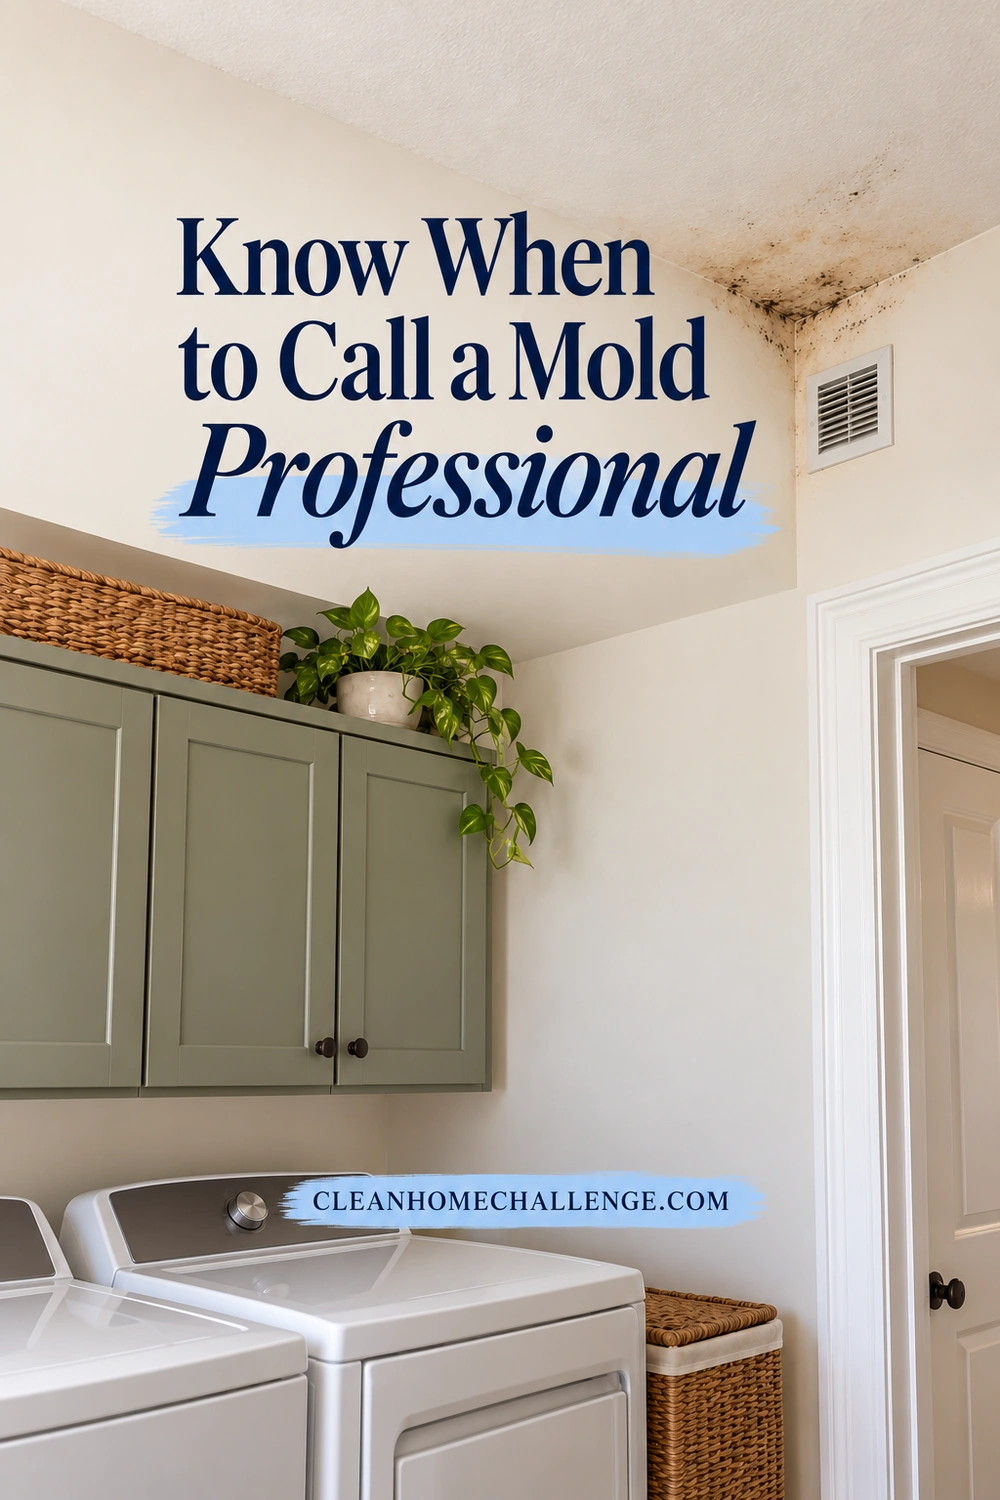
Arrange professional assessment if the affected area is around 10 square feet or larger, if you cannot determine its extent, or if any of these warning signs apply:
- Growth is widespread, dense, in several rooms, or keeps returning despite cleaning and moisture-control efforts.
- Water damage followed sewage, contaminated floodwater, or another uncertain water source.
- Mold may involve heating, cooling, ducts, or an air intake.
- There is a persistent musty odor with no accessible source, or suspected growth behind walls or under flooring.
- Building materials are soft, swollen, damaged, or may need removal.
- Safe access, suitable protective equipment, ventilation, or protection of vulnerable occupants cannot be arranged.
Size alone does not decide how complicated a job is. EPA notes that dense growth in a small area may need greater containment than lighter growth over a larger space. EPA containment considerations
A plumber, roofer, or building specialist may also be needed to fix the cause. When booking, ask who is responsible for moisture diagnosis, mold removal, drying, and repairs. Having those responsibilities clear can prevent a cycle of paying for cleanup while the leak remains.
Questions worth asking before agreeing to the work
- What relevant mold-remediation experience do you have, and can I check references?
- What do you think is causing the moisture, and how will that be confirmed?
- Which materials can be cleaned, and which may need replacement?
- How will you protect occupied areas and handle contaminated debris?
- What will you check before calling the job finished?
- Will you provide a written scope, price, exclusions, and a plan for unexpected findings?
EPA recommends checking contractor experience and references and asking which recognized remediation guidance they follow. EPA advice on choosing cleanup help
Tell the provider about access restrictions and household members who need to avoid exposure, so the work can be planned appropriately. Ask what space must remain unoccupied and for how long. A clear answer is more useful than a blanket promise to make a home completely mold-free.
Build a Manageable Mold-Prevention Routine
Once growth has been dealt with and repairs are complete, aim to shorten the time surfaces stay wet. You do not need to disinfect the bathroom every day or add a complicated schedule to an already busy week.
After showers and everyday splashes
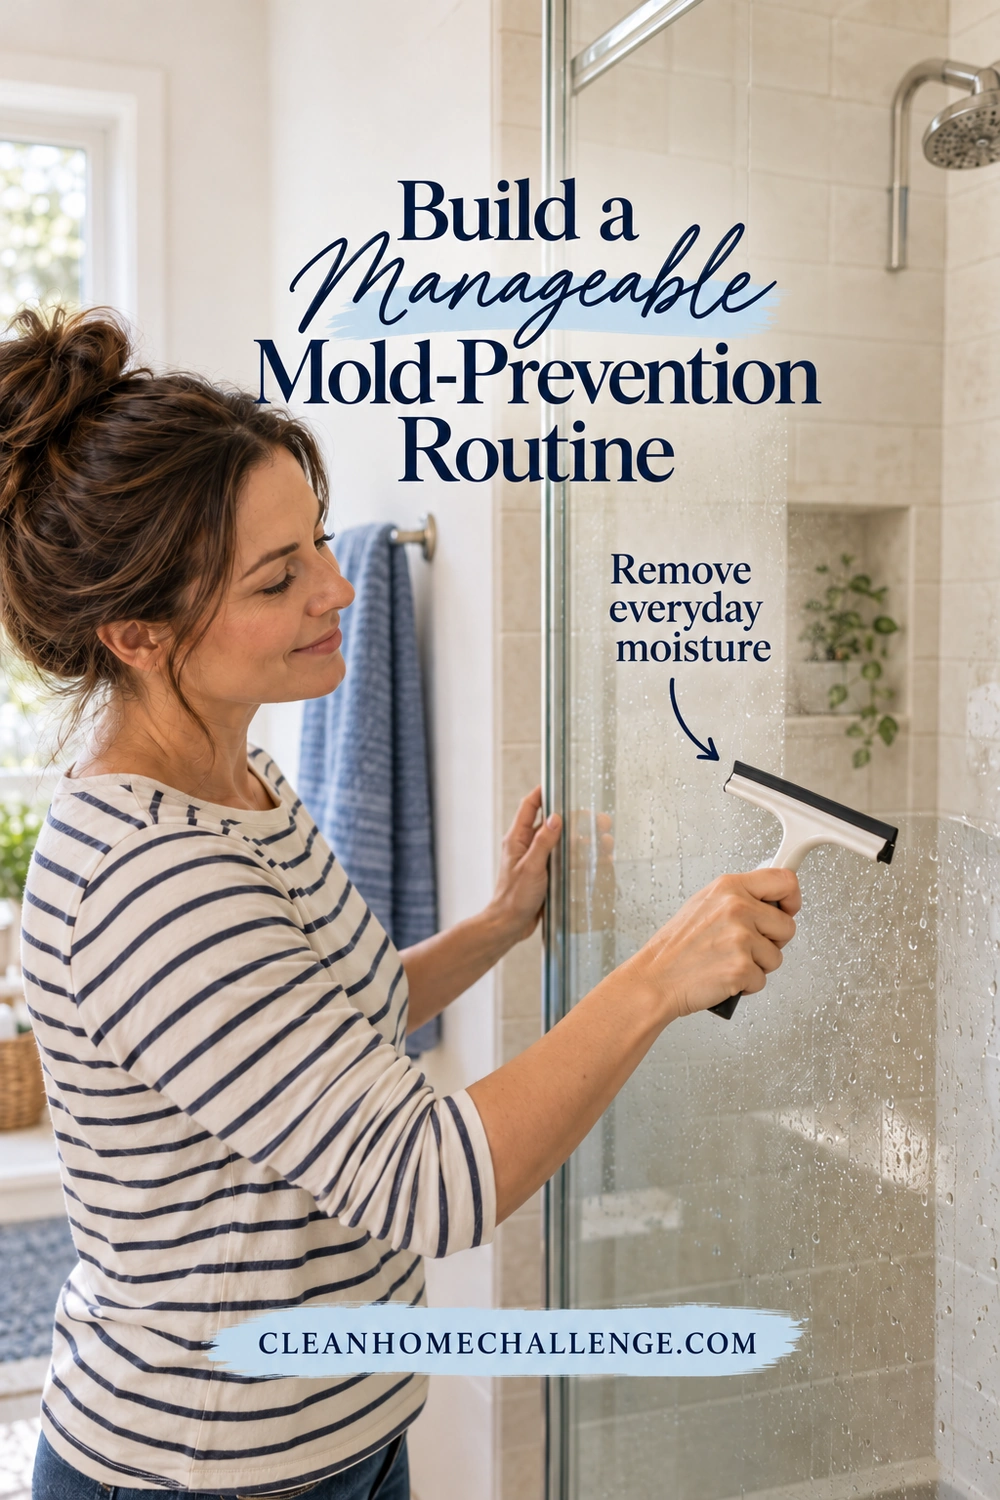
Use a functioning bathroom exhaust fan that vents outdoors, provided it is not implicated in contamination. Remove standing water from clean shower surfaces, spread towels so they can dry, and leave wet bath mats where they can dry according to their care instructions. Follow the ventilation system’s guidance instead of assuming one fixed fan-running time suits every room.
On your weekly bathroom day
During Tuesday’s bathroom clean, look at the shower edges, the accessible area under the sink, and any previously affected spot. Check for a fresh drip, damp storage, or recurring condensation. A short check attached to an existing routine is easier to remember than a separate inspection day.
Use a humidity gauge if the home often feels damp. A practical target is around 30–50% relative humidity; CDC advises keeping humidity no higher than 50% throughout the day. Conditions can change, so check at different times and address repeated high readings with appropriate ventilation or dehumidification. CDC mold-prevention guidance and EPA humidity guidance
When energy is limited
Choose the smallest safe next step. Today that might be taking a photo, sending a repair request, or asking another suitable adult to organize the supplies. If you are not equipped to clean safely, do not turn the task into a quick bare-handed wipe.
After a problem is resolved, pair one moisture habit with something you already do: spread the towel after showering or glance under the sink when putting away toilet paper. Share the routine where possible. A home that needs a repair has not failed a housekeeping test.
If growth returns, revisit the source and seek assessment when appropriate. Repeatedly escalating to stronger sprays can delay the repair that would actually make the routine easier.
Answers to Common Mold-Cleaning Questions
Does black mold mean it is the dangerous kind?
Color does not establish the species or tell you how to handle exposure. CDC advises removing mold and correcting moisture regardless of the type. Do not diagnose a household health problem or decide that a patch is harmless from its color or a photo. CDC facts about Stachybotrys chartarum
Should I buy a mold test kit first?
Usually not when growth is already visible. EPA says sampling is generally unnecessary in that situation, and there are no federal airborne mold limits that a home test can use to certify a home safe. If a professional proposes testing, ask what question it will answer and how the result would change the plan. EPA mold testing guidance
Can an air purifier solve the problem?
No. A suitable filter may capture some airborne particles, but it cannot repair a leak, remove contaminated materials, or clean growth from a surface. EPA advises against relying on air cleaners to resolve mold and moisture problems and warns against devices that intentionally produce ozone. EPA guide to air cleaners
What should I do if I rent?
Report leaks and mold promptly to the property manager or owner, with dated photos and a description of the location and any recurring dampness. Keep a copy of the report. Ask for a repair and assessment plan before undertaking work on building materials. For an unresolved concern, contact your local housing or public-health authority for guidance relevant to your area. EPA guidance for renters
The next useful step can be simple: decide who should handle the problem, address the water source, and choose a cleanup plan that fits the material and your household. A realistic plan leaves room for both professional help and the small habits that make a repaired space easier to maintain.
CLEANERS CLUBHOUSE
Build a Safer, Simpler Cleaning Routine
Clean confidently with practical guidance that helps you choose sensible products and use them correctly. The Cleaners Clubhouse combines safer cleaning support with realistic routines, worksheets and challenges.
